
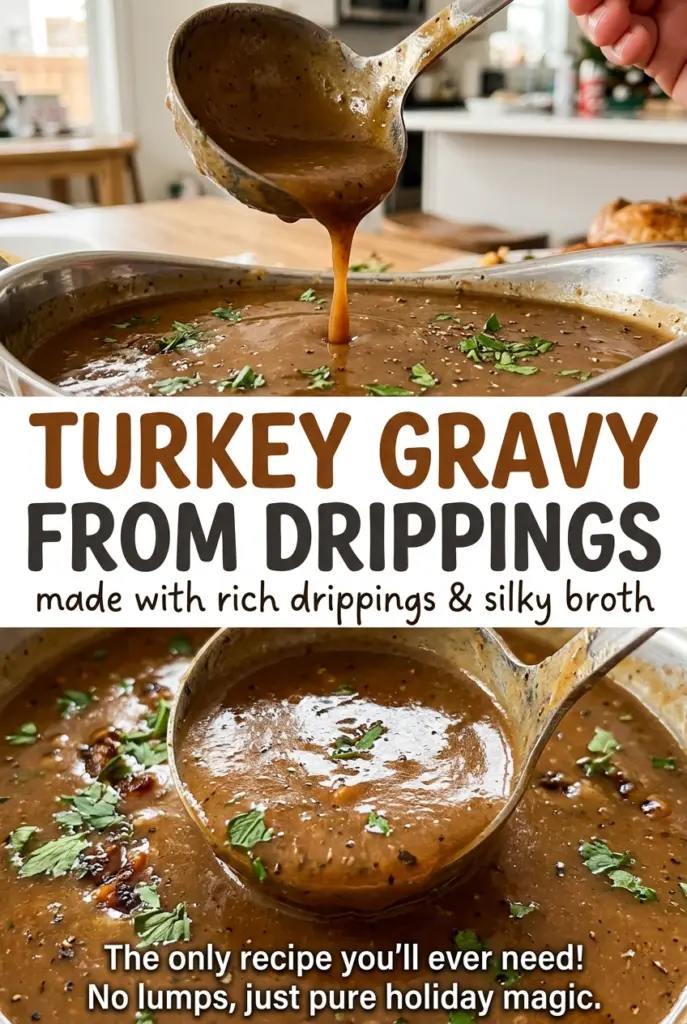
The roasting pan is ready, but the drippings still look like one dark pool. Underneath, the turkey fat and the juices are doing different jobs, and separating them is what keeps the gravy from turning greasy.
I strain the drippings into a fat separator and let the layers settle before measuring. That way, the fat cooks with the flour to make the base, while the defatted juices join the broth for the liquid. It’s a small bit of setup that makes the saucepan stage much easier to control.
Turkey Gravy from Drippings is a straightforward roux gravy, but the measurements matter: a set amount of fat and flour meets a set amount of drippings and broth. The result is a smooth, spoon-coating gravy with the roasted turkey flavor right in it, ready to serve hot.
Kitchen Note
Keep the roux moving for the full 2 minutes. It should look smooth and lightly golden, not dark brown; a deeper color changes the gravy’s character before the drippings even go in.
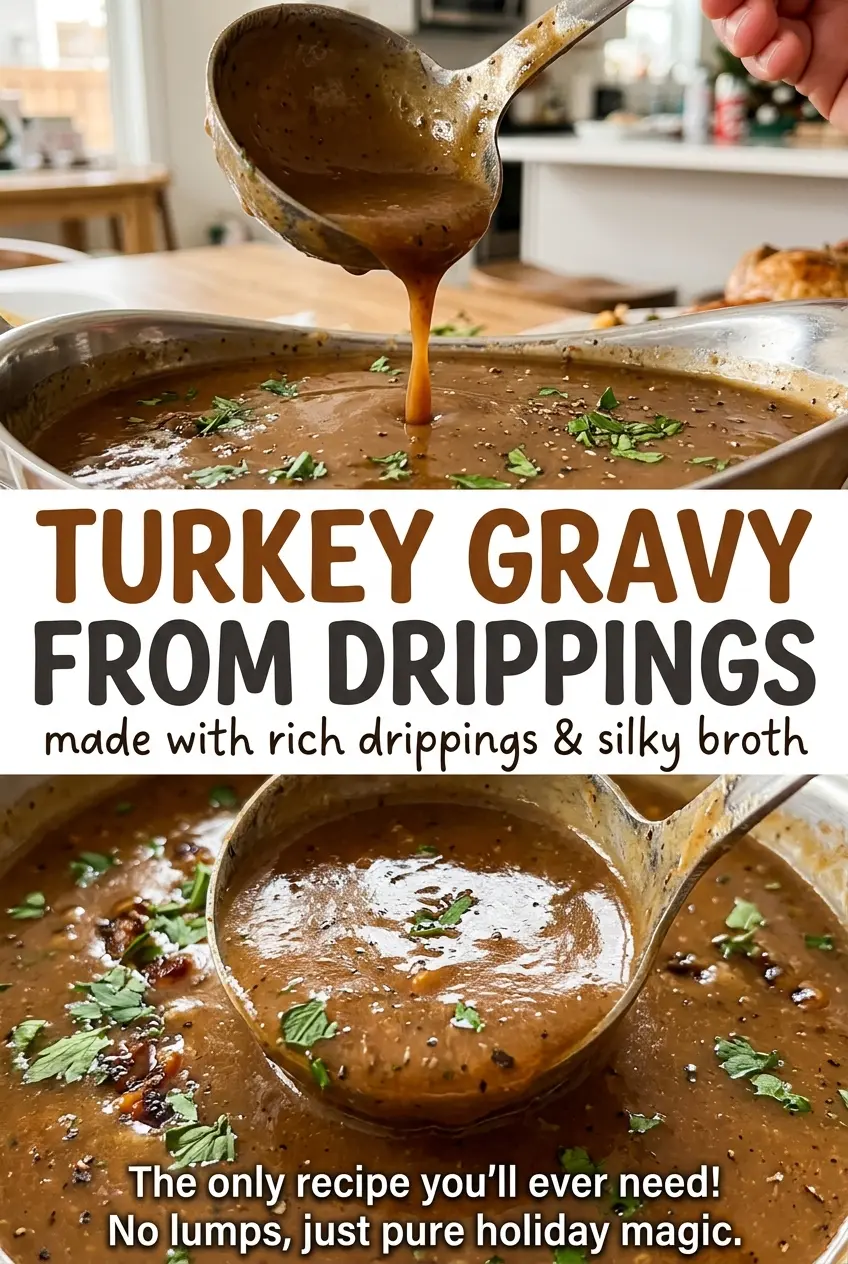
Save Turkey Gravy from Drippings for a smooth, glossy gravy made with the turkey juices and a simple roux.
Why Guessing at the Drippings Makes Gravy Greasy or Thin
Turkey drippings aren’t a fixed ingredient. One roast may leave plenty of fat in the pan; another may give you more juices and very little fat. Pouring everything straight into a saucepan makes it hard to know how much fat is cooking with the flour, and that balance is what sets the gravy’s body.
Here, the fat and flour are measured separately from the liquid. The roux starts with an even amount of each, and the defatted juices are combined with broth to make the full liquid portion. That gives the gravy a dependable starting point even when the drippings vary from one turkey to the next.
The flavor still comes from the pan. The juices bring the roasted-turkey character, while broth fills in the amount needed for a full batch. Use low-sodium broth so the drippings stay in the driver’s seat and the seasoning remains easier to manage. You’re not trying to get every last drop of fat into the gravy; you’re measuring enough to build a smooth base.
What the Drippings, Fat, and Broth Each Bring to the Pan
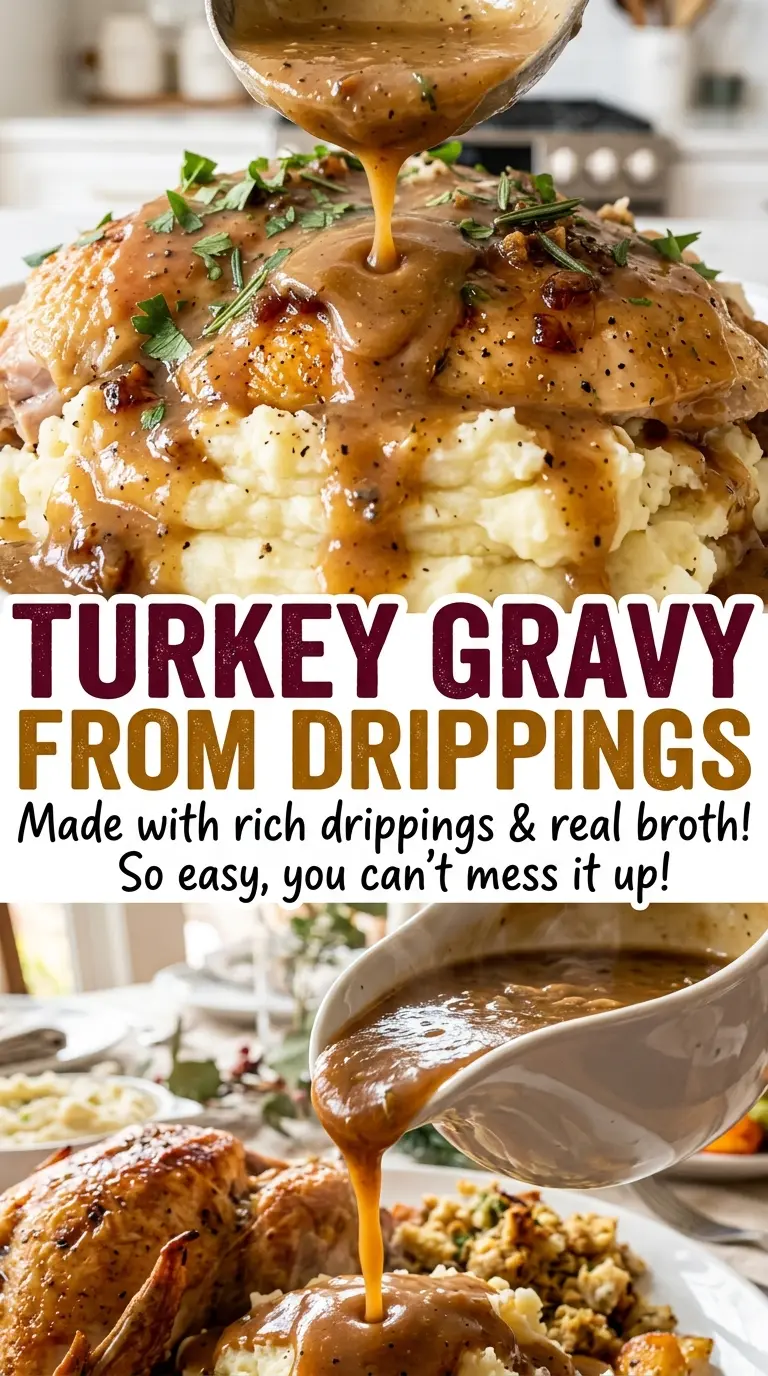
- Turkey fat and unsalted butter — Turkey fat gives the roux a roasted flavor that butter alone can’t quite copy. Measure the fat you’ve collected, then use unsalted butter to bring the total to the amount needed; unsalted butter keeps the seasoning easier to control.
- All-purpose flour — Flour thickens the liquid as the gravy simmers and gives it a familiar, velvety body. Keep it dry until it meets the melted fat, and whisk it in so you don’t start with flour pockets.
- Defatted drippings and low-sodium broth — The drippings carry the concentrated flavor from the turkey, while broth brings the combined liquid to the right volume. Turkey broth keeps the flavor especially close to the roast; low-sodium chicken broth is a handy option when that’s what you have.
- Kosher salt and black pepper — They finish the gravy without crowding the turkey flavor. Since the drippings can vary, taste the finished gravy before adding anything beyond the listed seasoning.
Building a Smooth Roux-Based Gravy Without Lumps
Separate and Measure the Drippings
Strain the drippings through a fine-mesh strainer into a fat separator, then let it stand for 5 minutes. Pour off the fat and defatted juices separately so each can be measured for its own job. Measure the fat and use unsalted butter as needed to reach the total, then combine the juices with broth to reach the liquid total.
Cook the Flour in the Fat
Melt the measured fat in a 2-quart saucepan over medium heat. Whisk in the flour right away, keeping the whisk moving so the mixture stays even across the bottom of the pan. Cook for 2 minutes, until it is smooth and lightly golden; if it starts to darken quickly, lower the heat rather than letting it scorch.
Whisk in the Liquid and Simmer
Add the drippings-and-broth mixture slowly while whisking. Pouring it in gradually gives the flour time to blend into the liquid instead of clumping into little lumps. Bring the gravy to a simmer over medium-high heat, then cook for 5–8 minutes, whisking often, until it thickly coats the back of a spoon.
Season and Serve Hot
Stir in the kosher salt and black pepper once the gravy has thickened. Taste a spoonful before it goes to the table, since drippings can bring different levels of seasoning from one batch to another. Serve the gravy hot while it has a fluid, spoonable texture.
Choose a More Turkey-Forward or Milder Gravy
Choose turkey broth for a deeper roast flavor
Use low-sodium turkey broth for the broth portion of the liquid. It keeps the overall taste more closely tied to the roast than chicken broth does, while the defatted drippings still provide the main pan flavor.
Use more broth for a gentler drippings flavor
When you want a milder turkey taste, let broth make up a larger share of the combined liquid and use the defatted juices for the rest. Keep the total liquid the same so the roux has the same amount to thicken.
Storage and Reheating
- Refrigerator: Store covered for 3–4 days. The gravy will thicken as it chills.
- Freezer: Freeze in an airtight freezer-safe container for up to 3 months; thaw in the refrigerator before reheating.
- Reheating: Warm in a saucepan over medium-low heat, whisking until hot throughout; reheat leftovers to 165°F. Avoid a hard boil, which can scorch the bottom of the pan.
Questions That Come Up While the Gravy Simmer
Turkey Gravy from Drippings
Ingredients
Equipment
Method
- Strain the turkey drippings through a fine-mesh strainer into a fat separator.
- Let the drippings stand for 5 minutes.
- Pour off and reserve the fat and defatted juices separately.
- Measure 1/4 cup fat, adding unsalted butter as needed to make 1/4 cup total.
- Measure the defatted juices and add enough low-sodium turkey or chicken broth to make 3 cups total.
- Melt the measured fat in a 2-quart saucepan over medium heat.
- Whisk in the flour.
- Cook while whisking constantly for 2 minutes, until smooth and lightly golden.
- Slowly whisk in the drippings-and-broth mixture.
- Bring to a simmer over medium-high heat.
- Cook for 5–8 minutes, whisking often, until the gravy thickly coats the back of a spoon.
- Stir in the salt and pepper, then serve hot.