
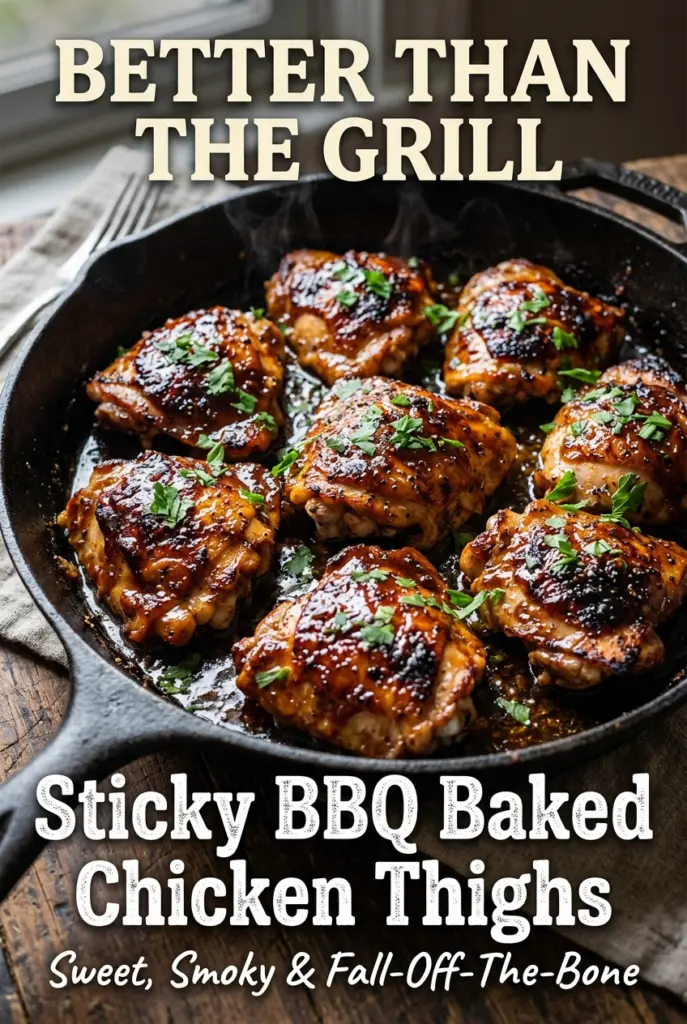
Sticky BBQ baked chicken thighs earn a permanent place in the dinner rotation because the skin goes deeply browned while the meat stays juicy enough to pull apart with a fork. The sauce tightens into a glossy glaze in the oven, so you get that sweet-smoky barbecue finish without having to stand over a grill or babysit a pan on the stove.
The trick is starting with bone-in, skin-on thighs and patting them dry before they ever meet the seasoning. That dry surface is what lets the skin roast instead of steam. The glaze also matters: honey and brown sugar give it stickiness, Dijon and Worcestershire add depth, and a little vinegar keeps the sauce from turning flat or cloying.
Below, you’ll find the timing that gets you tender chicken with caramelized edges, plus a few swaps that still keep the glaze balanced. If your barbecue sauce has ever burned before the chicken was done, the process here will help you avoid that.
The glaze turned sticky and caramelized exactly like it said, and the chicken stayed juicy even after the broil. My husband kept sneaking pieces off the pan while I was getting the sides together.
Save these sticky BBQ baked chicken thighs for the nights when you want caramelized sauce, crisp skin, and almost no cleanup.
The Secret to Sticky BBQ Chicken Without Burning the Sauce
Barbecue sauce burns fast because it usually contains sugar, and sugar does not need much help to go from glossy to bitter. That is why the chicken gets a head start in the oven before the sauce goes on. The first bake cooks the thighs through and renders some fat from the skin, which gives you a better surface for the glaze to cling to.
The second part matters just as much: brush on the sauce in layers instead of dumping it on all at once. A thick coat from the start can scorch before the chicken finishes. Thin layers build shine and stickiness, especially if you finish with a short broil at the very end.
What Each Ingredient Is Actually Doing in This Dish
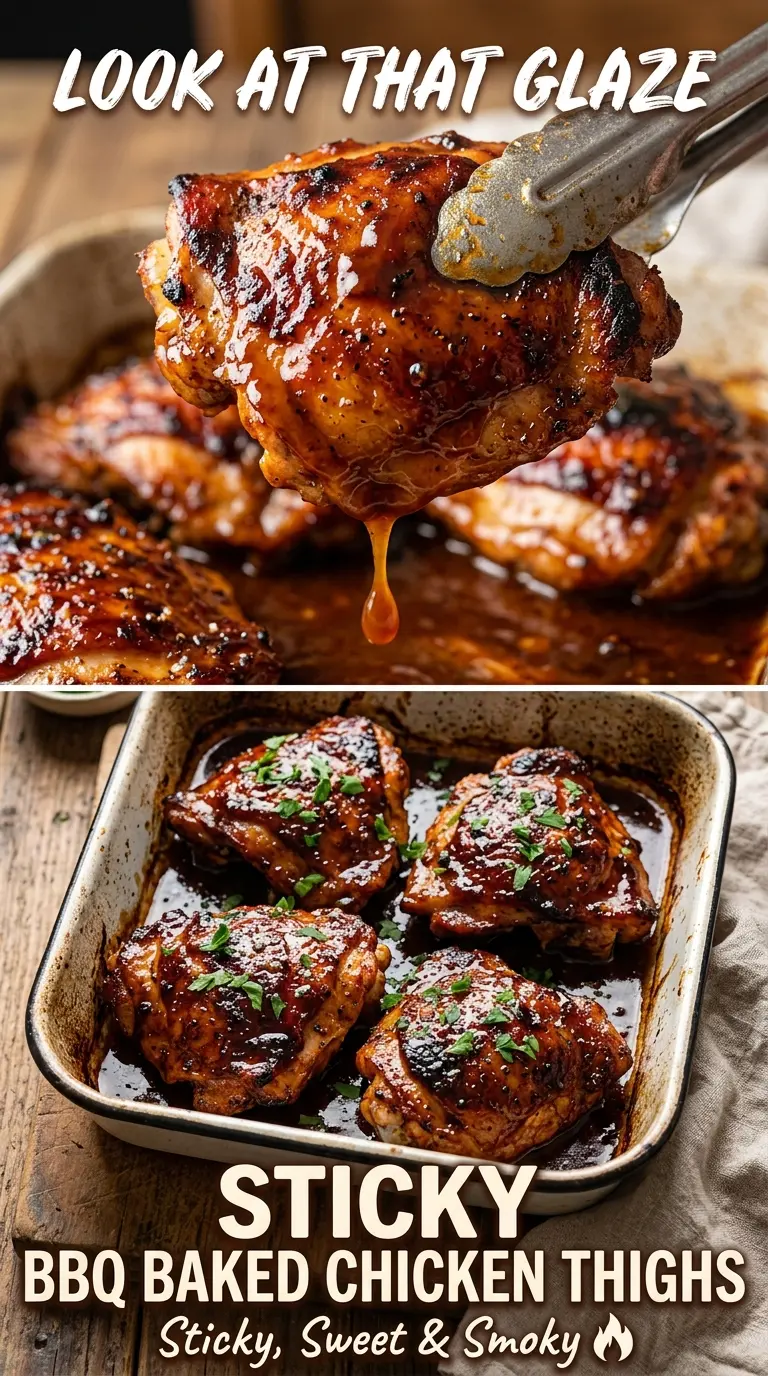
- Bone-in, skin-on chicken thighs — These stay juicy through the longer bake and the skin gives you the browned, crisped top that boneless pieces can’t match. If you swap in boneless thighs, cut the total bake time and expect less rich flavor.
- Smoked paprika, garlic powder, onion powder, and chili powder — This seasoning layer builds a savory base under the barbecue glaze so the chicken doesn’t taste one-note. Smoked paprika matters here because it echoes the barbecue flavor even before the sauce goes on.
- Smoky barbecue sauce — Use a sauce you already like eating from the bottle, because once it reduces in the oven, the flavor gets more concentrated. If your sauce is very sweet, the vinegar and Dijon help balance it; if it is thin, the glaze may need the full broil to set.
- Honey and brown sugar — These create the sticky finish, but they also raise the risk of burning if the oven runs hot. They work best when the sauce is brushed on near the end instead of from the beginning.
- Worcestershire sauce, Dijon mustard, and apple cider vinegar — These are the depth builders. Worcestershire adds savory complexity, Dijon helps the glaze emulsify a little, and vinegar keeps the whole thing from tasting heavy.
The 45 Minutes That Matter Most
Drying and seasoning the thighs
Pat the chicken dry until the skin feels tacky instead of damp. That small step is what gives you color in the oven. Rub on the oil and seasonings, then arrange the thighs skin-side up so the rendered fat can flow away instead of pooling underneath. If the pieces are crowded together, they steam and the skin stays pale.
Building the glaze
Whisk the barbecue sauce with the honey, brown sugar, Worcestershire, Dijon, vinegar, and smoked paprika until the mixture looks smooth and a little loose. That looseness is helpful because the glaze thickens as it heats. If it seems overly thick before it hits the chicken, it can go sticky too fast and scorch on the surface before the meat is done.
Layering on the sauce
After the first bake, brush the glaze over the thighs and return them to the oven. The sauce should look shiny, not piled on in heavy clumps. Brushing a second time halfway through gives you a deeper coating without overwhelming the skin. If any glaze runs into the pan, spoon it back over the chicken near the end so none of that flavor gets wasted.
Finishing under the broiler
The broiler is there for the last bit of caramelization, not for cooking the chicken through. Watch for bubbling edges and a lacquered shine with a few dark spots. Leave it too long and the sugar will turn bitter fast, so stay close and pull the pan the moment the glaze looks sticky and bronzed.
How to Adapt These Sticky BBQ Baked Chicken Thighs
Dairy-Free and Naturally Gluten-Free
This recipe is already dairy-free, and it can be gluten-free if you use a barbecue sauce and Worcestershire sauce labeled gluten-free. That swap doesn’t change the texture, but it does matter because some bottled sauces hide wheat in the ingredient list. Check the labels before you start so the glaze stays safe for everyone at the table.
If You Only Have Boneless Thighs
Boneless thighs cook faster and give you a slightly leaner result, but they won’t deliver the same rich, roasted flavor as skin-on pieces. Start checking them earlier and skip the long broil, because the glaze can go from sticky to burnt in a hurry once the meat is already done.
For a Spicier Finish
Add cayenne, hot sauce, or a pinch of chipotle powder to the glaze. Chipotle gives a deeper smoky heat, while cayenne brings sharper burn. Either one works best in a small amount, because the brown sugar and honey already lean sweet.
Storage and Reheating
- Refrigerator: Store leftovers in an airtight container for up to 4 days. The skin softens in the fridge, but the flavor holds up well.
- Freezer: Freeze cooked thighs for up to 2 months. Wrap them tightly and thaw in the refrigerator overnight so the glaze doesn’t get watery from a fast thaw.
- Reheating: Warm them in a 350°F oven, covered loosely with foil for the first part so the sauce doesn’t dry out, then uncover for the last few minutes. The biggest mistake is blasting them in the microwave, which turns the skin rubbery and can make the glaze separate.
Answers to the Questions Worth Asking
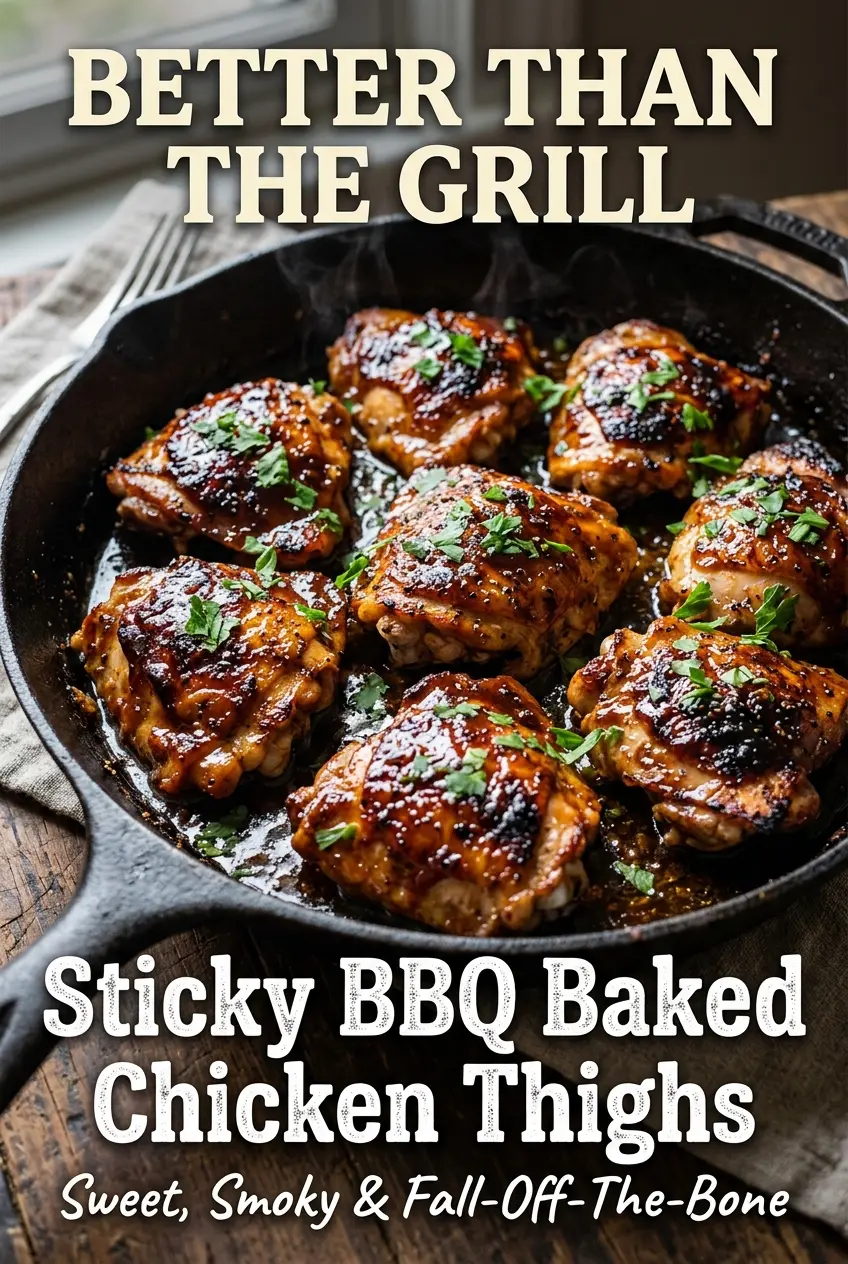
Sticky BBQ Baked Chicken Thighs
Ingredients
Equipment
Method
- Preheat the oven to 400°F (200°C). Set out a sheet pan lined with parchment paper or lightly greased so the chicken goes in right away.
- Pat the chicken thighs dry with paper towels. Dry skin helps the rub cling and promotes browning.
- Rub the chicken with olive oil and season with smoked paprika, garlic powder, onion powder, chili powder, kosher salt, and black pepper. Coat both sides evenly for consistent flavor.
- Arrange the chicken skin-side up on the prepared sheet pan. Keep space between pieces for even cooking and browning.
- Bake the chicken at 400°F (200°C) for 30 minutes. Look for lightly set juices and beginning browning on the skin.
- Whisk together smoky barbecue sauce, honey, brown sugar, Worcestershire sauce, Dijon mustard, apple cider vinegar, and smoked paprika. Stir until the glaze is smooth and glossy.
- Brush the chicken generously with the BBQ glaze. Use a thick coating so it caramelizes instead of just melting.
- Return to the oven and bake at 400°F (200°C) for an additional 15–20 minutes, brushing with more sauce halfway through. The skin should look lacquered and the chicken should be tender.
- Broil for 2–3 minutes until the glaze becomes sticky and caramelized. Watch closely so the sugars darken without burning.
- Garnish with chopped fresh parsley and serve. Add sliced green onions if using, and pair with coleslaw, corn on the cob, or roasted potatoes.