
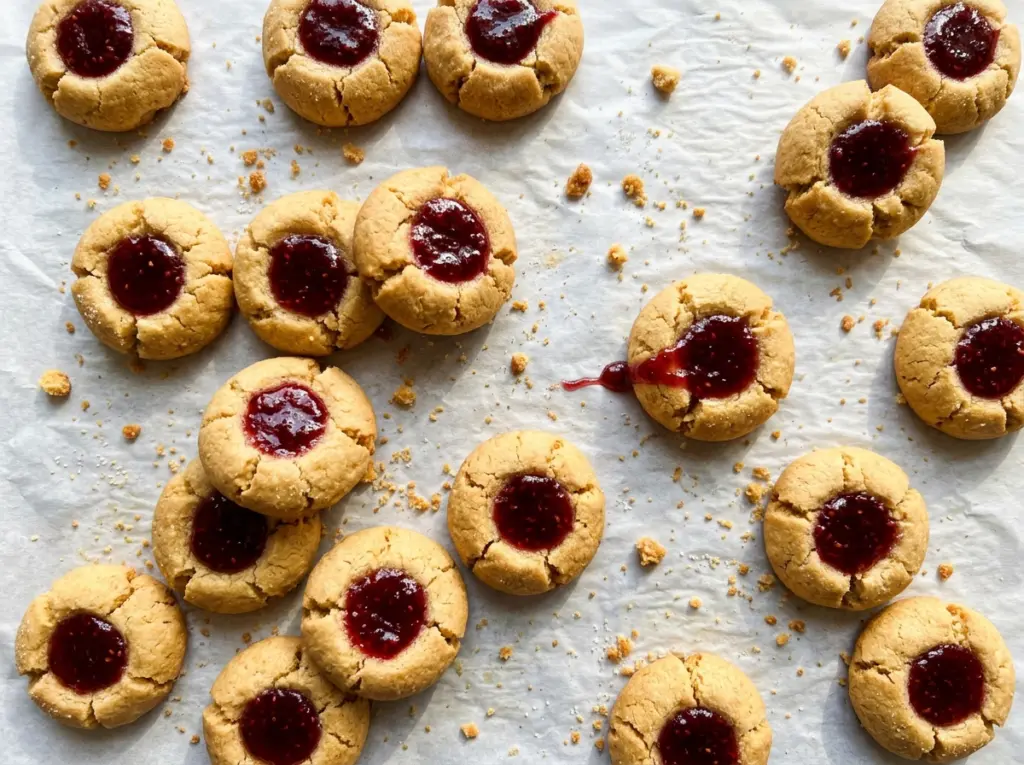
A thumb pressed into cookie dough should leave a little well, not push the whole ball flat. Chilling the dough first gives it enough firmness to hold its shape, which makes these Raspberry Jam Thumbprint Cookies easier to fill and keeps the centers neat.
I like how the dough comes together with butter, sugar, and egg yolks into a soft, tender cookie that doesn’t compete with the fruit. Seedless raspberry jam brings a bright, gently tart center, and a short bake leaves the edges lightly golden without drying them out. They’re simple cookies, but the small details—softened butter, properly measured flour, and a deep indentation—make each bite feel just right.
Kitchen Note
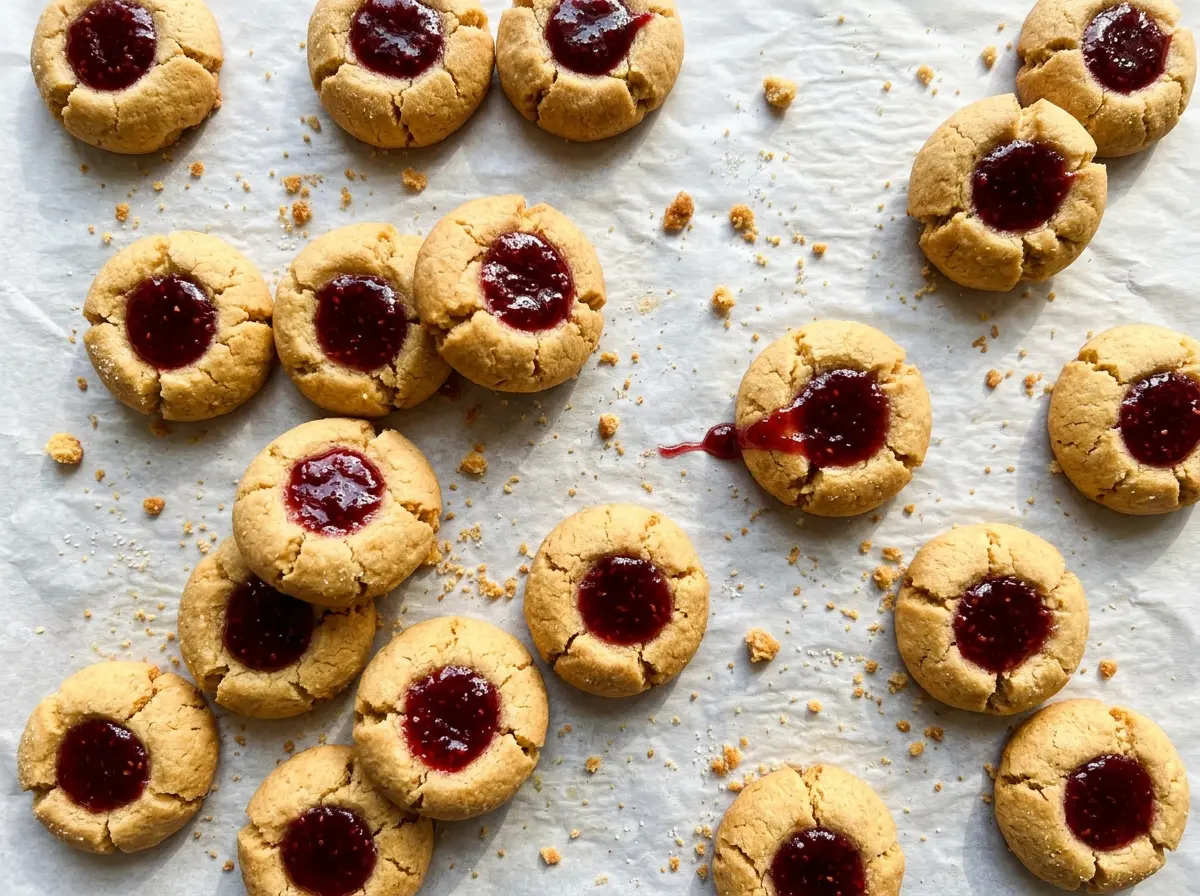
These cookies are delicate right out of the oven. Let them sit on the baking sheet for five minutes before moving them, so the edges have time to set and don’t break during the transfer.
Save these Raspberry Jam Thumbprint Cookies for a buttery, tender cookie with a bright raspberry center.
Why Two Egg Yolks Make a Better Thumbprint Cookie Than a Whole Egg
Egg yolks give this dough richness and help it hold together while keeping the baked cookies tender. A whole egg brings in the white as well, adding extra moisture and protein. That change can make the dough softer and the cookies firmer, which isn’t the texture I want in a delicate thumbprint.
Using yolks also means the dough needs a little care as it comes together. Once the flour goes in, mix on low only until you no longer see dry patches. A smooth, soft dough is the goal; working it longer develops more structure and can leave the cookies less tender. Keep the yolks in the recipe and save the whites for another use rather than pouring them into this bowl.
The Butter Sets the Texture; the Jam Sets the Center

- Butter — Use softened butter, not melted butter; it creams smoothly with the sugar and gives the dough its structure. Unsalted butter lets the small amount of fine salt stay in balance. A good-quality butter is nice, but a standard grocery-store brand works well here.
- Flour — Spoon it lightly into the measuring cup and level the top instead of scooping straight from the bag. Scooping packs in extra flour, which can make this soft dough dry and prone to cracking. A cup-for-cup gluten-free baking blend is the most practical swap; choose one labeled as a 1:1 replacement.
- Seedless raspberry jam — A smooth, thick jam settles neatly into the wells without seeds interrupting the soft center. A familiar store brand is fine; what matters most is that the jam isn’t watery. If the jar has separated, stir it until smooth before filling the cookies.
- Vanilla extract and granulated sugar — Vanilla rounds out the buttery dough, while granulated sugar helps the butter cream into a smooth base. Pure vanilla extract has a fuller aroma, but regular vanilla extract works perfectly well in this bake.
From Creamed Butter to Clean Jam Wells: The Stages That Matter
Cream the Butter and Sugar Until Smooth
Beat the softened butter and granulated sugar with a hand mixer on medium speed for about two minutes. The mixture should look creamy and even, without firm chunks of butter around the bowl. If the butter is cold, it won’t blend smoothly; if it’s melted, the dough won’t have the same structure. Scrape the bowl as needed so the ingredients mix evenly.
Bring the Dough Together Without Overmixing
Beat in the egg yolks and vanilla until combined, scraping down the sides of the bowl. Add the flour and salt, then mix on low just until a soft dough forms. Stop as soon as the dry flour disappears; continued mixing can make the cookies tougher. The dough should hold together when pressed without looking wet or greasy.
Chill, Roll, and Fill Each Cookie
Cover the dough and refrigerate it for 30 minutes, until it feels firm enough to shape. Heat the oven to 350°F and line two baking sheets with parchment paper while the dough chills. Roll the dough into 1-inch balls and set them about 2 inches apart, then press a deep indentation into each center with your thumb. Spoon about 1/2 teaspoon of raspberry jam into each well, keeping the filling inside the indentation.
Bake Until the Edges Turn Lightly Golden
Bake one sheet at a time on the center rack for 12 to 15 minutes. Watch the edges for a light golden color; the cookies don’t need to brown all over. Let them cool on the baking sheet before transferring them to a wire rack to cool completely. Moving them while they’re still hot can leave you with broken edges or a lost jam center.
Two Easy Changes for a Different Cookie
Make Them Gluten-Free
Replace the all-purpose flour with the same volume of a cup-for-cup gluten-free baking blend made for 1:1 baking substitutions. The cookies may be a little more delicate, so handle them gently after baking and let them cool fully before stacking.
Trade Raspberry for Another Seedless Jam
Use seedless strawberry or apricot jam in place of the raspberry jam, keeping the filling amount the same. Strawberry gives the cookies a sweeter, familiar fruit center, while apricot brings a mellow tang. Choose a thick jam so it stays in the indentation as the cookies bake.
Storage and Reheating
- Refrigerator: Refrigeration isn’t needed; keep the cookies in an airtight container at room temperature for up to 5 days for the best texture.
- Freezer: Freeze completely cooled cookies in an airtight container for up to 2 months, separating layers with parchment so the jam doesn’t stick.
- Reheating: These are best at room temperature. Skip the microwave, which can make the jam runny before the cookie warms evenly.
Questions I Get Asked About Raspberry Thumbprints
Raspberry Jam Thumbprint Cookies
Ingredients
Equipment
Method
- Beat the butter and sugar in a large bowl with a hand mixer on medium speed until smooth and creamy, about 2 minutes.
- Beat in the egg yolks and vanilla until combined, scraping down the bowl as needed.
- Add the flour and salt, then mix on low just until a soft dough forms.
- Cover the dough and refrigerate for 30 minutes, until firm enough to shape.
- Heat the oven to 350°F.
- Line two baking sheets with parchment paper.
- Roll the dough into 1-inch balls.
- Arrange the balls about 2 inches apart on the prepared sheets.
- Press a deep indentation into the center of each ball with your thumb.
- Fill each indentation with about 1/2 teaspoon of raspberry jam.
- Bake one sheet at a time on the center rack for 12 to 15 minutes, until the cookie edges are lightly golden.
- Let the cookies cool on the baking sheet for 5 minutes.
- Transfer the cookies to a wire rack to cool completely.