
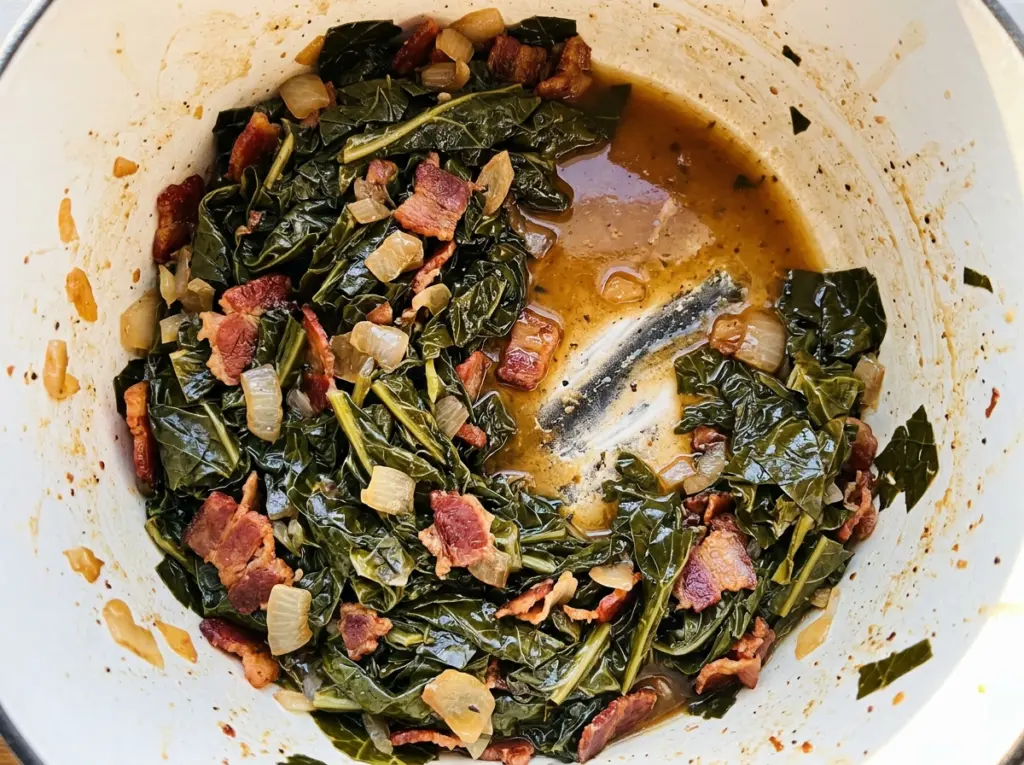
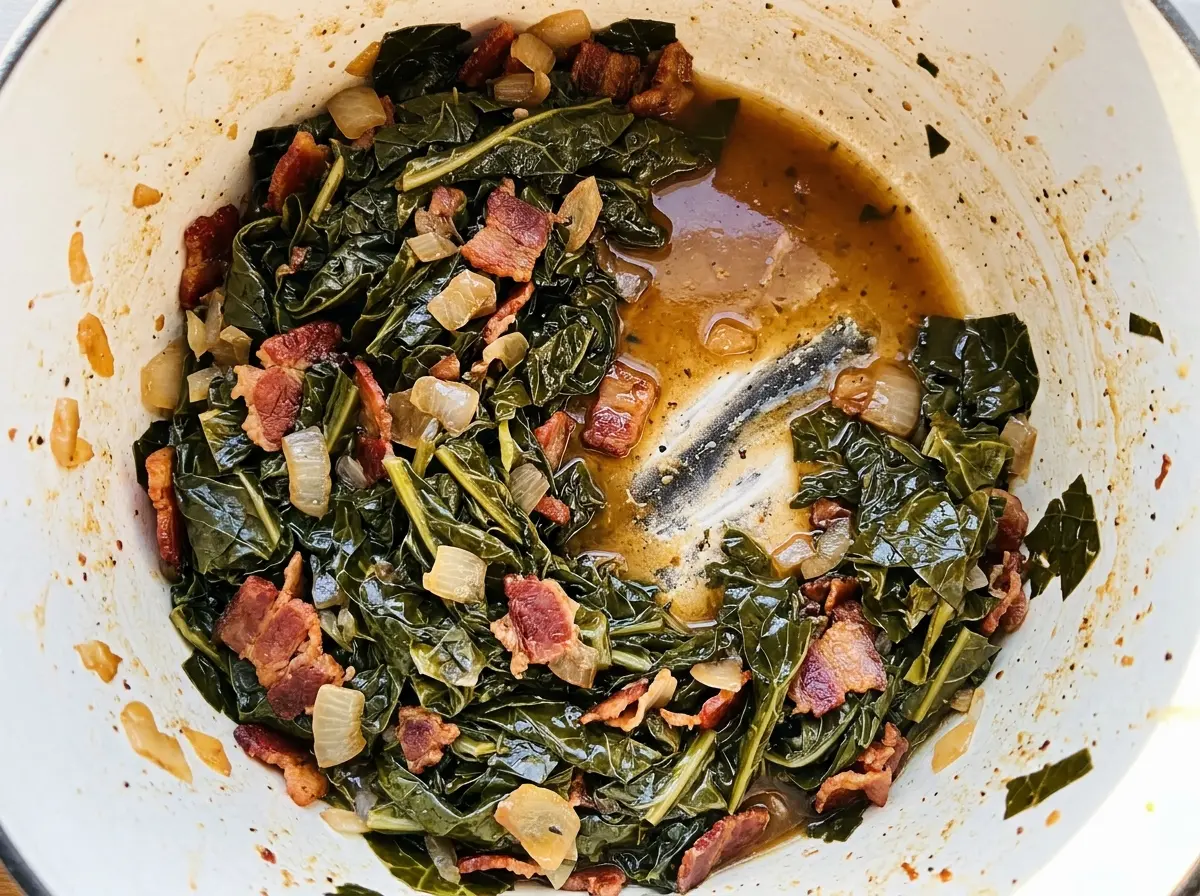
The bacon starts out loud in the Dutch oven, then settles into the background once the collards begin their slow simmer. That’s the part I like about these New Year’s Day Collard Greens with Bacon: you get crisp, savory bacon in the finished pot, but the greens still taste like themselves instead of just bacon fat.
Collards need more time than tender greens, and rushing them leaves the leaves tough and chewy. I let them simmer covered over low heat until they’re tender, then finish the pot with apple cider vinegar. The vinegar brightens the rich broth without turning it sharp, while a little brown sugar rounds out the greens’ earthy edge. Each serving comes with soft, deeply seasoned collards and a spoonful of broth to catch at the bottom of the bowl.
Kitchen Note
Don’t drain the finished greens. The broth is part of the dish, carrying the bacon and onion flavor into every bite, so ladle a little into each bowl along with the leaves.
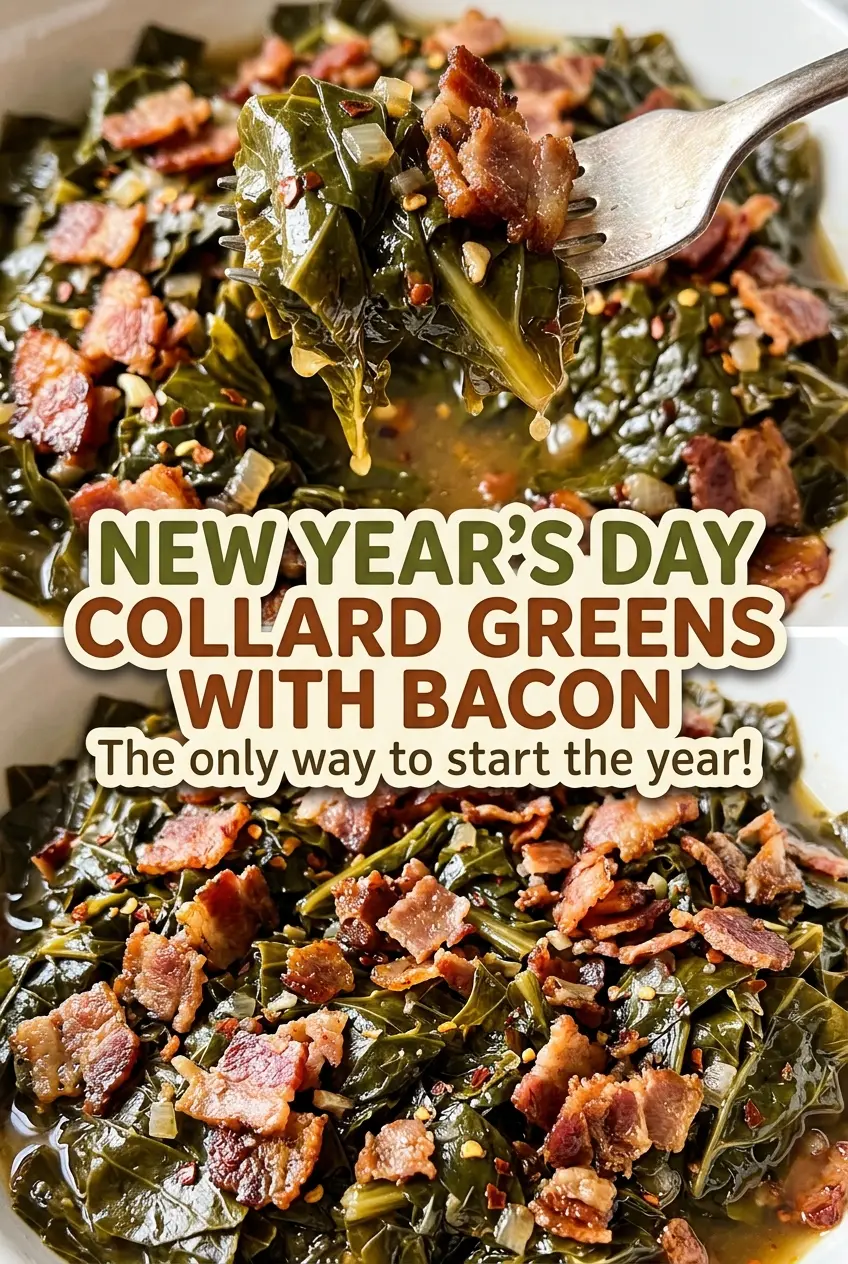
Save these New Year’s Day collard greens with bacon for a slow-simmered pot of tender greens, smoky bacon, and bright vinegar broth.
Why Collards Need a Slow Covered Simmer, Not a Quick Sauté
Collards are sturdy leaves with a firmer texture than tender greens, so a quick pass through a hot pan won’t give them enough time to soften. A covered, low simmer gives the leaves time to turn tender while they soak up the seasoned broth. Keeping the heat low matters: a hard boil can cook the liquid away faster than the greens soften, and the leaves won’t get the same gentle braise.
The long cook also gives the bacon, onion, garlic, and broth time to become one savory base instead of separate flavors sitting beside the greens. The brown sugar and apple cider vinegar each have a small but useful role. Sugar softens the greens’ earthy bitterness, and vinegar added at the end lifts the broth so the finished pot doesn’t taste heavy. Neither ingredient should take over; you want balanced, savory greens with a clean tang at the finish.
What Gives This Pot Its Savory Depth and Bright Finish
- Thick-cut bacon — Its pieces stay substantial as they crisp, and the drippings make the first layer of flavor in the pot. Choose bacon you enjoy eating on its own; the smoky, salty character carries through the broth. Cutting it into even pieces helps it cook at the same pace.
- Collard greens — Look for firm, deeply colored leaves without slimy or yellowed patches. Removing the stems and cutting the leaves into ribbons gives you pieces that are easier to stir and eat. The stems stay firmer than the leaves, so this version uses the leaves only.
- Low-sodium chicken broth — It provides the braising liquid while leaving room for the bacon and kosher salt to season the pot. Low-sodium broth is a useful choice here because bacon already contributes salt; a highly salted broth can make the finished liquid taste too salty.
- Yellow onion and garlic — The onion softens into the broth’s savory base, while minced garlic releases its aroma quickly. Dice the onion evenly so it softens in the same short sauté, and mince the garlic before it goes into the hot pot so it’s ready to stir in.
- Brown sugar and apple cider vinegar — Packed brown sugar brings a mellow sweetness, while the vinegar supplies a crisp, tangy finish. The vinegar goes in after the greens are tender, which keeps its brightness noticeable in the finished pot.
- Black pepper and crushed red pepper — Black pepper adds a steady, savory warmth; crushed red pepper brings a little sharper heat. Keep the pieces small and well distributed so each serving gets an even seasoning.
How to Layer the Bacon, Wilt the Greens, and Finish the Pot
Render the Bacon and Soften the Aromatics
Set an 8-ounce portion of thick-cut bacon, cut into 1/2-inch pieces, in a 6-quart Dutch oven over medium heat. Cook for 8 to 10 minutes, stirring occasionally, until crisp, then transfer it to a paper towel-lined plate. Leave 2 tablespoons of drippings in the pot and pour off any excess; too much fat can leave the broth greasy. Add the diced yellow onion and cook for 4 to 5 minutes, stirring occasionally, until softened, then stir in the minced garlic for 30 seconds.
Wilt the Collards in Manageable Handfuls
Add the collard ribbons a handful at a time, stirring until each addition begins to wilt before adding the next. The raw leaves take up a lot of space at first, so adding them gradually keeps them in the pot and lets them meet the warm aromatics. Once all the greens are in, stir in the chicken broth, packed brown sugar, kosher salt, black pepper, and crushed red pepper. Make sure the leaves are distributed through the liquid rather than sitting in one dry mound.
Keep the Braise Low, Then Add the Bright Finish
Bring the pot to a simmer, cover it, and cook over low heat for 60 to 75 minutes, stirring occasionally, until the greens are tender. Keep the heat gentle; if the liquid is bubbling hard, lower it so the leaves can soften without the broth boiling aggressively. When the greens are tender, stir in the apple cider vinegar and cooked bacon. Serve the greens with some of their broth.
Small Changes for a Milder or Meat-Free Pot
Leave Out the Crushed Red Pepper
For a gentler pot, omit the crushed red pepper and keep the black pepper. The greens will still have their savory bacon-and-broth flavor, but without the little flashes of heat.
Make a Vegetarian Version
Omit the bacon and use 2 tablespoons of olive oil in place of the reserved bacon drippings, then use low-sodium vegetable broth instead of chicken broth. You’ll still get tender, well-seasoned greens, though the pot won’t have the smoky depth or bacon pieces of the original.
Hold Back Bacon for a Crisp Top
For a little contrast, set aside some of the cooked bacon before stirring the rest into the finished greens. Scatter the reserved pieces over the bowls just before serving; they’ll stay crisp against the soft leaves and broth.
Storage and Reheating
- Refrigerator: Store leftovers in a covered container for up to 4 days. The greens will continue to soften, and the broth may taste even more seasoned after resting.
- Freezer: These greens freeze well. Cool them, transfer them with their broth to an airtight freezer-safe container, and freeze for up to 3 months; thaw overnight in the refrigerator before reheating.
- Reheating: Warm them gently in a covered saucepan over low heat, stirring occasionally, until steaming throughout. Avoid a hard boil, which can make the leaves overly soft and reduce the broth.
Questions That Come Up When Cooking Collard Greens
New Year's Day Collard Greens with Bacon
Ingredients
Equipment
Method
- In a 6-quart Dutch oven over medium heat, cook the bacon for 8 to 10 minutes, stirring occasionally, until crisp.
- Transfer the bacon to a paper towel-lined plate.
- Leave 2 tablespoons of drippings in the pot, pouring off any excess.
- Add the onion and cook for 4 to 5 minutes, stirring occasionally, until softened.
- Add the garlic and cook for 30 seconds.
- Add the collard greens in handfuls, stirring until each addition begins to wilt.
- Stir in the broth, brown sugar, salt, black pepper, and crushed red pepper.
- Bring to a simmer, cover, and cook over low heat for 60 to 75 minutes, stirring occasionally, until the greens are tender.
- Stir in the apple cider vinegar and cooked bacon, then serve.