
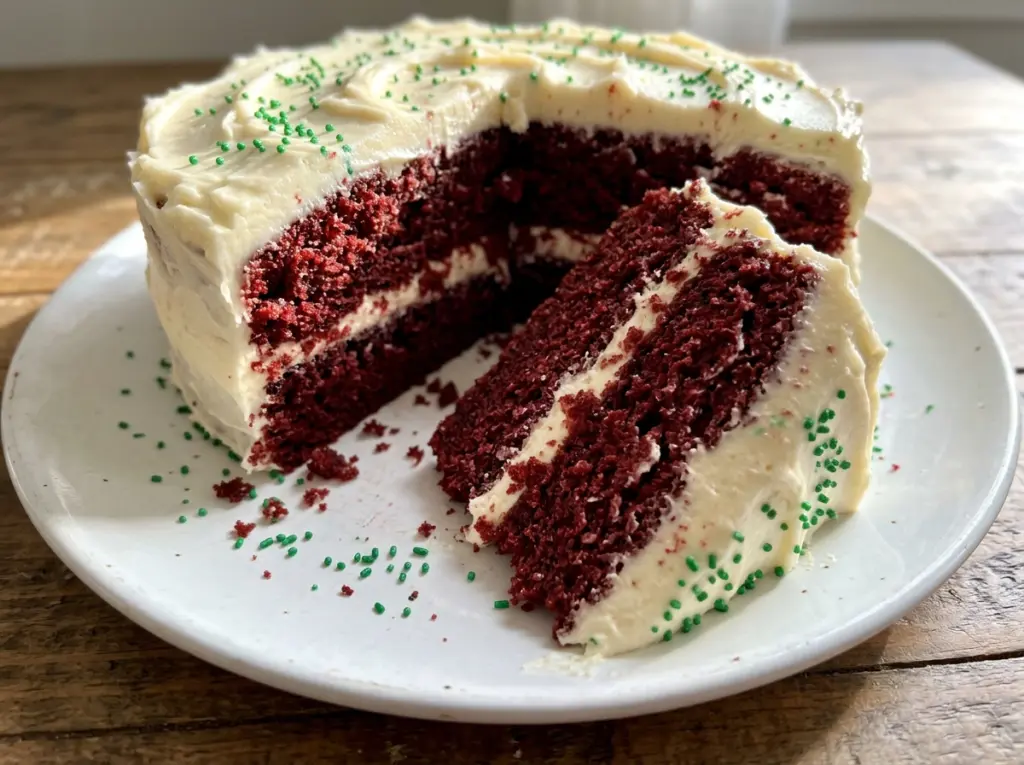
The first whisk through this batter turns the cocoa a deep brick red, and the color gets brighter as the gel coloring disappears into the buttermilk. This Red Velvet Christmas Cake has the familiar hint of cocoa without tasting like a chocolate cake wearing a red coat. The layers bake up soft, and the cream cheese frosting gives them a cool, tangy finish.
I like this version because the red velvet character comes from balance, not a heavy pour of cocoa or a complicated decorating project. Buttermilk and vinegar bring a gentle tang, while the cocoa stays in the background. Once the frosting is spread over the cooled layers, a handful of holiday sprinkles is all it takes to make the cake feel ready for the table.
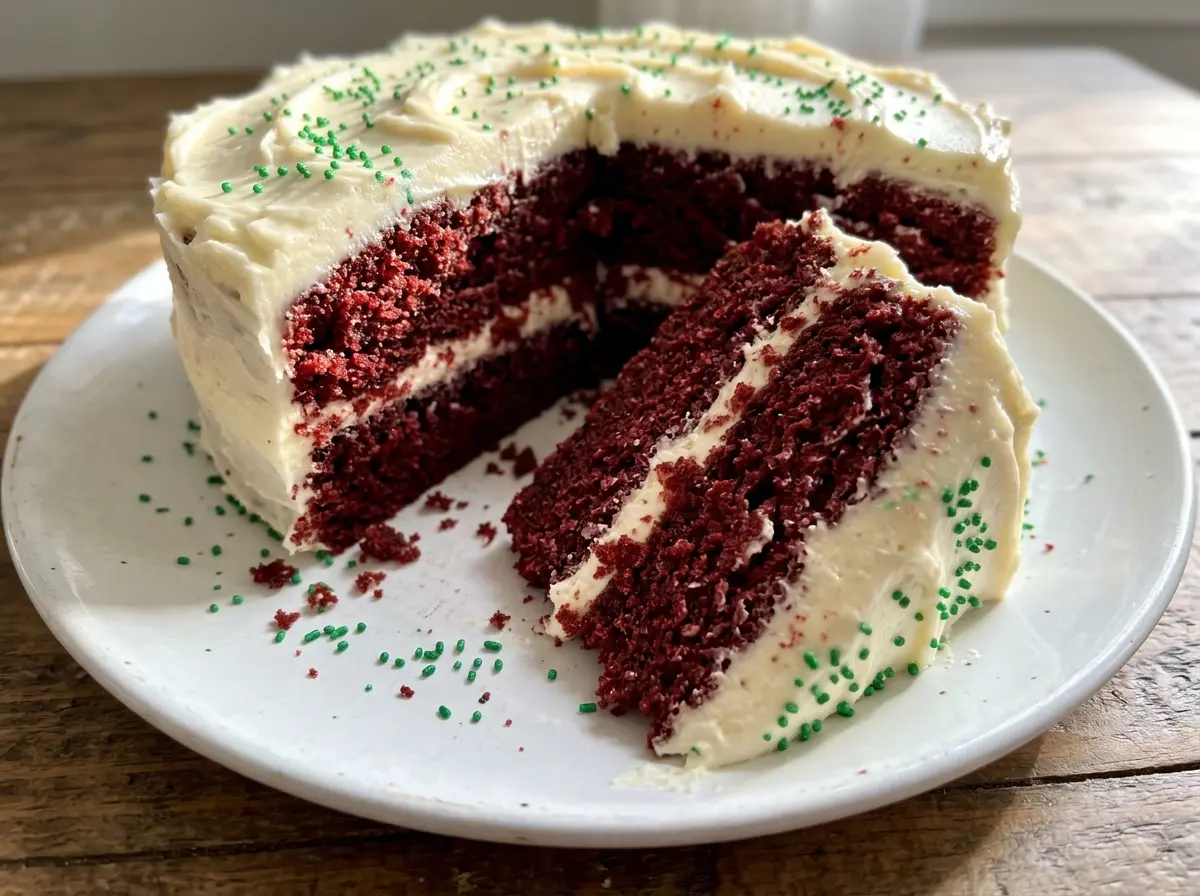
Kitchen Note
Give the cakes their full 10 minutes in the pans before turning them out. They’re delicate while hot, and that short rest helps the layers release without breaking at the edges.
Save this Red Velvet Christmas Cake for a celebration that calls for tender red layers, tangy cream cheese frosting, and a festive sprinkle finish.
Why the Cocoa Stays in the Background in Red Velvet Cake
Red velvet should have a little cocoa flavor, but it shouldn’t eat like a chocolate layer cake. Here, the cocoa is intentionally modest alongside the flour, so it gives the crumb depth without overpowering the red color or the gentle tang. Adding extra cocoa would push the cake toward a stronger chocolate taste and change the balance of the dry ingredients.
The buttermilk and vinegar are doing more than adding a slight tang. Their acidity works with the baking soda to help the cake rise, and that mild flavor is part of what makes red velvet taste different from a plain vanilla cake. The red gel coloring brings the signature shade without making the batter as wet as a larger amount of liquid coloring might. Together, those choices give you a tender, lightly cocoa-scented layer with a clear red velvet identity.
What Buttermilk, Vinegar, and Gel Coloring Each Contribute
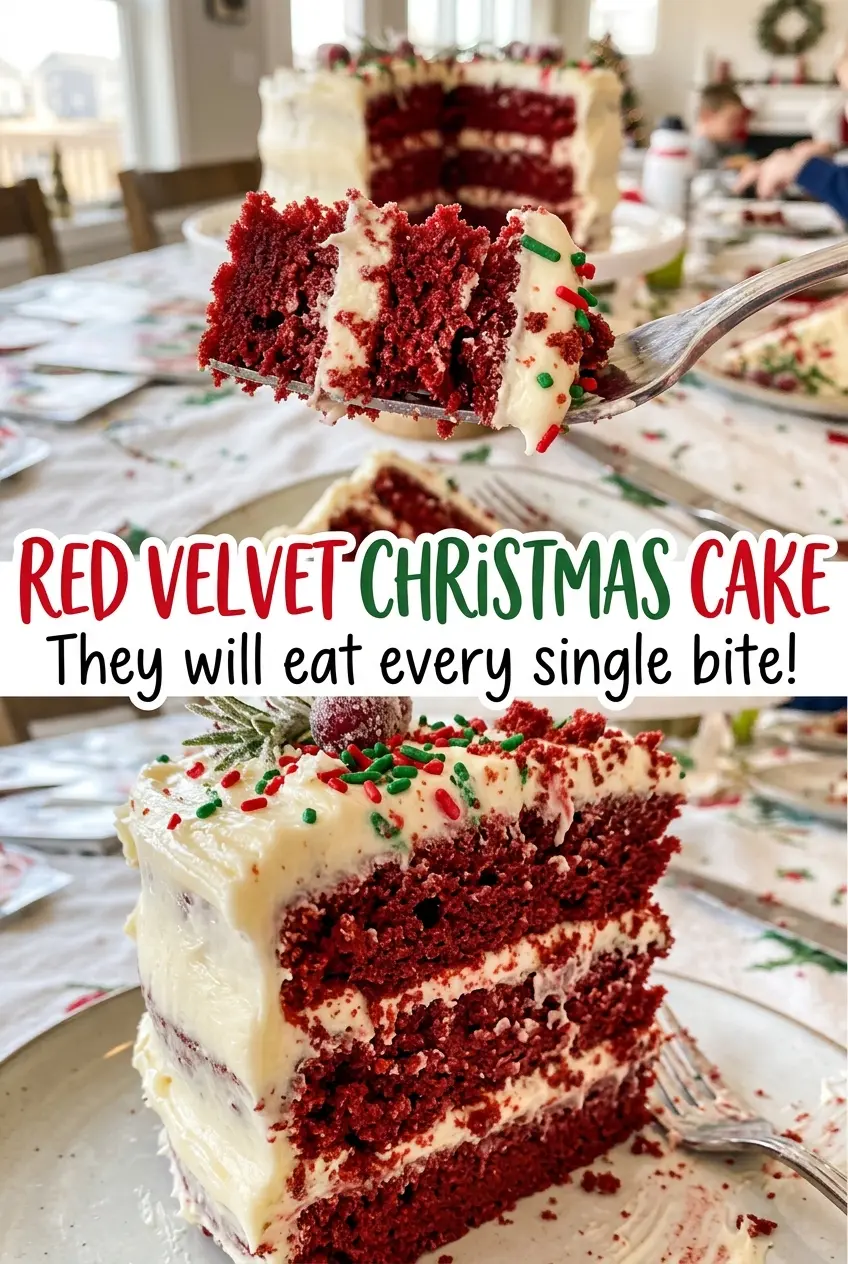
- Buttermilk — Its acidity gives the cake a gentle tang and works with the baking soda. Use it at room temperature so it blends evenly with the oil and eggs instead of chilling the wet mixture.
- White vinegar and baking soda — These help provide lift while keeping the flavor balanced. Measure the vinegar carefully; it should support the red velvet tang, not take over the cake.
- Unsweetened cocoa powder — This contributes a quiet chocolate note rather than a dominant one. Keep it unsweetened so the cake’s sugar and cocoa balance stays where it belongs.
- Red gel food coloring — Gel gives the batter a vivid red hue without adding as much liquid as a thinner coloring. Use the gel specified here rather than swapping in liquid coloring without adjusting the rest of the formula.
- Neutral oil — Canola is a good neutral choice that lets the cocoa and tang come through without an oil flavor. A strongly flavored oil would be noticeable in this lightly cocoa-scented cake.
- Butter and cream cheese — Both should be softened before beating so the frosting turns smooth instead of holding onto cold lumps. The cream cheese brings tang, while butter gives the frosting body.
Mixing and Cooling Two Red Layers Without Drying Them Out
Whisk the Dry and Wet Mixtures Separately
Heat the oven to 350°F, grease two 9-inch round cake pans, and line their bottoms with parchment. Whisk the flour, sugar, cocoa, baking soda, and salt in one large bowl; in a second bowl, whisk the buttermilk, oil, eggs, red gel coloring, and vinegar until combined. Pour the wet mixture into the dry ingredients and whisk just until no dry streaks remain. Stop there, because mixing beyond that point can make the layers tougher.
Bake Until the Centers Spring Back
Divide the batter evenly between the prepared pans so the layers bake at about the same rate. Bake for 25 to 30 minutes, looking for centers that spring back lightly when touched. A toothpick inserted in the center should come out clean, with no wet batter clinging to it. If one pan finishes first, use the doneness cues rather than assuming both layers need identical time.
Cool the Layers All the Way Through
Leave the cakes in their pans for 10 minutes, then turn them onto a wire rack and remove the parchment. Let them cool completely before frosting; even a slightly warm center can soften the cream cheese frosting and make it slide. Handle the layers gently as you move them, since they’re easier to break before they’ve cooled and settled.
Beat the Frosting and Stack the Cake
Beat the softened butter until smooth, then beat in the softened cream cheese just until combined. Add the powdered sugar in three additions, beating on low until incorporated, and beat in the vanilla until smooth. Set one cooled layer on a serving plate and spread about 1 1/2 cups frosting across the top. Add the second layer, cover the top and sides with the remaining frosting, and finish with the holiday sprinkles.
Finishing the Holiday Cake Without Changing Its Red Velvet Character
Make a Sprinkle Border
Instead of scattering the holiday sprinkles across the whole top, arrange them around the edge after frosting. The red-and-green detail stays visible, while the white frosting in the middle gives each slice a cleaner, less busy look.
Leave the Frosting Softly Textured
Spread the frosting over the top and sides with relaxed swoops rather than trying to make every surface perfectly smooth. You’ll keep the same tangy frosting and full layer-cake look, but the finish feels more homemade and gives the sprinkles little ridges to catch on.
Skip the Holiday Sprinkles
Leave off the red and green sprinkles for a simple red-and-white cake that works beyond the holidays. The cake and cream cheese frosting stay exactly the same; you’re only changing the finish.
Storage and Reheating
- Refrigerator: Cover the frosted cake and refrigerate it for up to 4 days. The frosting firms up, and the cake feels denser when cold.
- Freezer: The unfrosted layers freeze well. Once cool, wrap each layer tightly and freeze for up to 2 months; thaw in the refrigerator before frosting.
- Reheating: Don’t heat this cake. Let a slice sit briefly so the frosting softens, and return the rest to the refrigerator within 2 hours.
Questions About Red Velvet Cake Layers and Cream Cheese Frosting
Red Velvet Christmas Cake
Ingredients
Equipment
Method
- Heat the oven to 350°F.
- Grease two 9-inch round cake pans and line the bottoms with parchment paper.
- Whisk the flour, granulated sugar, cocoa powder, baking soda, and salt in a large bowl.
- Whisk the buttermilk, oil, eggs, red gel food coloring, and vinegar in a separate bowl until combined.
- Pour the wet mixture into the dry ingredients.
- Whisk just until no dry streaks remain.
- Divide the batter evenly between the prepared pans.
- Bake for 25 to 30 minutes, until the centers spring back lightly and a toothpick inserted in the center comes out clean.
- Cool the cakes in the pans for 10 minutes.
- Turn the cakes out onto a wire rack and remove the parchment.
- Cool the cakes completely.
- Beat the butter in a large bowl until smooth.
- Beat in the cream cheese until just combined.
- Add the powdered sugar in three additions, beating on low until incorporated.
- Beat in the vanilla until smooth.
- Set one completely cooled cake layer on a serving plate.
- Spread about 1 1/2 cups frosting evenly over the top.
- Place the second layer on top.
- Spread the remaining frosting over the top and sides.
- Decorate with the holiday sprinkles.