
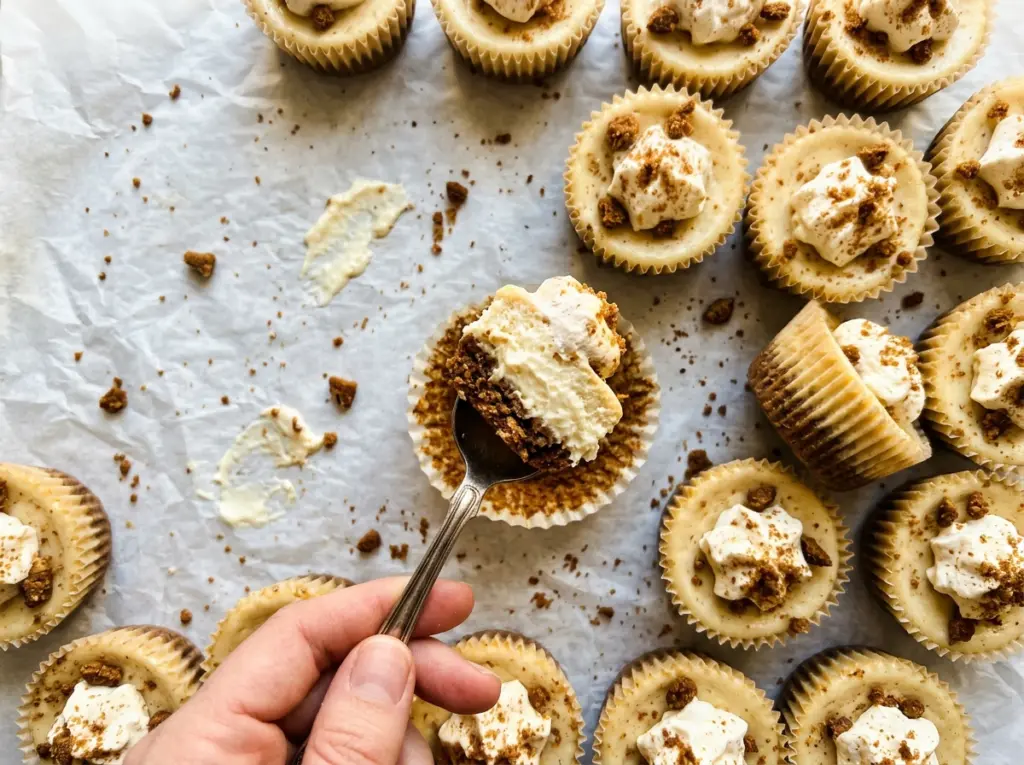
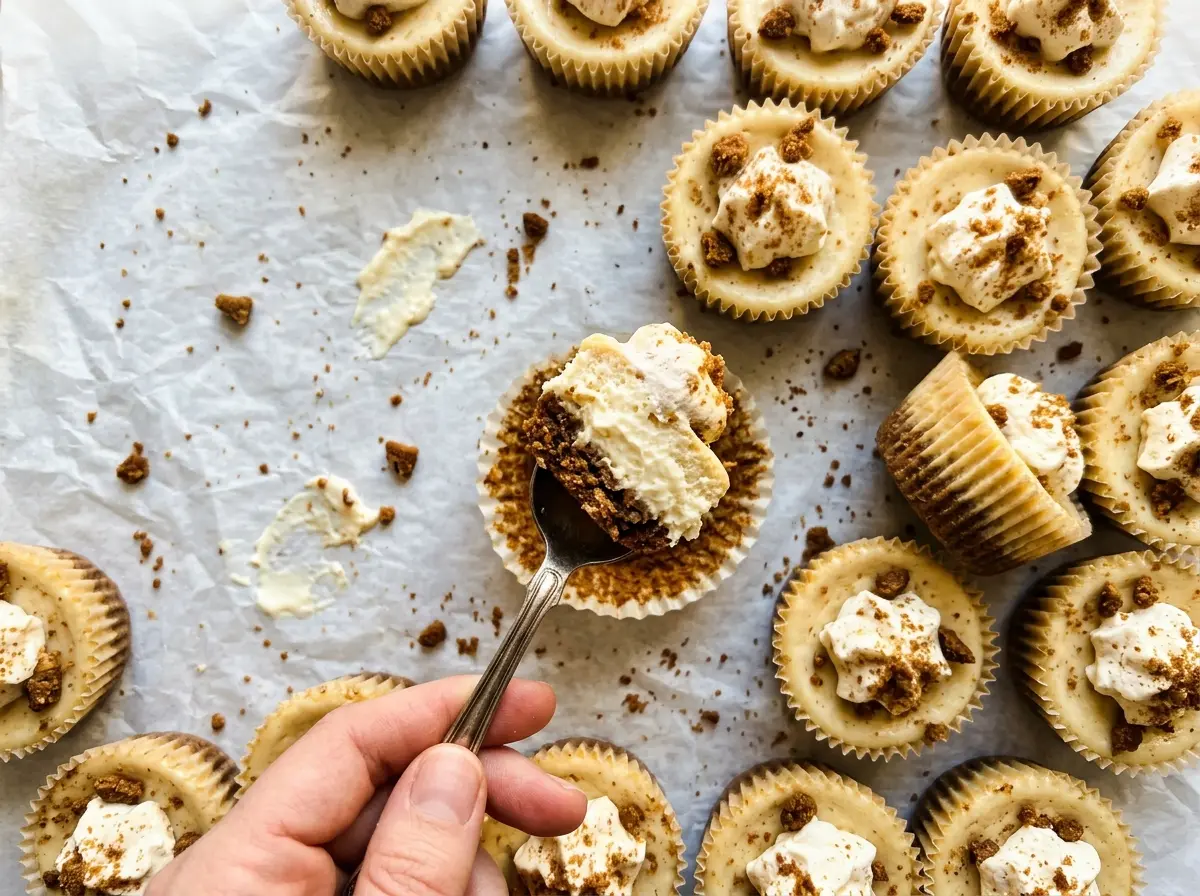
When the gingersnap crusts come out of the oven, they look like little pressed cookie bases, not much more than crumbs held together with butter. That short first bake gives them a head start before the filling goes in, and it keeps the bottoms from tasting soft and raw under the cheesecake. I make these Mini Gingerbread Cheesecake Cups in a standard muffin pan, which gives each one its own crisp, spiced base.
The filling gets its gingerbread character from unsulfured molasses, ground ginger, cinnamon, and cloves. I mix the eggs in one at a time and stop as soon as they’re combined; a cheesecake batter doesn’t need extra air. The cups bake until the edges are set and the centers still have a slight jiggle, then chill until firm and cool. Each bite is creamy, gently spiced, and anchored by that buttery gingersnap crust.
Kitchen Note
The cream cheese should feel soft all the way through before you start beating it. If it’s still cool and firm, you can end up chasing small lumps in the filling; let it soften first, then beat it with the sugar until creamy.
Save these Mini Gingerbread Cheesecake Cups for a make-ahead dessert with creamy centers and a crisp gingersnap base.
Why Molasses Makes the Filling Look Looser Before It Bakes
Molasses does more than add the dark, warm taste that makes these cups read as gingerbread. It brings moisture and a distinct sweetness to the filling, so the mixture looks silkier and a little looser than a plain cream cheese batter once the wet ingredients are mixed in. That’s expected; it isn’t a sign that you need to add flour or beat the filling until it thickens.
Extra beating won’t make this batter set more firmly. It can work air into the eggs and leave the baked tops more prone to puffing and sinking. The eggs and the oven do the setting, while the refrigerator gives the centers time to become fully firm. Keep the texture of the uncooked filling in perspective, and judge the finished cups after they’ve chilled rather than trying to correct the batter in the bowl.
What the Gingersnaps, Molasses, and Cream Cheese Each Bring

- Gingersnap cookies — Their crisp texture makes a base that holds together after crushing, and their ginger-spice flavor carries into every bite. Store-brand cookies work well; the useful detail is that they’re crisp and crushed finely, not left in large chunks.
- Unsalted butter — Melted butter binds the crumbs into a crust that can be pressed into an even layer. A basic store-brand butter is fine here; unsalted keeps the crust’s salt level predictable.
- Cream cheese — The two packages provide the filling’s body and tang. Use regular package cream cheese rather than whipped cream cheese, which has air incorporated and won’t give the same dense, smooth result. The brand matters less than softening it before mixing.
- Unsulfured molasses — This is the defining gingerbread note as well as a source of moisture. Use a fresh bottle with a clean, mellow aroma; an old, strongly flavored molasses can overwhelm the spices.
- Eggs and granulated sugar — Sugar sweetens the tangy filling, while the eggs help it set in the oven. Room-temperature eggs blend in more evenly, and ordinary granulated sugar is the right choice for this smooth batter.
- Sour cream — It adds a gentle tang and keeps the filling from tasting heavy. Plain full-fat Greek yogurt works as a one-for-one replacement, though the result may be a touch tangier and thicker.
- Ginger, cinnamon, cloves, and vanilla — The spices give the filling its warm, familiar gingerbread flavor, and vanilla rounds it out. Fresh ground spices make the biggest difference; there’s no need for a specialty brand.
From a Firm Crust to a Just-Set Center
Press and Pre-Bake the Gingersnap Bases
Heat the oven to 325°F and line a 12-cup standard muffin pan with paper liners. Stir the finely crushed gingersnaps with the melted butter until the crumbs are evenly damp, then divide them among the liners and press firmly into an even layer. Bake the crusts for 5 minutes and remove the pan. A loose or unevenly pressed crumb layer can crumble when you peel away the liner, so take a moment to compact each base.
Mix the Filling Without Whipping In Air
Beat the softened cream cheese and granulated sugar in a large bowl until smooth and creamy. Beat in the molasses, then add the eggs one at a time, mixing just until each is combined. Mix in the sour cream, vanilla, ground ginger, cinnamon, cloves, and kosher salt. Stop once the filling is smooth; beating vigorously after the eggs go in can add air you don’t need.
Bake Until the Centers Still Move
Divide the filling evenly among the crusts. Bake for 18 to 22 minutes, until the edges are set and the centers still have a slight jiggle; the centers should reach 160°F. Don’t wait for the middle to look completely firm in the oven, because that can leave the cups overbaked once they cool. Cool them in the pan for 30 minutes, then refrigerate for at least 4 hours, until thoroughly chilled and set.
Easy Ways to Adapt These Gingerbread Cups
Make the crust gluten-free
Use finely crushed gluten-free gingersnap cookies in place of the regular gingersnaps, measuring the crumbs the same way. The crust may be a little more delicate depending on the cookies, so press it firmly into the liners before its short bake.
Give the molasses a deeper edge
Choose a darker unsulfured molasses instead of a mild one, keeping the quantity the same. The gingerbread flavor will taste more pronounced and less sweet; skip blackstrap molasses, which can bring a bitter edge.
Let ginger and cinnamon lead
Leave out the ground cloves for a softer spice blend. The cups will still taste like gingerbread, but the ginger and cinnamon will come through more clearly without cloves’ deeper, slightly pungent note.
Storage and Reheating
- Refrigerator: Store the chilled cups in an airtight container for up to 4 days. The gingersnap crust softens a little as it sits.
- Freezer: Freeze fully chilled cups until firm, then wrap individually and place in a sealed freezer container for up to 2 months. Thaw in the refrigerator before serving.
- Reheating: These are best served cold, so don’t reheat them. Return leftovers to the refrigerator within 2 hours.
Questions I Get About Mini Gingerbread Cheesecake Cups
Mini Gingerbread Cheesecake Cups
Ingredients
Equipment
Method
- Heat the oven to 325°F.
- Line a 12-cup standard muffin pan with paper liners.
- Stir the gingersnap crumbs and melted butter together.
- Divide the mixture among the liners and press firmly into an even layer.
- Bake the crusts for 5 minutes, then remove the pan from the oven.
- Beat the cream cheese and sugar in a large bowl until smooth and creamy.
- Beat in the molasses.
- Add the eggs one at a time, mixing just until combined.
- Mix in the sour cream, vanilla, ginger, cinnamon, cloves, and salt.
- Divide the filling evenly among the crusts.
- Bake for 18-22 minutes, until the edges are set and the centers still have a slight jiggle; the centers should reach 160°F.
- Cool the cups in the pan for 30 minutes.
- Refrigerate for at least 4 hours until thoroughly chilled and set.