

Hot Cocoa Bombs with Marshmallows crack open with a little drama, then turn into a mug of rich chocolate milk loaded with soft marshmallows. The fun part isn’t just the reveal — it’s how satisfying it is when the shell melts cleanly and the cocoa mix dissolves without leaving a gritty layer at the bottom.
The trick is building sturdy shells first. A thin first coat gives you shape, but the second layer is what keeps the bomb from splitting when you unmold it or when the hot milk hits. Semi-sweet chocolate works best here because it sets firmly and tastes balanced once the sweet cocoa mix and marshmallows are inside.
Below, I’ll show you the small details that matter most: how to seal the halves without making a lumpy seam, how to keep the shells from getting too fragile, and how to decorate them so they look polished before they go into the mug.
The shells came out shiny and snapped together without cracking, and the marshmallows spilled out perfectly when I poured the hot milk over them. My kids thought it was the coolest thing ever, and the cocoa wasn’t grainy at all.
Save these Marshmallow Hot Cocoa Bombs for a cozy mug that melts into rich chocolate and soft, fluffy marshmallows.
The Shell Has to Be Strong Before It Can Be Pretty
The most common failure with cocoa bombs is a shell that looks fine until you try to unmold it or close it, then suddenly it cracks at the rim or caves in when you add the filling. That usually happens because the chocolate layer is too thin in the sides and the edge, where the mold gets the most stress. A good cocoa bomb needs structure first and decoration second.
Chocolate also behaves better when it’s melted gently. If it gets too hot, it can seize slightly or look dull instead of glossy, and that makes the shells more brittle. Short microwave bursts with stirring in between keep the texture smooth and give you time to spread an even coat before it starts to set.
- Semi-sweet chocolate — This gives you a firm shell with enough flavor to stand up to sweet cocoa mix. Chocolate chips work in a pinch, but chopped baking chocolate melts more smoothly and gives you a cleaner finish.
- Hot cocoa mix — Use a mix you already like drinking, because that’s the flavor you’ll taste most. A richer mix with a little extra cocoa tastes less sugary once the marshmallows and milk go in.
- Mini marshmallows — These melt and puff quickly when the milk hits the bomb. Larger marshmallows leave fewer pockets in the shell and don’t give that same little burst of texture.
- White chocolate — This is for sealing and decorating, not for structure. If you need a swap, use more semi-sweet chocolate for the seam, but the contrast from white chocolate makes the bombs look finished fast.
- Silicone half-sphere molds — Flexible molds release the shells without snapping the rims. Rigid molds are harder to use here unless the chocolate shell is thick and fully set.
The Part Where the Bomb Stays Intact Until the Milk Hits It
Building the First Shell
Spoon the melted chocolate into the molds and work it up the sides in an even layer. You want the walls coated thick enough that the mold looks opaque when held up to the light. If the center of the half-sphere looks thin or streaky, add more chocolate right away before it starts to set.
Reinforcing Weak Spots
After the first chill, inspect the shells before unmolding. The rim and any thin patches are the spots that usually fail, so brush on a second thin layer there and chill again. This extra pass takes a few minutes, but it’s the difference between a shell that pops out cleanly and one that shatters when you touch it.
Filling and Closing the Bomb
Fill one shell half with cocoa mix and marshmallows, but leave enough room around the edge to seal it properly. Warm the empty shell just enough to soften the rim, then press it onto the filled half and hold it briefly so the seam bonds. If the edges look rough, a little melted chocolate acts like edible glue and smooths the join without making the bomb bulky.
Finishing the Top
Drizzle with white chocolate once the seam is set, then add sprinkles before the drizzle hardens. If you wait too long, the sprinkles slide off and the top loses that crisp bakery-style look. The decoration doesn’t have to be elaborate; it just needs to be done before the surface firms up.
What to Change When You Want a Different Mug of Cocoa
Dairy-Free Cocoa Bombs
Use dairy-free semi-sweet chocolate and a dairy-free hot cocoa mix, then serve with oat milk or almond milk. The shells set the same way, but the finished mug tastes a little lighter and less creamy than the version made with whole milk.
Extra Rich Chocolate Version
Swap half the cocoa mix for a spoonful of unsweetened cocoa powder and add a pinch of salt to the filling. That makes the drink less sweet and more chocolate-forward, especially if you like a darker, deeper cup.
Gluten-Free Version
Most plain chocolate and marshmallows are naturally gluten-free, but the cocoa mix is the one ingredient worth checking closely. Use a certified gluten-free hot cocoa mix if cross-contamination matters for your kitchen.
Storage and Reheating
- Refrigerator: Store the assembled bombs in an airtight container for up to 2 weeks. The shells may pick up a little condensation if you move them between cold and warm rooms too quickly.
- Freezer: They freeze, but the texture is better in the fridge. If you do freeze them, wrap each bomb tightly and thaw in the refrigerator before serving so the chocolate doesn’t sweat.
- Reheating: These aren’t reheated after assembly; they’re melted in the mug with hot milk. Use milk that’s steaming but not violently boiling, or the shell can splatter before the marshmallows have time to bloom.
Answers to the Questions Worth Asking
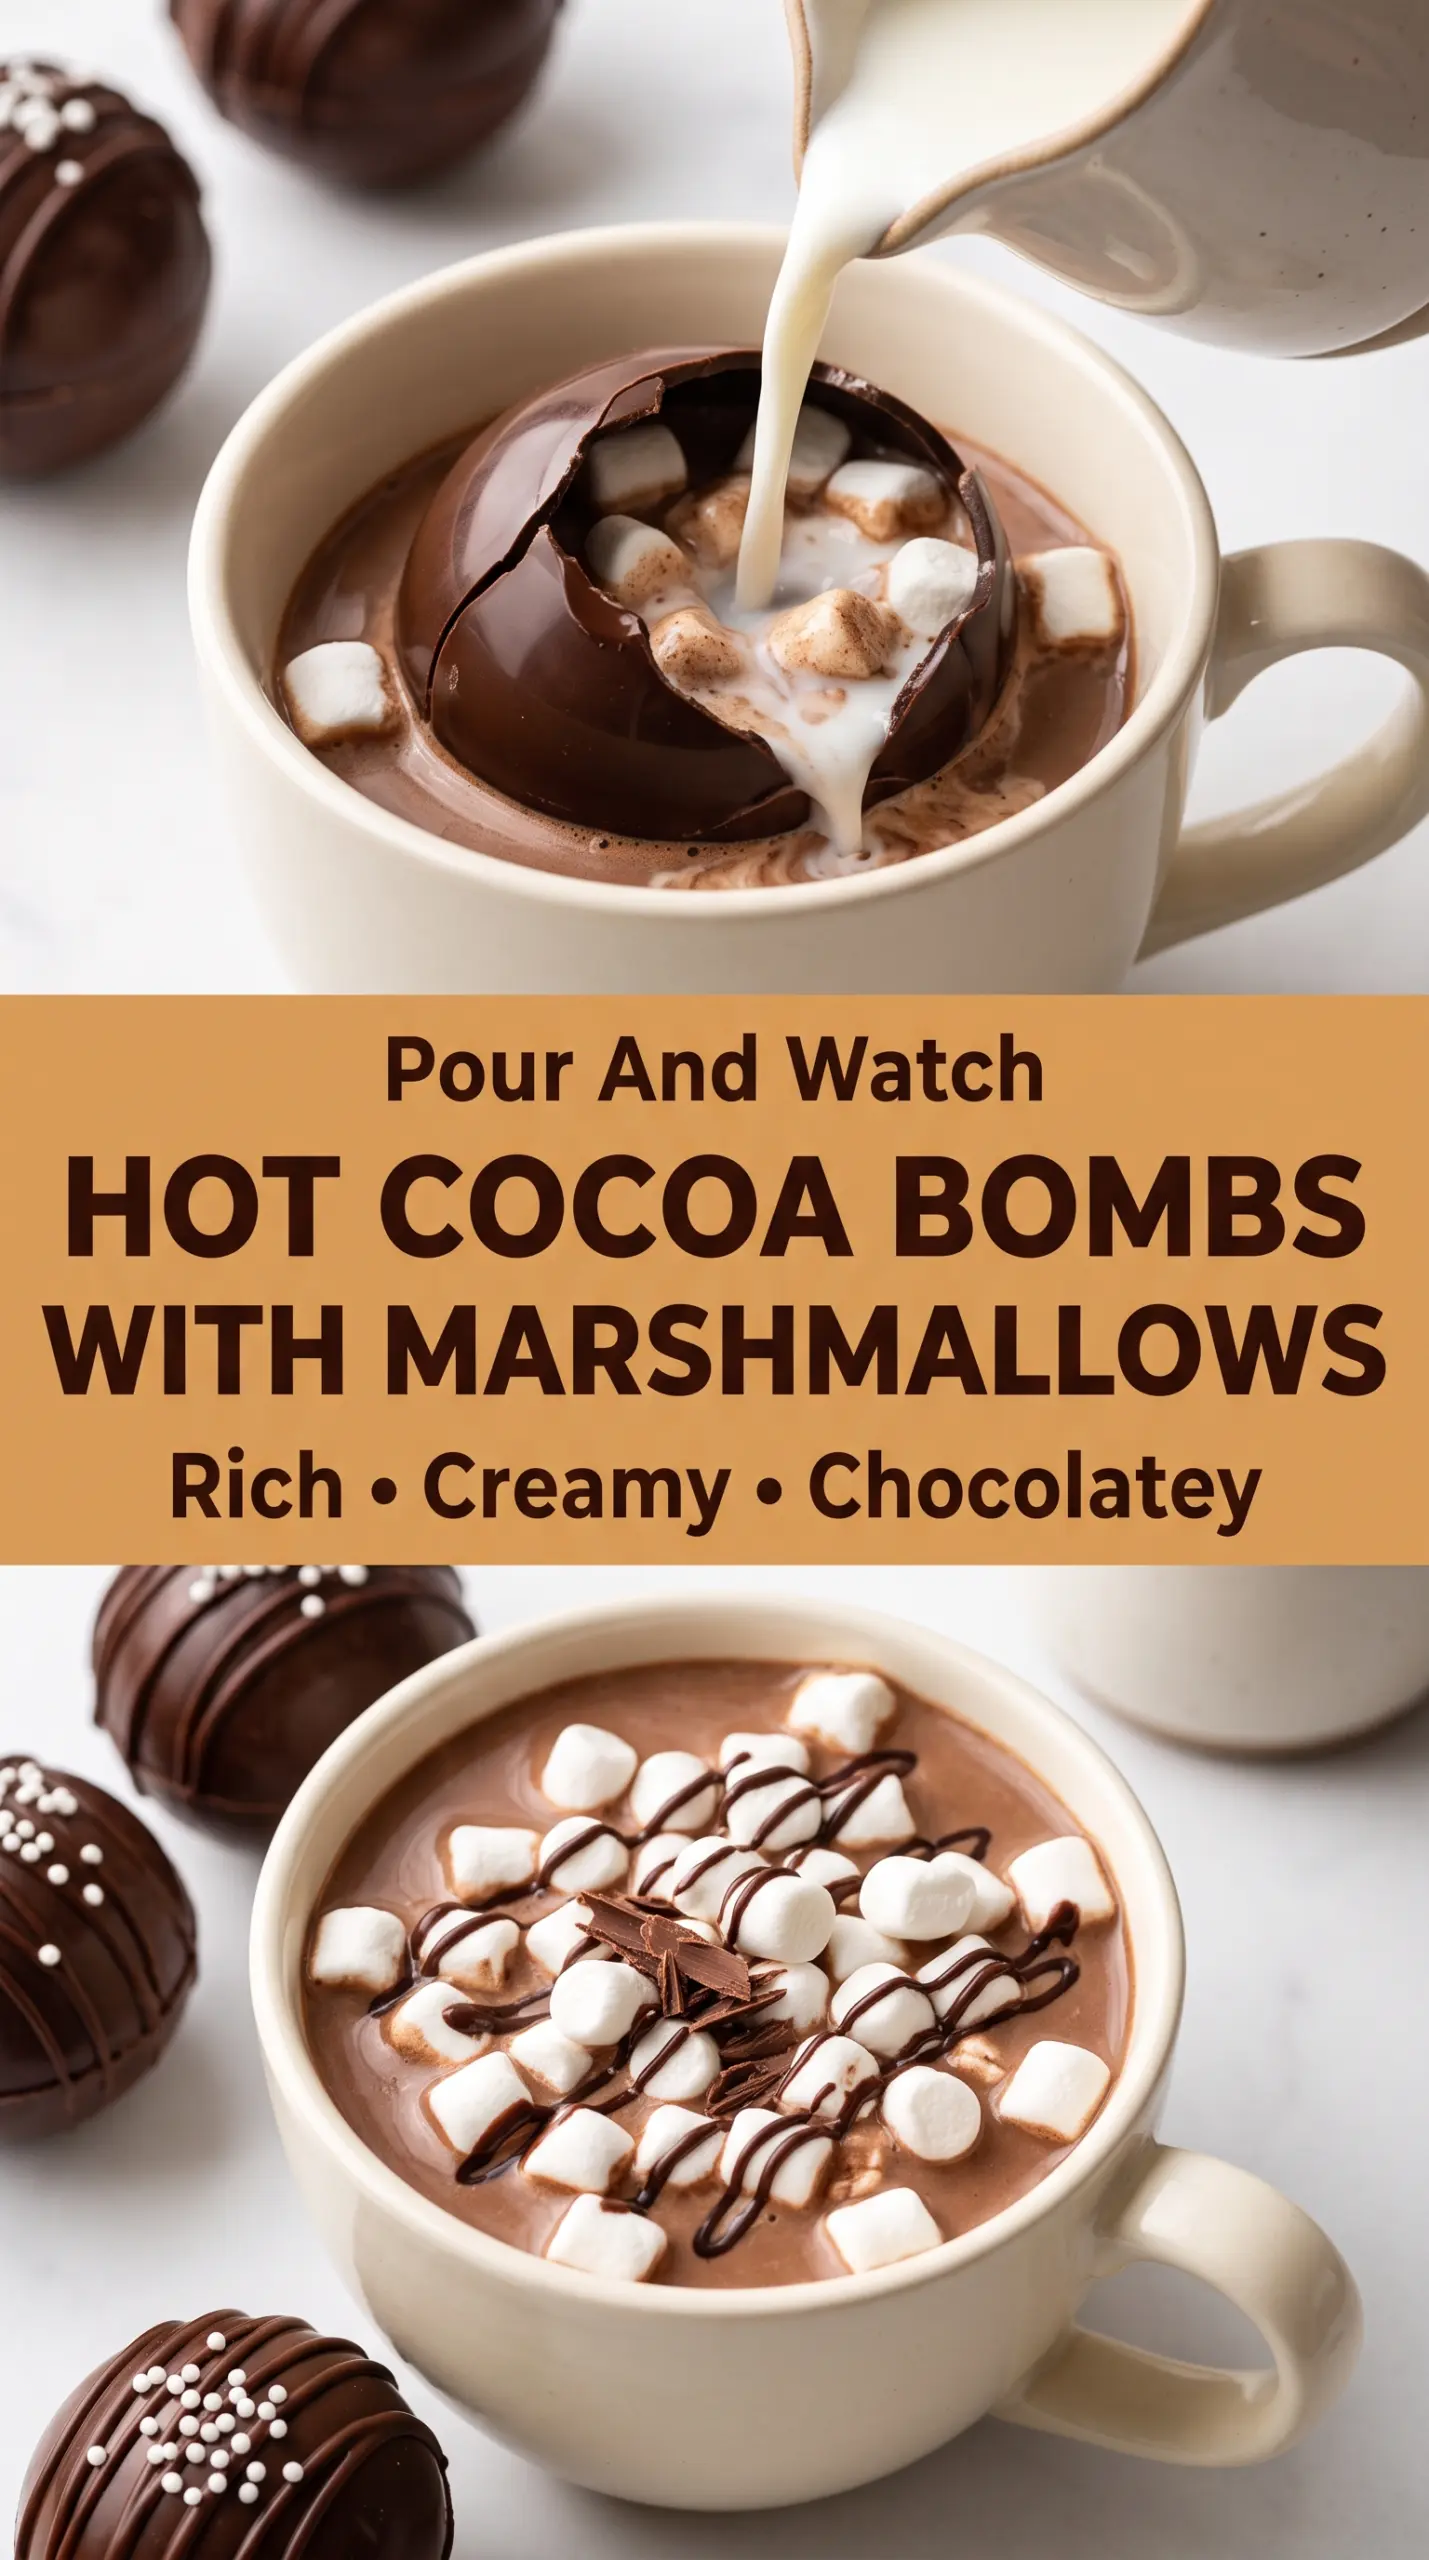
Hot Cocoa Bombs with Marshmallows
Ingredients
Equipment
Method
- Melt the semi-sweet chocolate in a microwave-safe bowl in 20-second intervals, stirring between each interval, until completely smooth and glossy.
- Spoon melted chocolate into six 2½-inch silicone half-sphere molds and spread evenly up the sides for full coverage.
- Chill the molds for 10 minutes until the chocolate shells are firm to the touch.
- Inspect for thin or weak spots, brush on a second thin chocolate layer where needed, then chill again until firm.
- Pop the hardened chocolate shells carefully out of the molds without cracking.
- Fill each shell half with 1 tbsp hot cocoa mix and about 2 tbsp mini marshmallows.
- Warm the edge of an empty chocolate shell briefly against a warm plate, then immediately place it over a filled half.
- Seal the edges gently by pressing just until they adhere, smoothing with a small amount of melted chocolate if any seams show.
- Drizzle each cocoa bomb with melted white chocolate for a contrasting finish.
- Add chocolate sprinkles before the white chocolate drizzle sets.
- Place one hot cocoa bomb in a large mug and slowly pour about 1 cup hot milk over it, watching the shell melt open.
- Stir thoroughly until the chocolate and cocoa mixture dissolve into the milk, then serve immediately.