
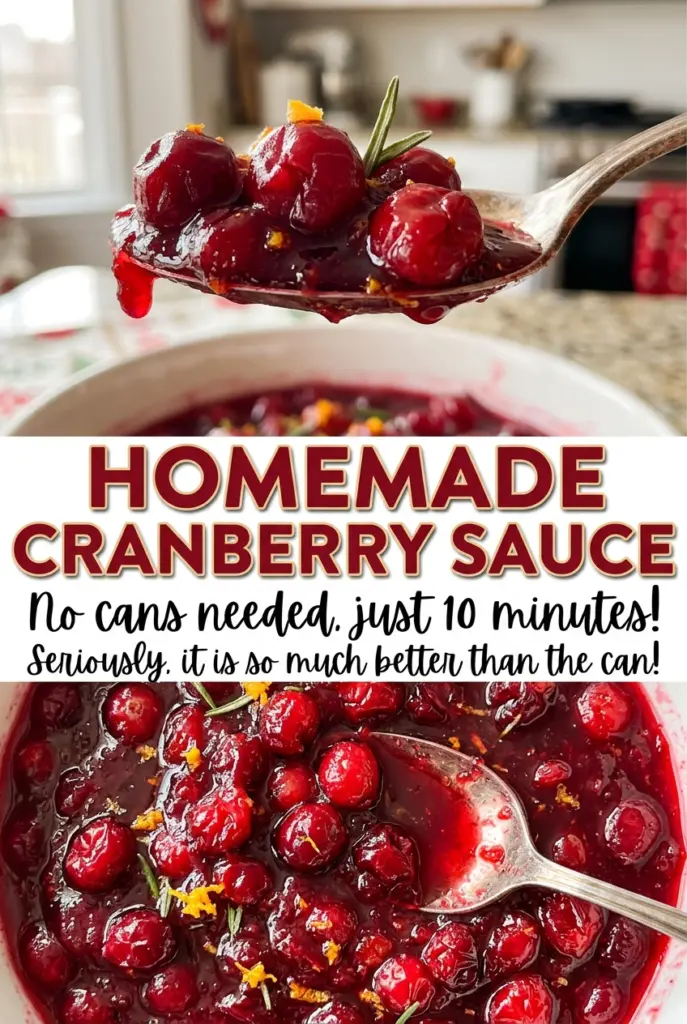
As the sugar dissolves into bubbling water, the saucepan looks almost too plain to become cranberry sauce. Then the berries go in, the skins begin to pop, and the liquid turns a deep ruby red. I like this homemade cranberry sauce because it keeps the ingredient list short and gives the cranberries room to taste like themselves.
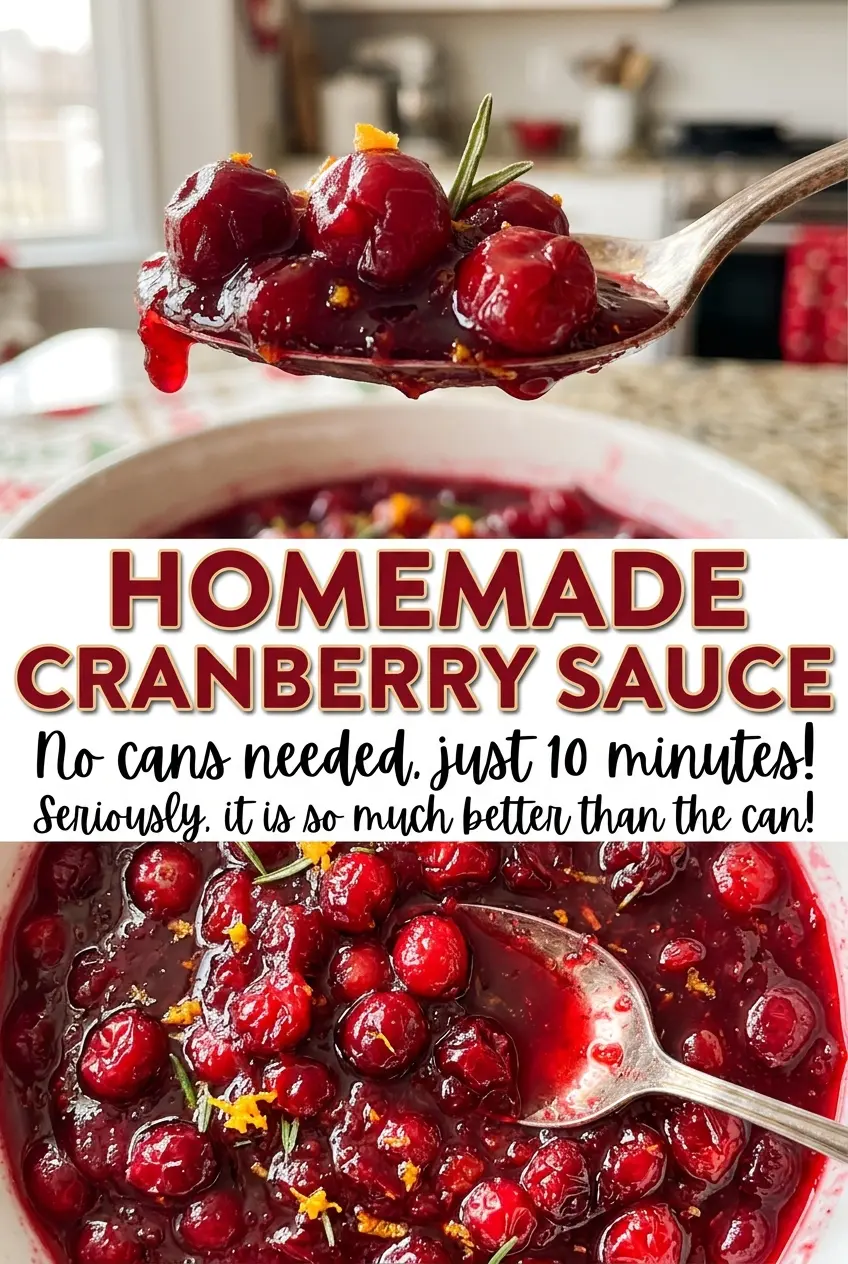
The order matters: dissolve the sugar before adding the berries, then let the mixture simmer uncovered. That gives the cranberries time to burst while some of the liquid cooks away. Don’t expect a firm, spoonable sauce while it’s still hot; it thickens as it cools, and the berries don’t all need to disappear into a purée. You’ll end up with a glossy sauce that holds a little berry texture.
Kitchen Note
I sort through the cranberries while I rinse them, before they go anywhere near the saucepan. Pull out any stems or soft berries then; once the fruit is simmering, it’s much harder to spot them.
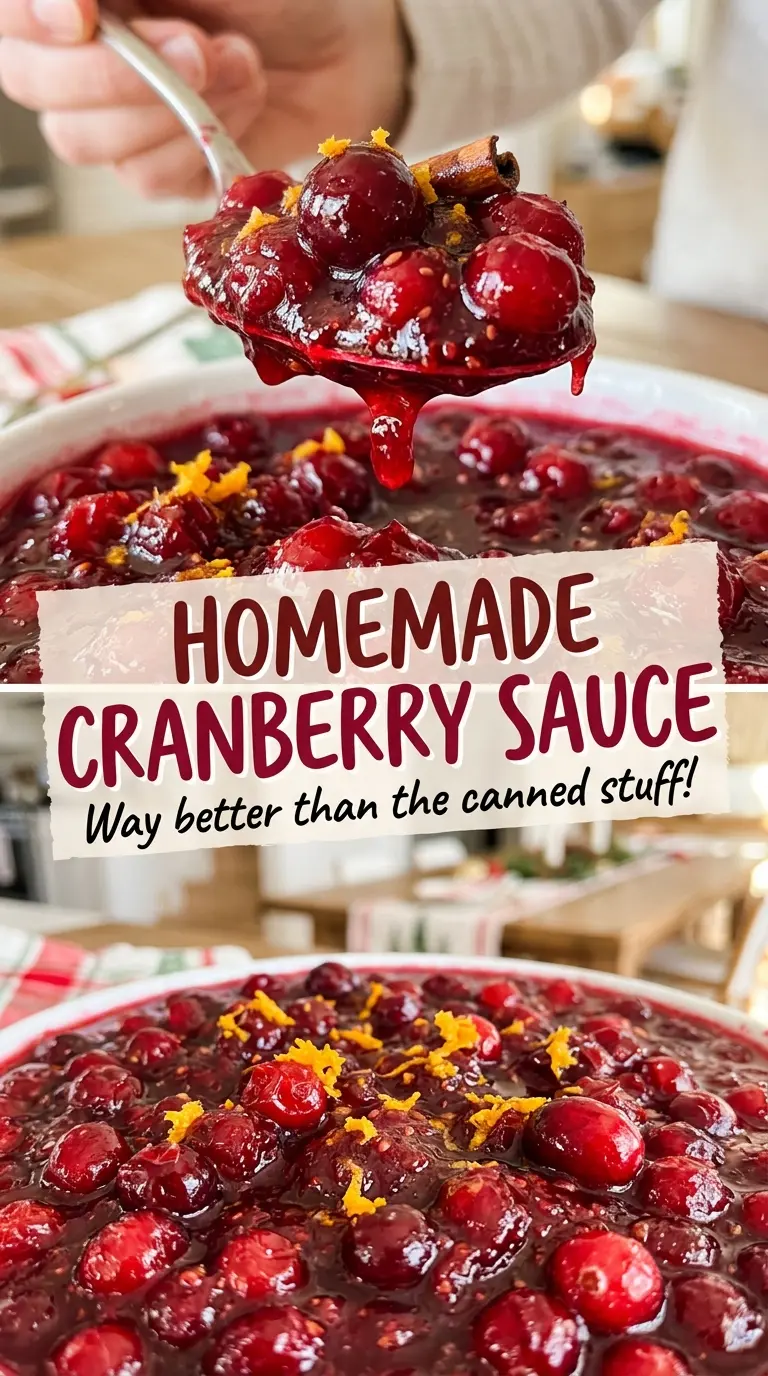
Save this homemade cranberry sauce for a simple stovetop batch with whole berries and a glossy, spoonable finish.
Why the Cranberries Go Into a Syrup That’s Already Boiling
Starting with water and sugar gives the fruit a sweet liquid to cook in from the moment it hits the pan. Stirring first also lets you see when the sugar has dissolved, rather than trying to judge it through a pot full of berries. That small bit of order makes the simmer easier to read: once the cranberries are added and the mixture returns to a boil, you can lower the heat and watch the fruit change.
The uncovered simmer does two jobs at once. The cranberries soften and burst, releasing their juices, while some of the liquid evaporates. A covered pan would trap more steam, so keep the saucepan uncovered and stir occasionally. You’re not aiming to cook every berry into a smooth mass; most should burst, with a few whole berries left to give the finished sauce some character. This is a short, hands-on process, not a sauce that needs constant stirring or a long reduction.
What the Three Ingredients Bring to Cranberry Sauce
- Cranberries — They give the sauce its tartness, color, and berry texture. Fresh or frozen both work here, so choose a bag that’s in good condition; expensive berries aren’t necessary. Rinse and pick them over before cooking, removing any stems or berries that look soft or damaged. Frozen cranberries are a practical choice when fresh ones aren’t available.
- Granulated sugar — It sweetens the sharp cranberries and dissolves cleanly into the water at the start. The standard bagged kind is fine; there’s no need for specialty sugar. I stick with granulated sugar for this version instead of swapping in another sweetener, which would change the taste and the balance of the sauce.
- Water — Water creates the liquid base in which the sugar dissolves and the berries simmer. Plain water keeps the cranberry flavor clear, and tap water is fine if it tastes good to drink. There’s no useful upgrade to buy for this ingredient.
From Dissolved Sugar to a Thickened, Berry-Studded Sauce
Dissolve the Sugar Before the Fruit Goes In
Combine the water and sugar in a 2-quart saucepan over medium-high heat. Stir as the mixture comes to a boil, giving the sugar time to dissolve. Look for a clear syrup without visible sugar grains on the bottom of the pan. Add the cranberries only after the sugar has dissolved.
Simmer Until Most of the Cranberries Burst
Add the cranberries and bring the mixture back to a boil, then reduce the heat to medium-low. Simmer uncovered for 10 to 12 minutes, stirring occasionally. The berries will pop and soften, and the liquid will take on a deeper color as the sauce thickens. If the mixture is still loose, keep your eye on the clock and the fruit; the cue is that most berries have burst, not that every berry has vanished.
Let the Sauce Set Off the Heat
Remove the saucepan from the heat and let the sauce cool for at least 30 minutes. It will thicken more as it cools, so don’t judge the final consistency straight from the burner. The sauce should become more cohesive while still showing pieces of cranberry. Give it time before deciding it needs more cooking.
Two Cranberry Choices for the Batch You Have
A Fresh-Cranberry Batch
Use fresh cranberries when you have them and want to sort through the berries before they go into the pan. Rinse and pick them over, then cook them in the same sugar-and-water base. The finished sauce has the same bright cranberry character, with the final texture depending on how many berries burst during the simmer.
A Frozen-Cranberry Batch
Frozen cranberries are an easy alternative when fresh berries aren’t on hand. Use the same amount and the same saucepan method, and let the mixture return to a boil after adding the fruit before lowering the heat. The sauce still gets its color and tartness from the cranberries; follow the burst-and-thicken cues rather than expecting every bag to behave identically.
Storage and Reheating
- Refrigerator: Transfer the cooled sauce to a covered container and refrigerate it within 2 hours of cooking. Keep it for 3 to 4 days; it will be firmer and more set when cold.
- Freezer: It freezes well for about 2 to 3 months in an airtight freezer-safe container. Leave a little room at the top, thaw it in the refrigerator, and stir before serving.
- Reheating: Warm it gently in a saucepan over low heat, stirring until hot. Avoid high heat or a hard boil, which can make the sauce reduce further and stick to the pan.
Questions That Come Up While Making Cranberry Sauce
Homemade Cranberry Sauce
Ingredients
Equipment
Method
- Combine the water and sugar in a 2-quart saucepan and bring to a boil over medium-high heat, stirring until the sugar dissolves.
- Add the rinsed and picked-over cranberries and return the mixture to a boil, then reduce the heat to medium-low and simmer uncovered for 10 to 12 minutes, stirring occasionally, until most of the cranberries have burst and the sauce has thickened.
- Remove the saucepan from the heat and let the sauce cool for at least 30 minutes; it will thicken more as it cools.