
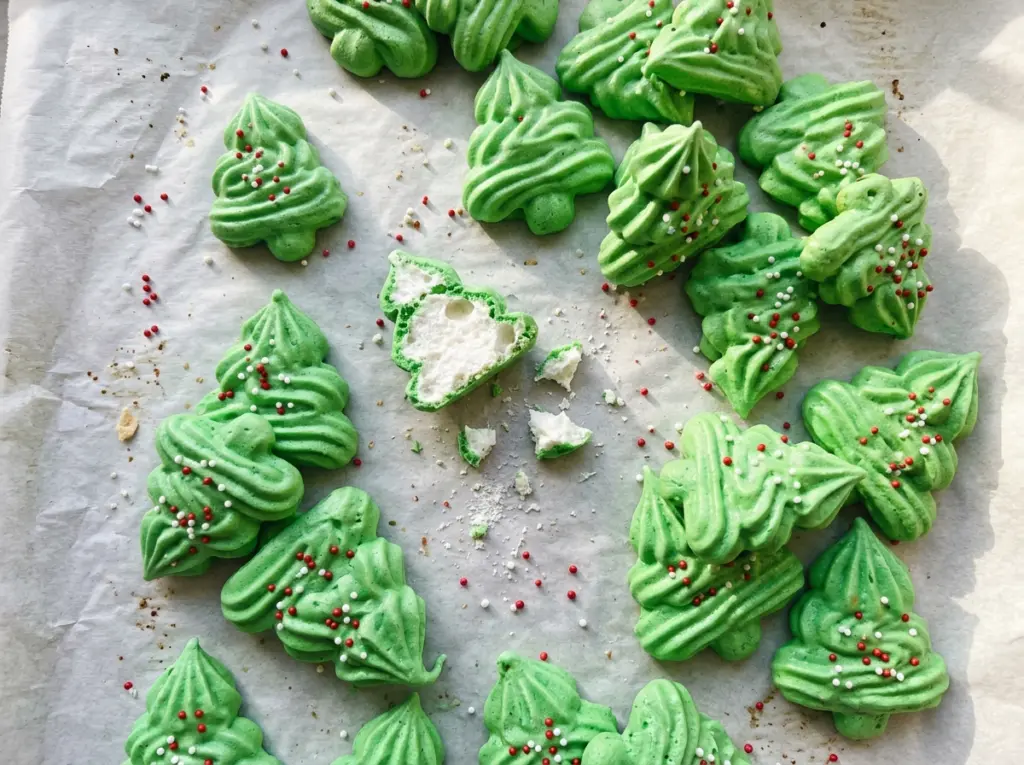
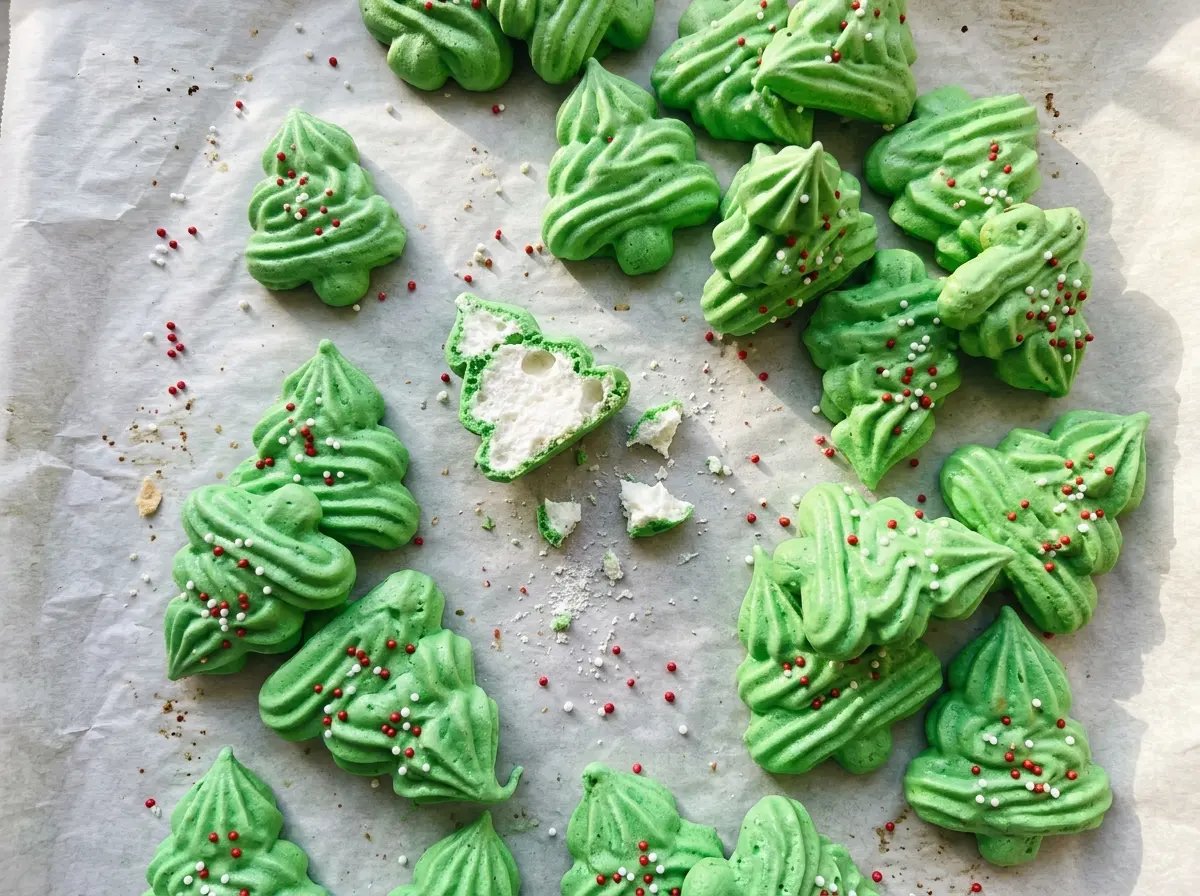
The first sign that these meringues are ready isn’t color; it’s how lightly they lift from the parchment. At 200°F, they dry slowly, staying pale while the outside turns crisp. I make these Christmas Tree Meringue Cookies when I want a piped holiday treat that looks festive without needing frosting or a decorating session afterward.
The texture depends on giving the sugar time to disappear into the egg whites. Add it a tablespoon at a time, then rub a little meringue between your fingers before you stop beating. If it still feels sandy, keep going; a glossy, smooth meringue pipes into sharper zigzags and bakes into delicate trees with a crisp bite.
Once the trees are piped and sprinkled, the oven does the slow work. They come out pale, dry, and light enough to lift cleanly from the paper.
Kitchen Note
Don’t open the oven door during the hour of resting time. Letting the trees cool inside with the door closed gives them a gentle finish instead of a sudden temperature change.
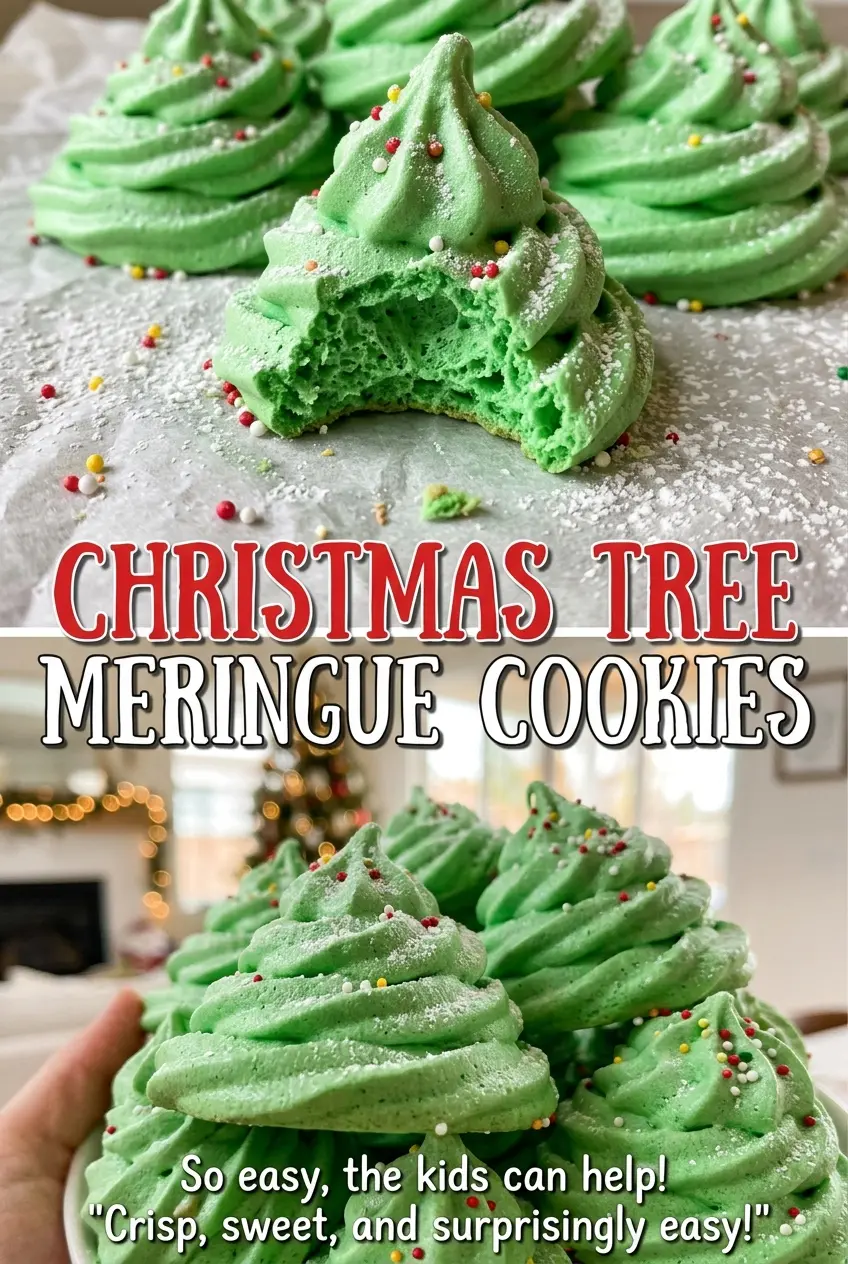
Save these Christmas Tree Meringue Cookies for a crisp, green holiday treat topped with festive sprinkles.
Why Gritty Meringue Makes a Less-Defined Christmas Tree
These trees are shaped with a star tip, so their ridges and narrowing zigzags are part of the finished look. Sugar that hasn’t dissolved can leave the meringue coarse, making it harder to pipe a clean shape and leaving a grainy feel in the baked cookie. The sugar isn’t just there for sweetness; it helps give the whipped egg whites their structure and crisp finish.
Adding it gradually gives each spoonful time to blend into the foam instead of sinking into a pool at the bottom of the bowl. Keep beating until the meringue looks glossy and feels smooth between your fingers. If the mixture feels gritty, it needs more mixing—not more food coloring or a longer time in the oven. A well-whipped meringue holds its shape at the piping stage, so the little points of the star tip stay visible on the finished trees.
What Egg Whites, Cream of Tartar, and Gel Color Each Contribute
- Egg whites — They create the airy foam that becomes the structure of each cookie. Bringing them to room temperature before whipping helps them reach volume more readily. Use a clean, grease-free bowl; even a trace of fat can interfere with whipping.
- Cream of tartar — This helps stabilize the egg-white foam as it grows. It’s a small part of the mixture, but it supports a meringue that can hold stiff peaks and keep its shape when piped.
- Granulated sugar — Regular granulated sugar gives the cookies their sweetness and crisp shell. Its crystals need to dissolve fully into the meringue, which is why a finer-textured sugar substitute isn’t necessary here and a coarse alternative could leave the mixture gritty.
- Vanilla extract — Vanilla rounds out the sweetness without competing with the green color or holiday sprinkles. Since it’s mixed in after the meringue is whipped, beat it in just until the tint and extract are evenly distributed.
- Green gel food coloring — Gel coloring gives the meringue a clear green shade without adding much liquid. Liquid coloring can thin the foam more readily, so gel is the better choice for keeping the piped ridges distinct.
- Holiday sprinkles — A light scattering adds color and a little crunch on top. Put them on after piping, while the meringue is still soft enough for them to stay in place.
From Stable Egg Foam to Pale, Crisp Trees
Build the Foam Before Adding Sugar
Start with a clean, grease-free bowl, then beat the room-temperature egg whites with the cream of tartar on medium-low until foamy. Increase the mixer to medium-high and continue until soft peaks form. The foam should look white and airy, with peaks that bend over rather than standing straight. Adding sugar before this stage makes it harder to judge how the whites are developing.
Beat Until the Meringue Is Smooth and Stiff
Add the granulated sugar one tablespoon at a time, beating well between additions. Once all the sugar is in, keep beating until the mixture looks glossy and holds stiff peaks. Rub a little between your fingers; it should feel smooth, not sandy. If you can still feel crystals, continue beating before moving on.
Tint, Pipe, and Decorate the Trees
Beat in the vanilla and green gel coloring until the meringue is evenly tinted. Fit a piping bag with a large star tip and pipe trees about 2 inches tall onto the parchment-lined baking sheet. Make each zigzag narrower as you move toward the top so the shape tapers like a tree. Add the holiday sprinkles before the surface dries.
Dry Slowly, Then Let the Oven Do the Cooling
Bake at 200°F for 1 1/2 to 2 hours, watching for meringues that feel dry and lift cleanly from the parchment without browning. If they still cling to the paper, they need more time to dry. Turn off the oven when they’re ready and leave them inside for 1 hour with the door closed. Let them cool completely before storing so trapped warmth doesn’t create condensation.
Three Easy Ways to Change the Look of These Meringues
Make a White Christmas Tree
Leave out the green gel coloring and pipe the same tapered tree shapes. The cookies keep their vanilla flavor and crisp texture, but the white finish gives the sprinkles more contrast.
Pipe Star-Shaped Cookies
Use the same large star tip to pipe individual 2-inch stars instead of narrowing zigzags. They’ll have the same crisp meringue texture, though you’ll lose the recognizable tree silhouette.
Skip the Sprinkles for a Clean Finish
Leave the piped trees plain for a smooth, uncluttered look. The cookies will still be sweet and crisp, but they won’t have the extra color or crunch from the topping.
Storage and Reheating
- Refrigerator: Skip refrigeration; moisture in the fridge can make the crisp meringues sticky.
- Freezer: Freeze fully cooled cookies in an airtight container for up to 1 month. Thaw them in the closed container at room temperature to limit condensation on the surface.
- Reheating: These cookies don’t need reheating. Avoid microwaving them, which can make the texture soft and sticky.
Questions That Come Up While Making Christmas Tree Meringues
Christmas Tree Meringue Cookies
Ingredients
Equipment
Method
- Heat the oven to 200°F.
- Line a large rimmed baking sheet with parchment paper.
- In a clean, grease-free bowl, beat the egg whites and cream of tartar with an electric mixer on medium-low until foamy.
- Increase to medium-high and beat until soft peaks form.
- Add the sugar 1 tablespoon at a time, beating well between additions.
- Continue beating until the meringue is glossy and holds stiff peaks with no graininess when rubbed between your fingers.
- Beat in the vanilla and green gel food coloring until evenly tinted.
- Transfer the meringue to a piping bag fitted with a large star tip.
- Pipe 2-inch-tall tree shapes onto the prepared sheet, making each zigzag narrower toward the top.
- Decorate with the sprinkles.
- Bake for 1 1/2 to 2 hours, until the meringues feel dry and lift cleanly from the parchment without browning.
- Turn off the oven and leave the meringues inside for 1 hour with the door closed.
- Cool completely.