
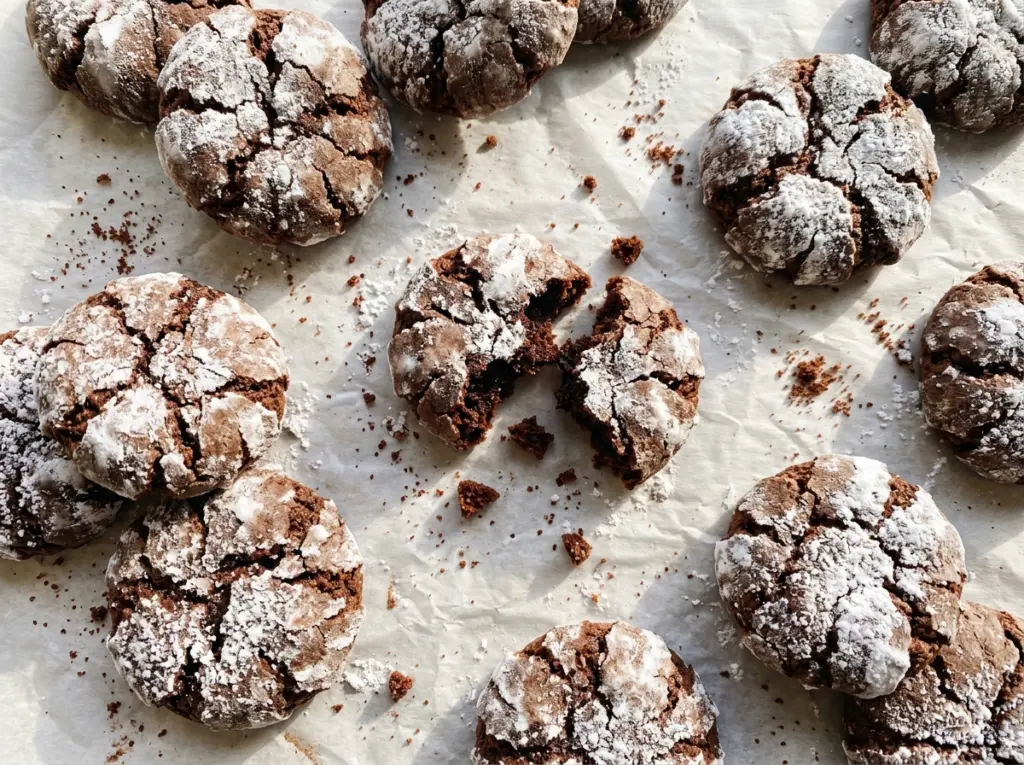
The first thing you notice is the way the cocoa dough turns glossy when the oil goes in. It looks more like thick chocolate paste than cookie dough, and that’s exactly how these Chocolate Crinkle Cookies with Powdered Sugar begin. The eggs loosen it, the flour brings it together, and a good chill makes it firm enough to roll without a sticky mess.
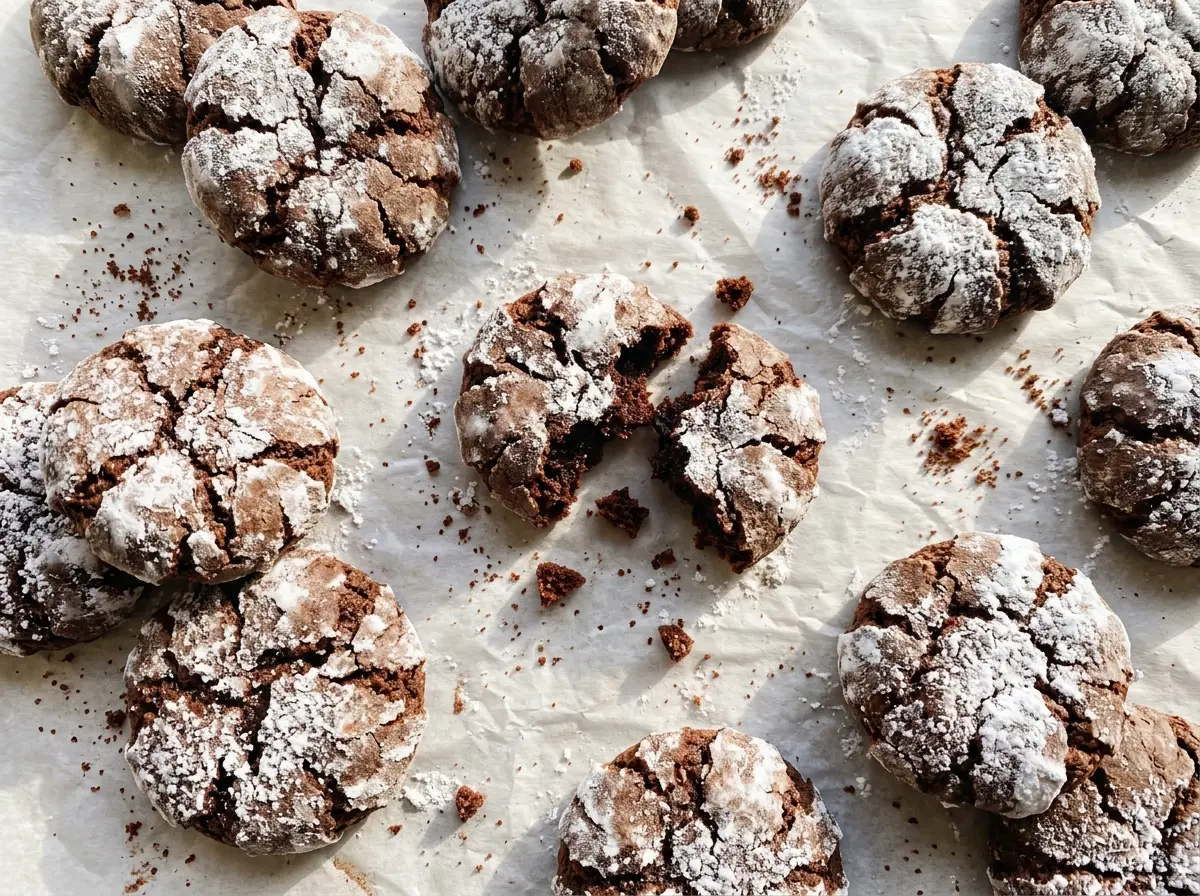
I like this version because it skips creaming butter and sugar, so there’s no waiting for butter to soften or worrying that you’ve beaten too much air into the dough. The dough goes straight from a cocoa-rich mixture to the refrigerator, then into powdered sugar and a hot oven. When the cookies puff and split, the dark tops show through the white coating, with soft centers and edges that hold their shape.
Kitchen Note
Let the baking sheet cool before you line it for another batch. A hot sheet starts softening the next round of dough before it has a chance to bake evenly.
Save these Chocolate Crinkle Cookies with Powdered Sugar for a bake with soft cocoa centers and those snowy, crackled tops.
Why These Crinkles Start With Oil, Not Softened Butter
Most familiar cookie dough starts by beating butter and sugar together. This one takes a different route: cocoa and granulated sugar are stirred with oil, then eggs go in before the flour. There’s no creaming stage, and the dough starts out thick, dark, and glossy instead of pale and fluffy.
That difference matters when you’re deciding what texture to expect. The cookies bake up tender and chocolate-forward rather than airy, and the dough’s rise in the oven creates the splits that give crinkle cookies their name. The powdered sugar makes those cracks stand out against the cocoa surface; it isn’t meant to turn the whole cookie into a dry, sugary shell.
Resist the urge to treat this like a scoop-and-bake drop cookie. The dough needs time to firm up before shaping, and the portions need space on the pan so they can puff and crack without running into one another. Once you know the dough is meant to be chilled and substantial, its thick texture feels like a good sign—not a problem to fix with extra flour.
What the Cocoa, Oil, and Sugar Each Bring to the Dough

- Unsweetened cocoa powder gives the dough its deep chocolate taste and dark color. Use a cocoa powder you enjoy eating; there’s no need to buy a premium brand, but sweetened drinking cocoa isn’t a substitute because it changes the balance of the dough.
- Neutral oil keeps the cocoa mixture smooth and brings moisture without adding a strong flavor. Canola and vegetable oil both work; another neutral oil can stand in, but strongly flavored oils will come through in the finished cookies.
- Granulated sugar sweetens the cocoa and helps create the dough’s thick base. Keep it granulated here rather than swapping in powdered sugar, which has a different texture and often contains starch.
- Eggs bind the cocoa mixture and flour into a rollable dough. Use large eggs as listed, and add them one at a time so each one blends into the mixture before the next goes in.
- All-purpose flour gives the cookies enough structure to hold their puffed shape. For a gluten-free batch, replace it with a cup-for-cup gluten-free baking flour blend; the crumb may be a little more delicate, so let the cookies settle on the sheet before moving them.
- Powdered sugar makes the pale coating that contrasts with the cracks. A generous roll gives the dough room to show through as it expands; sift out any damp clumps in the bowl so they don’t stick to the outside unevenly.
- Vanilla and baking powder round out the chocolate and help the cookies rise. Pure vanilla extract is a good choice when you have it, while standard baking powder is fine as long as it’s fresh enough to lift the dough.
From Glossy Cocoa Dough to Cracked Tops
Stir the cocoa and oil into a smooth base
Whisk the granulated sugar and cocoa powder together in a large bowl, then stir in the oil until no dry cocoa patches remain. The mixture will look thick and glossy, not fluffy. Beat in the eggs one at a time, then stir in the vanilla; adding the eggs separately helps the dense cocoa mixture become smooth rather than streaky. If cocoa clings to the sides of the bowl, scrape it down before moving on.
Fold in the dry ingredients without overworking
In a separate bowl, whisk the flour, baking powder, and salt so the leavener is distributed through the flour. Stir that mixture into the cocoa base just until the last dry streaks disappear. The dough will be sticky and heavy, and that’s normal; adding extra flour to make it feel like standard cookie dough can leave the baked centers dry. Cover the bowl before it goes into the refrigerator.
Chill until the dough can be rolled
Refrigerate the covered dough for at least 4 hours, until it feels firm enough to scoop and shape. The wait makes the sticky mixture easier to portion and helps the rounded dough balls hold their form as you coat them. If the dough still feels too soft to roll cleanly, give it more time in the refrigerator rather than working flour into it. Heat the oven to 350°F while you prepare the pan.
Coat, space, and bake in batches
Line one 18×13-inch rimmed baking sheet with parchment paper and put the powdered sugar in a shallow bowl. Scoop rounded tablespoon-size portions, roll them generously in the sugar, and set them about 2 inches apart. Bake in batches for 10 to 12 minutes, looking for puffed cookies with visible cracks, set edges, and soft centers; the middle shouldn’t look firm and dry. Let each batch rest on the sheet for 5 minutes, then transfer the cookies to a wire rack to cool.
Easy Ways to Adapt This Batch
Make a gluten-free batch
Use a cup-for-cup gluten-free baking flour blend in place of the all-purpose flour. The chocolate flavor and crackled look stay familiar, though the cookies may be a touch more fragile; give them their full 5-minute rest on the baking sheet before transferring.
Make a half batch
Halve every ingredient, including the eggs: use 2 large eggs. You’ll have fewer cookies to bake and can still follow the same mixing, chilling, coating, and baking method. Keep the portions about the same size so the 10-to-12-minute bake window still makes sense.
Freeze portions for a later bake
After chilling, scoop the dough into portions and freeze them on a parchment-lined tray until firm, then pack them airtight. Thaw the portions in the refrigerator until they’re scoopable, roll them in powdered sugar, and bake as usual. Coating just before baking keeps the sugar from getting damp while the dough is stored.
Storage and Reheating
- Refrigerator: Store cooled cookies in an airtight container for up to 5 days. The powdered sugar coating may soften slightly as the cookies sit.
- Freezer: Freeze fully cooled cookies in an airtight container, with parchment between layers, for up to 2 months. Thaw at room temperature before serving.
- Reheating: These cookies don’t need reheating; bring frozen cookies to room temperature instead. Heating can soften the powdered sugar coating and make the edges less pleasant.
Questions That Come Up While Baking These Crinkles
Chocolate Crinkle Cookies with Powdered Sugar
Ingredients
Equipment
Method
- In a large bowl, whisk together the granulated sugar and cocoa powder.
- Stir in the oil until evenly combined.
- Beat in the eggs one at a time, then stir in the vanilla extract.
- In a separate bowl, whisk together the flour, baking powder, and salt.
- Stir the dry mixture into the cocoa mixture just until no dry streaks remain.
- Cover the bowl and refrigerate the dough for at least 4 hours, until firm enough to roll.
- Heat the oven to 350°F.
- Line one 18x13-inch rimmed baking sheet with parchment paper.
- Put the powdered sugar in a shallow bowl.
- Scoop the chilled dough into rounded tablespoon-size portions and roll each portion generously in the sugar.
- Arrange the dough balls about 2 inches apart on the baking sheet.
- Bake in batches for 10 to 12 minutes, until the cookies are puffed and cracked with set edges and soft centers.
- Let the cookies rest on the baking sheet for 5 minutes, then transfer them to a wire rack to cool.
- Let the baking sheet cool before lining it again for the next batch.