
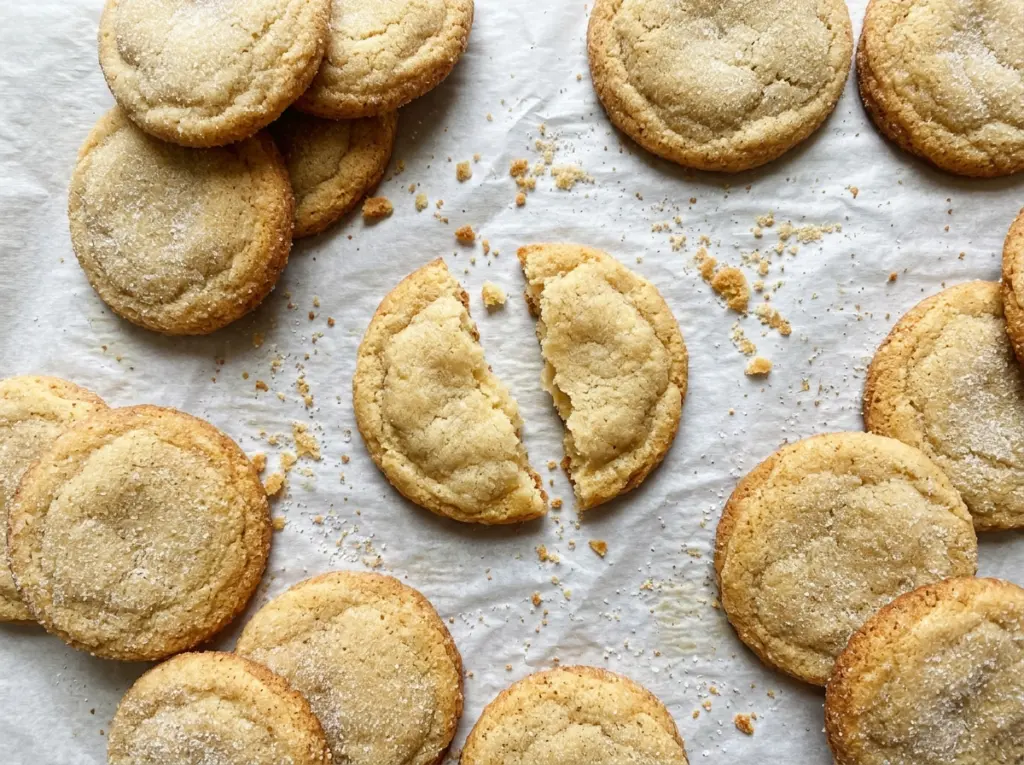
The butter doesn’t give much warning: the foam quiets, then the milk solids turn amber and the saucepan smells toasted and nutty. I stay close and stir often through those last minutes, because the difference between browned and scorched butter is a short one. Every bit of that fragrant butter goes into these brown butter sugar cookies.
Once the butter is browned, two tablespoons of water go back into it. Browning drives off some of the butter’s water, and adding water here helps keep the dough balanced instead of dry. I let the mixture cool until it’s no longer hot and has thickened slightly before whisking in the eggs; that gives the dough a smooth start.
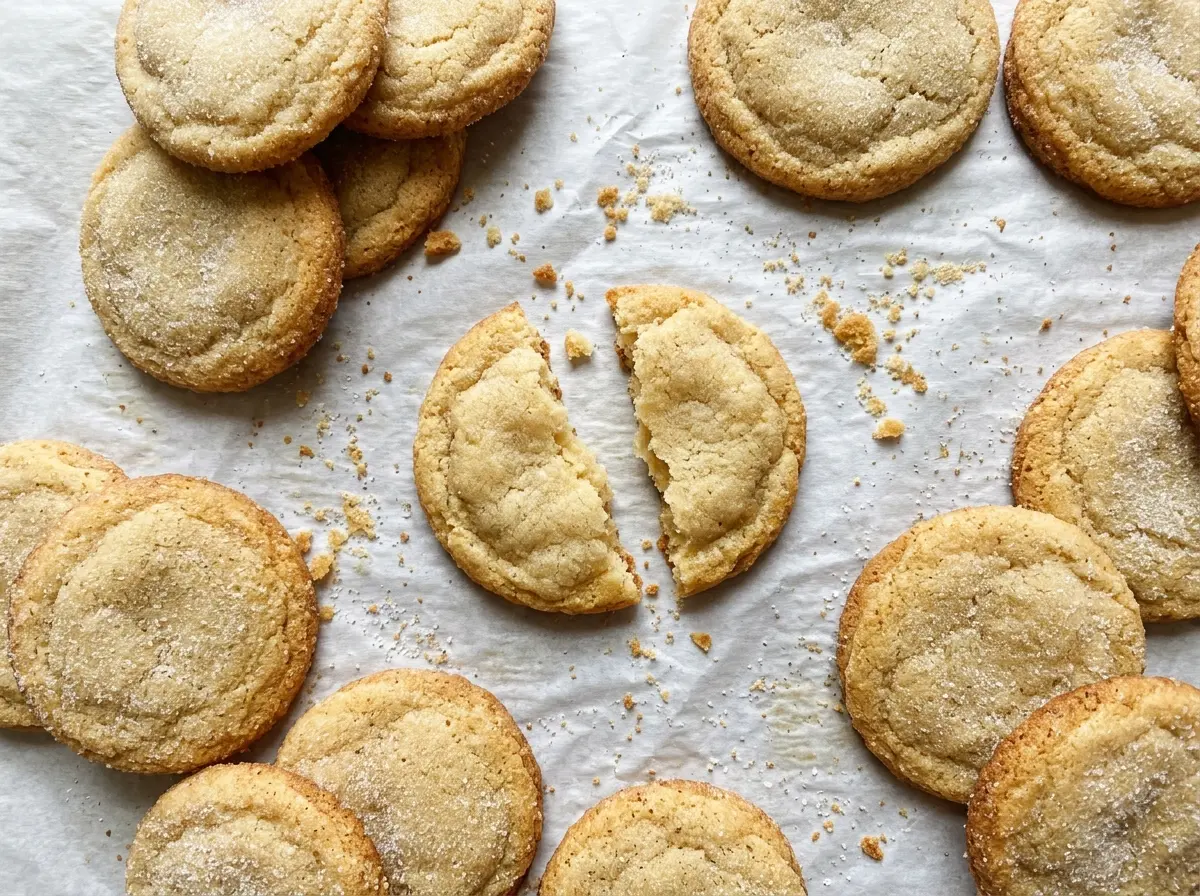
A short chill makes the dough firm enough to scoop and roll in sugar without a sticky struggle. The cookies bake until the edges are lightly golden and set, while the centers are still soft. After a few minutes on the baking sheets, they settle into tender-centered cookies with a fine, crisp sugar coating.
Kitchen Note
Don’t leave the browned bits behind when you pour the butter into the bowl. Those amber specks carry the toasted flavor through the whole cookie, so scrape them in along with the butter.
Save these brown butter sugar cookies for a bake when you want crisp sugar edges and a soft center, all from one bowl of browned butter.
Why Brown Butter Needs Water Back Before It Becomes Cookie Dough
Brown butter isn’t just melted butter with a deeper color. As it cooks, moisture evaporates while the milk solids toast, concentrating the butter’s nutty aroma but leaving less water behind than the dough would have with plain melted butter. Stirring water into the browned butter puts some of that moisture back before the flour is added. It’s a small step, but it helps the dough come together as a scoopable cookie dough rather than a dry, crumbly mass.
The egg and extra yolk help round out that texture. The white brings structure, while the yolk adds richness, which suits a cookie built around toasted butter. Granulated sugar keeps the dough’s sweetness clean and gives the outside its delicate coating. Chilling after mixing lets the flour hydrate and firms the butter, so the portions hold their shape as you roll them instead of smearing across your hands.
That balance is what makes the timing matter. The dough should be firm enough to scoop after its chill, but the baked centers should still look soft when the edges are set. They’ll continue to settle as they cool on the sheet, so waiting for the centers to look fully dry in the oven can take these past their best texture.
What the Butter, Sugar, and Extra Yolk Each Bring

- Unsalted butter — This is the flavor base, and browning it gives the cookies their toasted, nutty character. Use butter rather than a butter substitute here; the milk solids are what brown, and the recipe’s added water is calibrated for butter that has been cooked.
- Granulated sugar — The sugar mixed into the dough sweetens it without bringing the extra moisture of a brown sugar swap. The separate portion for rolling creates a fine, lightly crisp outside. Keep the two portions separate so the dough gets its full measure and the coating stays ready for shaping.
- Room-temperature egg and yolk — Using both gives the dough structure and richness, and room-temperature eggs whisk more smoothly into the cooled butter mixture. The yolk isn’t an accidental extra; leaving it out changes the dough’s texture.
- All-purpose flour, baking soda, and kosher salt — Flour gives the cookies their shape, while baking soda helps them spread and brown. Whisk these together before adding them so the leavener and salt don’t end up concentrated in one spot. All-purpose flour is the right choice for this dough; a different flour can change how much moisture it absorbs.
- Vanilla extract — Vanilla fills out the browned-butter flavor without competing with it. Use the extract you keep for baking; there’s no need for a specialty variety in a dough with such a clear butter note.
From Amber Butter to Cookies With Soft Centers
Brown the butter, then cool it down
Melt the butter in a medium saucepan over medium heat, stirring often for 5 to 8 minutes. Watch the milk solids rather than the clock alone: they should turn amber, and the butter should smell nutty. Pour the butter into a large heatproof bowl, stir in the water, and let it cool for about 20 minutes, until it’s no longer hot and has thickened slightly. If it’s still hot, give it longer before adding the eggs.
Whisk the dough and give it time to firm
Whisk 1 1/2 cups of the sugar into the cooled butter, then whisk in the egg, egg yolk, and vanilla until smooth. In a separate medium bowl, whisk the flour, baking soda, and salt, then stir that mixture into the butter mixture just until no dry flour remains. Stop there; working the dough after the flour disappears can make the cookies tougher. Cover and refrigerate for 45 to 60 minutes, until the dough is firm enough to scoop.
Roll, space, and bake both sheets evenly
Heat the oven to 350°F and line two 18×13-inch baking sheets with parchment. Put the remaining 1/4 cup sugar in a small bowl, scoop the dough into 1 1/2-tablespoon portions, and roll each portion into a ball before coating it in sugar. Arrange 12 cookies on each sheet, about 2 inches apart. Bake both sheets for 10 to 12 minutes, switching rack positions and rotating them front to back halfway through; pull them when the edges are lightly golden and set but the centers remain soft. Let them cool on the baking sheets for 5 minutes before moving them to a wire rack.
Two Small Changes for a Different Sugar Cookie Finish
Leave the tops uncoated
For a less sweet, more matte finish, skip rolling the dough balls in the reserved sugar. The cookies will still bake from the same dough, but you’ll lose the lightly crisp sugar shell on the outside.
Let the vanilla take a back seat
Omit the vanilla for a more direct browned-butter flavor. The cookies will taste less rounded and more focused on the toasted butter, while the dough still comes together with the same method.
Storage and Reheating
- Room temperature: Keep cooled cookies in an airtight container for up to 4 days. The sugar coating softens a little as they sit.
- Freezer: Freeze fully cooled cookies in an airtight freezer-safe container for up to 2 months. Thaw them at room temperature before serving.
- Reheating: These cookies are best at room temperature and don’t need reheating. If you warm them, use only a brief burst; too much heat can dry the edges before the centers soften.
Questions That Come Up While Making Brown Butter Sugar Cookies
Brown Butter Sugar Cookies
Ingredients
Equipment
Method
- Melt the butter in a medium saucepan over medium heat, stirring often, for 5 to 8 minutes, until the milk solids turn amber and smell nutty.
- Pour the butter and browned bits into a large heatproof bowl and stir in the water.
- Cool until no longer hot and slightly thickened, about 20 minutes.
- Whisk 1 1/2 cups of the sugar into the butter.
- Whisk in the egg, egg yolk, and vanilla until smooth.
- In a medium bowl, whisk together the flour, baking soda, and salt.
- Stir the flour mixture into the butter mixture just until no dry flour remains.
- Cover and refrigerate for 45 to 60 minutes, until firm enough to scoop.
- Heat the oven to 350°F.
- Line two 18x13-inch baking sheets with parchment paper.
- Put the remaining 1/4 cup sugar in a small bowl.
- Scoop the dough into 1 1/2-tablespoon portions, roll each into a ball, and coat in the sugar.
- Arrange 12 cookies on each baking sheet, spacing them about 2 inches apart.
- Bake both sheets for 10 to 12 minutes, switching their rack positions and rotating them front to back halfway through, until the edges are lightly golden and set while the centers remain soft.
- Cool on the baking sheets for 5 minutes.
- Transfer to a wire rack to cool completely.