
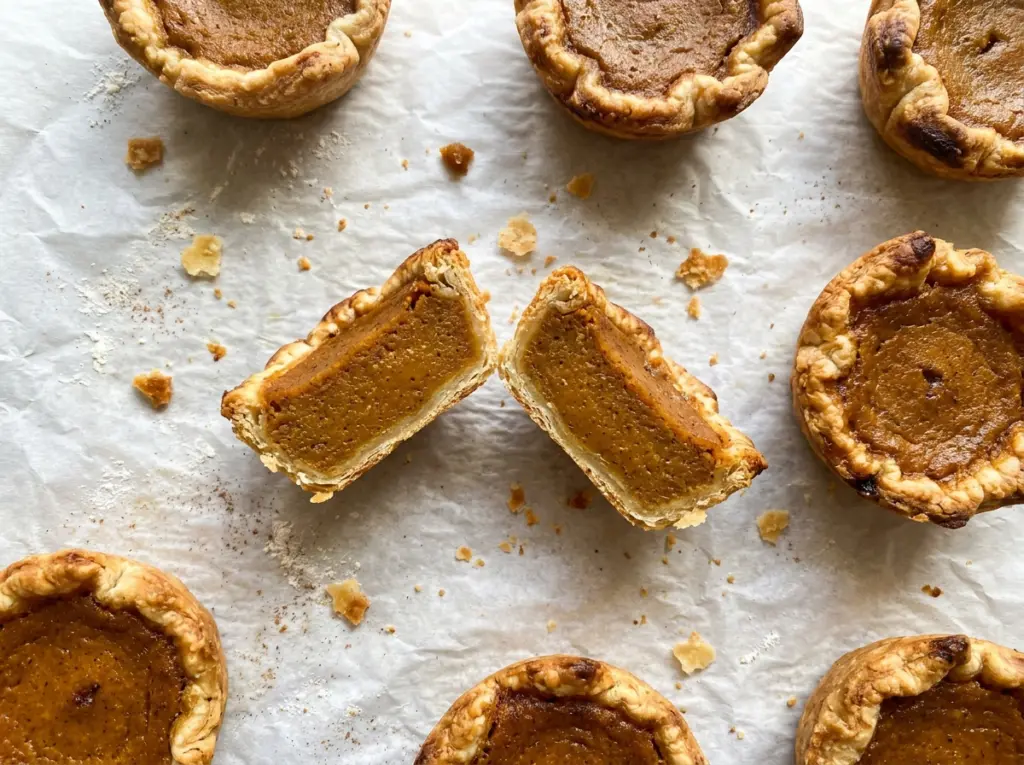
Cold butter should stay in visible little pieces when you cut it into the flour; if it smears into a paste, the crust can bake up dense instead of flaky. I keep the ice water close and add it slowly, stopping as soon as a squeeze makes the dough hold together. That small bit of restraint makes a difference in these air fryer mini pumpkin pies.
The filling is a simple pumpkin custard, and the foil pans make four individual pies that fit a basket-style air fryer. I like this approach when I want the golden crust and spiced pumpkin center of a full pie without cutting into a large one. The pies bake in small batches, so each gets room in the basket, and the flaky crust frames a smooth, gently spiced filling.
Kitchen Note
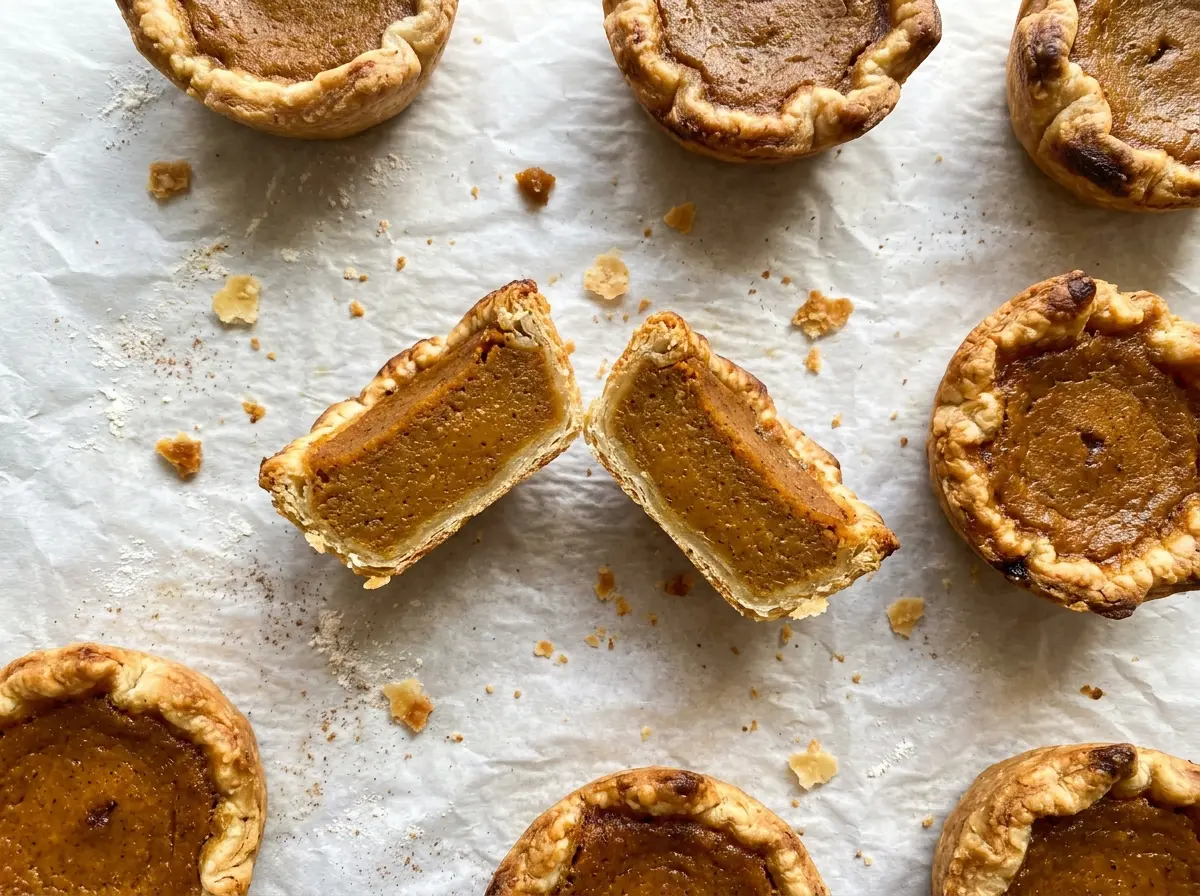
Add the ice water a teaspoon at a time once the first two tablespoons are in. The dough is ready when it holds together under pressure, not when it looks wet or smooth in the bowl.
Save these air fryer mini pumpkin pies for a small-batch dessert with flaky homemade crust and a smooth, warmly spiced filling.
Why a Golden Crust Doesn’t Tell You the Pumpkin Filling Is Set
Mini pies can fool your eyes: the exposed pastry browns quickly in the circulating heat, while the center of the pumpkin custard takes longer to cook through. If you wait for the filling to look completely firm, you risk taking the crust past golden. I use the center temperature as the reliable doneness cue rather than judging the whole pie by its color.
The basket matters, too. A 6-quart air fryer gives these small pans a compact baking space, but they still need to sit in a single layer without touching. Crowding blocks the airflow that helps the pastry brown, and it can leave the pies cooking unevenly. Depending on the basket, baking one pie at a time may be the better choice; leave room between pans and rotate the basket halfway through each batch. That way, the filling and crust get a fair chance to cook evenly instead of one pie sitting in a hot spot.
What Makes the Crust Flaky and the Pumpkin Filling Smooth
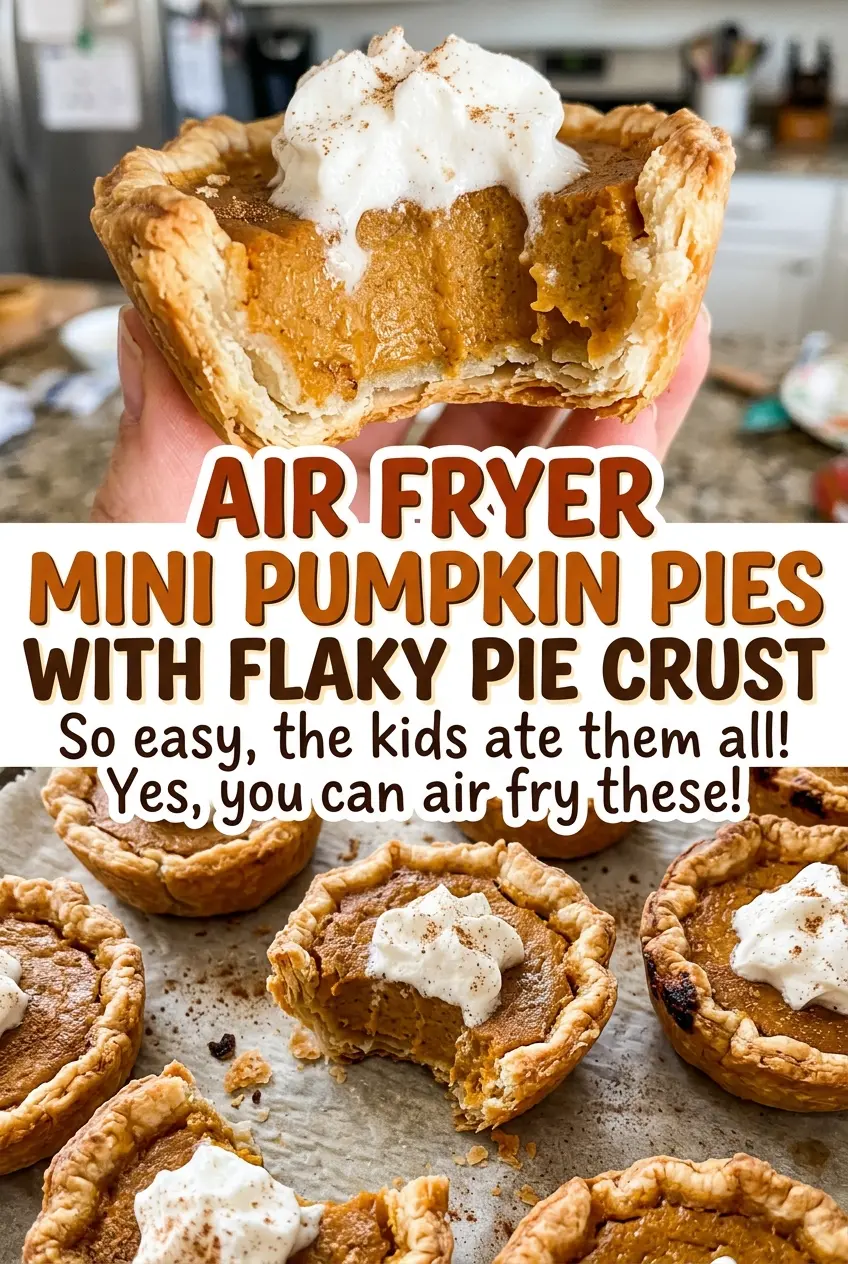
- All-purpose flour — Regular all-purpose flour gives the pastry enough structure to hold its shape in the small pans without making the crust hard to handle. A standard store brand works well here; the important thing is measuring it without packing it down. For a gluten-free adaptation, see the variation below.
- Cold unsalted butter — The butter creates the little pockets that make the crust flaky, so keep it cold and cut it into small cubes before working it into the flour. Unsalted butter lets the fine salt in the dough do its job without making the seasoning hard to predict. A familiar grocery-store butter is fine; it doesn’t need to be a specialty brand.
- Pumpkin puree — Choose plain pumpkin puree, not pumpkin pie filling. The puree gives the custard its pumpkin flavor and body, while pie filling comes pre-sweetened and spiced and would throw off the balance of the brown sugar and spices here.
- Light brown sugar and warm spices — Packed light brown sugar adds sweetness and a mild molasses note. Cinnamon leads the spice blend, with ginger and nutmeg adding background warmth; fresh, fragrant spices make more difference than buying an expensive brand.
- Large egg and evaporated milk — Together, these turn the pumpkin mixture into a custard that sets while keeping a smooth, creamy texture. Evaporated milk is concentrated, unsweetened milk, not sweetened condensed milk; use the right can so the filling doesn’t become too sweet or thick.
From Pea-Size Butter Pieces to Set Mini Pumpkin Pies
Cut the Butter In and Chill the Dough
Whisk the flour, granulated sugar, and fine salt in a medium bowl. Cut in the cold butter with a pastry blender until the pieces are pea-size, then toss in the ice water. Add up to one more tablespoon a teaspoon at a time only if needed, until the dough holds together when pressed. Shape it into a disk, wrap it, and refrigerate it for at least 30 minutes so it’s easier to roll and shape.
Shape the Four Pastry Shells
Dust the work surface with the reserved flour and divide the chilled dough into four portions. Roll each portion into a 6-inch round, turning the dough as you work so it doesn’t stick to the counter. Fit each round into a 4-inch foil mini pie pan, then trim and crimp the edges. If a round tears, press the dough back together gently rather than stretching it to force it into place.
Whisk a Smooth Pumpkin Custard
In a medium bowl, whisk the pumpkin puree with the brown sugar, cinnamon, ginger, nutmeg, and fine salt. Whisk in the egg and evaporated milk until the filling looks smooth and evenly combined. Scrape the bottom and sides of the bowl as you whisk so no streaks of egg or spice remain. A few seconds of extra mixing here is easier than trying to correct uneven filling after it has been divided.
Bake Until the Center Reaches Temperature
Preheat a 6-quart basket-style air fryer to 325°F. Divide the filling among the crusts, leaving about 1/4 inch of space at the top, and place one or two pans in the basket in a single layer without touching. Air-fry each batch for 18 to 24 minutes, rotating the basket halfway through; the crust should be golden and the center of each pie should reach 160°F. Set the pans on a rack to cool for at least 30 minutes before serving.
Two Simple Ways to Adapt These Mini Pumpkin Pies
Make the crust gluten-free
Use a cup-for-cup gluten-free baking blend in place of both portions of all-purpose flour. The dough may be more delicate and less stretchy, so handle it gently as you roll and fit it into the pans; the pumpkin filling remains the same.
Let cinnamon lead the spice blend
For a gentler, cinnamon-forward filling, use less ginger and nutmeg while keeping the cinnamon. The pumpkin comes through more clearly, and the custard still has a warm, familiar spice note.
Storage and Reheating
- Refrigerator: Refrigerate leftovers within 2 hours, covered, and enjoy within 3 to 4 days. The custard will firm up and the crust will soften a little.
- Freezer: Freeze fully cooled pies in their foil pans, wrapped tightly, for up to 1 month. Thaw them in the refrigerator; the crust may lose some of its crispness.
- Reheating: These are good chilled, so reheating isn’t necessary. If you warm them, the crust can brown further before the custard warms evenly.
Questions I Get About Air Fryer Mini Pumpkin Pies
Air Fryer Mini Pumpkin Pies With Flaky Pie Crust – Homemade Recipe
Ingredients
Equipment
Method
- Whisk the flour, sugar, and salt in a medium bowl.
- Cut in the butter with a pastry blender until the pieces are pea-size.
- Toss in 2 tablespoons ice water, adding up to 1 tablespoon more a teaspoon at a time until the dough holds together when pressed.
- Shape the dough into a disk, wrap it, and refrigerate for at least 30 minutes.
- Dust the work surface with the reserved 1 tablespoon flour, divide the dough into 4 portions, and roll each into a 6-inch round.
- Fit the rounds into four 4-inch foil mini pie pans, trim the edges, and crimp.
- Whisk the pumpkin, brown sugar, cinnamon, ginger, nutmeg, and salt in a medium bowl.
- Whisk in the egg and evaporated milk until smooth.
- Preheat a 6-quart basket-style air fryer to 325°F.
- Divide the filling among the crusts, leaving about 1/4 inch of space at the top.
- Air-fry the pies in a single layer, one or two at a time without touching, for 18 to 24 minutes per batch, rotating the basket halfway through; the crust should be golden and the center of each pie should reach 160°F.
- Cool the pies in their pans on a rack for at least 30 minutes before serving.
- Refrigerate leftovers within 2 hours.