
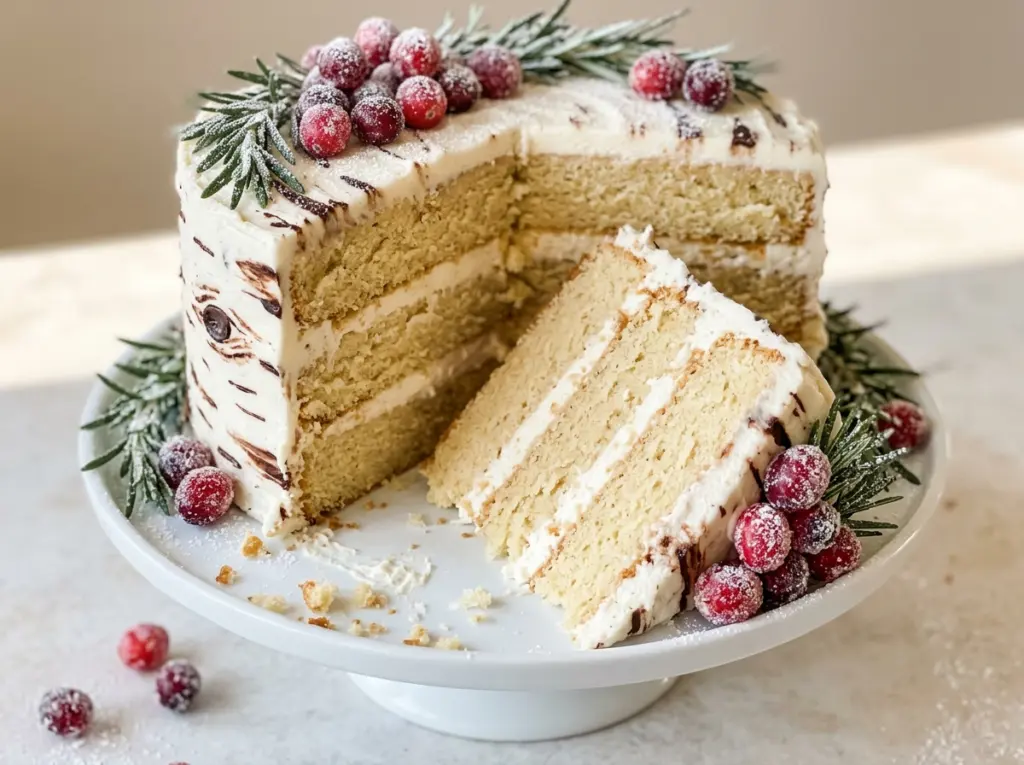
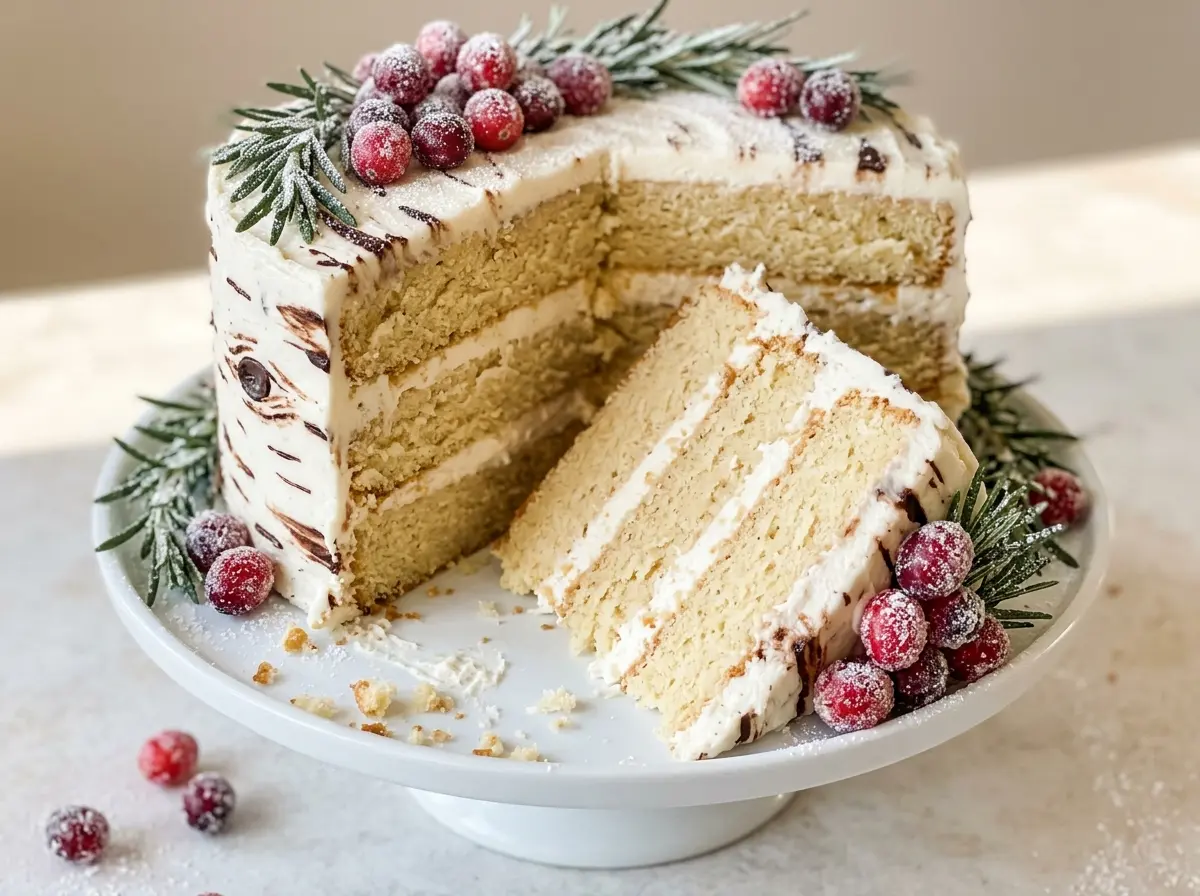
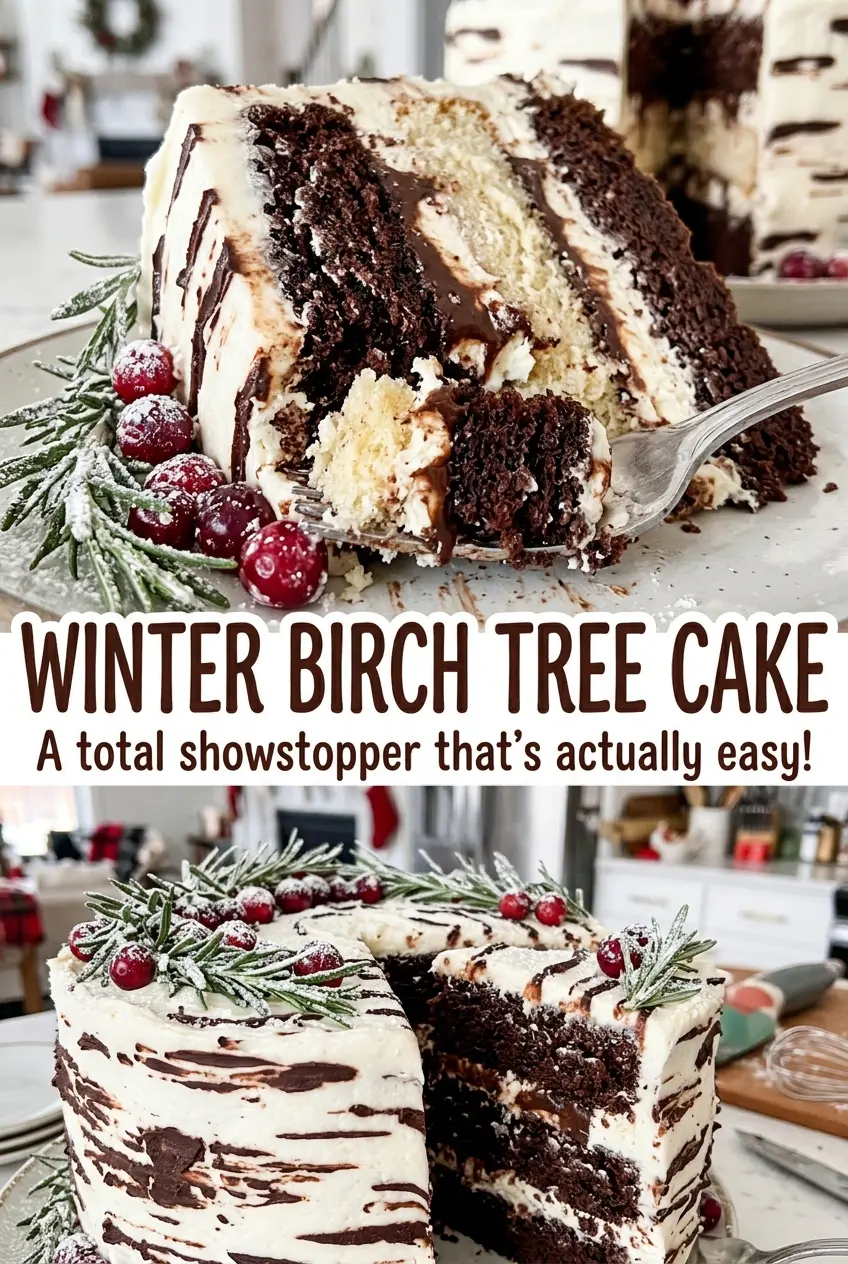
When the first cocoa branch goes onto the white frosting, it can look more like a stripe than a tree. A few angled strokes and short, uneven bark marks change that quickly, and leaving plenty of white around them gives this Winter Birch Tree Cake its snowy, quiet look. The cake itself is soft and light, with vanilla in both the layers and the buttercream.
I like the contrast between the tender oil-based cake and the rich frosting. The layers bake in two 8-inch pans, so there’s no complicated carving or shaping before decorating. Once the cake is cool, the crumb coat gives you a clean surface for the white frosting and the cocoa-brown birch details.
Kitchen Note
The crumb coat doesn’t need to look pretty; it just needs to cover the cake in a thin layer of frosting. Give it the full 20 minutes in the refrigerator before adding the final coat, and the crumbs stay tucked underneath instead of dragging through the white frosting.
Save the Winter Birch Tree Cake for a winter gathering or a birthday that calls for a snowy, hand-drawn finish.
The Flour-and-Milk Alternation That Keeps These Layers Tender
It’s easy to tip all the flour into the bowl at once and keep mixing until the batter looks smooth. That’s when a tender cake can turn tight: once flour is wet, extra mixing develops gluten. Adding the flour mixture in three additions, with milk between them, gives the ingredients a chance to combine without asking the mixer to work the batter for too long.
Starting and ending with flour matters, too. The first addition gives the batter structure before the milk goes in, and the last flour addition helps bring everything together without leaving a large pool of liquid behind. Keep the mixer on low for this part, and stop as soon as the batter looks even. A few seconds of restraint here is more useful than chasing a perfectly glossy batter.
The eggs and sugar get a separate, longer beat before any flour is added. Their pale, thick texture gives the layers lift, while the oil keeps the crumb soft. Those two stages do different jobs; don’t rush the egg-and-sugar beating, then overmix once the flour enters.
What Gives the Cake Its Soft Crumb and Birch-Bark Contrast
- All-purpose flour and baking powder — Flour gives the layers their structure, and baking powder helps them rise. Ordinary all-purpose flour works well here; for a gluten-free version, use a measure-for-measure baking blend intended for cakes, as described below.
- Eggs and granulated sugar — The eggs help build the batter’s volume when beaten with sugar. Room-temperature eggs blend more readily than cold ones, so let them sit out before mixing.
- Neutral oil, milk, and vanilla — Oil keeps the crumb moist without adding a noticeable flavor. Canola and vegetable oil both fit; whole milk adds richness, while 2% milk works as a practical swap with a slightly less rich result. Use a vanilla extract you enjoy, since its flavor comes through in both cake and frosting.
- Unsalted butter, powdered sugar, and heavy cream — Softened unsalted butter makes a smooth base for the frosting, and powdered sugar gives it body. Heavy cream makes the frosting creamy without thinning it as quickly as lower-fat milk would, so it’s worth keeping for this buttercream.
- Unsweetened cocoa powder — Cocoa gives the reserved frosting its brown bark color without making it as sweet as a chocolate frosting. A standard unsweetened cocoa powder is fine; there’s no need to buy a specialty brand for the small decorative amount.
From Pale Batter to a Clean Birch-Tree Finish
Build the Batter Without Overmixing
Heat the oven to 350°F, coat two 8-inch round cake pans with cooking spray, and line their bottoms with parchment. Whisk the flour, baking powder, and salt in a medium bowl. In a large bowl, beat the sugar and room-temperature eggs with a hand mixer on medium-high for 3 minutes, until the mixture is pale and thick. On low speed, add the oil and 2 teaspoons vanilla, then alternate the flour mixture and milk in three flour additions and two milk additions, starting and ending with flour; stop when just combined.
Bake Until the Centers Spring Back
Divide the batter evenly between the prepared pans and bake for 28 to 33 minutes. The tops should spring back when lightly pressed, and a toothpick inserted in the center should come out clean. If the center still looks wet or the toothpick shows batter, give the cakes more time rather than pulling them early. Cool them in the pans for 10 minutes, then turn them onto wire racks and let them cool completely, about 1 hour.
Make White and Cocoa Frosting
Beat the softened butter in a large bowl until smooth, about 2 minutes. Gradually beat in the powdered sugar, then add 1/4 cup heavy cream and the remaining 1 teaspoon vanilla; continue beating until fluffy. Transfer 3/4 cup frosting to a small bowl, then stir in the cocoa powder and the remaining 1 tablespoon heavy cream until smooth. Keep the cocoa mixture separate so it’s ready for the tree marks.
Layer, Coat, and Draw the Bark
Set one cake layer on a serving plate and spread about 1 cup white frosting over it, then place the second layer on top. Spread a thin coat of white frosting over the top and sides to seal in crumbs, and refrigerate the cake for 20 minutes. Cover it with the remaining white frosting. With a small offset spatula, add 3 to 5 slender cocoa-frosting trunks up the sides, then add angled branches and short, irregular horizontal marks; leave plenty of white showing so the pattern reads as birch bark.
Two Ways to Adapt the Look and Texture
Make a gluten-free version
Replace the all-purpose flour with a measure-for-measure gluten-free baking blend made for cakes, using the blend’s cup-for-cup directions. The layers may have a slightly different crumb, but the cake keeps its two-layer shape and the buttercream and cocoa decoration stay the same.
Keep the finish all white
Skip the cocoa frosting and use the reserved white frosting to finish the cake. You’ll lose the birch-bark contrast, but the same smooth two-layer cake becomes a simple snowy centerpiece.
Storage and Reheating
- Refrigerator: Keep the cake covered for up to 4 days. The frosting will be firm straight from the refrigerator.
- Freezer: Freeze individual slices wrapped tightly for up to 2 months; thaw them in the refrigerator while still wrapped.
- Reheating: This cake doesn’t need reheating. Let refrigerated slices sit at room temperature for 30 to 45 minutes before serving; microwaving can soften the frosting unevenly.
Questions That Come Up While Making This Birch Cake
Winter Birch Tree Cake
Ingredients
Equipment
Method
- Heat the oven to 350°F.
- Coat two 8-inch round cake pans with cooking spray and line the bottoms with parchment paper.
- Whisk the flour, baking powder, and salt together in a medium bowl.
- Beat the sugar and eggs in a large bowl with a hand mixer on medium-high speed for 3 minutes, until pale and thick.
- With the mixer on low, slowly beat in the oil and 2 teaspoons vanilla.
- Add the flour mixture in three additions, alternating with the milk in two additions, beginning and ending with the flour mixture; mix just until combined.
- Divide the batter evenly between the pans.
- Bake for 28 to 33 minutes, until the tops spring back when lightly pressed and a toothpick inserted in the centers comes out clean.
- Cool the cakes in the pans for 10 minutes.
- Turn the cakes out onto wire racks and cool completely, about 1 hour.
- Beat the butter in a large bowl until smooth, about 2 minutes.
- Gradually beat in the powdered sugar.
- Add 1/4 cup heavy cream and the remaining 1 teaspoon vanilla, then beat until fluffy.
- Transfer 3/4 cup frosting to a small bowl.
- Stir in the cocoa powder and the remaining 1 tablespoon heavy cream until smooth.
- Place one cake layer on a serving plate and spread about 1 cup white frosting over it.
- Top with the second layer.
- Spread a thin layer of white frosting over the top and sides to seal in crumbs.
- Refrigerate for 20 minutes.
- Cover the cake with the remaining white frosting.
- Use a small offset spatula to add 3 to 5 slender cocoa-frosting trunks up the sides, then add angled branches and short, irregular horizontal bark marks, leaving plenty of white frosting visible.