
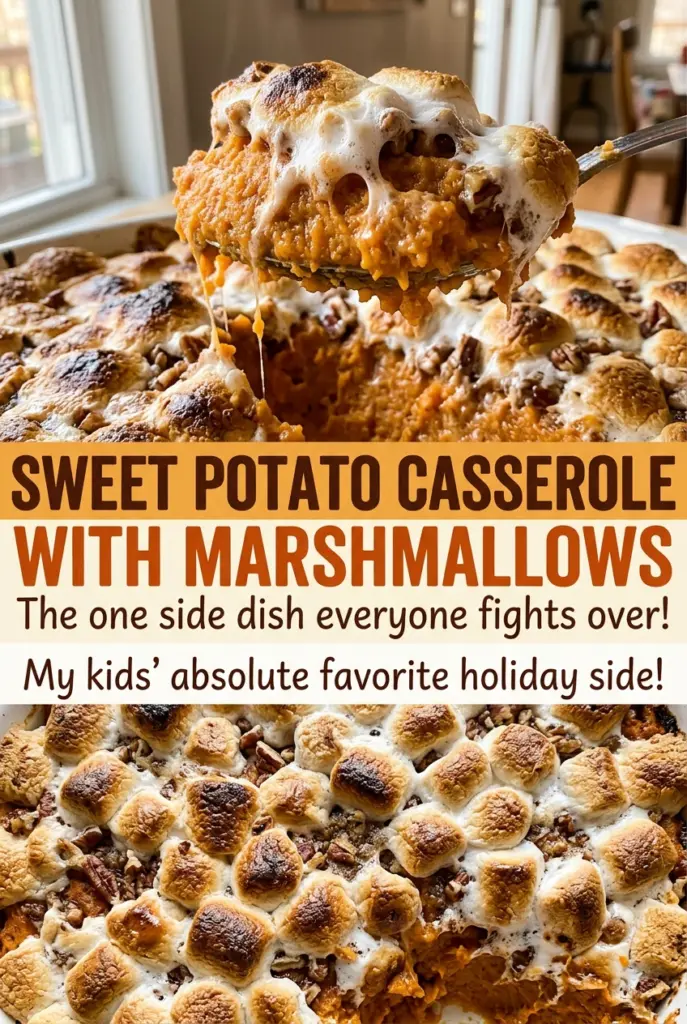
A fork slides into a roasted sweet potato, and the skin pulls away from the flesh with almost no effort. That’s the point when I know the filling will mash smoothly without getting watery. For this sweet potato casserole with marshmallows, I bake the potatoes whole rather than boiling them, then fold them together with butter, brown sugar, milk, eggs, and vanilla.
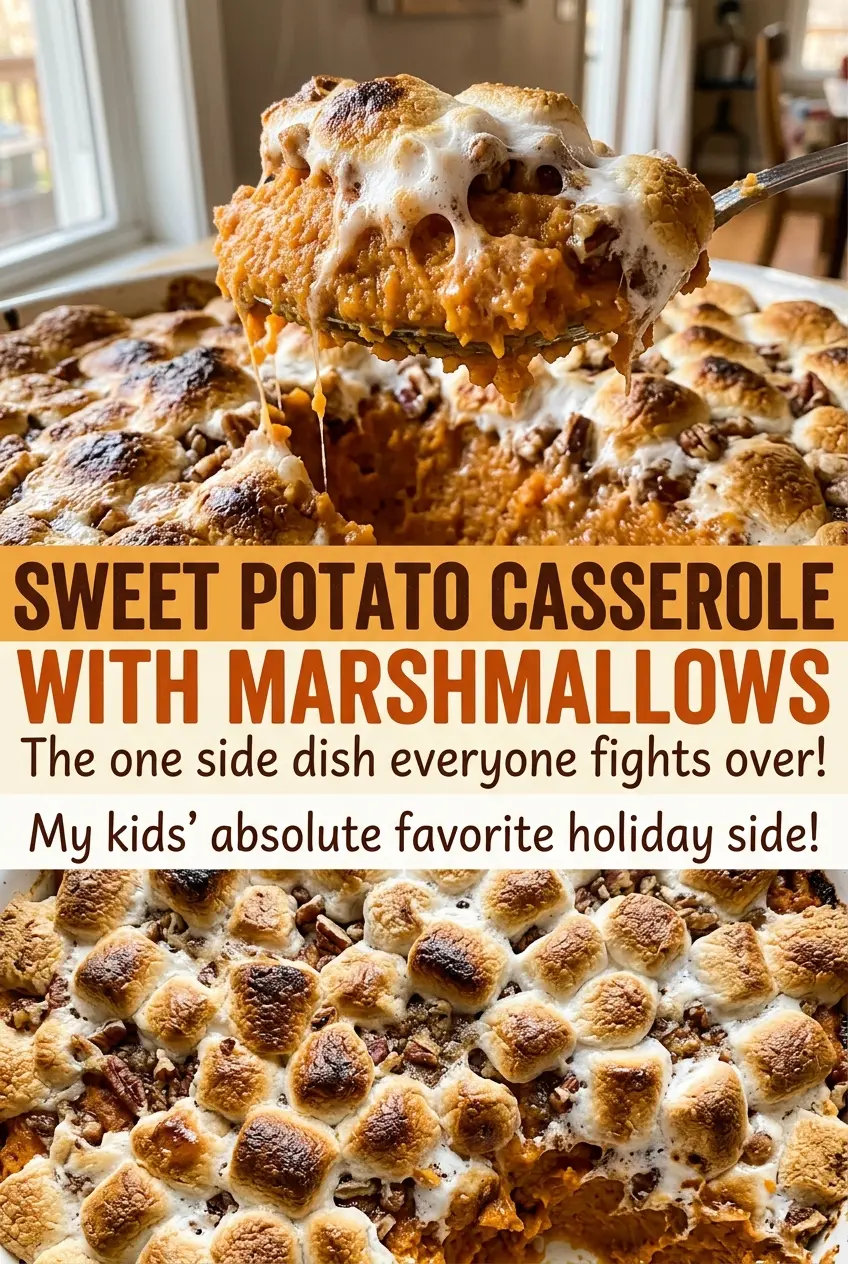
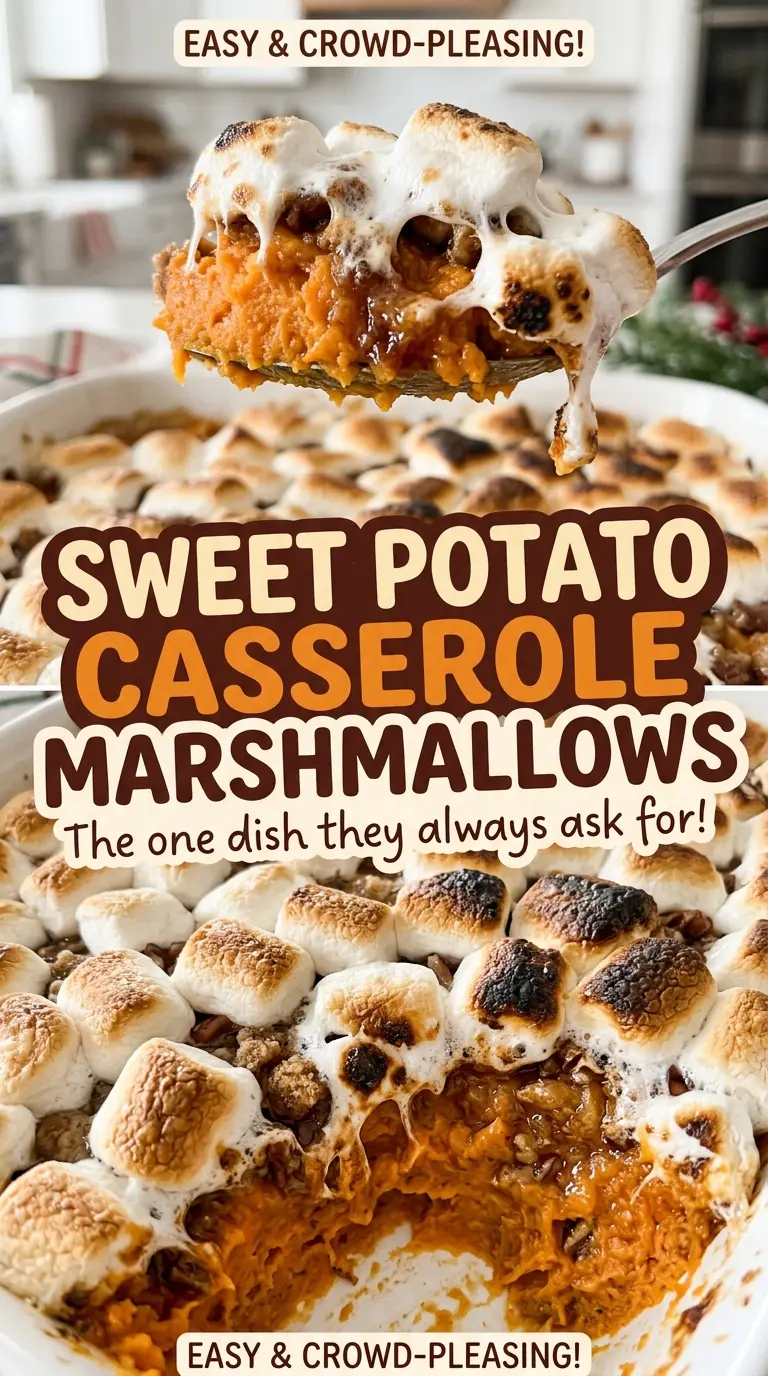
The filling goes into a buttered 9×13-inch dish for its own bake before the marshmallows go on. That gives the sweet potato mixture time to heat through and set before the topping starts to puff and brown. I like the contrast of a soft, lightly sweet center with a blanket of warm marshmallows on top. After a short rest, each scoop holds together while still feeling tender.
Kitchen Note
Stop mashing once the filling is evenly combined and the larger lumps are gone. If you keep beating it until it turns fluffy, the casserole loses that soft, substantial texture I want under the marshmallows.
Save this sweet potato casserole with marshmallows for a soft, buttery filling and a golden, puffy topping that goes on right before the final bake.
Why Roasted Sweet Potatoes Make a Better Casserole Than Boiled Ones
Sweet potatoes hold a lot of moisture, and boiling adds even more water to the pot. That extra liquid can leave a casserole that tastes muted and feels loose, even after the filling has been mashed. Baking the potatoes whole lets moisture escape gradually while the flesh softens inside its skin, so the finished mash has a fuller, more concentrated sweet potato flavor.
That difference matters because the filling already gets richness and moisture from butter, milk, and eggs. Starting with potatoes that aren’t waterlogged gives those ingredients room to make the mixture creamy without turning it soupy. The oven does the slow work while the skins protect the flesh, and you don’t need to peel or cut the potatoes before they cook. Look for potatoes that are similar in size when you can; they’re more likely to become tender at roughly the same point.
This approach also makes the first part of the recipe low-effort. Once the potatoes are in the oven, there’s no pot to watch and no water to drain. Let them cool until they’re comfortable to handle before peeling, then move on to mashing while the rest of the ingredients are ready.
What Keeps the Sweet Potato Filling Soft Without Making It Loose
- Sweet potatoes — They provide the body and natural sweetness, so their texture matters more than cosmetic perfection. Scrub the skins well before baking; the flesh is what goes into the filling, and the skins peel away after cooking.
- Unsalted butter — Melted butter gives the mash richness without leaving little cold pieces through the filling. Unsalted butter keeps the seasoning easier to control; a standard grocery-store brand works well here.
- Light brown sugar — Its gentle molasses note complements the potatoes without overpowering them. Pack it into the measuring cup so the amount is consistent, and break up any hard clumps before mixing.
- Whole milk — Milk loosens the mash and helps the ingredients blend into a spoonable filling. Whole milk gives it a rounded, creamy texture; lower-fat milk will make the filling less rich.
- Eggs — Lightly beaten eggs help the filling set as it bakes, so the casserole is tender but not just a bowl of puree. Beat them before they go into the warm potatoes to distribute them evenly through the mixture.
- Vanilla extract — Vanilla rounds out the sweetness and gives the filling a warm aroma. Use the extract you keep for baking; there’s no need for a premium bottle in a dish with this many other flavors.
- Miniature marshmallows — Their small size spreads across the casserole in an even layer and browns quickly. Fresh, soft marshmallows are easiest to scatter without clumps.
From Fork-Tender Potatoes to a Golden Marshmallow Cap
Roast the Potatoes Until a Knife Slides In Easily
Heat the oven to 400°F and grease a 9×13-inch baking dish with 1 tablespoon of the butter. Prick the sweet potatoes all over with a fork, set them on a rimmed baking sheet, and bake for 50 to 70 minutes. They’re ready when a knife slides easily into the thickest part. Let them cool until comfortable to handle before peeling, since hot skins are awkward to remove.
Mash the Filling While the Butter Melts
Reduce the oven temperature to 350°F and melt the remaining 7 tablespoons of butter. Transfer the peeled sweet potato flesh to a large bowl, then add the melted butter, brown sugar, milk, lightly beaten eggs, vanilla, and salt. Mash and stir until everything is well combined. Keep mixing just until the ingredients are evenly distributed rather than whipping air into the filling.
Bake the Filling Before Adding the Topping
Spread the sweet potato mixture evenly in the prepared baking dish. Bake for 25 to 30 minutes, until it’s hot throughout and the center reaches 160°F. The filling needs this bake before the marshmallows go on; putting the topping on too early would leave it in the oven while the casserole heats through. If the center hasn’t reached temperature yet, give the filling more time before topping it.
Toast the Marshmallows, Then Let the Dish Rest
Scatter the miniature marshmallows evenly over the hot casserole. Bake for 8 to 12 minutes, watching closely as they puff and turn golden; the color can deepen quickly near the end. Pull the dish when the topping is puffed and golden rather than waiting for a dark brown surface. Let the casserole rest for 10 minutes before serving so the filling can settle.
Three Small Changes That Shift the Texture or Sweetness
Make the casserole dairy-free
Replace the butter with dairy-free butter in the same amount and use unsweetened oat milk in place of the whole milk, keeping the same measure. Choose dairy-free miniature marshmallows for the topping. The filling will be a little less buttery, but it will still bake into a soft casserole.
Give the topping a lighter touch
For a less marshmallow-heavy bite, scatter the marshmallows with small gaps instead of making a solid blanket. More of the sweet potato filling stays visible, and each serving gets a mix of toasted topping and uncovered filling. Keep the topping in an even layer so it browns at a similar pace.
Use dark brown sugar for a deeper note
Swap dark brown sugar for the light brown sugar measure for a stronger molasses flavor. The filling will taste a little deeper and less delicate, while keeping the same soft texture. This is a flavor change, not a way to reduce the sweetness.
Storage and Reheating
- Refrigerator: Cover leftovers and refrigerate for 3 to 4 days. The marshmallow topping softens and gets sticky after chilling.
- Freezer: Freeze portions in an airtight container for up to 2 to 3 months for best quality. The filling may soften slightly after thawing, and the marshmallows won’t stay as pillowy; freezing the baked filling before topping gives a better result.
- Reheating: Warm portions in a 325°F oven, covered, until the center reaches 165°F. Reheating uncovered can brown the marshmallows too far before the middle is hot.
Questions That Come Up Before the First Spoonful
Sweet Potato Casserole with Marshmallows
Ingredients
Equipment
Method
- Heat the oven to 400°F.
- Grease a 9x13-inch baking dish with 1 tablespoon of the butter.
- Prick the sweet potatoes all over with a fork.
- Place them on a rimmed baking sheet.
- Bake for 50 to 70 minutes, until a knife slides easily into the thickest part.
- Let the sweet potatoes cool until they are comfortable to handle.
- Peel them and transfer the flesh to a large bowl.
- Reduce the oven temperature to 350°F and melt the remaining 7 tablespoons of butter.
- Add the melted butter, brown sugar, milk, eggs, vanilla, and salt to the sweet potatoes.
- Mash and stir until well combined.
- Spread the mixture in the prepared baking dish.
- Bake for 25 to 30 minutes, until hot throughout and the center reaches 160°F.
- Scatter the marshmallows evenly over the casserole.
- Bake for 8 to 12 minutes, until puffed and golden; watch closely so they do not burn.
- Let the casserole rest for 10 minutes before serving.