
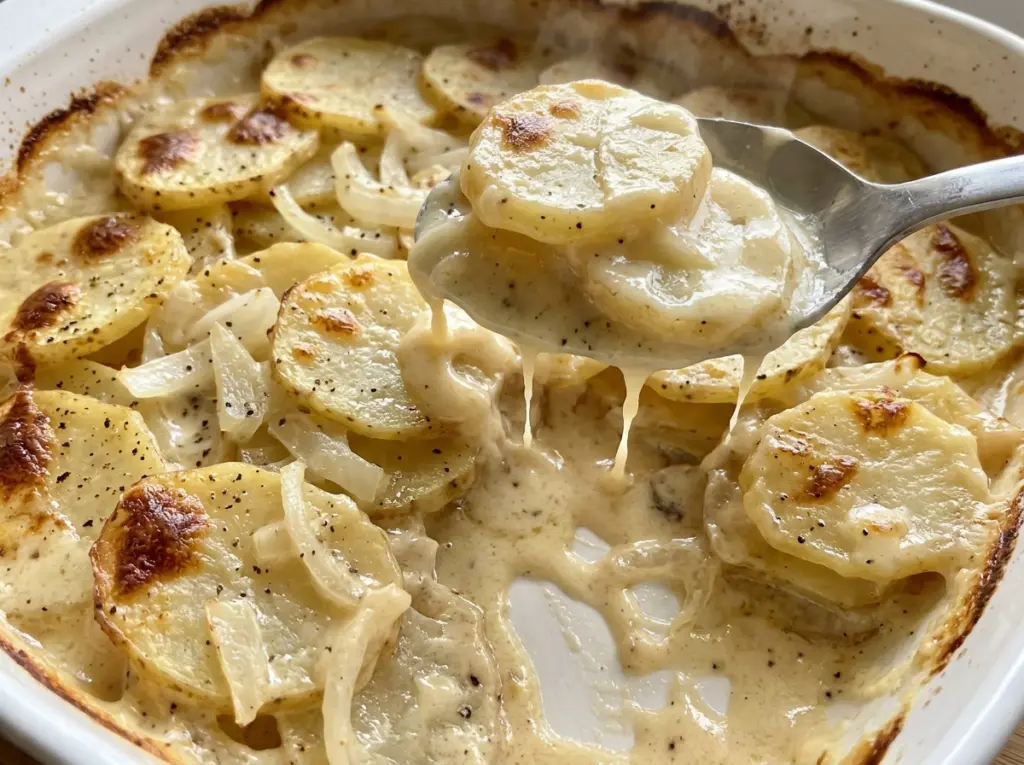
The first thing I watch when the foil comes off is the edge of the dish: the sauce should be bubbling, and the top should be turning golden while the potatoes finish softening. Scalloped potatoes can look ready before the centers are tender, so I check with a fork rather than judging by color alone. The thin slices and covered bake give the potatoes time to cook through before the top browns.
I make the sauce on the stovetop before it goes anywhere near the potatoes. Cooking the onion in butter first softens its bite, and whisking flour into the butter before adding the milk helps the sauce turn smooth instead of lumpy. It takes a little attention, but the payoff is a creamy layer between the potatoes rather than milk pooling at the bottom of the pan.
With the sauce spread across both layers and a short rest after baking, each serving holds together while staying tender. The top is golden, the middle is soft, and the onion-scented sauce settles into every slice.
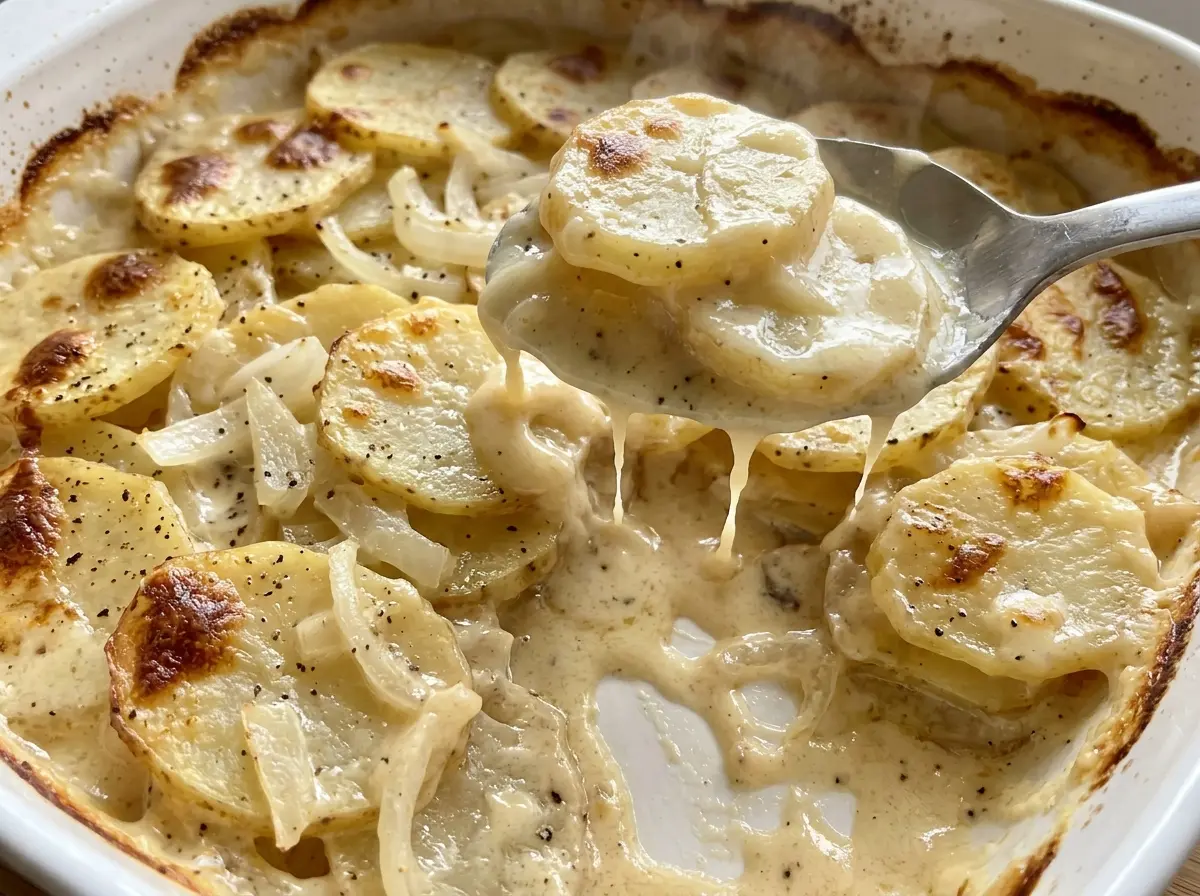
Kitchen Note
Keep the potato slices close to 1/8 inch thick. Even slices cook at the same pace, so you’re less likely to get tender edges around a firm center.
Save these scalloped potatoes for the next cozy dinner: tender russet layers under a golden top, with a smooth onion sauce in every bite.
Why the Potatoes Need Sauce Between Both Layers
Scalloped potatoes aren’t just potatoes with sauce poured over the top. The sauce needs to reach the lower layer as well as the upper one, because the potatoes closest to the dish otherwise have less of that creamy coating. Dividing the sauce before you start layering gives each portion of potatoes its share instead of leaving the bottom dry and the top swimming.
Overlap the first layer slightly, then pour half the sauce over it before adding the remaining slices. That first pour matters: it gets sauce down among the potatoes instead of asking the top layer to carry all of it. Pour the rest over the second layer and spread it across the surface so there aren’t dry corners exposed during the covered bake.
The sauce also thickens before it goes into the dish, which gives it enough body to cling rather than run straight through the layers. A smooth, evenly coated spoon is a better cue than a sauce that has become stiff or pasty. Once it’s layered, the foil keeps moisture in while the potatoes cook; uncovering later gives the surface time to turn golden.
What the Russets and Stovetop Sauce Bring to the Dish
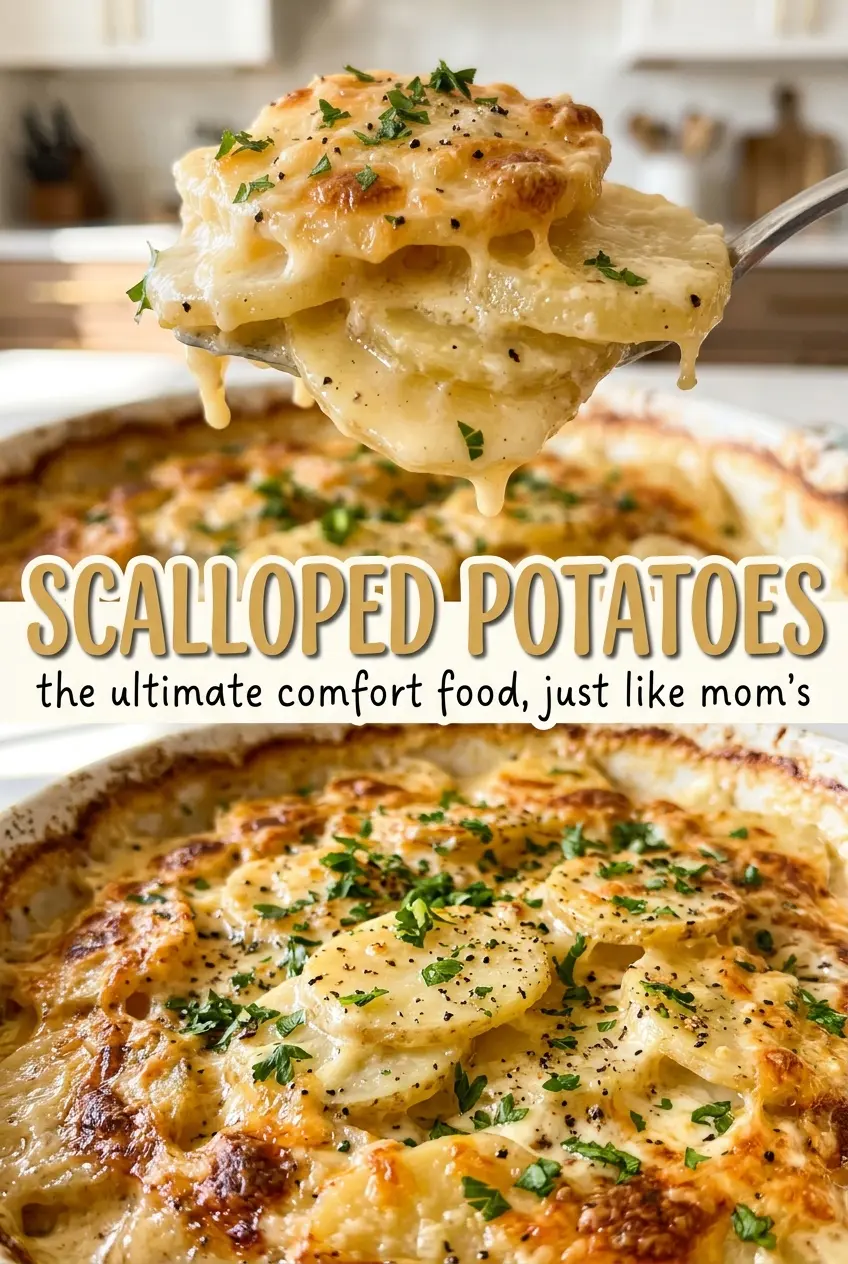
- Russet potatoes — Their starch helps the sauce feel creamy as the potatoes bake, and the slices turn tender without losing their familiar potato texture. Peel them and slice them evenly; if you prefer a firmer, more shape-holding layer, Yukon Gold potatoes work as a swap, though the finished dish will be less floury and the slices may hold their shape more distinctly.
- Whole milk — It gives the flour-thickened sauce a fuller texture than a thinner milk would. Use fresh milk and whisk it in gradually; a lower-fat milk can make the sauce less rich and less substantial.
- Unsalted butter and all-purpose flour — Butter carries the softened onion, while flour thickens the milk into a sauce that stays with the potatoes. Cooking the flour briefly in the butter helps avoid a raw flour taste. There isn’t a direct swap within this ingredient list that keeps the same sauce texture.
- Yellow onion — Thin slices soften in the butter and add a mild savory sweetness without taking over the dish. Choose a firm onion; a smaller or larger one will change how prominent that flavor is.
Build the Sauce First, Then Bake Until the Center Gives
Soften the Onion in Butter
Heat the oven to 350°F and coat a 9×13-inch baking dish with nonstick cooking spray. Melt the butter in a medium saucepan over medium heat, then add the thinly sliced onion. Cook for 4 to 5 minutes, stirring occasionally, until the onion has softened. If it’s still crisp, give it the full cooking time before moving on.
Whisk a Smooth, Thickened Sauce
Stir the flour into the softened onion and butter, and cook it for 1 minute. Gradually whisk in the milk, kosher salt, and black pepper; adding the milk in stages helps keep the sauce smooth. Bring it to a gentle simmer while whisking often, then cook for 3 to 5 minutes. Avoid a hard boil, and take the saucepan off the heat once the sauce thickens enough to coat the back of a spoon.
Layer the Potatoes and Divide the Sauce
Arrange half of the peeled, 1/8-inch potato slices in the prepared dish, overlapping them slightly. Pour half of the sauce evenly over that layer, then arrange the remaining potatoes on top. Pour on the remaining sauce and spread it to cover the surface. Check the corners for exposed slices, since uncovered spots can dry out during baking.
Cover, Brown, and Let the Layers Set
Cover the dish tightly with foil and bake for 45 minutes. Remove the foil and bake for another 30 to 40 minutes, until a fork slides into the potatoes easily and the top is golden brown. If the top is golden before the center is tender, keep baking until the fork test says the potatoes are ready. Rest the dish for 15 minutes before serving so the sauce settles between the layers.
Small Changes for a Different Scalloped Potato
Use Yukon Golds for neater slices
Replace the russets with the same weight of Yukon Gold potatoes and keep the slices about 1/8 inch thick. Their firmer texture gives the layers more definition, while russets make a softer, starchier bake.
Leave out the onion for a milder sauce
Skip the sliced onion and melt the butter before stirring in the flour. The sauce will still thicken, but it’ll taste more simply creamy and less savory. Keep the flour cooking time and the gradual milk whisking the same.
Make it without black pepper
Omit the black pepper for a gentler, less peppery sauce. The onion and butter still give the potatoes savory depth, and the sauce method doesn’t need to change.
Storage and Reheating
- Refrigerator: Refrigerate leftovers within 2 hours and keep them covered for 3 to 4 days. The sauce will firm up when cold, then loosen as it warms.
- Freezer: Freezing isn’t ideal; the potatoes can turn soft and the milk sauce may separate after thawing.
- Reheating: Warm portions in a covered oven-safe dish at 350°F until hot throughout. Don’t reheat uncovered from the start, or the top can dry before the center warms.
Questions That Come Up While Baking Scalloped Potatoes
Scalloped Potatoes
Ingredients
Equipment
Method
- Heat the oven to 350°F and coat a 9x13-inch baking dish with the cooking spray.
- Melt the butter in a medium saucepan over medium heat, add the onion, and cook for 4 to 5 minutes, stirring occasionally, until softened.
- Stir in the flour and cook for 1 minute, then gradually whisk in the milk, salt, and pepper until smooth.
- Bring the sauce to a gentle simmer, whisking often, and cook for 3 to 5 minutes until thickened enough to coat the back of a spoon.
- Arrange half of the potato slices in the prepared baking dish, overlapping them slightly, and pour half of the sauce evenly over the top.
- Layer the remaining potatoes in the dish and pour the remaining sauce over them, spreading it to cover the potatoes.
- Cover the dish tightly with foil and bake for 45 minutes.
- Uncover and bake for 30 to 40 minutes until the potatoes are fork-tender and the top is golden brown.
- Let the potatoes rest for 15 minutes before serving.