
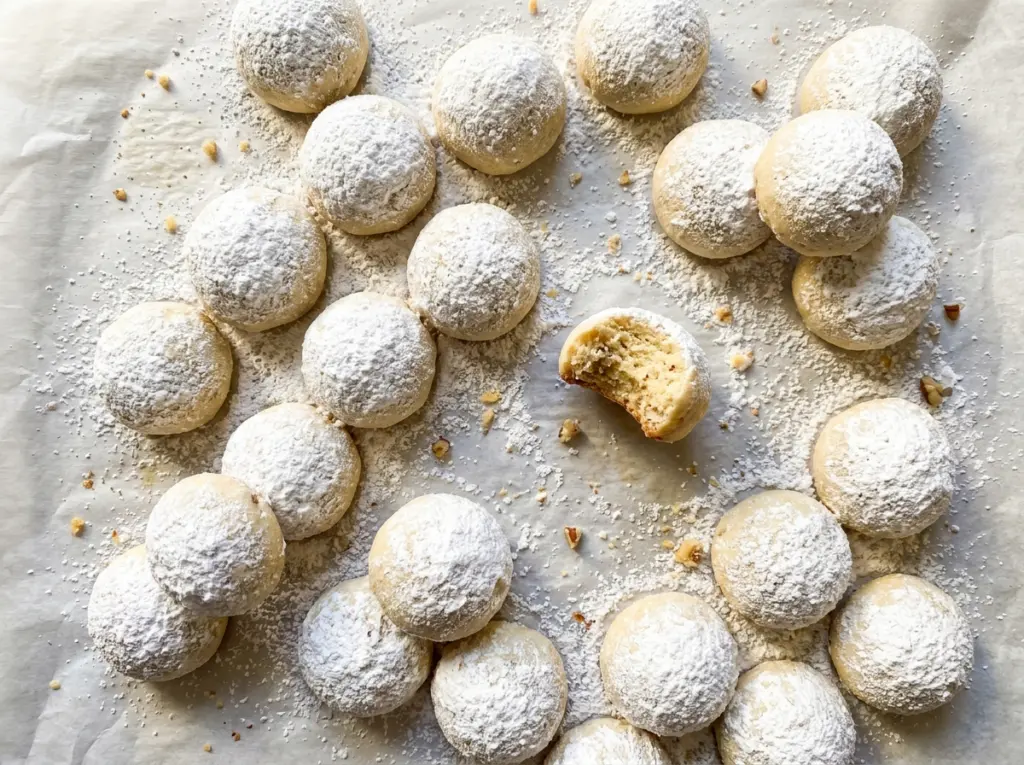
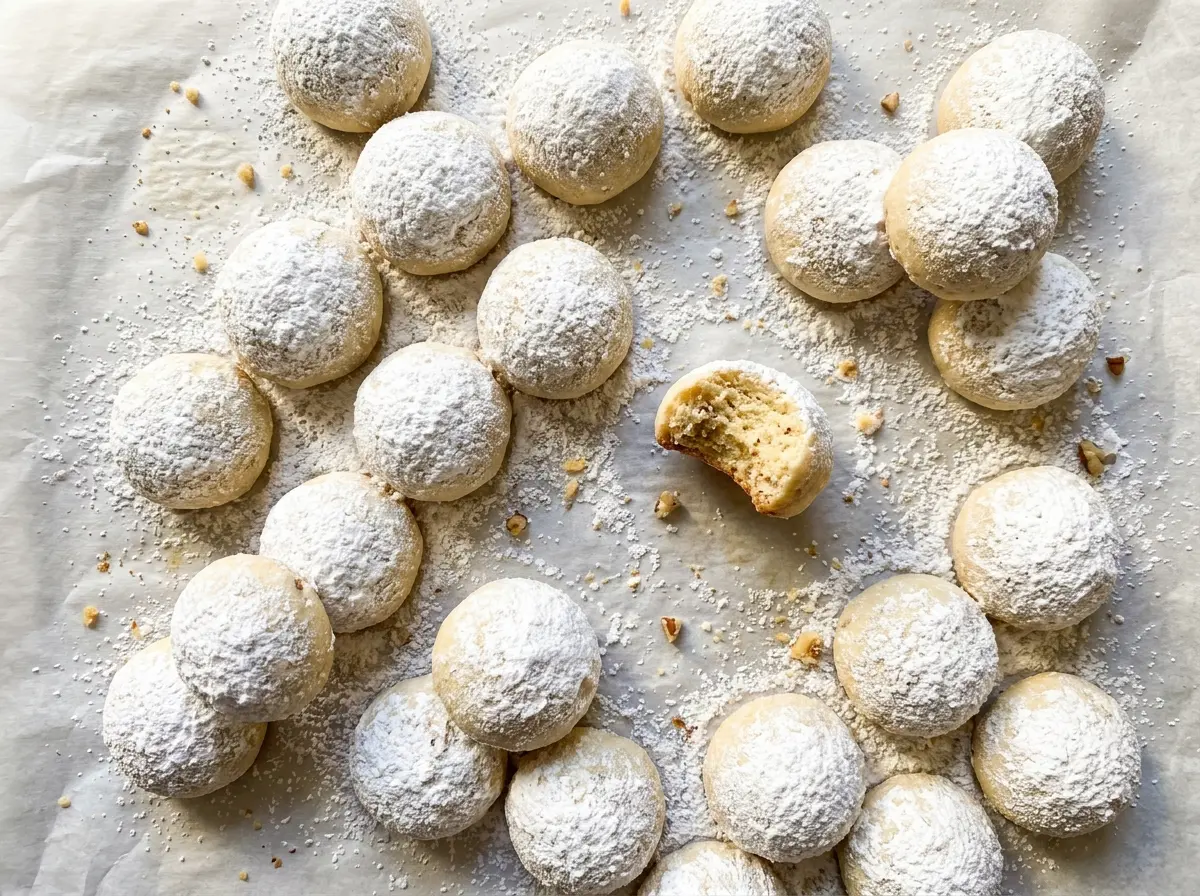
The bottoms of these cookies turn lightly golden before the tops look like they’ve browned at all. That’s the cue I watch for when I pull the trays from the oven; Russian tea cakes should be set, tender, and pale, not toasted all over. A short rest on the baking sheet gives them enough time to firm up for their first roll in confectioners’ sugar.
The dough comes together with softened butter, a little sugar, flour, vanilla, and finely chopped walnuts. I mix the flour in only until it disappears, then shape the dough into small, even balls. That keeps the cookies delicate rather than tough, and the walnuts give each bite a fine, nutty crunch beneath the soft sugar coating.
Kitchen Note
The two sugar rolls do different jobs. Roll once while the cookies are still warm so the first coat clings, then wait until they’re completely cool for the final snowy layer.
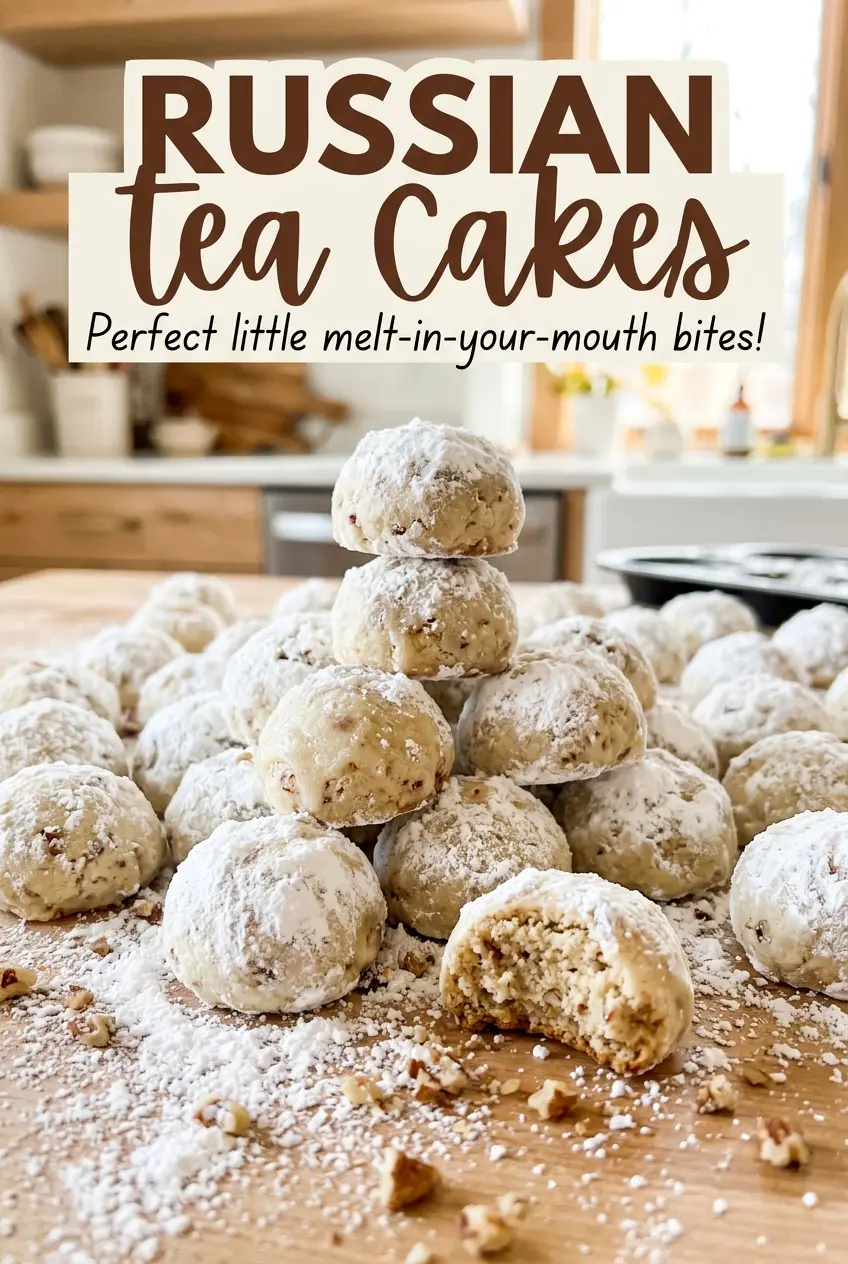
Save these Russian tea cakes for a batch of tender walnut cookies with a soft, snowy sugar finish.
Why These Tea Cakes Don’t Need to Rise
There’s no baking powder or baking soda in this dough, so don’t expect the balls to puff into tall, airy cookies. Their shape comes from the dough itself: softened butter holds the sugar and flour together, and the walnuts add texture without turning the cookies cakey. Shaping each portion into a neat ball gives you the rounded form before the tray goes into the oven.
That also explains why the flour needs a light hand. Once it’s mixed in, stop as soon as the dry streaks disappear; beating longer can make a butter-rich dough less tender. The dough should be cohesive enough to shape, not fluffy or elastic. If you’re used to mixing cookie dough until it looks aerated, this one asks for a quieter touch.
Keep the portions consistent, too. A one-inch ball gives the cookies time to set through the middle while the bottoms become lightly golden. If the balls vary a lot in size, the smallest ones can finish before the larger ones, even on the same baking sheet.
What the Butter, Sugar, and Walnuts Each Bring
- Unsalted butter — Butter is the base of this tender, rich dough, so use it softened enough to beat smoothly but not melted. Good-quality butter makes a difference you can taste here; the cookies don’t have a strong competing flavor. I stick with unsalted butter so the small amount of salt stays in balance.
- Confectioners’ sugar — Its fine texture blends smoothly into the butter and gives the coating its soft, powdery finish. The divided portions matter: some sweetens the dough, while the rest coats the baked cookies in two passes. Granulated sugar won’t give the same delicate texture or snowy exterior.
- Vanilla extract — Vanilla rounds out the buttery dough, and a well-flavored extract is worth using in a cookie with such a short ingredient list. Add it after the butter and dough sugar are smooth so it mixes evenly.
- All-purpose flour — This gives the cookies enough structure to hold their round shape. Measure without packing it into the cup, then mix it in only until combined; too much flour or too much mixing can leave the finished cookies dry and heavy.
- Walnuts — Finely chopped walnuts distribute a little crunch through each small cookie. Chop them into small, even pieces rather than leaving large chunks, which can make the balls harder to shape neatly. Fresh-tasting walnuts matter because their nutty flavor is easy to notice in this simple dough.
From Smooth Butter to Sugar-Coated Cookies
Beat the Butter and Dough Sugar Smooth
Heat the oven to 350°F and line two baking sheets with parchment paper. In a large bowl, beat the softened butter with the smaller portion of confectioners’ sugar until the mixture looks smooth, then beat in the vanilla. The butter should blend without visible hard pieces, but it shouldn’t look oily or melted. Starting with butter at the right softness makes the dough easier to combine later.
Bring the Dough Together Without Overmixing
Whisk the flour and salt together in a medium bowl so the salt is spread through the dry ingredients. Mix that bowl into the butter mixture just until combined; stop when you no longer see dry flour. Stir in the finely chopped walnuts, distributing them through the dough without continuing to beat it. If you keep mixing after the flour disappears, the cookies can lose their tender texture.
Shape Even Balls and Give Them Room
Shape the dough into one-inch balls and set them about two inches apart on the prepared sheets. A consistent size helps the whole tray bake at the same pace. Round the portions gently so they hold together, without squeezing them into dense little lumps. The cookies need space around them, so divide the dough between both sheets rather than crowding them together.
Bake Until Set, Then Coat Twice
Bake for 12–14 minutes, rotating the sheets halfway through. Look for cookies that are set, with bottoms that are lightly golden; the tops don’t need to take on much color. Let them rest on the sheets for 5 minutes, then gently roll them in the remaining confectioners’ sugar while they’re still warm. Move them to a wire rack to cool completely, then roll them in the sugar again.
Small Changes for a Different Batch
Make a Half Batch
When you don’t need three dozen cookies, divide every ingredient in half, including each portion of the divided sugar. Shape and bake the smaller batch the same way, keeping the one-inch size so the timing and texture stay close to the original. You’ll have fewer cookies to coat, but the same buttery walnut crumb.
Make Them Without Walnuts
Leave out the walnuts for a smoother, more uniform cookie with a less pronounced nutty bite. The dough will be a little less textured, so shape the portions gently and check for the same set edges and lightly golden bottoms. This is an option for preference, not a safe shortcut for anyone with a walnut allergy if the other ingredients or equipment may have been exposed.
Prep the Dough Ahead
Shape the dough balls and refrigerate them in a covered container if you want to get the shaping done ahead. Cold dough will feel firmer, so let the portions sit until they’re easy to handle before baking. Bake at the stated oven temperature and use the set-cookie and lightly golden-bottom cues to judge doneness.
Storage and Reheating
- Refrigerator: Store the cookies in an airtight container for up to 1 week. The sugar coating can pick up moisture, so room-temperature storage is preferable when you’ll eat them within a few days.
- Freezer: Freeze completely cooled cookies in an airtight container for up to 2 months, with parchment between layers to protect the coating. The sugar may look less powdery after thawing.
- Reheating: These cookies don’t need reheating. Thaw frozen cookies at room temperature; warming them in the oven can dry them out and disturb the sugar coating.
Questions That Come Up While Baking Russian Tea Cakes
Russian Tea Cakes
Ingredients
Equipment
Method
- Heat the oven to 350°F.
- Line two baking sheets with parchment paper.
- In a large bowl, beat the butter and 1/2 cup confectioners’ sugar until smooth.
- Beat in the vanilla extract.
- In a medium bowl, whisk together the flour and salt.
- Mix the flour mixture into the butter mixture until just combined.
- Stir in the walnuts.
- Shape the dough into 1-inch balls and place them about 2 inches apart on the prepared baking sheets.
- Bake for 12–14 minutes, rotating the sheets halfway through, until the cookies are set and the bottoms are lightly golden.
- Let the cookies cool on the sheets for 5 minutes.
- Gently roll the cookies in the remaining 3/4 cup confectioners’ sugar while still warm.
- Transfer the cookies to a wire rack to cool completely.
- Roll the cookies in the confectioners’ sugar again.