
The bowl can look a little chaotic at first: pale baking mix, orange shreds of cheese, and sausage that doesn’t want to blend in. Keep mixing until everything is evenly combined, and it turns into a sturdy mixture that’s easy to shape. That’s the starting point for these Bisquick sausage balls, a savory bite with sharp Cheddar and seasoned pork in every little ball.
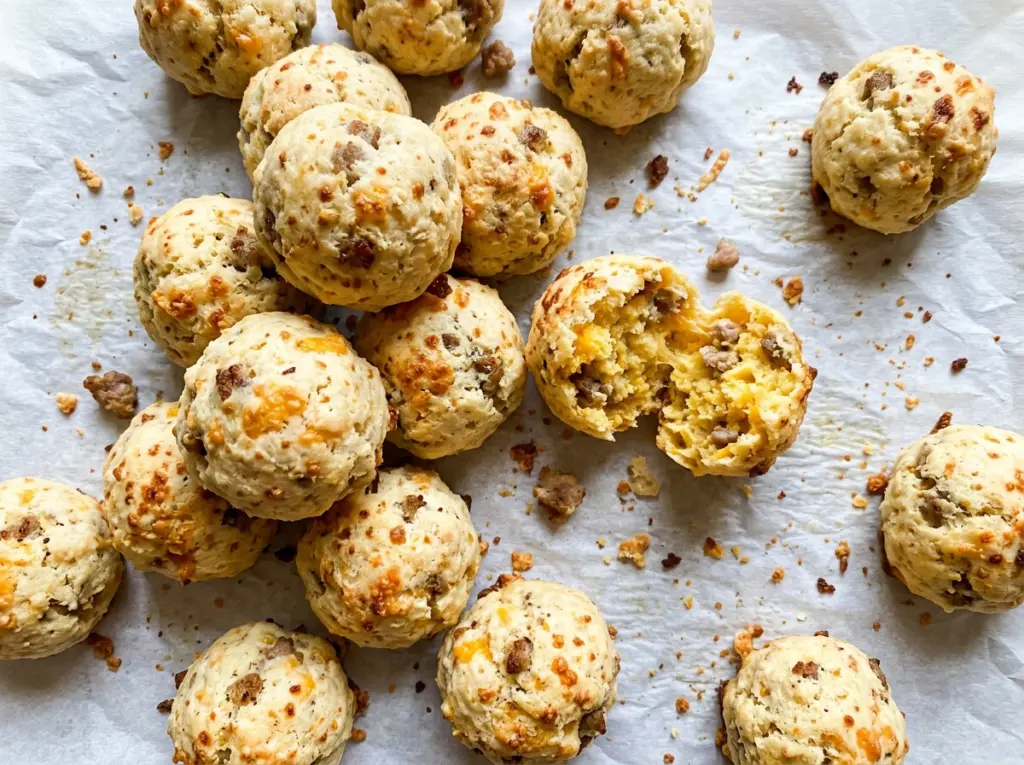
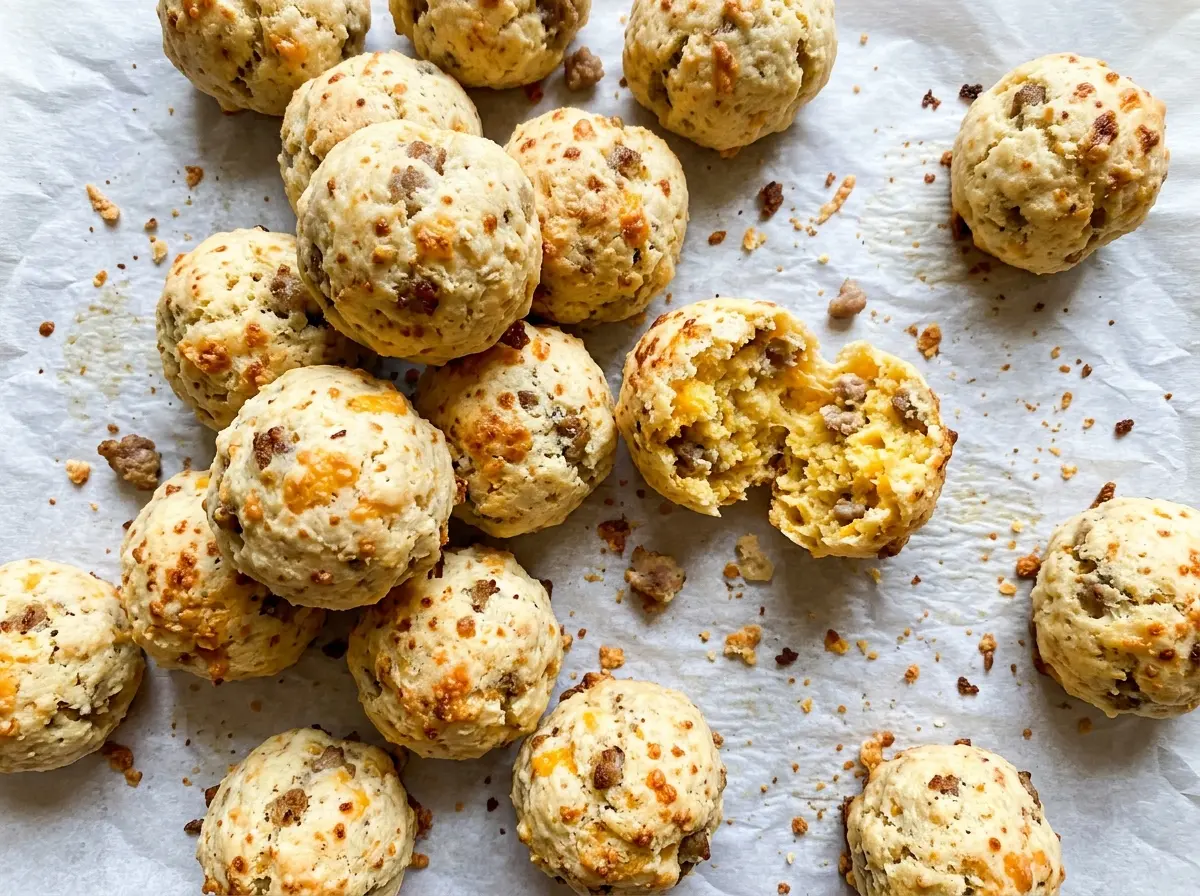
I like that the ingredient list stays short, but the order of mixing still matters. Combine the Bisquick and cheese before adding the sausage and milk; that gives the dry mix a chance to spread through the cheese before the meat makes everything sticky. Shape the mixture into even 1-inch balls, and the two pans give them room to brown. Fresh from the oven, the outsides are browned while the centers stay tender and cheesy.
Kitchen Note
Rotate the pans from top to bottom halfway through baking. That small switch helps the batch brown more evenly, especially when one oven rack runs a little hotter than the other.
Save these Bisquick sausage balls for your next gathering: browned edges, sharp Cheddar, and an easy-to-shape pork sausage mixture.
Why the Cheese Goes in Before the Sausage
It’s easier to get an even mixture when the Bisquick and Cheddar meet before the sausage does. Shredded cheese has a way of clumping together, and raw sausage is sticky enough to catch dry mix in little pockets. Combining the two dry ingredients first spreads the cheese through the base while everything is still easy to stir.
Once the sausage and milk go in, the mixture gets tackier and takes more effort to combine. That’s normal; it doesn’t need to look like smooth dough. You’re looking for the Bisquick, cheese, and sausage to be distributed throughout, with no dry patches hiding at the bottom of the bowl. If the bowl looks uneven, scrape the sides and bottom and keep mixing until it comes together. Getting that balance right before shaping is what gives each ball a consistent bite instead of a dry edge or a pocket of loose cheese.
What the Bisquick, Cheddar, and Sausage Each Bring

- Bisquick baking mix — It provides the dry base and leavening in one ingredient, so plain flour isn’t a direct replacement. For a gluten-free batch, use a gluten-free biscuit-style baking mix in the same volume; the texture may be a little different, so choose one intended for baking rather than a pancake-only mix.
- Sharp Cheddar — Sharp cheese gives the sausage a tangy counterpoint and a distinct cheesy bite. A block you shred yourself blends readily into the mix; pre-shredded Cheddar is convenient and works, though its coating can make the cheese feel less evenly distributed.
- Bulk pork breakfast sausage — The sausage brings its own seasoning and fat, both of which shape the taste and texture. Use bulk sausage rather than links, which would need their casings removed; a standard grocery-store package is fine here.
- Milk — Milk helps bring the baking mix, cheese, and sausage together. Whole or 2% milk both work; avoid sweetened or flavored milk, which would add sweetness that doesn’t belong in this savory mixture.
From Mixing Bowl to Evenly Browned Sausage Balls
Prepare the Oven and Pans
Heat the oven to 350°F and line two 18×13-inch rimmed baking sheets with parchment paper. Using both pans gives the balls room rather than forcing the batch into a crowded layer. Set the pans aside before you start mixing so the shaped balls can go straight onto them.
Mix Until the Ingredients Are Evenly Combined
In a large bowl, mix the Bisquick and shredded sharp Cheddar first. Add the bulk pork breakfast sausage and milk, then mix until evenly combined. Scrape down the bowl as needed so dry mix doesn’t stay tucked underneath the sausage. The finished mixture will be cohesive and easy to portion, not smooth like a batter.
Shape Small, Consistent Balls
Shape the mixture into 1-inch balls and place them about 1 inch apart on the prepared sheets. Keeping them close in size helps them bake at the same pace, so you don’t end up with a batch of mixed centers. Leave the space between them; the balls need room to brown instead of touching as they bake.
Bake Until Browned Through the Center
Bake for 20 to 25 minutes, rotating the pans from top to bottom halfway through. Look for browned surfaces, then check that the centers reach 160°F. If the outside is coloring faster than the center is cooking, rely on the temperature rather than pulling them early. Let the finished balls settle briefly on the pan before serving.
Easy Ways to Change the Sausage Balls
Turn Up the Heat
Use hot bulk pork breakfast sausage in place of mild sausage, keeping the amount the same. It adds peppery heat throughout the balls without changing the basic mixing or shaping method.
Give Them a Smokier Cheese Note
Swap the sharp Cheddar for smoked Gouda. The result is rounder and smokier, with less of Cheddar’s sharp tang; shred it before mixing so it disperses through the sausage.
Make a Gluten-Free Batch
Replace the Bisquick with an equal volume of gluten-free biscuit-style baking mix, and choose gluten-free sausage and cheese. Different mixes absorb moisture differently, so expect a slightly different texture from the original.
Storage and Reheating
- Refrigerator: Refrigerate cooked sausage balls within 2 hours and keep them for up to 3 to 4 days. They’ll soften a little as they chill.
- Freezer: Freeze cooled balls in a single layer until firm, then transfer them to an airtight freezer container for up to 2 months.
- Reheating: Warm them in a 350°F oven until hot throughout, checking that leftovers reach 165°F. Avoid leaving them in too long, which can dry out the sausage and cheese.
Questions That Come Up When Making Sausage Balls
Bisquick Sausage Balls
Ingredients
Equipment
Method
- Heat the oven to 350°F.
- Line two 18x13-inch rimmed baking sheets with parchment paper.
- In a large bowl, mix the Bisquick and Cheddar.
- Add the sausage and milk and mix until evenly combined.
- Shape the mixture into 1-inch balls.
- Place the balls about 1 inch apart on the prepared baking sheets.
- Bake for 20 to 25 minutes, rotating the pans top to bottom halfway through, until browned and the centers reach 160°F.