
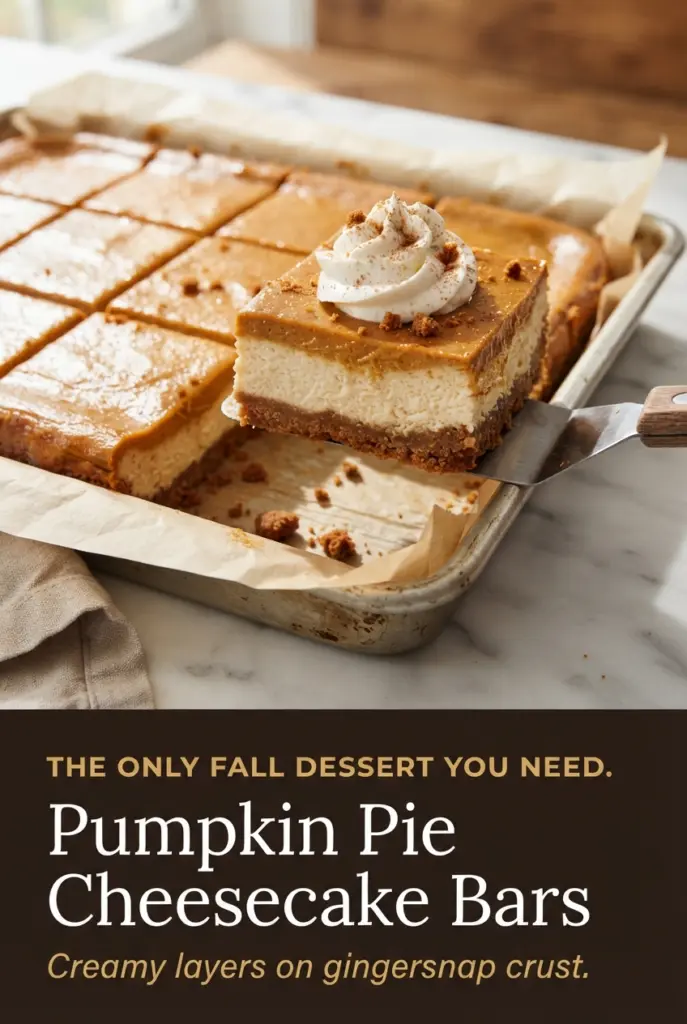
These pumpkin pie cheesecake bars give you the best part of two desserts in one square: a crunchy, warmly spiced gingersnap crust, a smooth vanilla cheesecake layer, and a silky pumpkin top that sets into clean, bakery-style slices. The contrast is what makes them work. You get the snap of the crust, the creaminess of the middle, and that pumpkin pie finish without having to wrestle a pie shell or wait for a full cheesecake to cool and unmold.
The trick is baking the crust first so it stays crisp under the filling, then layering the cheesecake and pumpkin mixture gently so the two fillings stay distinct as they bake. A little brown sugar in the crust deepens the molasses note from the cookies, and the pumpkin layer uses heavy cream instead of milk for a richer, more custard-like set. It tastes polished, but the method is straightforward enough to pull off on a weeknight if you want to get ahead.
Below, I’ll walk through the one step that keeps the bars from turning soggy, the ingredient swaps that still hold their shape, and the best way to cut neat squares without dragging the layers together.
The crust stayed crisp even after chilling overnight, and the pumpkin layer set up with that perfect slight jiggle. I cut them into clean squares with a hot knife and they looked bakery-worthy.
Save these pumpkin pie cheesecake bars with their crisp gingersnap crust for the dessert table nights when you want clean slices and two classics in one bite.
The Key to Keeping the Layers Separate and the Crust Crisp
The biggest mistake with bar desserts like this is pouring a wet filling onto a crust that hasn’t had time to set. Here, the crust gets a quick bake before the fillings go in, which helps the butter and sugar lock the crumbs together and gives the bars a sturdier base. If you skip that step, the bottom layer softens and the slices can slump when you cut them.
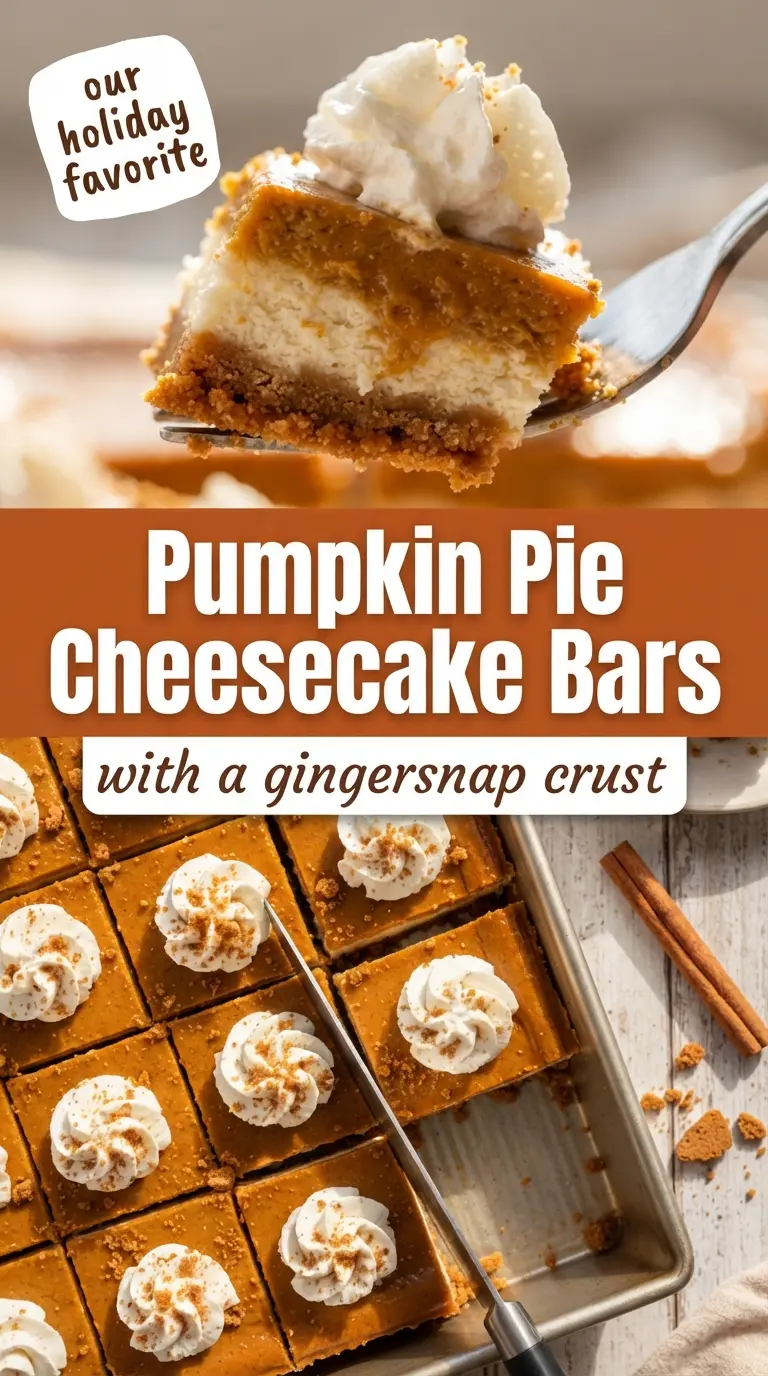
The other thing that matters is how you add the two fillings. The cheesecake layer goes on first and the pumpkin layer gets poured over it gently, not dumped in all at once. That keeps the textures separate enough to show a clean contrast when you slice the bars, and it also helps the top bake evenly instead of cracking around the edges while the center stays loose.
- Gingersnap cookies — These bring the spice and crunch that make the crust more interesting than a plain graham cracker base. Finely crush them so the crust packs tightly; larger crumbs leave gaps and make slicing messy.
- Cream cheese — Use full-fat brick cream cheese, not the spreadable tub kind. The brick version sets properly and gives the cheesecake layer that dense, smooth texture you want.
- Pumpkin purée — Use plain pumpkin purée, not pumpkin pie filling. Pie filling already has sugar and spices mixed in, which throws off the balance and can make the top layer too sweet and loose.
- Heavy cream — This is what gives the pumpkin layer its custardy richness. Half-and-half will work in a pinch, but the bars won’t feel quite as plush.
- Pumpkin pie spice — Use a fresh blend if you can. Old spice can taste flat, and this layer depends on warm spice to carry the pumpkin flavor.
Building the Crust, Filling, and Top Layer Without Muddying the Slices
Pressing and Prebaking the Base
Mix the crumbs, brown sugar, melted butter, and salt until every crumb looks damp. Then press the mixture firmly into the pan with the bottom of a measuring cup so the layer is even and compact. Bake it until it smells toasty and the color deepens just a shade. If the crust looks pale and loose, it hasn’t set enough to support the fillings.
Whipping the Cheesecake Layer Smooth
Beat the cream cheese and sugar until no lumps remain, then add the egg and vanilla on low speed. High speed whips in extra air, which can make the cheesecake puff and crack as it bakes. You want the mixture glossy and thick, not airy, so it spreads cleanly over the warm crust.
Pouring the Pumpkin Layer Gently
Whisk the pumpkin purée, brown sugar, eggs, cream, spice, and salt until silky, then pour it over the cheesecake layer slowly. Start near one corner and let it flow across the surface instead of splashing into the middle. That gentle pour helps the layers stay distinct and keeps the top from tunneling into the cheesecake beneath it.
Baking Until the Center Still Jiggly
Pull the pan when the edges are set and the center still has a slight wobble. If you wait until the middle looks firm in the oven, the bars usually overbake by the time they cool. The residual heat finishes the job during the cooling period, and that gives you a custard-like texture instead of a dry, rubbery one.
Cooling, Chilling, and Cutting Clean Squares
Let the bars cool on the counter before chilling them. Cutting warm bars turns the layers into a smear. Once they’re fully chilled, lift them out with the parchment, use a hot knife, and wipe the blade between cuts for the sharpest edges.
Three Ways to Make These Bars Fit Your Table
Dairy-Free Version with Coconut Cream
Use dairy-free cream cheese and swap the heavy cream for full-fat coconut cream. The bars will still set, but the flavor turns slightly more coconut-forward and the filling won’t taste quite as classic and neutral.
Gluten-Free Crust with Gluten-Free Gingersnaps
Use certified gluten-free gingersnap cookies and keep the rest of the recipe the same. The texture stays crisp if the crumbs are fine and the crust is packed tightly, which matters more than the exact cookie brand.
Smaller, Sweeter Bars for a Dessert Tray
Cut the chilled slab into 24 smaller squares instead of 18 if you’re serving a crowd with other desserts. The bars are rich, so the smaller size gives everyone the flavor without making the plate feel heavy.
Storage and Reheating
- Refrigerator: Store covered for up to 5 days. The crust stays crisp for the first two days and softens a little after that, which is normal for a layered bar dessert.
- Freezer: These freeze well. Wrap the chilled bars tightly, freeze in a single layer, then thaw overnight in the refrigerator before serving.
- Reheating: Serve chilled or just slightly cool. Don’t microwave these bars; heat softens the cheesecake layer and makes the crust lose its snap.
Questions I Get Asked About This Recipe
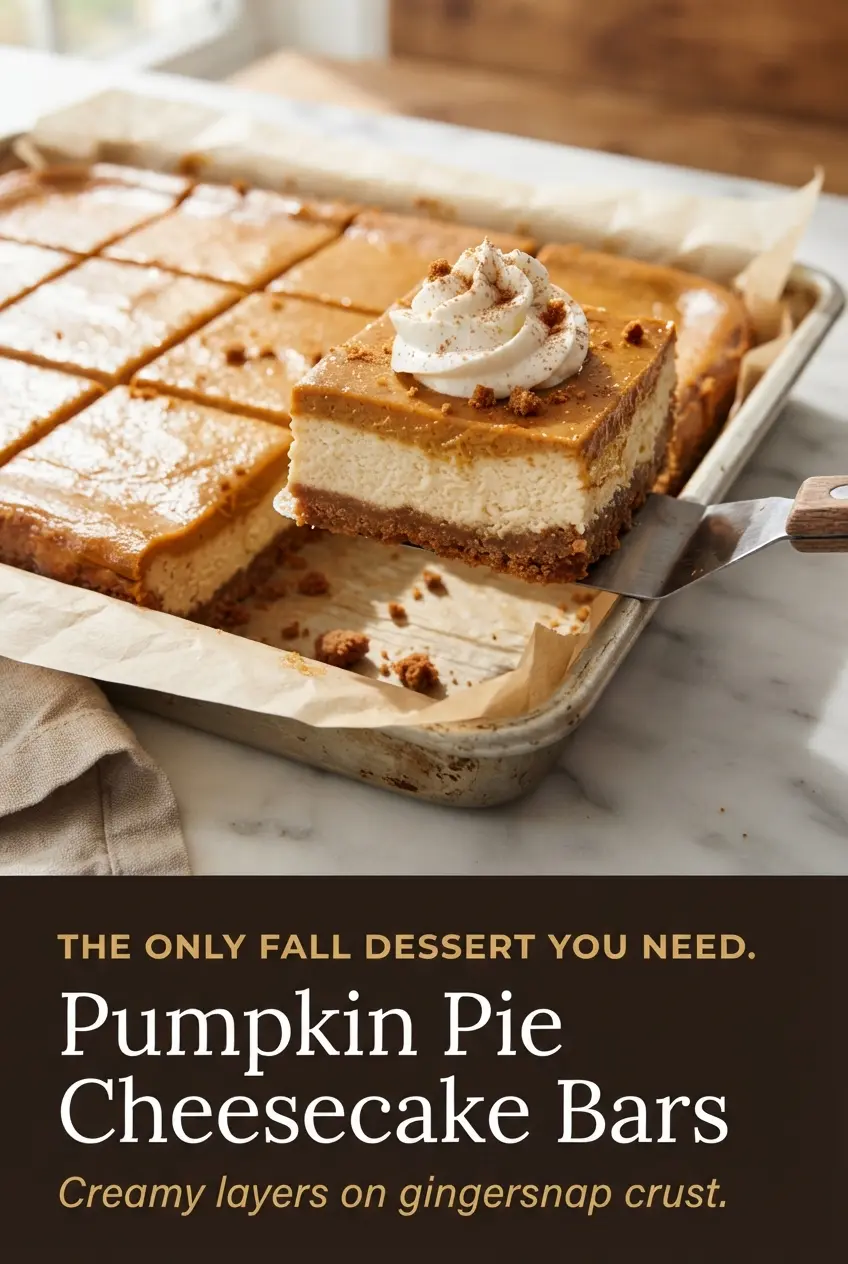
Pumpkin Pie Cheesecake Bars with Gingersnap Crust
Ingredients
Equipment
Method
- Preheat the oven to 350°F (175°C) and line a 9x13-inch baking pan with parchment paper, leaving an overhang on two sides.
- Stir together the gingersnap crumbs, light brown sugar, melted unsalted butter, and fine sea salt until the mixture looks like wet sand.
- Press the crumbs firmly and evenly into the bottom of the pan with the bottom of a measuring cup.
- Bake the crust for 10 minutes until fragrant and slightly darker, then lower the oven temperature to 325°F (165°C).
- Beat the cream cheese and granulated sugar on medium speed for 2 minutes until smooth and fluffy.
- Beat in the egg and pure vanilla extract on low speed just until combined, scraping down the bowl.
- Spread the cheesecake mixture evenly over the warm crust.
- Whisk the pumpkin purée, light brown sugar, eggs, heavy cream, pumpkin pie spice, and fine sea salt until silky and smooth.
- Gently pour the pumpkin mixture over the cheesecake layer and smooth it into an even top.
- Bake for 40–45 minutes, until the edges are set and the center has only a slight jiggle.
- Cool in the pan on a wire rack for 1 hour.
- Refrigerate for at least 4 hours or overnight until firm.
- Whip the cold heavy cream, powdered sugar, and pure vanilla extract to soft peaks.
- Lift the bars out using the parchment overhang and slice into 18 squares with a hot, clean knife, wiping it between cuts.
- Top each bar with a dollop of whipped cream and a sprinkle of crushed gingersnaps, then serve chilled.