
Patriotic waffle cones turn a simple scoop of ice cream into a party dessert with almost no extra work. The cones stay crisp, the white chocolate shell sets with a clean snap, and the red and blue drizzle gives them that festive look without making the whole thing fussy. They’re the kind of treat that disappears fast because people can grab one and keep moving.
The trick is in the order. White chocolate gives you the smoothest base for the sprinkles, but it needs a little coconut oil to thin it enough for dipping without clumping. The drizzle comes after the sprinkles, not before, so the colors sit on top and stay bold instead of muddying into the coating. That’s what keeps the cones looking sharp instead of heavy.
Below, I’ve included the small timing details that matter most, plus a few ways to adapt the cones if you want to change the candy colors or make them ahead for a crowd.
The white chocolate set up fast and the sprinkles stuck perfectly. I filled them right before serving and the cones stayed crisp instead of getting soggy, which was exactly what I wanted for our cookout.
Keep these Patriotic Waffle Cones in your back pocket for a no-bake dessert that looks festive the second the drizzle goes on.

The One Thing That Keeps the Cones Crispy
The biggest mistake with decorated ice cream cones is filling them too early. Once ice cream sits inside a coated cone, the crunch starts fading fast, especially if the chocolate shell is thin or the room is warm. The decoration can be perfect and the dessert still disappoint if the cone has time to soften from the inside out.
This version keeps the structure in your favor by letting the coating set completely before any filling happens. White chocolate and coconut oil create a shell that hardens faster and more evenly than plain chocolate chips alone, and the parchment-lined sheet gives the cones a place to rest without sticking or sliding around. The sprinkles go on right away while the coating is still tacky, which helps them lock in instead of falling off later.
- Waffle cones — Standard ice cream cones work best here because they’re sturdy enough to hold the chocolate shell and the ice cream. Cake cones are too fragile and don’t give you the same crisp bite.
- White chocolate chips — Use a brand that melts smoothly if you can. White chocolate can seize faster than dark chocolate, so the coconut oil helps loosen it into a dip-friendly consistency.
- Coconut oil — This isn’t just for thinning. It helps the coating set with a cleaner snap. Butter won’t behave the same way and can leave the chocolate greasy or soft.
- Sprinkles and candy melts — The candy melts give you a brighter, more controlled drizzle than trying to color white chocolate. If you only have one color, the cones still look finished with just the sprinkle coating and a single drizzle.
How to Dip and Decorate Without Losing the Shape
Melt the Coating Until It Flows, Not Until It’s Hot
Stir the white chocolate chips with the coconut oil until the mixture is smooth and glossy. If it gets too hot, the chocolate can turn thick or grainy, which makes the coating patchy on the cones. You want it warm enough to dip easily, but not steaming. A deep bowl helps because it gives you enough depth to coat the top third without dragging the cone through a shallow puddle.
Dip, Twist, and Let the Extra Drip Off
Hold each cone by the bottom and dip the top third into the chocolate, then lift it straight out and give it a gentle turn. That little twist helps the coating settle evenly instead of pooling on one side. If you see thick ridges, tap the cone lightly against the edge of the bowl. Work one cone at a time so the coating doesn’t start to set before the sprinkles go on.
Add the Sprinkles Before the Shell Hardens
Scatter the red, white, and blue sprinkles immediately after dipping. The coating should still look wet and slightly shiny; that’s the window where the sprinkles grab and stay put. If you wait too long, they slide right off. Set each finished cone on parchment, then drizzle with melted red and blue candy melts once the base coating has started to firm up.
Let the Shell Set Before You Fill It
Leave the cones alone until the chocolate is completely set to the touch. If you rush this part, the shell can smear when you add ice cream and the cone will collapse faster. Once they’re firm, fill them just before serving. That last-minute fill is what keeps the cone crisp and the ice cream cold at the same time.
Three Ways to Adapt the Cones for a Crowd
Dairy-Free Version That Still Sets Cleanly
Use dairy-free white chocolate chips and check that your candy melts are vegan if that matters for your table. The texture stays close to the original as long as the substitute melts smoothly, but some dairy-free chocolates are a little softer when set, so give them extra time on the parchment before filling.
Swap the Colors for Any Holiday
Change the sprinkle mix and candy melt colors to match any party theme. The method stays the same, but you get a different look without changing the structure of the dessert. This works especially well for birthdays, school events, or any cookout where red, white, and blue doesn’t fit the room.
Make Them Ahead Without Softening the Cones
Dip and decorate the cones a few hours ahead, then store them at room temperature in a dry spot until serving time. Humidity is the enemy here, not time. Keep the ice cream separate and fill the cones at the last minute so the shells stay crisp.
Storage and Reheating
- Refrigerator: Don’t store filled cones in the fridge unless you’re okay with a soft cone. The cold moisture turns the shell tacky and the cone loses its crunch.
- Freezer: The decorated empty cones freeze fine, but once they’re filled with ice cream they should be served right away. Freezing finished cones makes the cone texture dull and chewy.
- Reheating: Not needed here. If the coating softens, let the empty cones sit at room temperature in a dry place until the shell firms back up.
Answers to the Questions Worth Asking
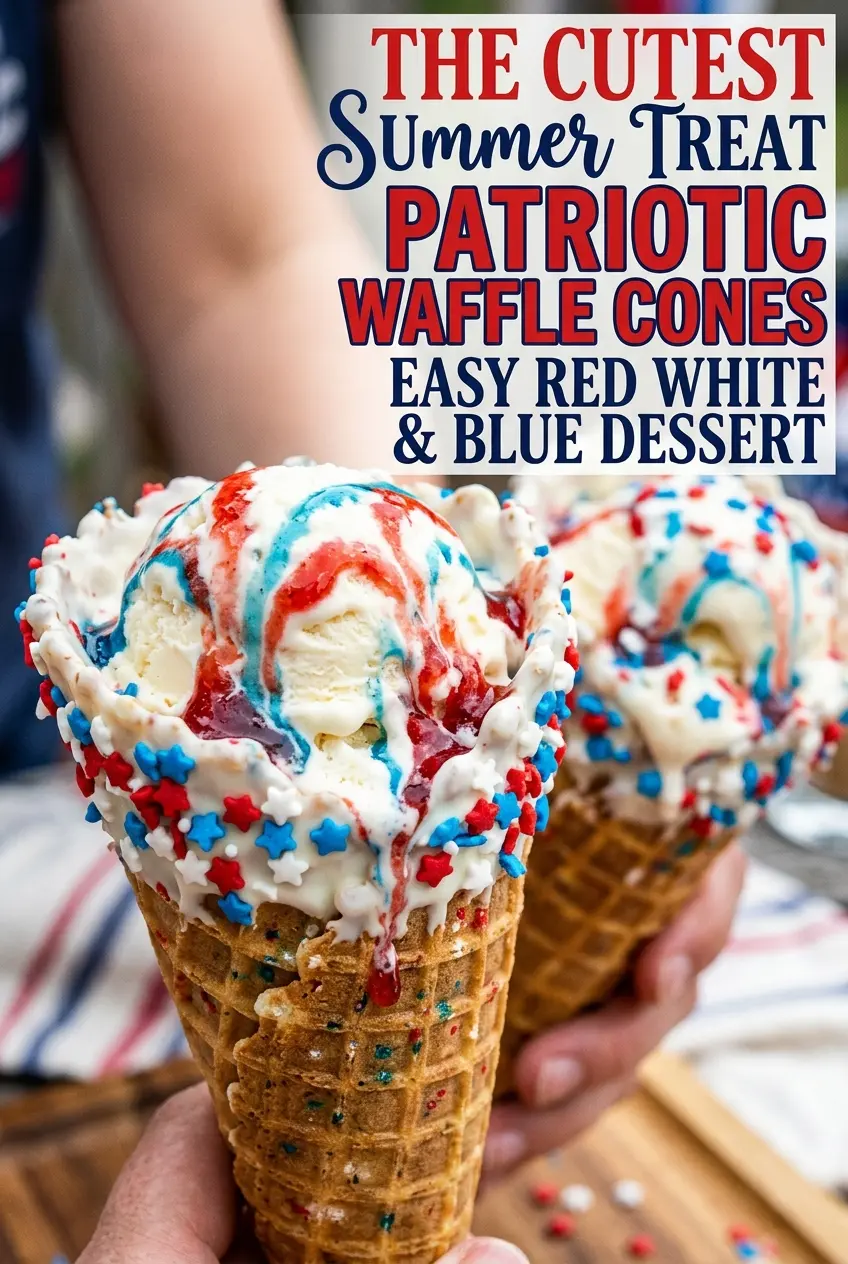
Patriotic Waffle Cones
Ingredients
Equipment
Method
- Line a sheet pan with parchment paper for easy cleanup and quick setting.
- Melt the white chocolate chips with the coconut oil until smooth, glossy, and fully combined.
- Dip the top third of each waffle cone into the melted white chocolate, letting the excess drip back.
- Immediately coat the dipped cones with red, white, and blue sprinkles so they adhere before the chocolate sets.
- Drizzle the melted red candy melts over the cones in thin stripes or dots.
- Drizzle the melted blue candy melts over the cones in thin stripes or dots.
- Place the coated cones on the prepared sheet pan, leaving space between them.
- Allow the coating to set completely until firm to the touch.
- Fill the cones with vanilla ice cream just before serving to prevent sogginess.
- Serve immediately for the best crispy texture and clean chocolate snap.