
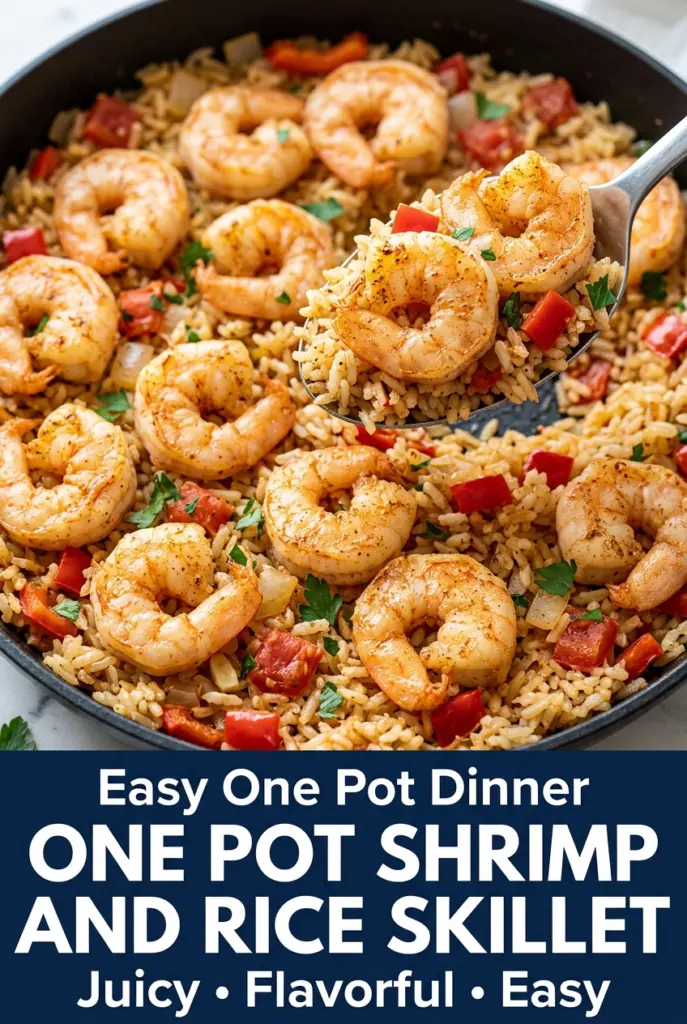
Shrimp and rice in one skillet gives you the kind of dinner that lands on the table looking calm and colorful, even though it barely asks anything from you. The rice turns tender and savory from the broth and tomatoes, the peppers soften just enough to stay bright, and the shrimp finish right at the end so they stay juicy instead of turning rubbery. It eats like a full meal, not a side dish stretched into dinner.
What makes this version work is the timing. The shrimp get a quick sear first, then come back only after the rice has absorbed most of the liquid, which keeps them from overcooking while the grains finish. Toasting the rice for a minute with the spices gives the skillet a deeper, less flat flavor, and draining the tomatoes keeps the dish from turning soupy.
Below, I’ve laid out the little things that matter here: how to keep the rice fluffy instead of gummy, which ingredient does the heavy lifting if you need to swap, and what to do if your skillet runs a little hot or your shrimp are on the small side.
The rice came out fluffy and the shrimp stayed tender when I tucked them back in at the end. My husband kept saying the lemon at the finish made the whole skillet taste brighter instead of heavy.
Love this one-pan shrimp and rice skillet? Save it to Pinterest for the nights when you want a fast, hearty dinner with bright lemon and almost no cleanup.
The Trick to Keeping the Shrimp Tender While the Rice Finishes
The biggest mistake in a shrimp-and-rice skillet is cooking the shrimp for the full time it takes the rice to become tender. Shrimp don’t wait politely. They go from plump to tight fast, and once they curl into little hard rings, there’s no bringing them back. This recipe fixes that by giving the shrimp a head start, pulling them out, then returning them only for the last few minutes under the lid.
The other trap is starting with too much liquid or too much heat. Rice needs a steady simmer, not a wild boil, or the top can dry out before the center softens. Keep the lid on, keep the heat low, and listen for a quiet bubbling sound instead of a furious one. That’s what gives you separate grains that still taste like they cooked in the same skillet as everything else.
- Large shrimp — Bigger shrimp hold up better during the two-stage cooking here. Smaller shrimp cook too fast and can turn tough by the time the rice is done.
- Long-grain white rice — This is the right rice for a fluffy skillet texture. Short-grain rice goes softer and clingier, and brown rice needs a much longer cook time than the broth amount in this recipe allows.
- Diced tomatoes, drained — Draining them matters. You want the tomato flavor and a little moisture, not extra liquid that throws off the rice ratio.
- Chicken broth — Use low-sodium broth so the seasoning stays in your control. If you only have water, the dish will still cook, but it loses a layer of savoriness that broth gives the grains.
Building the Skillet in the Right Order
Seasoning and Searing the Shrimp
Toss the shrimp with smoked paprika, garlic powder, salt, and pepper until every piece looks evenly coated. The quick sear only needs a minute or two per side, just until the shrimp lose their translucent centers but still look underdone in the thickest part. Pull them to a plate before they finish cooking; that carryover heat is enough to keep them on track without turning them dry.
Softening the Vegetables Without Browning Them
Cook the onion and red bell pepper in the second tablespoon of oil until the onion turns translucent and the peppers soften around the edges. If the vegetables start browning hard, the heat is too high and the skillet is drying out before the rice even goes in. A little color is fine. Deep browning will distract from the clean tomato and lemon finish.
Toasting the Rice and Starting the Simmer
Stir the rice, oregano, cumin, and remaining salt into the vegetables and let the grains toast for about a minute. The edges should look slightly glossy and smell nutty. Then add the drained tomatoes and broth, bring it to a gentle boil, and immediately lower the heat. If it boils hard, the liquid can cook off too quickly and leave you with crunchy rice.
Finishing the Shrimp at the End
Cover the skillet and let the rice cook until it’s tender and most of the liquid is absorbed. Spoon the shrimp over the top, cover again, and let them steam just until they turn fully opaque. The lemon juice and parsley go on at the very end because both lose their brightness if they sit in the pan too long. That final hit is what wakes the whole dish up.
How to Adapt This Skillet for Different Kitchens and Diets
Make It Dairy-Free and Naturally Gluten-Free
This recipe already lands in both camps as written, as long as your broth is gluten-free. That makes it a good one to lean on when you need a dinner that works without extra substitutions or separate pans.
Swap in Chicken When Shrimp Isn’t in the Fridge
Use small boneless chicken pieces instead of shrimp and cook them through before the rice goes in. Chicken needs more time than shrimp, so you lose the fast finish, but you keep the same tomato, pepper, and spice base.
Use Brown Rice Only If You Change the Timing
Brown rice needs more liquid and a longer simmer, so it won’t work as a straight swap here. If you want to use it, cook the rice part longer before adding the shrimp, and watch the skillet closely so the liquid doesn’t disappear too soon.
Add a Little Heat Without Changing the Structure
A pinch of crushed red pepper or a diced jalapeño can go in with the onion and bell pepper. That gives the skillet a warmer finish without changing the rice-to-liquid balance, which is the part you don’t want to disturb.
Storage and Reheating
- Refrigerator: Store leftovers in an airtight container for up to 3 days. The rice firms up a bit as it chills, but the flavor holds well.
- Freezer: It freezes fairly well for up to 2 months, though the shrimp texture softens slightly after thawing. Freeze in flat portions for the easiest reheating.
- Reheating: Warm it gently in a covered skillet with a splash of broth or water over low heat. High heat dries out the rice and makes the shrimp rubbery before the center is hot.
The Questions That Come Up With Shrimp and Rice Skillets
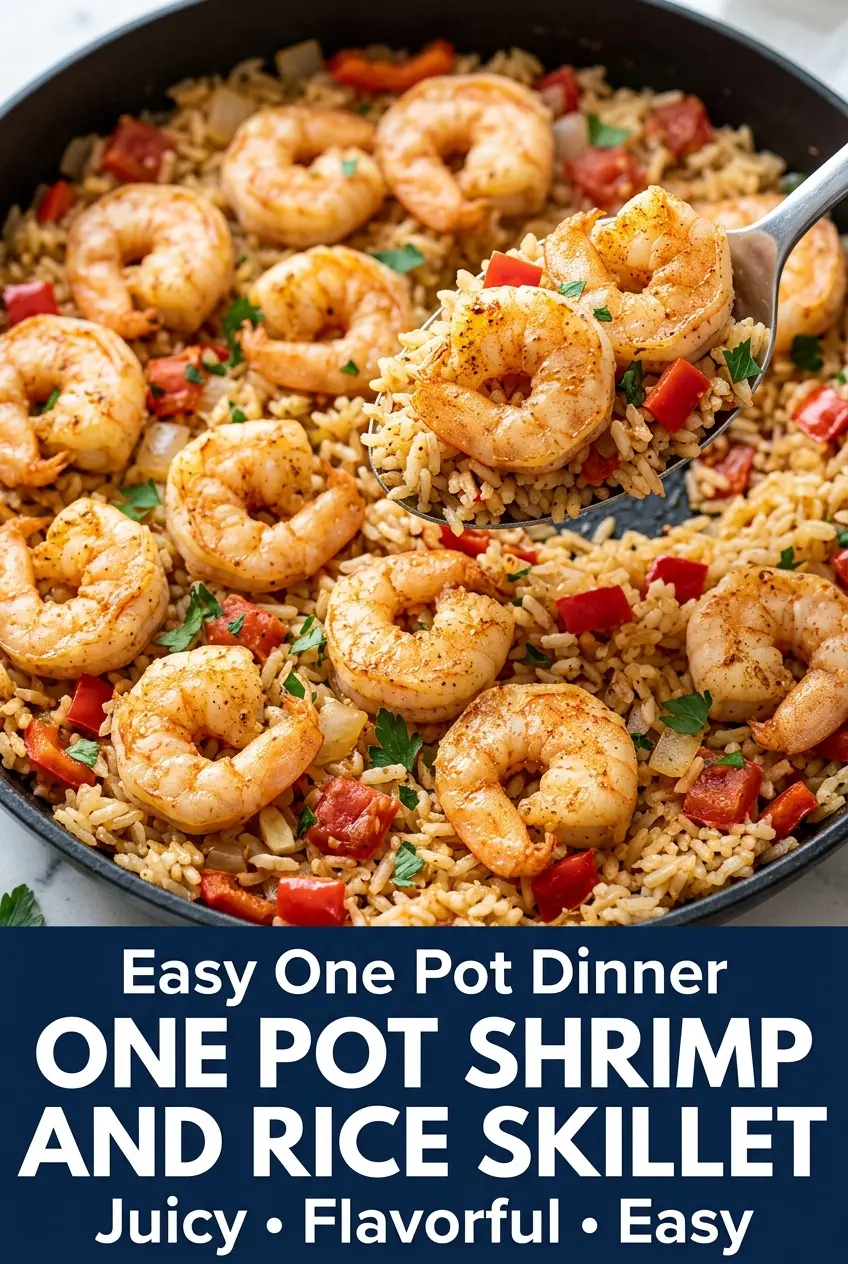
One Pot Shrimp and Rice Skillet
Ingredients
Equipment
Method
- Season the shrimp with smoked paprika, garlic powder, 0.25 tsp salt, and black pepper. Make sure each piece is evenly coated (a light, even color on the surface is your cue).
- Heat 1 tbsp olive oil in a large skillet over medium-high heat. Cook the shrimp for 1–2 minutes per side until nearly opaque, then transfer to a plate (look for pink shrimp with slight translucency in the center).
- Add the remaining 1 tbsp olive oil to the skillet and warm over medium heat. Sauté the yellow onion and red bell pepper for 4–5 minutes until softened (they should look glossy and slightly browned).
- Stir in the garlic and cook for 30 seconds until fragrant. Keep it moving so it doesn’t brown (aroma should be sharp and sweet, not toasted-dark).
- Stir in the rice, dried oregano, ground cumin, and the remaining 0.25 tsp salt. Cook for 1 minute, lightly toasting the rice (you should see the grains turn slightly more opaque).
- Pour in the diced tomatoes and low-sodium chicken broth, then bring the mixture to a gentle boil. Tiny bubbles around the edges are your cue before lowering the heat.
- Reduce heat to low, cover the skillet, and simmer for 15–18 minutes until the rice is tender and most of the liquid has been absorbed. Lift the lid once near the end to check that the rice is fluffy and not soupy.
- Arrange the shrimp over the rice, then cover the skillet. Cook for another 2–3 minutes until the shrimp are fully opaque (no gray or translucent spots).
- Drizzle with fresh lemon juice and sprinkle with chopped fresh parsley. Serve directly from the skillet for best texture (fresh herb-green and bright lemon shine on top).