
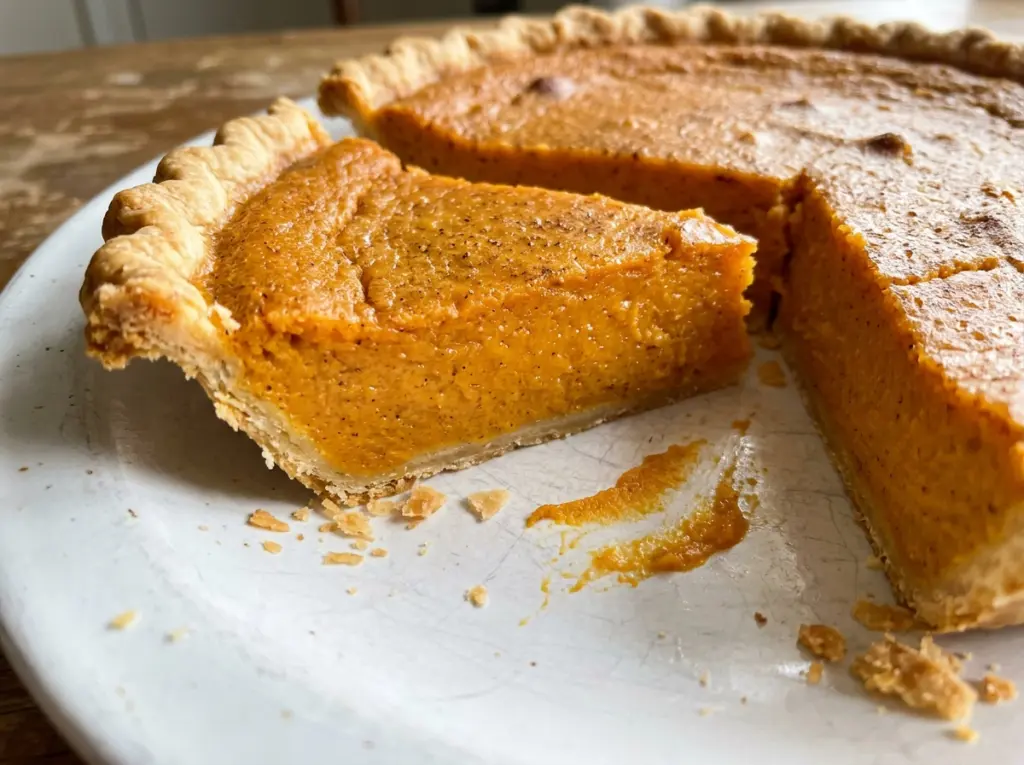
The sweet potatoes come out of the oven with skins that give way under a knife, and that’s when this pie starts to take shape. I bake them until they’re tender all the way through, then mash the flesh smooth before it goes into the custard. That little bit of care gives this old fashioned sweet potato pie with cinnamon and nutmeg a soft, even filling instead of a lumpy one.
The filling is simple: sweet potatoes, melted butter, eggs, evaporated milk, vanilla, and warm spices. I whisk everything together in one bowl, then pour it into a chilled crust. The pie starts in a hot oven and finishes at a lower temperature, so the center has time to set without asking the crust edges to take the full heat for the whole bake.
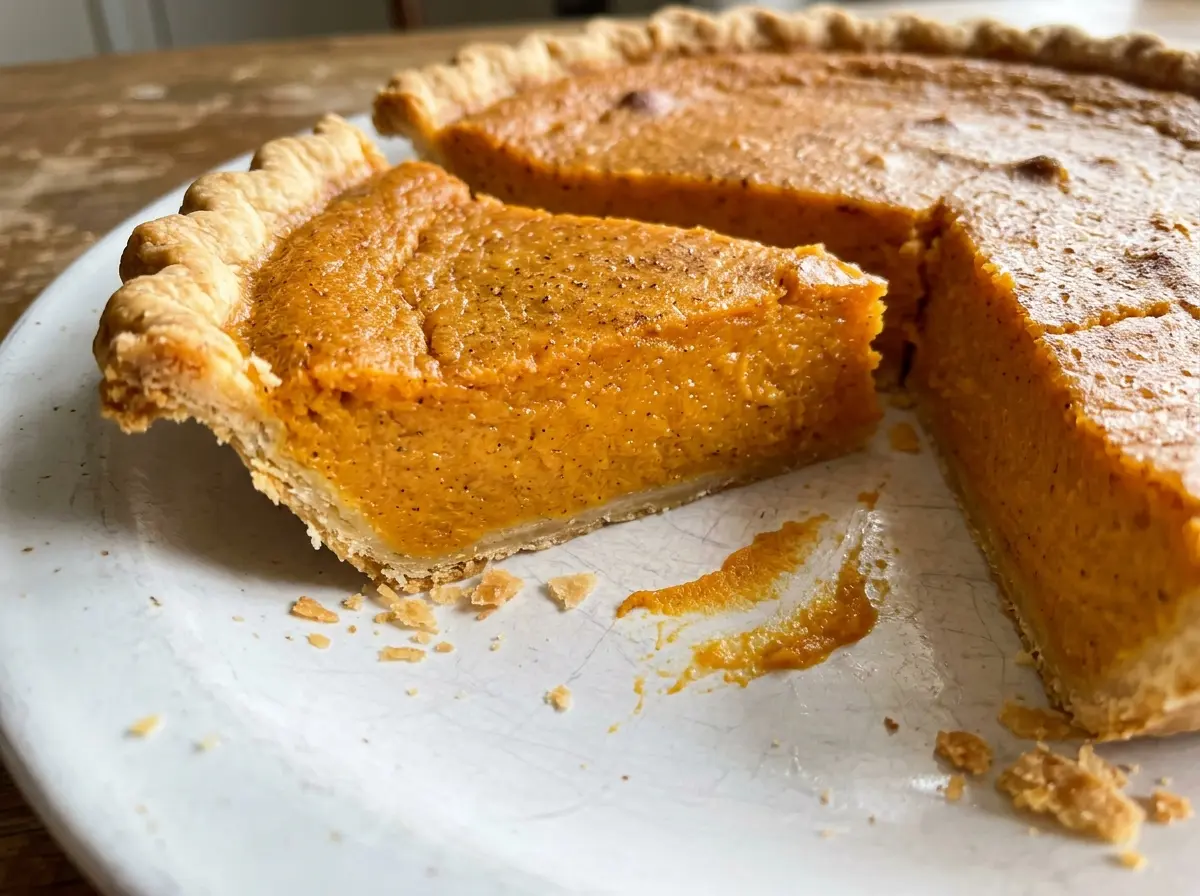
It’s the kind of pie that slices cleanly after a patient cool, with cinnamon and nutmeg in every forkful and a tender crust underneath. Give it the time it needs to cool, and the filling settles into a smooth, gently spiced slice.
Kitchen Note
Let the melted butter cool until it’s still fluid but no longer piping hot before whisking it with the eggs. That short pause helps the filling stay smooth instead of scrambling bits of egg in the bowl.
Save this old fashioned sweet potato pie for its smooth filling and cinnamon-nutmeg warmth, tucked into a flaky crust.
Why This Pie Starts Hot, Then Bakes Low
A sweet potato pie filling is a custard, not a cake batter. It needs enough heat to set, but a long stretch at high heat can leave the edges overdone before the middle has finished baking. This pie uses two oven temperatures to handle both jobs: a short start at 425°F, followed by a longer bake at 350°F.
That first stretch gives the chilled crust and filling a brisk start. Then the temperature drops while the pie stays in the oven, so the center can finish setting more gently. Keep the pie in place when you lower the oven temperature; taking it out to wait would interrupt that steady bake. If the crust edges brown too quickly, a loose foil shield gives them a little protection while the center catches up.
Sweet potatoes also bring their own moisture and texture to the custard, which is why the mash matters. Smooth potatoes blend evenly with the eggs and milk, while chunks can leave pockets that bake at a different rate. A well-mashed filling and a gradual finish give you the soft, cohesive texture this pie is meant to have.
What the Sweet Potatoes and Evaporated Milk Bring to the Filling

- Sweet potatoes — Their natural sweetness and soft flesh make the body of the filling. Bake whole potatoes until a knife slips easily into the thickest part, then mash the peeled flesh until smooth. Choose firm potatoes without soft spots; the recipe depends on their cooked texture, so canned sweet potatoes aren’t a one-for-one replacement.
- Evaporated milk — This concentrated milk gives the custard a creamy texture without making it as loose as regular milk could. Keep the can in the pantry for this pie; swapping in ordinary milk changes the balance of liquid in the filling.
- Eggs — Eggs help the filling set into slices rather than staying spoon-soft. Whisk them thoroughly with the mashed potatoes and other filling ingredients so the custard bakes evenly.
- Unsalted butter — Melted butter adds richness and rounds out the sweet potato. Unsalted butter also lets the measured salt do its job without making the filling taste overly salty.
- Cinnamon and nutmeg — Together, these ground spices give the filling its familiar warm aroma. If your jars have been open for years, their fragrance will be faint; fresh, fragrant ground spices make a more noticeable difference here than a premium brand of sugar.
- Refrigerated pie crust — A 9-inch unbaked crust gives the soft custard a sturdy base and saves the work of mixing pastry. Keep it chilled after fitting it into the pie plate so it’s ready to fill when the sweet potato mixture is smooth.
From Whole Sweet Potatoes to a Set, Sliceable Pie
Shape the crust and bake the potatoes
Heat the oven to 400°F. Fit the refrigerated crust into a 9-inch pie plate, crimp the edges, and put the crust in the refrigerator while you prepare the sweet potatoes. Prick the potatoes all over with a fork and set them on a rimmed baking sheet. Bake until a knife slides easily into the thickest part, which takes 45 to 60 minutes.
Cool, peel, and mash until smooth
Let the baked potatoes cool until they’re easy to handle, about 20 minutes. Peel them and mash the flesh until you don’t see lumps; stringy pieces or firm bits will show up in the finished custard. Measure 2 cups of mashed sweet potatoes for the filling. Once the potatoes are ready, raise the oven temperature to 425°F.
Whisk the custard without leaving lumps
In a large bowl, whisk the mashed sweet potatoes with the melted, slightly cooled butter, sugar, eggs, evaporated milk, vanilla, cinnamon, nutmeg, and salt. Scrape along the bottom and sides of the bowl so no streaks of egg or sweet potato stay behind. Keep whisking until the mixture looks even and smooth. Pour it into the chilled crust when the filling is ready.
Bake in two stages, then let the center settle
Bake the pie for 15 minutes at 425°F, then reduce the oven temperature to 350°F without removing the pie. Continue baking for 35 to 45 minutes, until the center reaches 160°F and is just set. If the crust edges brown too quickly, shield them with foil while the pie finishes. Transfer the pie to a wire rack and let it cool for at least 2 hours before slicing.
Small Spice Changes That Give This Pie a Different Character
Make it cinnamon-only
Leave the nutmeg out and keep the cinnamon in the filling. The result is familiar and warm, with a simpler spice note; the rest of the filling and bake stay the same.
Let nutmeg take the lead
Skip the cinnamon and use the nutmeg for a more direct, fragrant spice flavor. This keeps the sweet potato at the center while giving the pie a noticeably different aroma.
Storage and Reheating
- Refrigerator: After the 2-hour cooling period, cover the pie and refrigerate it promptly. It keeps for 3 to 4 days; the crust softens as it sits.
- Freezer: Freeze the fully cooled pie tightly wrapped for up to 1 month. Thaw it overnight in the refrigerator; the custard may be a little less silky after freezing.
- Reheating: Warm individual slices in the microwave in short bursts, checking between each one. Avoid heating a slice for too long at once, which can make the custard hot and rubbery at the edges.
Questions I Get Asked About This Sweet Potato Pie
Old Fashioned Sweet Potato Pie with Cinnamon and Nutmeg
Ingredients
Equipment
Method
- Preheat the oven to 400°F.
- Fit the refrigerated unbaked pie crust into a 9-inch pie plate.
- Crimp the edges of the crust.
- Refrigerate the crust until ready to fill.
- Prick the sweet potatoes all over with a fork.
- Place the sweet potatoes on a rimmed baking sheet.
- Bake for 45–60 minutes, until a knife slides easily into the thickest part.
- Cool the sweet potatoes until easy to handle, about 20 minutes.
- Peel the sweet potatoes.
- Mash the sweet potatoes until smooth.
- Measure 2 cups of mashed sweet potatoes.
- Reduce the oven temperature to 425°F.
- In a large bowl, whisk the mashed sweet potatoes, melted and slightly cooled unsalted butter, granulated sugar, large eggs, evaporated milk, vanilla extract, ground cinnamon, ground nutmeg, and salt until smooth.
- Pour the filling into the chilled crust.
- Bake for 15 minutes at 425°F.
- Reduce the oven temperature to 350°F without removing the pie.
- Bake for 35–45 minutes, until the center reaches 160°F and is just set.
- Shield the crust edges with foil if they brown too quickly.
- Cool the pie on a wire rack for at least 2 hours before slicing.