
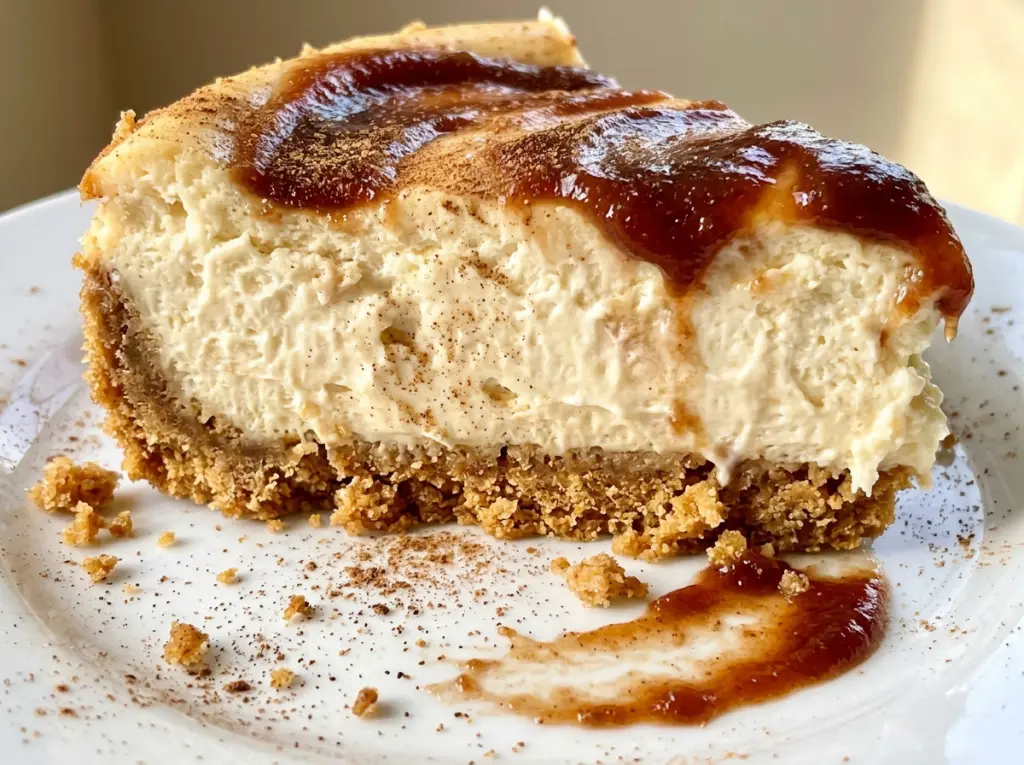
When a cheesecake comes out of the oven, the center should still have a little wobble; waiting for it to look completely firm is how the edges end up dry. I watch for that gentle jiggle in this apple butter cheesecake, then let the oven’s leftover warmth finish the slow transition. The result is a smooth, creamy filling instead of a firm, overbaked one.
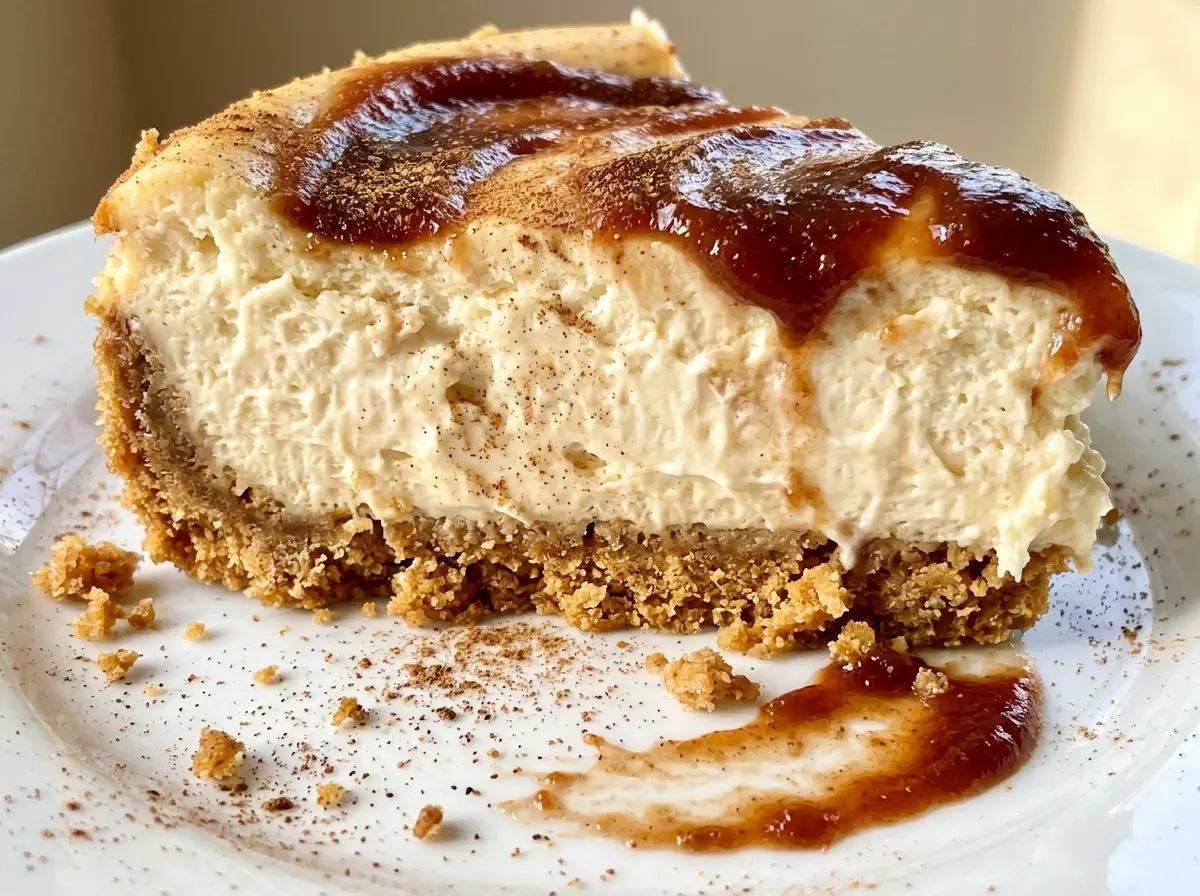
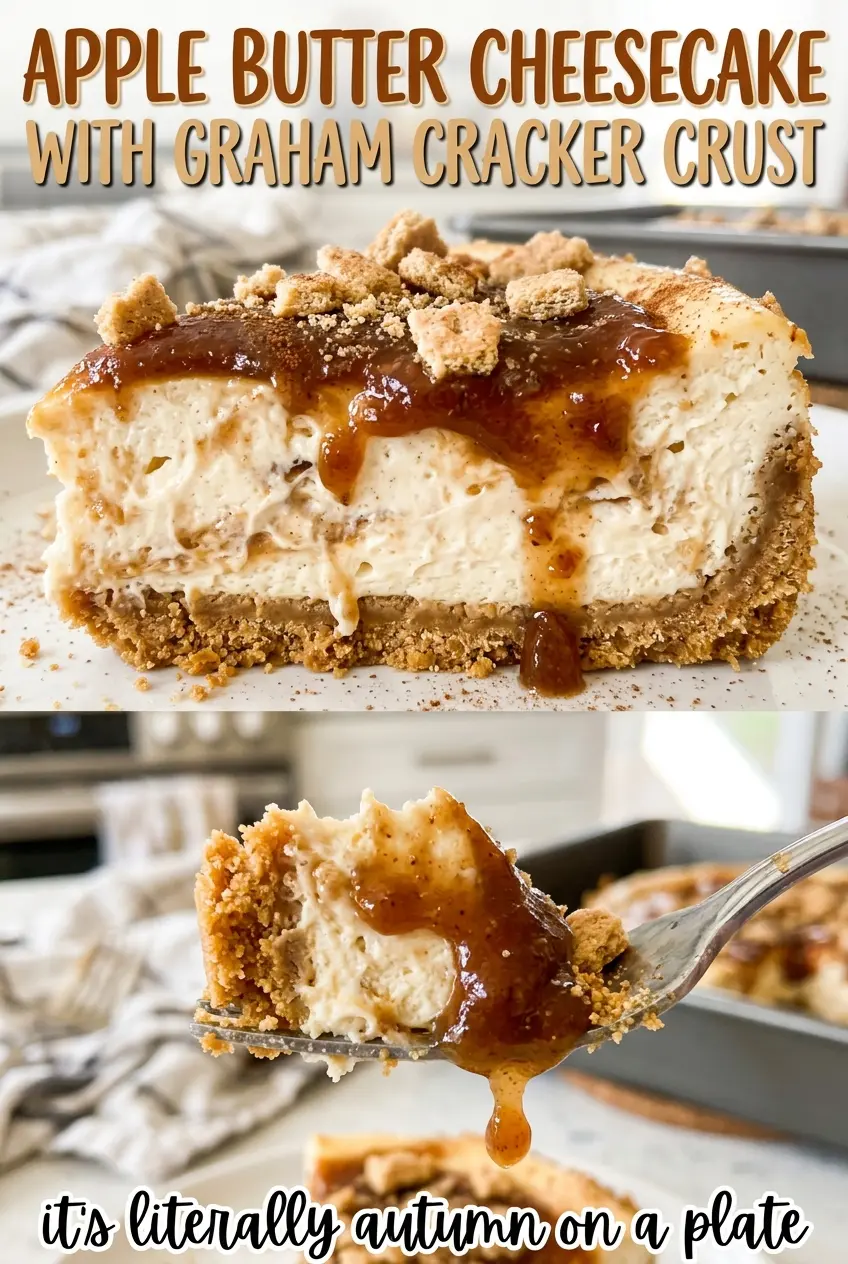
Apple butter does two jobs here: some is mixed into the filling, and the rest becomes a soft ribbon on top. That split gives every slice apple flavor without losing the pretty swirl. A graham cracker crust adds a buttery, lightly crisp base, while sour cream gives the filling a pleasant tang. Once the cheesecake has chilled until fully set, each slice holds together cleanly and shows off those apple-butter streaks.
Kitchen Note
The foil needs to make two complete layers around the springform pan before it goes into the water bath. Press it snugly around the outside; a loose seam can let water seep toward the crust.
Save this apple butter cheesecake for its creamy filling, graham crust, and apple-butter swirl that makes every slice look special.
Why the Apple Butter Goes in Twice
Apple butter is concentrated enough to bring a clear apple flavor to the filling, but putting all of it in one place changes what you get in the finished cheesecake. The portion beaten into the cream cheese spreads that flavor throughout the filling. The smaller portion saved for the surface stays distinct, so you get a ribbon of apple butter instead of a plain, uniformly colored top.
That top swirl is meant to be gentle. Spoon the reserved apple butter in small dollops, then draw a knife through them just enough to make a pattern. If you keep stirring, the apple butter blends into the filling and the contrast disappears. A few loose passes give you visible ribbons without turning the surface into a muddle. It’s a small detail, but it lets the apple butter show up both in the creamy center and in the first bite from the top.
What Gives the Crust and Filling Their Structure
- Graham cracker crumbs — Fine, evenly crushed crumbs make a crust that presses together instead of breaking into loose chunks. Store-bought crumbs are convenient; if you crush graham crackers yourself, aim for a fine, sandy texture.
- Unsalted butter and sugar — Melted butter binds the crumbs, while granulated sugar adds sweetness and helps the crust bake into a firm base. Unsalted butter keeps the crust from picking up salt that isn’t accounted for elsewhere.
- Cream cheese and sour cream — Plain, unwhipped cream cheese gives the filling its dense, creamy body, and sour cream brings a little tang to balance the sweetness. Let both come to room temperature so they blend smoothly rather than leaving small cream cheese lumps.
- Apple butter — Choose a thick, smooth apple butter so it blends into the filling and stays in defined dollops on top. Applesauce isn’t an equal replacement: it’s thinner and less concentrated, so it won’t give the same texture or flavor.
- Eggs and flour — Room-temperature eggs incorporate more evenly when added one at a time. The small amount of flour helps the filling hold its shape; mixing it with the cream cheese at the start keeps it from clumping later.
- Vanilla extract — Vanilla rounds out the apple and cream cheese flavors. Use the extract you already keep for baking; there’s no need for a specialty bottle here.
Build the Cheesecake Slowly, From Crust to Chill
Press and prebake the graham crust
Heat the oven to 325°F and grease the bottom and sides of a 9-inch springform pan. Wrap the outside in two layers of heavy-duty foil, then stir the graham cracker crumbs, melted butter, and sugar together until evenly moistened. Press the mixture firmly across the bottom of the pan so the crust doesn’t crumble when sliced. Bake it for 10 minutes, then set it aside to cool while you prepare the filling.
Mix the filling on low
Beat the softened cream cheese, sugar, and flour with an electric mixer on low speed until smooth, scraping down the bowl as needed. Keep the mixer at low speed; whipping in a lot of air can leave the baked filling more prone to puffing and settling. Beat in the first portion of apple butter, the room-temperature sour cream, and vanilla until combined. Add the room-temperature eggs one at a time, mixing just until each disappears into the batter.
Swirl the top and set up the water bath
Pour the filling over the cooled crust and spoon the remaining apple butter across the surface in small dollops. Draw a knife gently through the dollops to make a loose swirl; don’t stir until the color is uniform. Set the springform pan inside a large roasting pan, then pour hot water into the roasting pan until it reaches halfway up the sides of the springform. Pour carefully so water doesn’t splash into the cheesecake.
Bake, cool, and chill before slicing
Bake at 325°F for 70–85 minutes. The edges should look set, while the center should still jiggle slightly when you nudge the pan; a fully firm center has gone too far. Turn off the oven, prop the door open slightly, and leave the cheesecake inside for 1 hour. Remove the pan from the water bath, carefully take off the foil, and cool it on a wire rack to room temperature; then cover and refrigerate for at least 6 hours, until fully chilled and set, before releasing the ring and slicing.
Simple Ways to Adapt the Apple Butter Cheesecake
Make it gluten-free
Use gluten-free graham-style crumbs in place of the regular crumbs and a gluten-free 1-to-1 flour blend in place of the all-purpose flour. Keep the amounts and method the same. The crust may have a slightly different crumb, but the filling still bakes up creamy.
Go for an all-through apple-butter filling
For a smooth, evenly flavored top instead of a visible swirl, beat all of the apple butter into the filling before adding the eggs. The apple flavor will run through each slice, but you won’t have ribbons across the surface.
Storage and Reheating
- Refrigerator: Cover and refrigerate for up to 4 days. The crust will gradually soften as it sits, though the chilled filling stays sliceable.
- Freezer: Freeze individual slices or the whole cheesecake, wrapped tightly and stored in an airtight container, for up to 2 months. Thaw in the refrigerator before serving.
- Reheating: This cheesecake is best served chilled, so don’t warm it. Let slices sit out briefly if you prefer a softer bite; heating can make the filling slump and the crust lose its texture.
Questions That Come Up With This Apple Butter Cheesecake
Apple Butter Cheesecake with Graham Cracker Crust
Ingredients
Equipment
Method
- Preheat the oven to 325°F.
- Grease the bottom and sides of a 9-inch springform pan.
- Wrap the outside of the pan in two layers of heavy-duty foil.
- Stir the graham cracker crumbs, melted unsalted butter, and granulated sugar together in a medium bowl.
- Press the crumb mixture firmly into the bottom of the pan.
- Bake the crust for 10 minutes.
- Set the crust aside to cool while you make the filling.
- Beat the cream cheese, sugar, and flour with an electric mixer on low speed until smooth, scraping down the bowl as needed.
- Beat in 1/2 cup of the apple butter, the sour cream, and vanilla until combined.
- Add the eggs one at a time, mixing on low just until each is incorporated.
- Pour the filling over the cooled crust.
- Spoon the remaining 1/4 cup apple butter over the surface in small dollops.
- Gently swirl the apple butter through the top with a knife.
- Set the springform pan in a large roasting pan.
- Pour hot water into the roasting pan until it reaches halfway up the sides of the springform pan.
- Bake at 325°F for 70–85 minutes, until the edges are set and the center still jiggles slightly when the pan is gently nudged.
- Turn off the oven.
- Prop the oven door open slightly.
- Leave the cheesecake inside for 1 hour.
- Remove the springform pan from the water bath.
- Carefully remove the foil.
- Cool the cheesecake on a wire rack until it reaches room temperature.
- Cover the cheesecake.
- Refrigerate for at least 6 hours, until fully chilled and set.
- Release the springform ring and slice the cheesecake.