
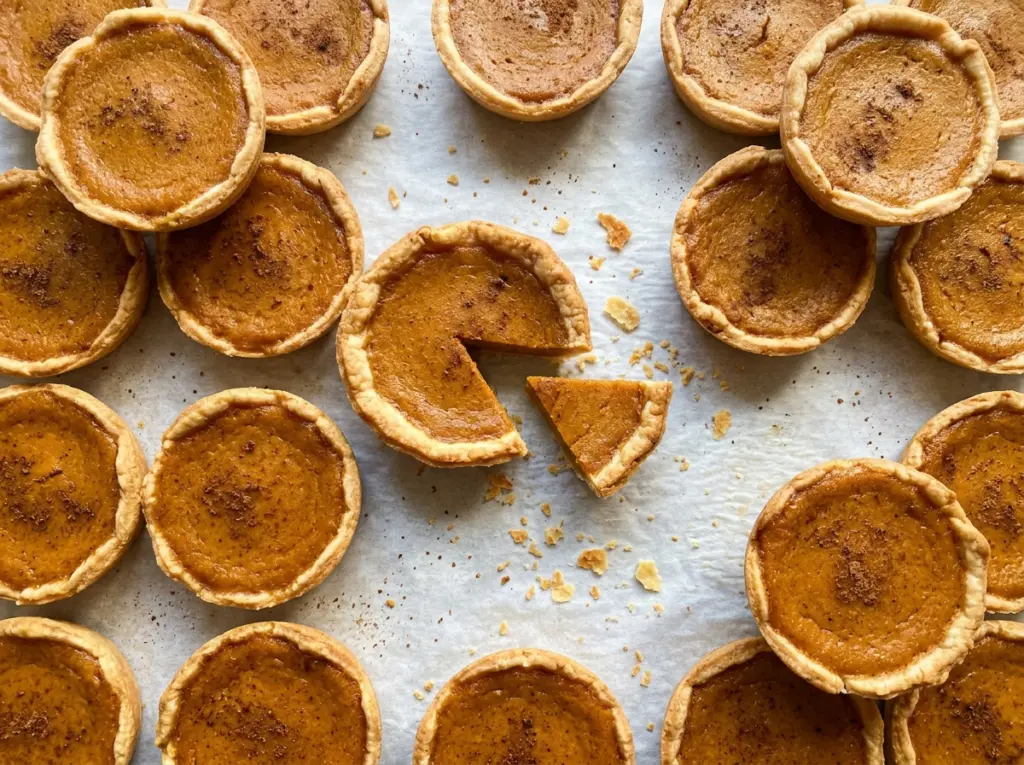
The first thing I watch with mini pies is the crust: a small shell can go from crisp to damp once the filling goes in. I blind-bake these shells before adding the pumpkin custard, so the bottoms have a head start and hold their flaky texture beneath the filling. The result is a batch of mini pumpkin pies with flaky butter crust that fit neatly into a standard muffin tin.
Cold butter and a light hand matter more here than a perfectly smooth dough. I stop cutting the butter in when the pieces are about pea-size, then add just enough ice water for the dough to hold together when pinched. That leaves little pockets of butter in the crust, while the separate pre-bake gives each shell time to dry before the pumpkin mixture goes in. You get tender pastry, warmly spiced filling, and a slight jiggle in the center instead of a dry, firm custard.
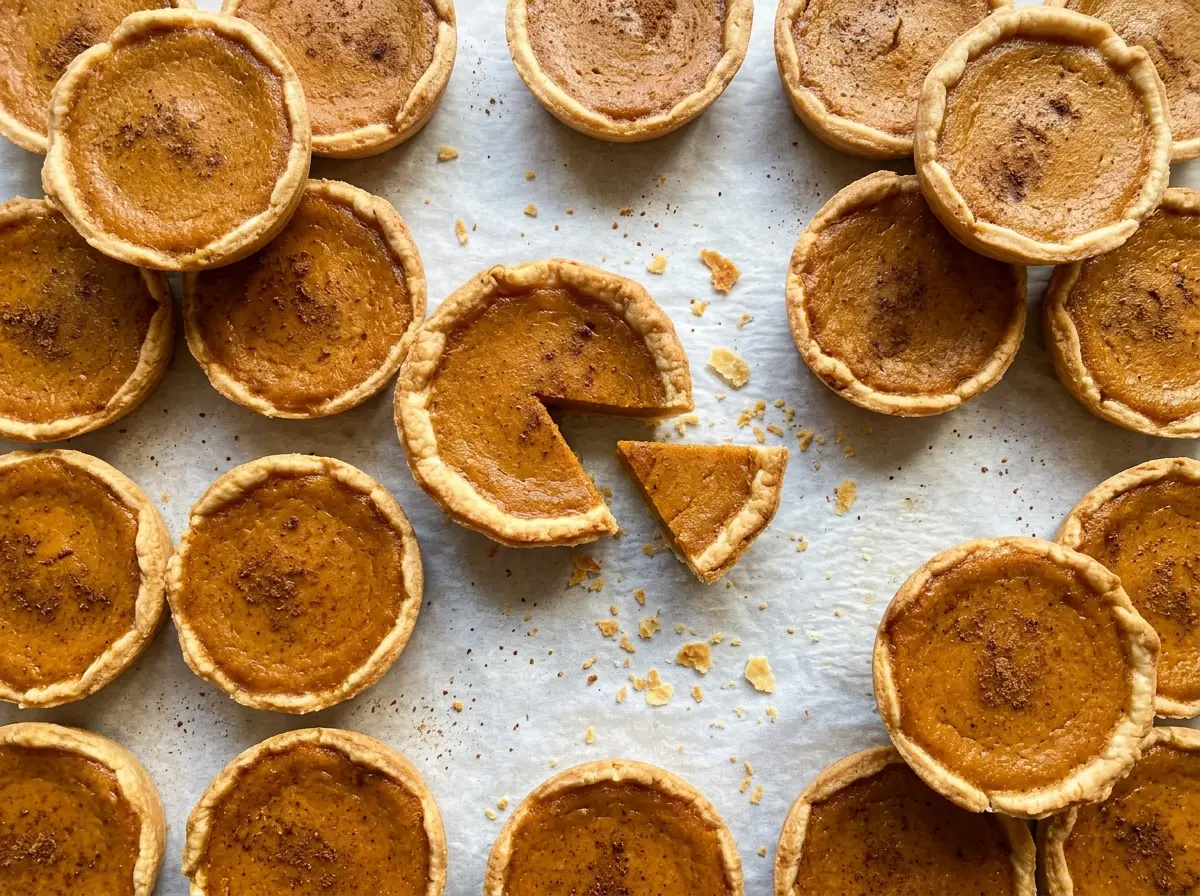
Kitchen Note
Use plain pumpkin puree, not pumpkin pie filling. The pie-filling version is already sweetened and spiced, so it throws off the balance of this custard.
Save these mini pumpkin pies with flaky butter crust for a holiday table or a small-batch dessert—crisp pastry, smooth spiced centers, and tidy individual portions.
Why These Pumpkin Pies Need a Two-Stage Bake
Putting pumpkin custard straight into raw pastry gives the crust very little time to set before it meets a wet filling. Mini shells are especially vulnerable because there isn’t much pastry between the filling and the tin. Baking the empty shells first solves that problem: the initial bake sets the pastry, and the short uncovered finish dries the bottoms before the custard goes in.
The pie weights matter during that first bake. They hold the pastry in place so the bottoms don’t puff up and the sides don’t slump inward. After the weights come out, the shells return to the oven briefly; look for bottoms that appear dry rather than glossy or damp. That small pause in the process is what helps the finished pies keep a distinct flaky crust instead of turning soft underneath the filling.
The filling bake is different from the shell bake. Pumpkin custard keeps setting as it cools, so the centers should still move just a little when you nudge the pan. Waiting for every center to look completely firm in the oven is a common route to an overbaked, less tender filling.
Why Pumpkin Puree, Evaporated Milk, and Cold Butter Matter
- All-purpose flour and cold unsalted butter — Flour gives the shells their structure, while cold butter creates the small pockets that make the crust flaky. Keep the butter cold as you work; if you need a gluten-free version, use a cup-for-cup gluten-free flour blend in the same amount, though the dough will be more delicate to roll and fit into the cups.
- Pumpkin puree — Canned puree gives the custard a consistent texture and saves you from having to cook and drain fresh pumpkin. If using homemade puree, it needs to be thick rather than watery; excess moisture can leave the filling loose.
- Evaporated milk and eggs — Together, these turn the pumpkin into a custard that slices cleanly once cool. Evaporated milk is concentrated, so ordinary milk won’t give the same body; use the specified kind for the most reliable set.
- Light brown sugar — Its molasses notes round out the pumpkin and spices. Pack it into the measuring cup so the sweetness stays consistent from batch to batch.
- Cinnamon, ginger, nutmeg, and cloves — The blend tastes warmly spiced without leaning on one note alone. Fresh, fragrant spices make a difference here; old spices tend to leave the filling tasting muted.
How to Keep the Shells Crisp Before the Custard Goes In
Bring the dough together without overworking it
Combine the flour with half of the salt, then cut in the cold butter until the pieces are about pea-size. Drizzle in four tablespoons of ice water and toss gently; the dough is ready when it holds together when pinched. Add the last tablespoon only if it still crumbles, then shape the dough into a disk, wrap it, and refrigerate it for an hour.
Fit and chill the muffin-tin shells
Heat the oven to 375°F and lightly coat a standard 12-cup muffin tin with cooking spray. Roll the dough about 1/8 inch thick between sheets of parchment and cut twelve 4-inch rounds, rerolling the scraps as needed. Press each round gently into a cup’s corners and prick the bottom a few times with a fork. Chill the lined tin for 15 minutes before baking so the shaped pastry goes into the oven cold.
Blind-bake until the bottoms look dry
Line each shell with a small piece of parchment and fill it with pie weights. Bake for 12 to 14 minutes, then carefully remove the parchment and weights and bake for another 3 to 4 minutes. The bottoms should look dry, not shiny. If the dough has puffed slightly, don’t press it down while hot; let the next bake and filling stage continue as planned.
Bake the filling to a slight jiggle
Lower the oven to 350°F. Whisk the pumpkin, brown sugar, cinnamon, ginger, nutmeg, cloves, remaining salt, eggs, and evaporated milk until smooth, then divide the filling among the shells, leaving about 1/4 inch at the top. Bake for 20 to 25 minutes, until the centers reach 160°F and jiggle just slightly when the pan is gently nudged. Cool the pies in the tin for 20 minutes, loosen the edges, and move them to a wire rack for at least 1 hour before serving.
Three Small Changes for a Different Spice or Crust
A softer, clove-free spice blend
Leave out the ground cloves and keep the other filling ingredients the same. The pumpkin and cinnamon come forward more clearly, and the filling loses the sharper, more aromatic edge that cloves bring.
A gentler, cinnamon-led filling
For a simpler spice flavor, leave out the ginger, nutmeg, and cloves while keeping the cinnamon. The custard tastes less layered and more familiar, which is a handy option when you want the pumpkin to stand out.
A gluten-free crust
Use a cup-for-cup gluten-free flour blend in place of the all-purpose flour, keeping the rest of the crust method the same. The dough may be more fragile around the edges, so handle the rounds gently as you fit them into the cups; the pumpkin filling itself is naturally gluten-free.
Storage and Reheating
- Refrigerator: Store covered for up to 4 days. The crust softens somewhat as it sits beside the custard.
- Freezer: Freeze fully cooled pies in a single layer until firm, then wrap them well and freeze for up to 1 month. Thaw in the refrigerator; the pastry may be a little less crisp after thawing.
- Reheating: These are best chilled or brought to room temperature. Reheating isn’t necessary, and microwaving can make the crust soft.
Questions About Mini Pumpkin Pies
Mini Pumpkin Pies with Flaky Butter Crust
Ingredients
Equipment
Method
- Combine the flour and 1/2 teaspoon salt in a bowl, then cut in the butter with a pastry blender until the pieces are about pea-size.
- Drizzle in 4 tablespoons ice water, tossing gently until the dough holds together when pinched; add the remaining tablespoon only if needed.
- Shape the dough into a disk, wrap, and refrigerate for 1 hour.
- Heat the oven to 375°F and lightly coat a standard 12-cup muffin tin with cooking spray.
- Roll the dough about 1/8 inch thick between sheets of parchment and cut twelve 4-inch rounds, rerolling scraps as needed.
- Fit a dough round into each muffin cup and press it gently into the corners.
- Prick each bottom a few times with a fork, then refrigerate the lined tin for 15 minutes.
- Line each shell with a small piece of parchment and fill with pie weights.
- Bake for 12 to 14 minutes, remove the parchment and weights, then bake 3 to 4 minutes more, until the bottoms look dry.
- Reduce the oven to 350°F.
- Whisk the pumpkin, brown sugar, cinnamon, ginger, nutmeg, cloves, remaining 1/4 teaspoon salt, eggs, and evaporated milk until smooth.
- Divide the filling evenly among the shells, leaving about 1/4 inch at the top.
- Bake for 20 to 25 minutes, until the centers reach 160°F and jiggle just slightly when the pan is gently nudged.
- Cool the pies in the tin for 20 minutes, then loosen the edges and transfer them to a wire rack to cool for at least 1 hour before serving.