
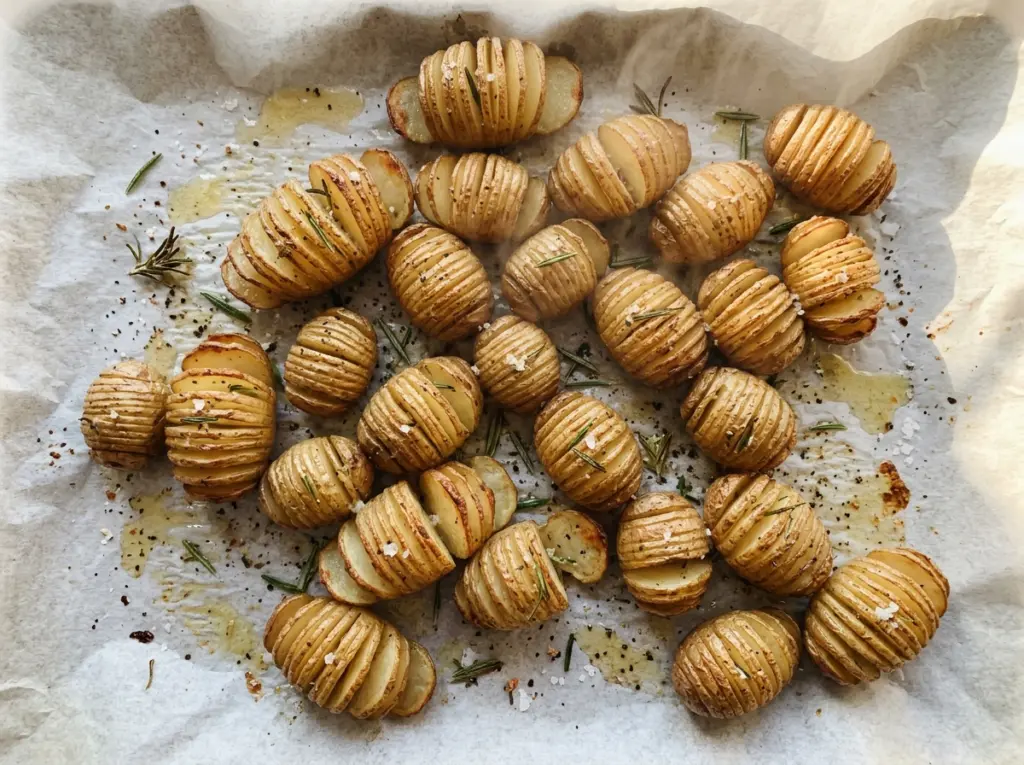
The little cuts are the fussy part: go too deep and a baby potato can split apart; stop too high and it won’t open into those crisp-edged fans. I use chopsticks as a guide, then let the potatoes roast undisturbed on a parchment-lined pan. That gives these Mini Hasselback Potato Appetizers their pretty shape without turning prep into a knife-skill test.
The first roast gives the potatoes time to soften before the melted butter goes on. Brushing it over the tops and into the cuts helps the edges brown while the centers finish cooking. I like the contrast of a hot, tender potato with cool sour cream and fresh chives on the side: each bite has a crisp edge, a soft middle, and a little tang.
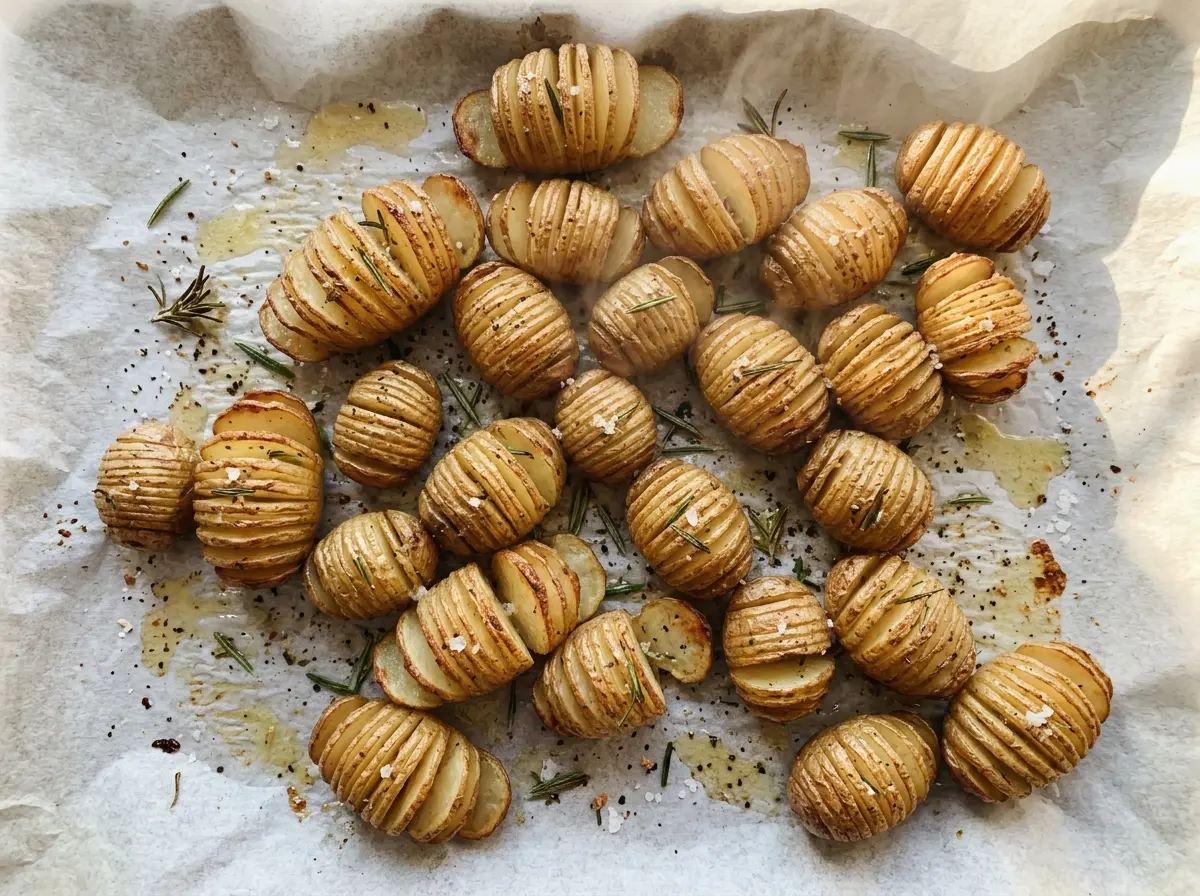
Kitchen Note
I keep the sour cream dip in its own bowl instead of spooning it over the potatoes. That way the crisp edges stay crisp, and everyone can dip each hot bite as they go.
Save these Mini Hasselback Potato Appetizers for crisp golden edges, tender centers, and a quick chive sour cream dip.
The Uncut Base Is What Keeps Each Potato in One Piece
Hasselback potatoes need slices that open but don’t separate. On a small potato, that narrow strip of uncut flesh at the bottom is doing more than holding the slices together: it lets you lift and turn the potato as one piece, and it keeps the fan standing on the pan instead of flopping onto its side. Once the cuts are exposed to the oven, the edges can brown while the base stays soft enough to support them.
That’s why I use baby Yukon Gold potatoes in a fairly tight size range rather than grabbing any small potato in the bin. If the potatoes vary a lot in width, the smaller ones may finish before the larger ones, and cuts that look shallow on a big potato can go all the way through a little one. Keeping them close in size makes the roasting more even and makes the cutting easier to control. The chopsticks or wooden spoon handles act as a simple stop for the knife; they aren’t there to press down on the potato.
Why Yukon Golds, Olive Oil, and Butter Each Matter Here
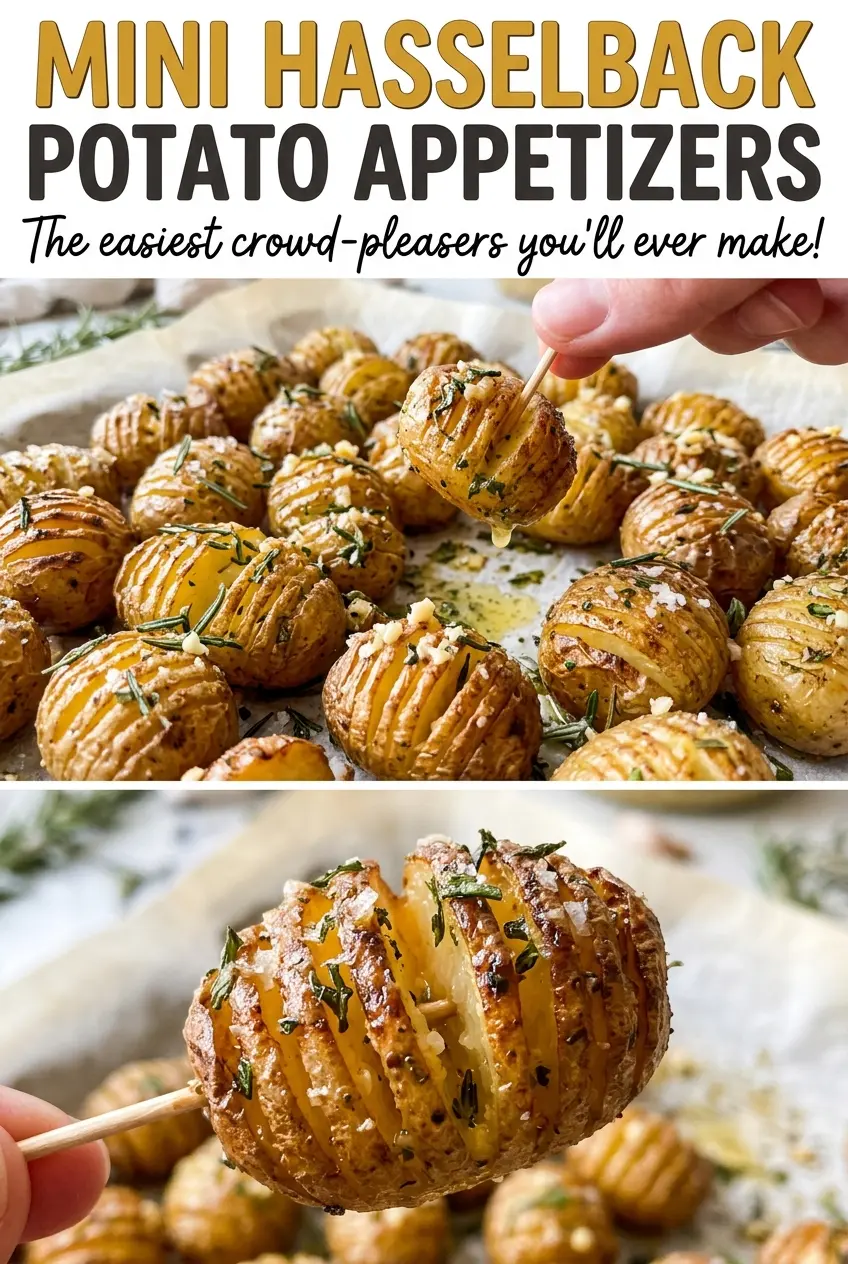
- Baby Yukon Gold potatoes — Their creamy flesh stays tender while the cut edges crisp. The specified small size also matters for the slicing and timing; larger potatoes won’t behave like these little appetizers. Choose firm potatoes with smooth skins, and scrub them well since they’re served with the skins on.
- Olive oil — It coats the potatoes before the first roast and helps seasonings cling to the surfaces. A basic olive oil is fine here; there’s no need for an expensive finishing oil because the potatoes roast in it.
- Unsalted butter — Brushed on partway through roasting, it adds a richer finish than oil alone. Unsalted butter lets the measured kosher salt stay in control. For a dairy-free version, the olive oil already used for the potatoes can replace the butter in an equal amount, though the result won’t have the same buttery taste.
- Sour cream and fresh chives — Sour cream gives the dip its cool, tangy body, while fresh chives add a mild onion note. Fresh chives have a brighter taste and softer texture than dried ones; chop them shortly before stirring them in. I don’t recommend swapping in a thinner dip, since it won’t cling to the potatoes as neatly.
Cut, Roast, and Finish the Potatoes Without Losing the Fan Shape
Make Even Cuts Without Slicing Through
Heat the oven to 425°F and line an 18×13-inch rimmed baking sheet with parchment paper. Scrub and dry the baby potatoes, then place each one between chopsticks or wooden spoon handles. Cut crosswise at 1/8-inch intervals, stopping about 1/4 inch from the bottom so every slice stays attached.
Coat the Potatoes Before They Go on the Pan
Toss the cut potatoes with the olive oil, kosher salt, and black pepper until they’re evenly coated. Arrange them cut side up on the prepared baking sheet, leaving room between them. That orientation gives the cut surfaces room to open as they roast; crowded potatoes are harder to handle and won’t brown as evenly.
Give Them Their First Roast
Roast the potatoes for 20 minutes before adding the butter. This first stretch lets the potatoes start softening while the cuts begin to separate. When you take the pan out, handle it carefully and keep the potatoes cut side up so the opened slices are ready for the next step.
Brush in the Butter and Roast Until Tender
Brush the melted butter over the potatoes and into the cuts, then return the pan to the oven. Roast for another 20 to 30 minutes, until the edges are crisp and a paring knife slips easily into the centers. The edges should look browned rather than pale, and the knife test matters more than judging the outside alone.
Stir the Dip and Serve While the Potatoes Are Hot
Stir the sour cream and chopped fresh chives together in a small bowl. Serve the potatoes hot with the dip. Keep the dip alongside rather than coating the tops, so each potato keeps its crisp finish until it’s dipped.
Two Simple Ways to Adapt These Potato Appetizers
Make the Potatoes Dairy-Free
Use the olive oil already in the recipe in place of the melted butter, using an equal amount, and leave out the sour cream dip. The potatoes will still roast and crisp, but they’ll taste less rich and won’t have the cool, tangy dip alongside.
Serve Them Without the Dip
Leave out the sour cream and chives when you want a potato-only bite. The seasoned potatoes still have the crisp edges and buttery finish; you’ll just lose the cool contrast and oniony note from the dip.
Storage and Reheating
- Refrigerator: Refrigerate leftover potatoes and dip promptly and use within 3 to 4 days. The potato edges soften in storage, and the dip won’t stay as fresh as it is on the day it’s made.
- Freezer: These aren’t my pick for freezing. The potatoes lose their crisp edges and can turn mealy after thawing, so they’re best made fresh.
- Reheating: Reheat the potatoes in the oven until hot, then serve with the cold dip. A microwave warms them quickly but softens the crisp edges.
Questions That Come Up While Making Hasselback Potatoes
Mini Hasselback Potato Appetizers
Ingredients
Equipment
Method
- Heat the oven to 425°F and line an 18x13-inch rimmed baking sheet with parchment paper.
- Scrub and dry the potatoes, then set each potato between chopsticks or wooden spoon handles and cut crosswise at 1/8-inch intervals, stopping about 1/4 inch from the bottom so the slices stay attached.
- Toss the potatoes with the olive oil, salt, and pepper, then arrange them cut side up on the baking sheet.
- Roast for 20 minutes, then remove the baking sheet and brush the melted butter over the potatoes and into the cuts.
- Return the potatoes to the oven and roast for 20 to 30 minutes, until the edges are crisp and a paring knife slips easily into the centers.
- Stir the sour cream and chives together in a small bowl.
- Serve the potatoes hot with the dip.