
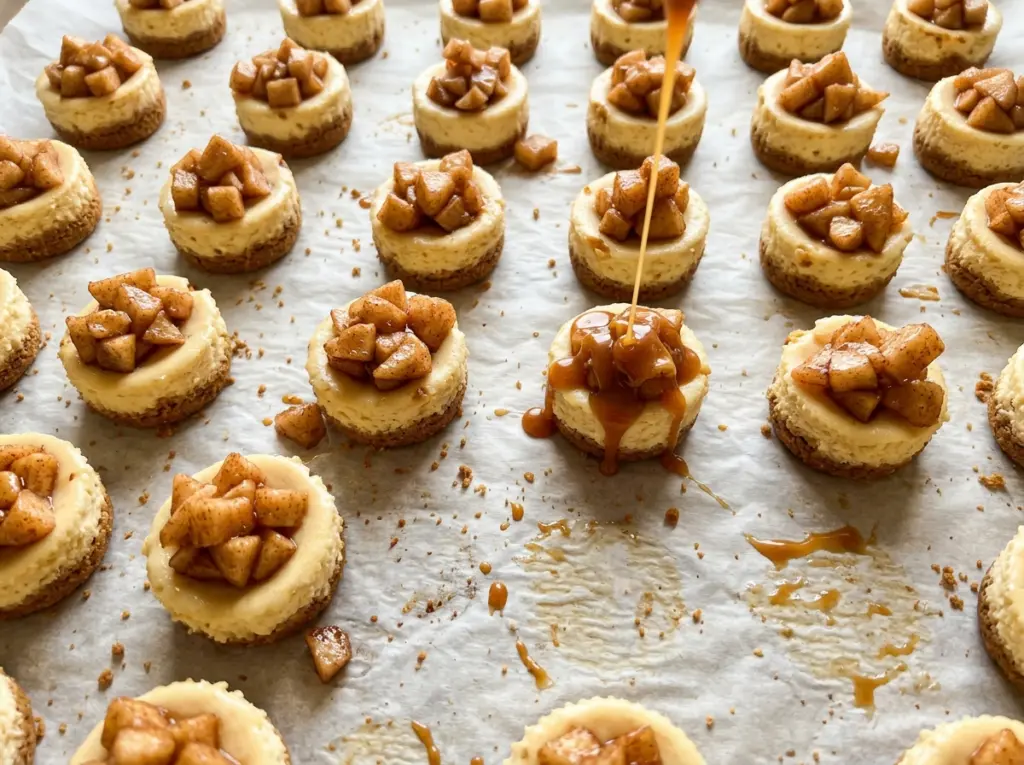
When the muffin pan comes out of the oven, the edges of these little cheesecakes should look set while the centers still have a gentle wobble. That can feel early if you’re used to baking one large cheesecake, but the small portions finish settling as they cool. Mini Caramel Apple Cheesecakes get their creamy texture from that careful stop, not from extra time in the oven.
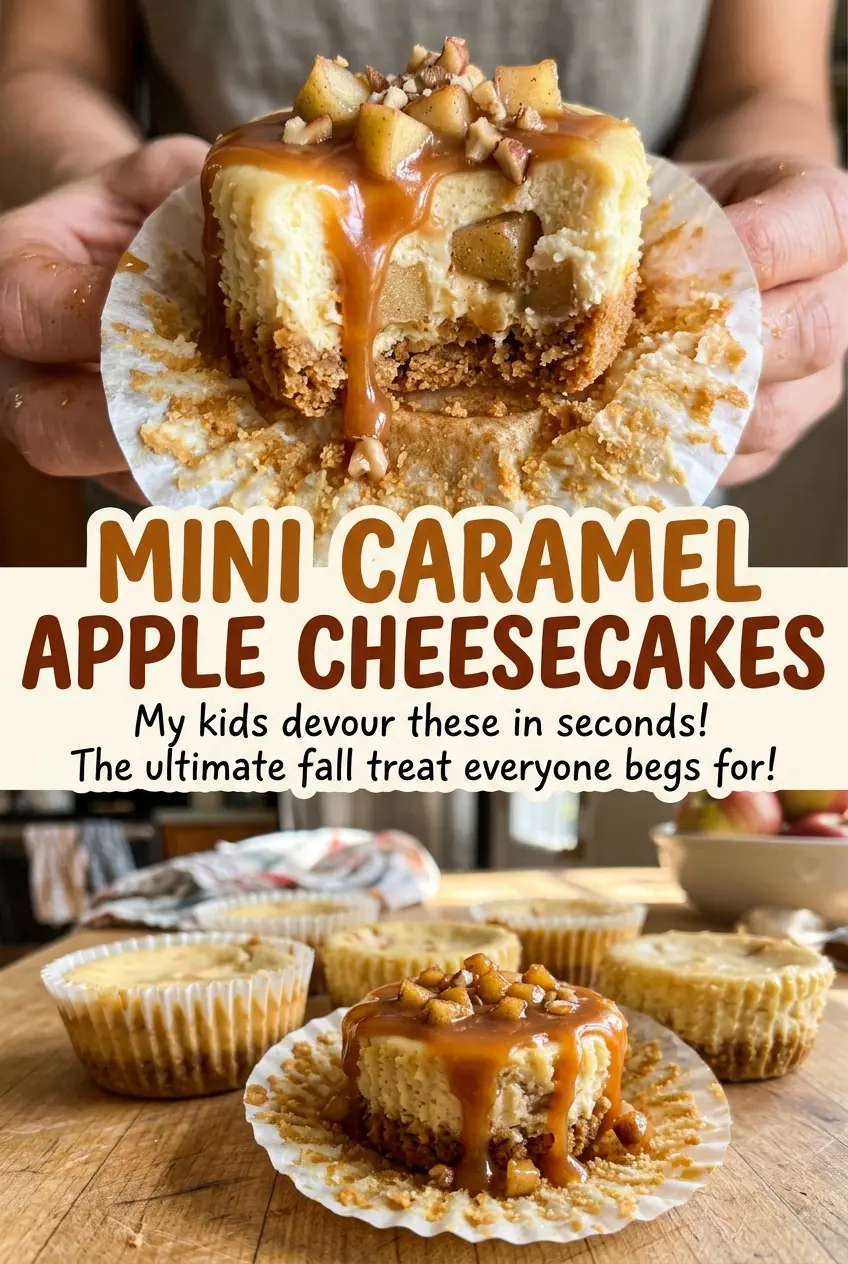
I keep the apple pieces small and cook them just until tender, so they still have a little shape on top of the smooth filling. A quick cornstarch slurry turns the buttery apple juices glossy, and a drizzle of caramel brings everything together without hiding the tart apples. After a good chill, each bite has a crisp graham base, cool cheesecake, and soft cinnamon apples.
Kitchen Note
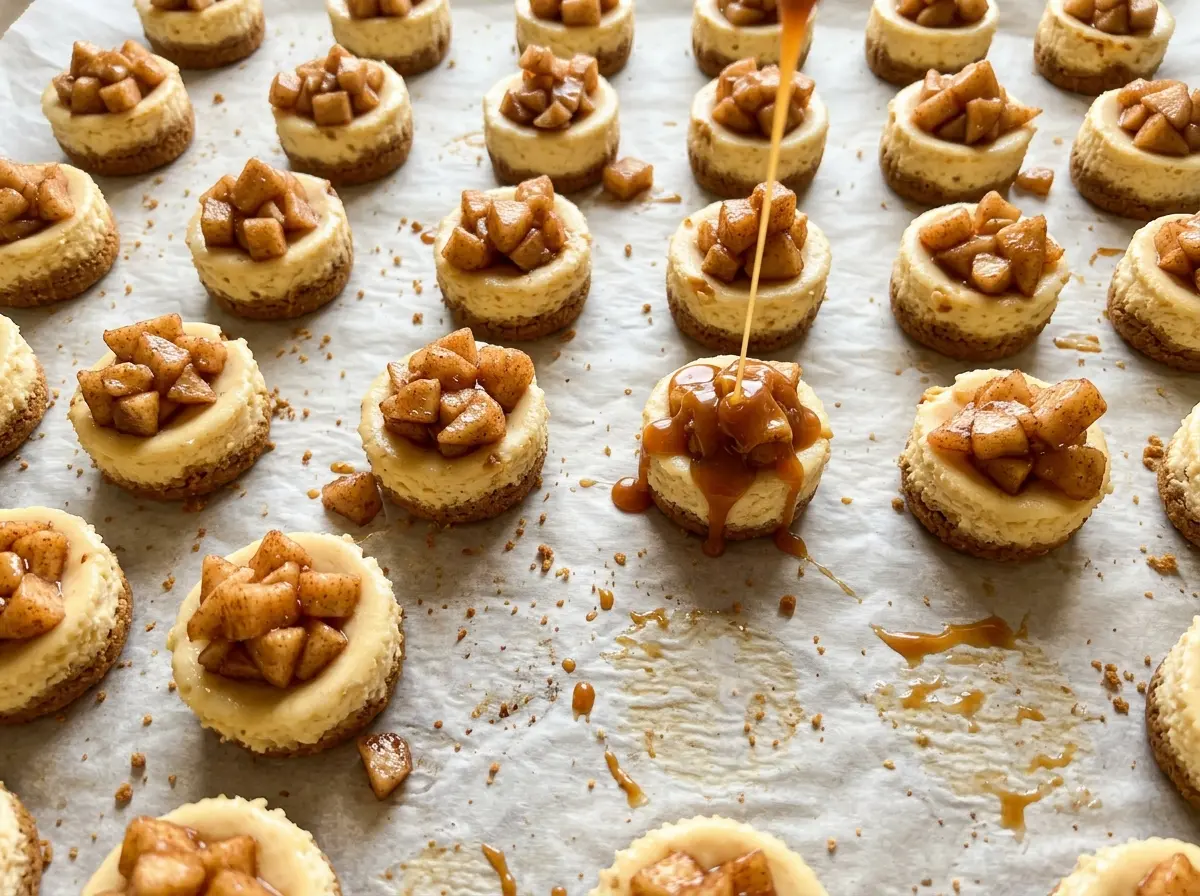
Let the apple topping cool completely before it goes on the cheesecakes. Warm topping can soften the chilled filling, while fully cooled apples stay neatly piled instead of slipping across the tops.
Save these mini caramel apple cheesecakes for a make-ahead dessert with cinnamon apples, creamy centers, and a caramel finish.
Why Mini Cheesecakes Need to Leave the Oven While the Centers Still Move
A fully firm center in the oven usually means these are already past the texture you want. The edges set first, while the middle should still jiggle slightly when you give the pan a careful nudge. Those small centers continue to settle as the cheesecakes cool in the muffin pan, then firm up during their long refrigerator chill.
That short window is why I pay more attention to the visual cue than to the earliest minute on the timer. Oven temperatures and muffin pans can vary, so start checking at 18 minutes; if the edges look set and the centers wobble gently, take the pan out. If the whole surface ripples like liquid, give it a little longer and check again. A gentle wobble is different from an unset filling, and stopping at the right point keeps the texture creamy rather than dense.
These are baked at a moderate temperature, and the individual portions don’t need a water bath. The small format makes it easy to watch each center through the oven door, so there’s no need to wait for the tops to look completely firm.
What Gives the Crust, Filling, and Apple Topping Their Different Textures
- Graham cracker crumbs — Fine, evenly crushed crumbs make a compact base that holds together under the filling. Packaged crumbs are convenient; if you crush crackers yourself, aim for a fine texture rather than large pieces. For a gluten-free version, use gluten-free graham cracker crumbs in the crust.
- Cream cheese and sour cream — The cream cheese gives the filling its body, while sour cream keeps it tender and adds a light tang. Use block cream cheese rather than a soft tub spread, which has a looser consistency. Standard grocery-store cream cheese and sour cream work well here; premium brands aren’t needed.
- Eggs and vanilla — Room-temperature eggs blend into the softened cream cheese more smoothly than cold eggs. Ordinary vanilla extract is plenty; it rounds out the dairy without competing with the apples or caramel.
- Granny Smith apples and cornstarch — Granny Smiths stay pleasantly tart against the brown sugar and caramel, and their firm flesh holds its shape as it cooks. Dice them evenly so the pieces soften at about the same pace. Cornstarch thickens the pan juices into a glossy coating instead of leaving them watery.
From Pressed Graham Crust to Glossy Cinnamon Apples
Pack and briefly bake the crumb bases
Heat the oven to 325°F and line a standard 12-cup muffin pan with paper liners. Stir the graham cracker crumbs with the melted butter and granulated sugar until the crumbs look evenly moistened. Divide them among the liners and press firmly into the bottoms; a compact layer is less likely to crumble when you peel away the liner. Bake for 5 minutes, then set the pan aside.
Mix the filling without whipping in extra air
Beat the softened cream cheese with the granulated sugar until smooth, stopping to scrape the bowl as needed. Add the eggs one at a time on low speed, then mix in the sour cream, vanilla, and salt just until combined. If cream cheese remains on the bowl’s sides, scrape it down before adding the eggs so the filling stays even. Divide the mixture among the crusts without filling the liners unevenly.
Bake to a gentle wobble, then chill thoroughly
Bake for 18 to 22 minutes, looking for set edges and centers that still jiggle slightly. Don’t wait for the centers to become motionless in the oven; they continue to settle as they cool. Let the cheesecakes cool in the pan for 20 minutes, then refrigerate them for at least 3 hours, until thoroughly chilled. The chill gives the filling enough structure to hold the apple topping.
Cook the apples until tender and the juices turn glossy
Melt the butter in a 10-inch skillet over medium heat, then add the diced apples, brown sugar, cinnamon, and lemon juice. Cook for 5 to 7 minutes, stirring occasionally, until the apples are tender but still hold their shape. Stir the cornstarch and water together, add the mixture to the skillet, and cook for 1 minute while stirring, until the juices look glossy and thickened. Transfer the topping to a bowl and cool completely, then spoon it over the chilled cheesecakes and drizzle with caramel sauce before serving.
Simple Swaps for a Different Crust or Apple Flavor
Make the crust gluten-free
Replace the regular graham cracker crumbs with gluten-free graham cracker crumbs, keeping the same crumb-to-butter-and-sugar ratio. The crust will have the same role and texture, though the exact flavor depends on the crackers you choose.
Use Honeycrisp apples for a sweeter topping
Swap the Granny Smith apples for firm Honeycrisp apples if you prefer less tartness. They bring a sweeter apple flavor and may soften sooner, so use the tender-but-still-holding-its-shape cue rather than cooking them past that point.
Make-Ahead and Storage
- Refrigerator: Keep the chilled cheesecakes covered and refrigerated for up to 4 days. The crust softens a little as it sits, especially after the topping is added.
- Freezer: Freeze the plain, chilled cheesecakes without the apples or caramel. Wrap them individually, place them in an airtight container, and use within 1 month for the best texture; thaw overnight in the refrigerator.
- Serving: These are served chilled, not reheated. For the best contrast in texture, keep the apple topping separate until you’re ready to finish the cheesecakes.
Questions That Come Up Before These Cheesecakes Go in the Oven
Mini Caramel Apple Cheesecakes
Ingredients
Equipment
Method
- Heat the oven to 325°F and line a standard 12-cup muffin pan with paper liners.
- Stir together the graham cracker crumbs, melted butter, and granulated sugar, then divide among the liners and press firmly into the bottoms.
- Bake for 5 minutes, then set the pan aside.
- Beat the cream cheese and granulated sugar in a large bowl until smooth, scraping down the sides as needed.
- Beat in the eggs one at a time on low speed, then mix in the sour cream, vanilla, and salt just until combined.
- Divide the filling evenly among the crusts.
- Bake for 18 to 22 minutes, until the edges look set and the centers still jiggle slightly.
- Cool the cheesecakes in the pan for 20 minutes.
- Refrigerate for at least 3 hours until thoroughly chilled.
- Melt the butter in a 10-inch skillet over medium heat, then add the apples, brown sugar, cinnamon, and lemon juice.
- Cook for 5 to 7 minutes, stirring occasionally, until the apples are tender but still hold their shape.
- Stir together the cornstarch and water, add to the skillet, and cook for 1 minute, stirring, until the juices are glossy and thickened.
- Transfer the topping to a bowl and cool completely.
- Spoon the cooled apple topping over the chilled cheesecakes and drizzle with the caramel sauce before serving.