

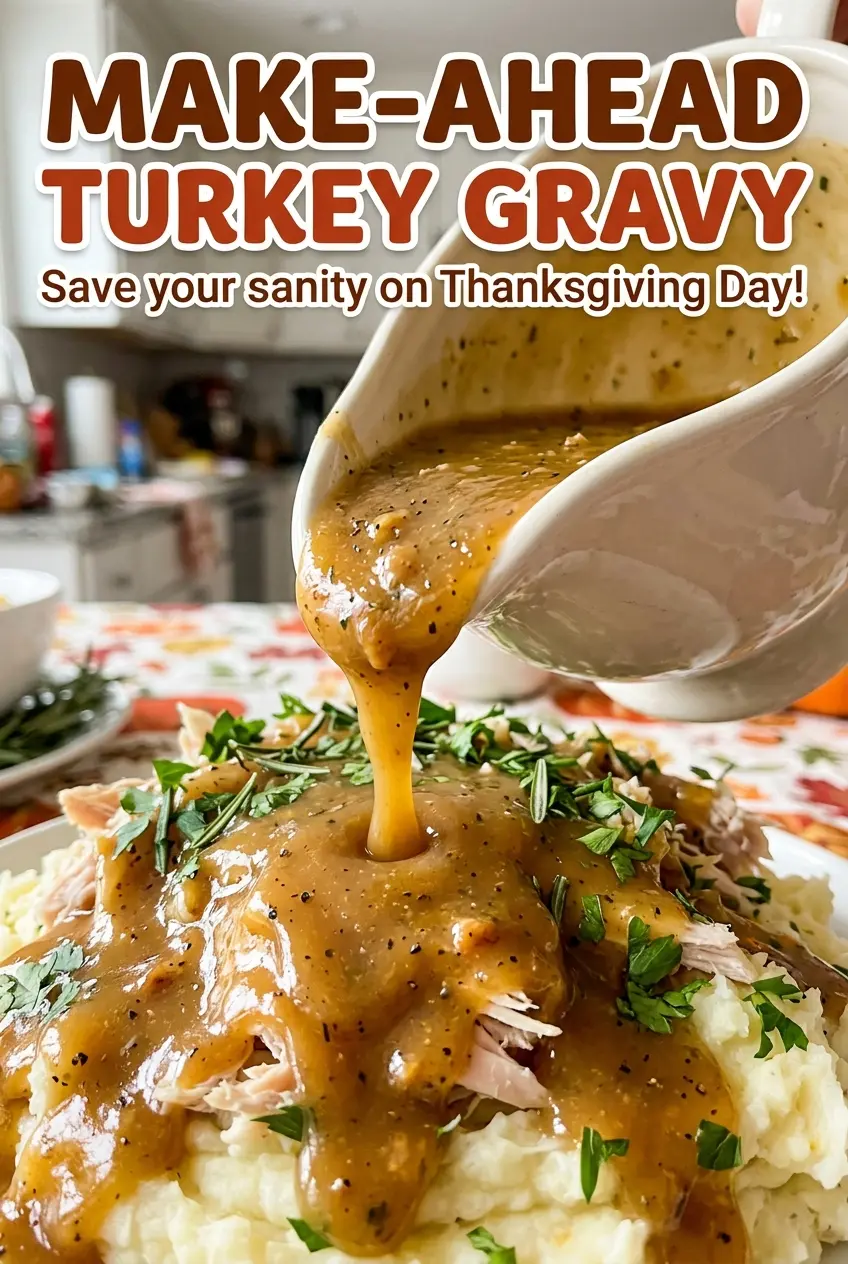
The wings leave the oven deeply browned, and the vegetables pick up those dark, sweet edges around them. That roasted start is what gives this make-ahead turkey gravy its real turkey flavor, even when there isn’t a roast bird on the counter.
I make the stock ahead, chill it until the fat firms on top, then turn four cups into gravy with a simple butter-and-flour roux. That split makes the work feel manageable: the long simmer happens when there’s time, and the gravy itself comes together in minutes.
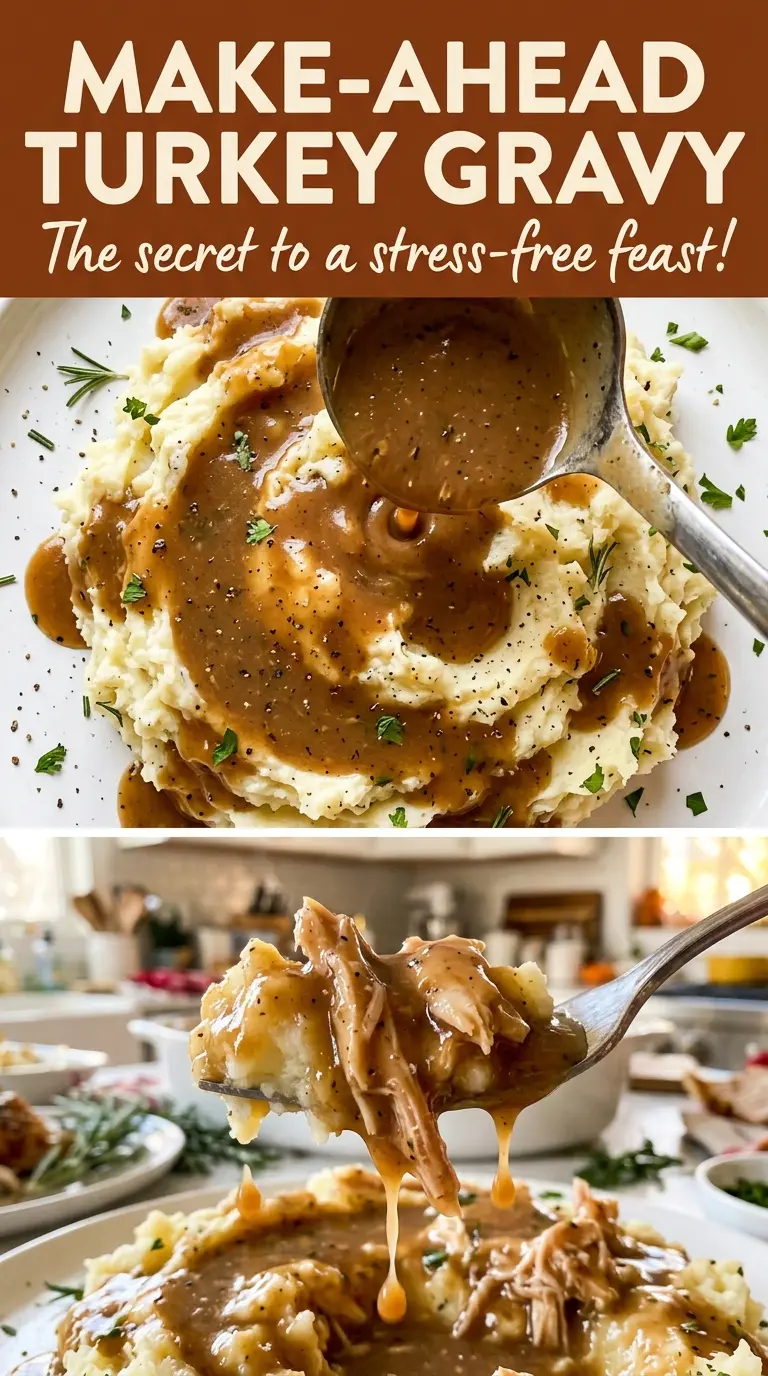
The stock is full-bodied from the wings, while onion, carrot, celery, garlic, thyme, and bay leaves round it out without taking over. Once the gravy coats a spoon, it’s ready for the table—or the refrigerator until you need it.
Kitchen Note
Measure the chilled stock before you start the roux. If you have less than four cups, add water to reach that amount; keeping the stock-to-roux ratio steady is what gives the gravy a spoon-coating texture without guesswork.
Save this make-ahead turkey gravy for a calmer holiday meal—the roasted-wing stock can be ready before the day gets busy.
Why Roasting the Wings First Gives This Gravy Its Deep Turkey Flavor
A pot of wings and vegetables simmered from raw will make stock, but it won’t have the same roasted depth. The oven browns the wings and the cut vegetables before they meet the water. That browned surface brings savory flavor and a deeper color into the finished stock, which matters because the stock is the backbone of the gravy.
The browned bits left on the baking sheet are part of that flavor, not something to rinse away. Pouring water onto the sheet and scraping those bits into the pot carries them into the simmer. From there, a gentle cook gives the wings time to enrich the stock without boiling it hard. A rolling boil can break up the foam and make the stock cloudy, so once it comes to a boil, lower the heat to a quiet simmer and skim as needed.
This approach also means the gravy doesn’t depend on drippings from a whole roast turkey. The wings provide the turkey base on their own, so you can make the stock ahead and have the gravy ready when the rest of the meal needs your attention.
What the Wings, Aromatics, and Roux Each Bring to the Pot
- Turkey wings — The bones, skin, and meat give the stock its unmistakable turkey character and body. Choose fresh-looking wings; ordinary grocery-store wings work well here because their flavor develops during roasting and simmering.
- Onion, carrot, celery, and garlic — These build a rounded savory base beneath the turkey flavor. The vegetables don’t need to be pristine or finely cut; quarter the onion, cut the carrot and celery into chunks, and smash the garlic so they release flavor during the long simmer.
- Fresh thyme and bay leaves — They add a quiet herbal note that sits behind the roasted wings rather than turning the stock into an herb-forward broth. Fresh thyme sprigs and whole bay leaves are easy to lift out when you strain the stock.
- Butter and all-purpose flour — Together they form the roux that thickens the strained stock. Unsalted butter lets you season the finished gravy with the measured salt, and whisking the flour into the melted butter gives it an even start before liquid goes in.
From Roasted Wings to Smooth, Spoon-Coating Gravy
Roast Until the Wings Are Deeply Browned
Heat the oven to 425°F, then arrange the wings, onion, carrot, celery, and garlic on a rimmed baking sheet. Drizzle with the neutral oil and toss the vegetables to coat. Roast for 45 to 55 minutes, until the wings are deeply browned and reach 165°F in the thickest part. Pale wings won’t build the same roasted base, so look for real color rather than stopping at the first sign of browning.
Carry the Browned Bits into a Gentle Simmer
Move the wings and vegetables to an 8-quart stockpot. Pour one cup of the measured water onto the baking sheet, scrape up the browned bits, then add that liquid, the remaining water, thyme, and bay leaves to the pot; add more water only if needed to just cover the wings. Bring everything to a boil, then lower the heat to maintain a gentle simmer with the pot partially covered. Cook for 2 1/2 to 3 hours, skimming foam as needed.
Strain and Chill the Stock Before Measuring
Strain the stock into shallow containers and refrigerate within 2 hours. Let it chill for at least 4 hours or overnight, until it’s cold and the fat has solidified on top. Lift off and discard that fat, then measure the stock for the gravy. If the amount comes up short, add water to reach four cups; keep any extra stock for another use.
Whisk the Roux Until the Gravy Coats a Spoon
Melt the butter in a 3-quart saucepan over medium heat. Whisk in the flour and cook, whisking constantly, until pale golden, about 2 minutes; a darker roux will change the flavor, so stop at pale gold. Gradually whisk in the measured stock, then bring it to a simmer and cook, whisking often, for 5 to 8 minutes. When it coats the back of a spoon, whisk in the salt and pepper.
Two Small Changes That Adapt This Turkey Gravy
Make It Gluten-Free with a Cup-for-Cup Flour Blend
Replace the all-purpose flour with the same volume of a gluten-free blend designed for cup-for-cup baking. Cook it with the butter until pale golden, then whisk in the stock gradually; the gravy may have a slightly different finish depending on the blend, but this keeps the roux method and turkey flavor intact.
Leave Out the Garlic for a Softer Aromatic Base
Skip the smashed garlic if you want the stock to lean more on the roasted turkey, onion, carrot, and celery. The result is a milder background flavor, while the browned wings still give the gravy its savory depth.
Storage and Reheating
- Refrigerator: Cool the gravy in a shallow container and refrigerate within 2 hours. Keep it for up to 3 days; it will firm up as it chills.
- Freezer: Freeze for up to 3 months. Thaw it overnight in the refrigerator before reheating.
- Reheating: Warm it in a saucepan over medium-low heat, whisking, until steaming hot and 165°F, about 5 to 8 minutes. Thin it with reserved stock or water if needed; add liquid gradually so it doesn’t become runny.
Questions That Come Up When Making Turkey Gravy Ahead
Make-Ahead Turkey Gravy
Ingredients
Equipment
Method
- Preheat the oven to 425°F.
- Arrange the turkey wings, onion, carrot, celery, and garlic on a rimmed baking sheet; drizzle with the oil and toss the vegetables to coat.
- Roast until the wings are deeply browned and reach 165°F in the thickest part, 45 to 55 minutes.
- Transfer the wings and vegetables to an 8-quart stockpot.
- Pour 1 cup of the measured water onto the baking sheet, scrape up the browned bits, and add the liquid, remaining water, thyme, and bay leaves to the pot; add more water if needed to just cover the wings.
- Bring to a boil, then reduce the heat to maintain a gentle simmer, partially covered, for 2 1/2 to 3 hours, skimming foam as needed.
- Strain the stock into shallow containers.
- Refrigerate the stock within 2 hours for at least 4 hours or overnight, until cold and the fat has solidified.
- Skim and discard the solidified fat.
- Measure 4 cups of stock, adding water if needed to reach that amount, and reserve any remaining stock for another use.
- Melt the butter in a 3-quart saucepan over medium heat.
- Whisk in the flour and cook, whisking constantly, until pale golden, about 2 minutes.
- Gradually whisk in the 4 cups stock.
- Bring to a simmer and cook, whisking often, until thickened enough to coat the back of a spoon, 5 to 8 minutes.
- Whisk in the salt and pepper.
- Cool the gravy in a shallow container.
- Refrigerate within 2 hours for up to 3 days, or freeze for up to 3 months; thaw frozen gravy overnight in the refrigerator.
- Reheat in a saucepan over medium-low heat, whisking, until steaming hot and 165°F, about 5 to 8 minutes.
- Thin with reserved stock or water if needed.