
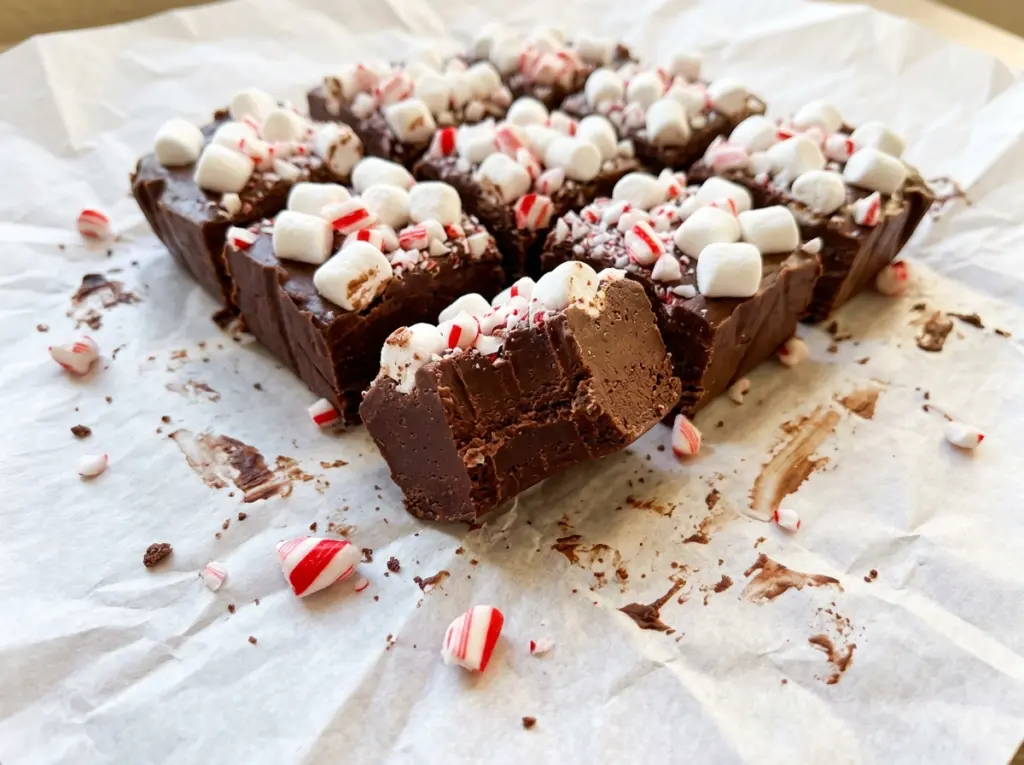
Chocolate chips can look melted around the edge of the bowl while a few in the middle are still holding their shape. I stir between short microwave bursts instead of trusting the timer to finish the job, and that pause keeps this hot chocolate peppermint fudge smooth without scorching the chocolate.
Sweetened condensed milk and butter turn the melted chips into a rich, sliceable base. Hot cocoa mix goes right into that base, so the chocolate tastes like a mug of cocoa rather than plain chocolate with candy on top. Peppermint extract carries the cool mint flavor through each square.
Once the crushed peppermint and miniature marshmallows are pressed over the surface, the pan chills into tidy pieces with a firm bite, a peppermint crunch, and soft little marshmallow tops.
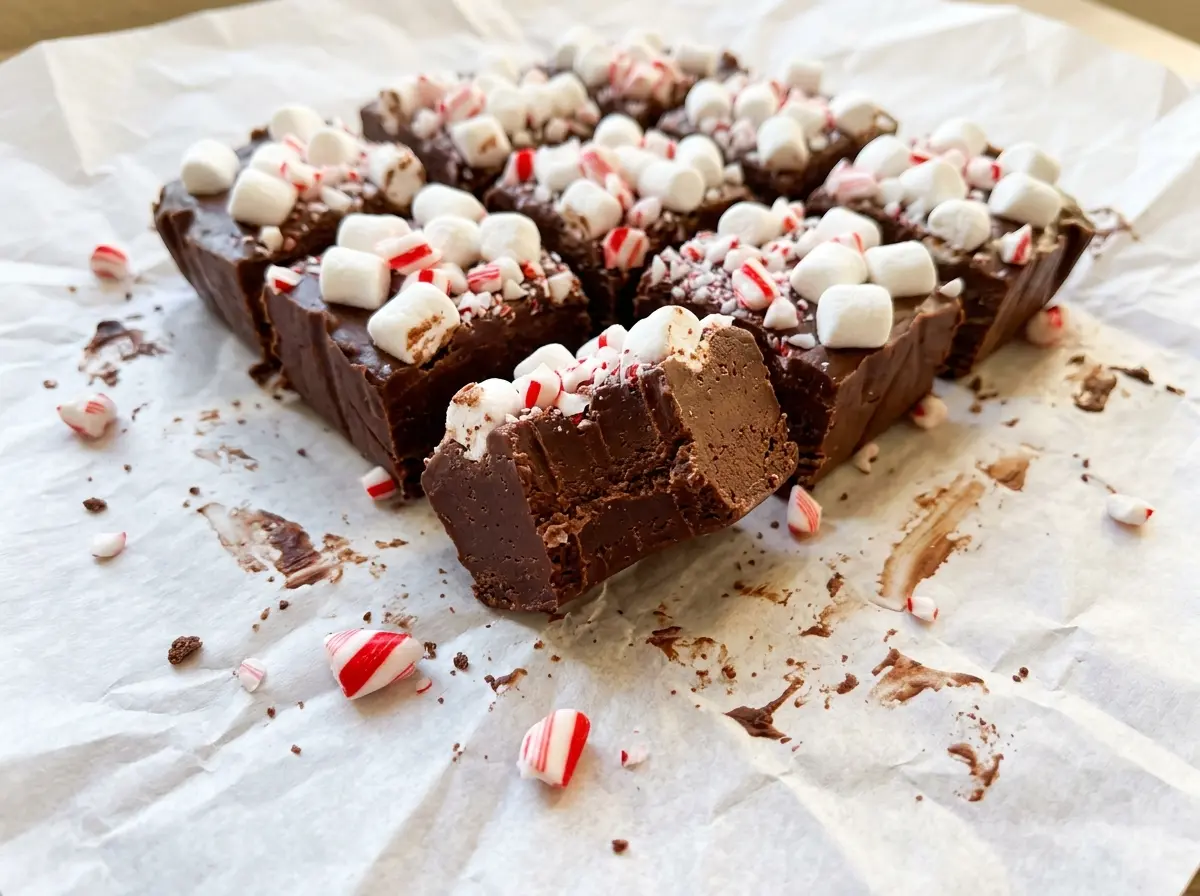
Kitchen Note
Press the crushed peppermint and marshmallows just enough to help them stick. If you push too hard, the toppings sink into the fudge instead of sitting in a pretty layer on top.
Save this hot chocolate peppermint fudge for a holiday tray or a cozy cocoa-inspired treat, with crunchy peppermint and soft marshmallow on every piece.
Why Full-Power Melting Can Leave Fudge Lumpy
Chocolate doesn’t melt as predictably as it looks. The pieces at the edge of a bowl can be soft while the center still holds its shape, and the chocolate keeps warming between microwave intervals. Full power makes that uneven heating harder to manage; a few seconds too long can take the mixture from glossy to thick and grainy.
Half power gives the chocolate, condensed milk, and butter time to warm together. Short bursts also let you catch the mixture at the right point: it may still look a little chunky when the microwave stops, but stirring helps the remaining pieces melt into the warm mixture. Keep stirring after each burst rather than adding extra time all at once.
The bowl matters, too. A 2-quart microwave-safe bowl gives you room to stir without sloshing the mixture over the sides, and a flexible spatula helps scrape chocolate from the bottom and corners. Once the mixture looks smooth and evenly glossy, stop heating. The cocoa mix and peppermint extract go in after melting, so they don’t need additional microwave time.
What Gives Each Layer Its Hot-Chocolate Peppermint Character

- Semi-sweet chocolate chips — These provide the main chocolate flavor and structure. A standard bagged brand works well here; there’s no need for specialty couverture. I wouldn’t swap in unsweetened chocolate, which would change the sweetness and balance of the finished fudge.
- Sweetened condensed milk — This thick, sweet dairy base brings the chocolate together into a sliceable fudge. Use condensed milk, not evaporated milk; they aren’t interchangeable, and evaporated milk is much thinner and unsweetened.
- Unsalted butter — Butter adds richness and helps the chocolate mixture melt smoothly. Since the recipe already includes salt, unsalted butter keeps the seasoning easy to control. There isn’t a direct pantry substitute that preserves the same result.
- Hot cocoa mix — This is what gives the center its cocoa-drink character, with a sweetened cocoa taste rather than the sharper flavor of plain cocoa powder. Use the mix you’d stir into a mug; straight unsweetened cocoa isn’t a one-for-one replacement.
- Peppermint extract — A small amount flavors the chocolate itself, so the mint is present in every bite rather than only where a candy piece lands. Measure carefully; the flavor is concentrated. You can omit it for a milder mint finish, though the candy topping will still bring peppermint.
- Crushed peppermint candies and miniature marshmallows — The candies add a crisp, minty contrast, while the marshmallows make the top soft and reminiscent of cocoa. Use small, evenly crushed candy pieces so the topping spreads across the surface, and use miniature marshmallows rather than larger ones that would cover the fudge in bulky patches.
How to Melt, Top, and Set the Fudge Without Fuss
Line the Pan and Melt the Chocolate Base
Line an 8-inch square baking pan with parchment, leaving overhang on two sides so you can lift out the chilled slab. In a 2-quart microwave-safe bowl, combine the chocolate chips, sweetened condensed milk, and butter. Microwave at 50% power in 30-second bursts, stirring after each one, for 1 1/2 to 2 1/2 minutes total. Stop when the mixture is smooth; if it still has visible pieces, stir well before deciding whether it needs another burst.
Stir in the Cocoa and Peppermint
Add the hot cocoa mix, peppermint extract, and salt to the melted chocolate mixture. Stir until the color and texture look even, with no dry streaks of cocoa mix clinging to the bowl. Scrape the mixture into the lined pan and spread it into a level layer. An even surface gives the toppings a steady place to sit and makes the pieces easier to portion.
Set the Peppermint and Marshmallow Topping
Scatter the crushed peppermint candies and miniature marshmallows evenly over the fudge. Aim for coverage across the whole pan rather than leaving one crowded patch and another nearly bare. Press the toppings lightly into the soft surface so they adhere. Don’t push them down until they disappear into the chocolate.
Chill Until Firm, Then Cut
Refrigerate the pan until the fudge is firm, at least 2 hours. If the center still feels soft when you press it gently, give it more time rather than trying to lift or cut it early. Let the slab stand at room temperature for 10 minutes, then use the parchment overhang to lift it out. Cut it into 36 pieces.
Three Ways to Adjust the Topping Without Changing the Fudge Base
A Softer, Less Crunchy Finish
Leave off the crushed peppermint candies and use the miniature marshmallows as the only topping. The fudge keeps its peppermint flavor from the extract, but the top is softer and less crisp.
A Candy-Crunch Top Without Marshmallows
Skip the miniature marshmallows and scatter the crushed peppermint candies over the surface instead. Each bite gets a sharper candy crunch, without the soft, pillowy topping.
Two Topping Choices in One Pan
For a divided topping, scatter the crushed candies over one half of the fudge and the miniature marshmallows over the other half, then press each topping lightly in place. The pan gives you a candy-crunch side and a softer marshmallow side without adding anything to the ingredient list.
Storage and Reheating
- Refrigerator: Store the pieces in an airtight container for up to 1 week. The marshmallows may become a little firmer, and the peppermint topping can lose some of its crispness.
- Freezer: Freeze the pieces in an airtight container with parchment between layers for up to 2 months. Thaw them in the refrigerator while still covered; the topping may soften slightly.
- Reheating: No reheating is needed. Microwave heat can soften the fudge and melt the marshmallow topping.
Questions That Come Up When Making Peppermint Fudge
Hot Chocolate Peppermint Fudge
Ingredients
Equipment
Method
- Line an 8-inch square baking pan with parchment paper, leaving overhang on two sides to lift out the fudge.
- Combine the chocolate chips, condensed milk, and butter in a 2-quart microwave-safe bowl.
- Microwave at 50% power in 30-second bursts, stirring after each, for 1 1/2 to 2 1/2 minutes total, until smooth.
- Stir the hot cocoa mix, peppermint extract, and salt into the melted chocolate mixture until evenly combined.
- Scrape the mixture into the prepared pan and spread it into an even layer.
- Sprinkle the crushed peppermint candies and miniature marshmallows evenly over the fudge, pressing them lightly so they adhere.
- Refrigerate until firm, at least 2 hours.
- Let the fudge stand at room temperature for 10 minutes.
- Lift it from the pan.
- Cut into 36 pieces.