
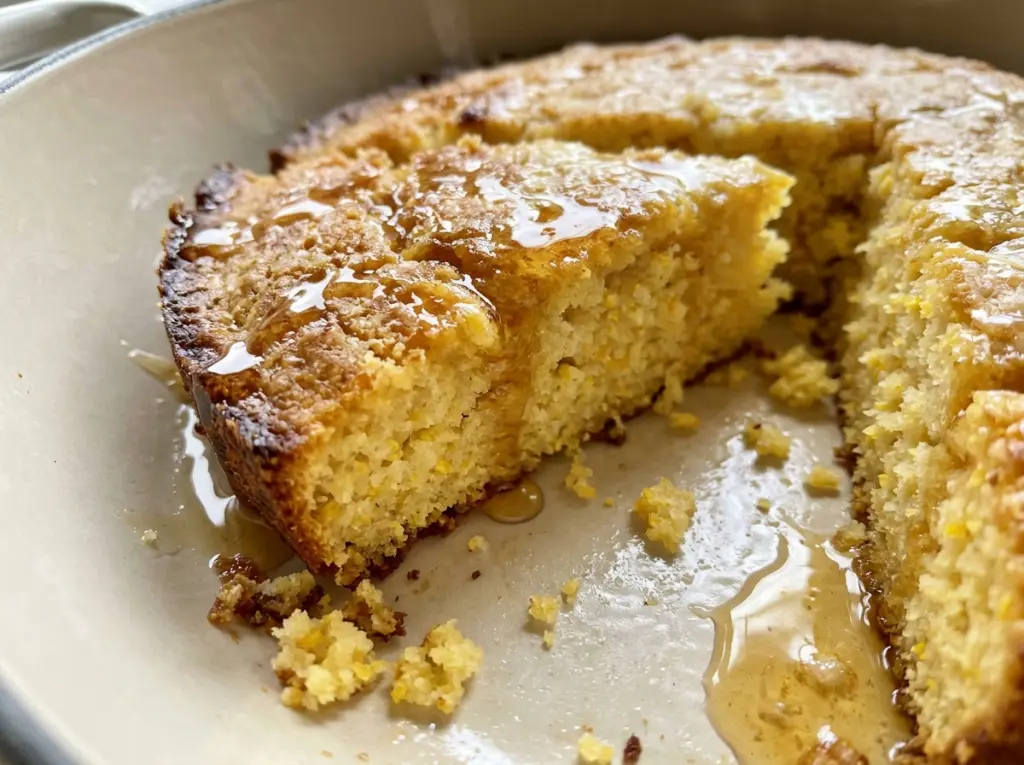
The honey butter starts to disappear the second it touches the hot cornbread, leaving a thin shine across the golden top. That warm, sweet finish is what makes this Honey Butter Skillet Cornbread with Crispy Edges feel a little different from a plain pan of cornbread. The inside is tender, with just enough sweetness to meet the honey without turning the whole slice into cake.
I keep the batter simple and stop stirring as soon as the dry ingredients are incorporated. A few small lumps are welcome; a perfectly smooth batter usually means it’s been worked more than it needs. The hot skillet takes care of the edges while the center bakes through, and a short rest makes the wedges easier to lift. Serve it warm, when the honey butter still gives the top a soft gloss.
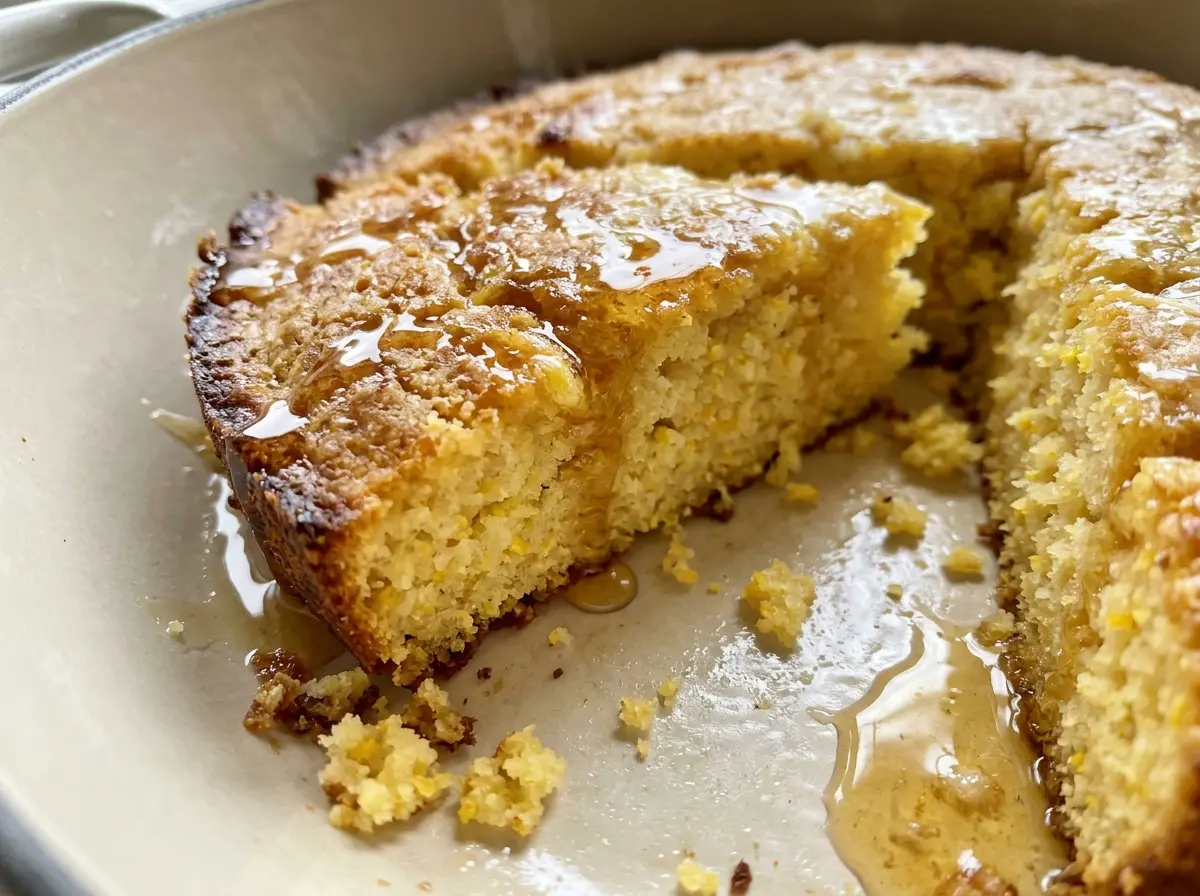
Kitchen Note
Warm the topping in short bursts and stir between each one. Honey and butter melt quickly together, so a few brief rounds in the microwave are easier to control than one long heating.
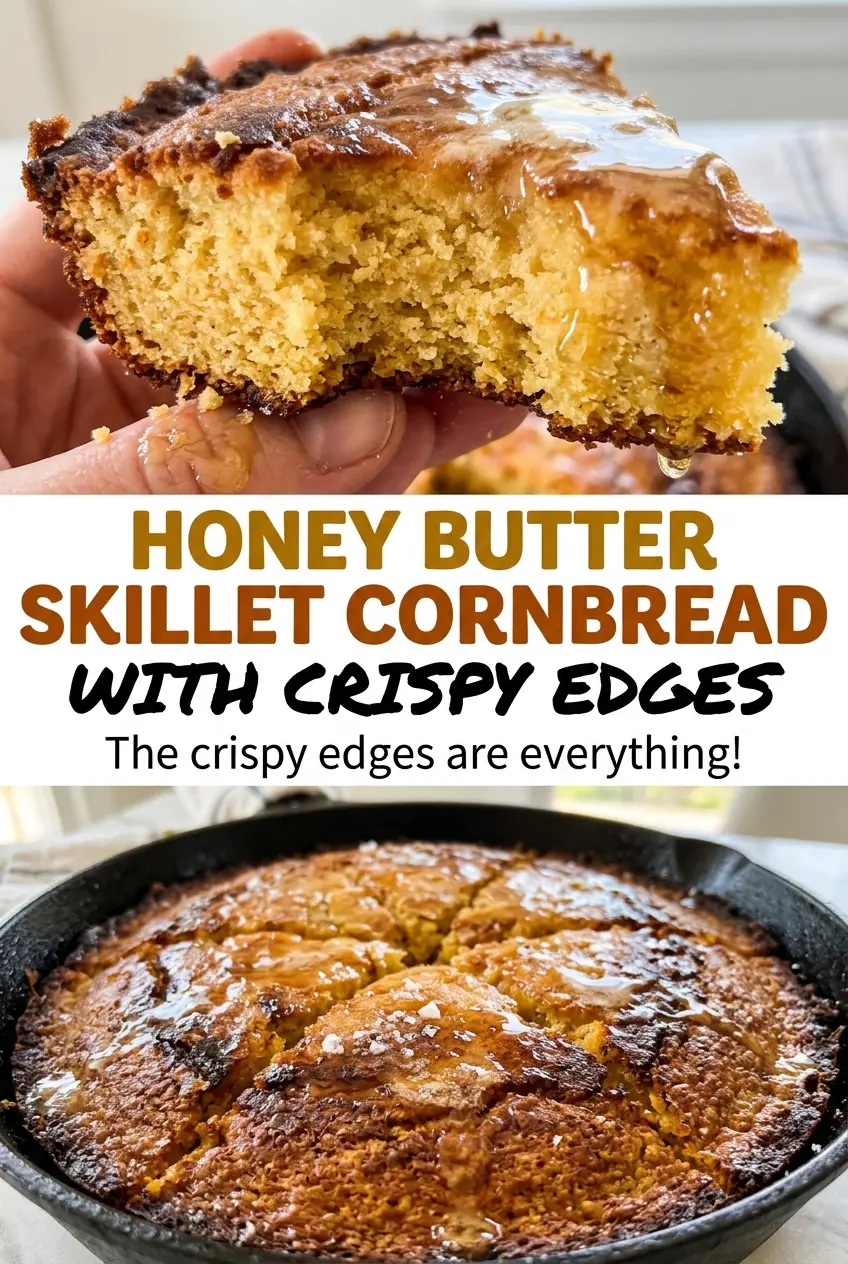
Save this honey butter skillet cornbread for its crisp, buttery edges and tender center, finished with a warm honey-butter brush.
Why the Skillet Needs to Be Hot Before the Batter Goes In
A cold pan can bake cornbread, but it won’t give you the same edge. Preheating the cast-iron skillet means the butter coats a hot surface just before the batter lands. The bottom and sides start setting right away, which helps create the browned rim and the slightly crisp edge this version is meant to have.
That quick contact with the hot pan also makes the timing more predictable. A 10-inch skillet gives the batter room to bake into a tender middle without becoming too thin. As it bakes, look for golden color and edges that have begun pulling away from the iron; those are useful visual signs alongside the toothpick test. If the skillet isn’t hot when you pour, the edge may stay softer and paler, even if the center eventually cooks through. Handle the pan carefully when it comes out of the oven, since the handle stays hot.
What Buttermilk, Honey, and Cornmeal Each Bring to the Batter
- Yellow cornmeal — This brings the familiar corn flavor and sandy, tender crumb. A fine or medium grind blends smoothly with the flour; a very coarse grind gives the finished bread a more pronounced grainy bite.
- All-purpose flour — Flour gives the cornbread enough structure to hold together when sliced, while the cornmeal keeps it from eating like a plain quick bread. For a gluten-free adaptation, a cup-for-cup gluten-free all-purpose flour blend can replace it; expect a slightly more delicate crumb.
- Buttermilk — Its tang balances the honey and its acidity works with the baking soda. Regular milk won’t bring that same tang or acidity, so it isn’t a straight swap if you want the same flavor and texture.
- Honey — Honey sweetens the batter and gives the topping its distinct aroma. A mild honey keeps the corn flavor in front; a darker, stronger honey makes the finish more pronounced.
- Unsalted butter — Dividing the butter lets it do three separate jobs: enrich the batter, coat the skillet, and carry honey across the hot top. Unsalted butter also keeps the salt level easier to control.
- Eggs and leaveners — Eggs help bind the crumb, while baking powder and baking soda give the batter lift. Check that your leaveners are fresh; old ones can leave the center heavy instead of light.
From Mixing the Batter to Brushing on the Honey Butter
Preheat the Skillet and Whisk the Dry Ingredients
Set the 10-inch cast-iron skillet in the oven as it heats to 400°F. In a large bowl, whisk the cornmeal, flour, sugar, baking powder, baking soda, and salt until the leaveners are distributed through the mixture. Whisking now helps prevent a pocket of baking soda or powder from leaving an uneven taste in one part of the cornbread.
Combine the Wet Ingredients Without Overworking
In a medium bowl, whisk the buttermilk, eggs, and honey, then whisk in the melted, slightly cooled butter. Pour the wet mixture into the dry ingredients and stir just until combined. Stop when no dry patches remain; a few small lumps are fine, and working them out can make the crumb tougher.
Pour Into the Hot, Buttered Skillet
Carefully take the skillet from the oven and add the butter for the pan, swirling it across the bottom and sides. Pour in the batter while the skillet is hot. Bake for 20–24 minutes, until the top is golden, the edges pull away from the skillet, and a toothpick inserted in the center comes out with a few moist crumbs rather than wet batter.
Brush the Top and Let the Crumb Set
Melt the remaining butter with the topping honey in a small microwave-safe bowl, using short bursts and stirring between them. Brush the honey butter over the cornbread while it’s still hot so it spreads across the surface. Leave the cornbread in the skillet for 10 minutes before slicing; that brief rest helps the tender center hold together as you cut it.
Two Smart Ways to Adapt the Cornbread
Use White Cornmeal for a Milder Corn Flavor
Replace the yellow cornmeal with the same amount of white cornmeal, keeping the rest of the ingredients and method unchanged. The color will be paler and the corn flavor a little more subtle, while the honey butter still gives the top its sweet finish.
Make It Gluten-Free with a Cup-for-Cup Flour Blend
Swap the all-purpose flour for the same volume of a gluten-free all-purpose blend designed to replace wheat flour in baking. The edges still brown in the skillet, but the center may be a little more delicate, so let it rest before cutting.
Storage and Reheating
- Refrigerator: Keep covered in an airtight container for up to 4 days. The crumb firms as it chills.
- Freezer: Freeze cooled slices, wrapped tightly, for up to 2 months. Thaw in the refrigerator or at room temperature before warming.
- Reheating: Warm a slice in the microwave in short bursts until heated through. Long heating can dry the crumb and make the honey-butter top overly soft.
Questions That Come Up Before the Skillet Goes in the Oven
Honey Butter Skillet Cornbread with Crispy Edges
Ingredients
Equipment
Method
- Place a 10-inch cast-iron skillet in the oven and preheat to 400°F.
- Whisk the cornmeal, flour, sugar, baking powder, baking soda, and salt in a large bowl.
- Whisk the buttermilk, eggs, and 1/4 cup honey in a medium bowl.
- Whisk 5 tablespoons melted butter into the wet mixture.
- Pour the wet mixture into the dry ingredients and stir just until combined; a few small lumps are fine.
- Carefully remove the hot skillet and add 1 tablespoon butter.
- Swirl the butter to coat the bottom and sides of the skillet.
- Pour in the batter and bake for 20–24 minutes, until golden, the edges pull away from the skillet, and a toothpick comes out with a few moist crumbs.
- Melt the remaining 2 tablespoons butter with 1 tablespoon honey in a small microwave-safe bowl, heating in 10-second bursts and stirring between bursts.
- Brush the honey butter over the hot cornbread.
- Let the cornbread rest in the skillet for 10 minutes before slicing.