
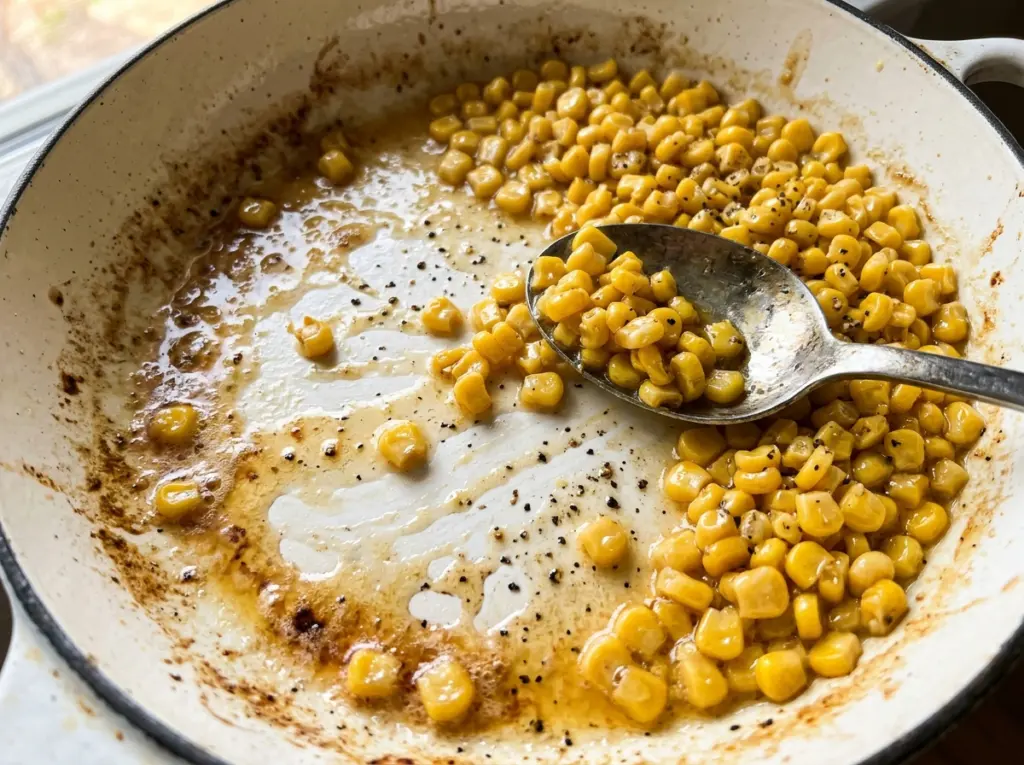
When frozen corn hits a warm skillet, it releases just enough moisture to make the butter look thin at first. I let that liquid cook away before the cream cheese goes in; rushing that moment leaves the sauce loose instead of clinging to every kernel. Honey Butter Skillet Corn comes together in one 12-inch skillet, and the balance is simple: buttery sweetness, tender corn, and a creamy finish.
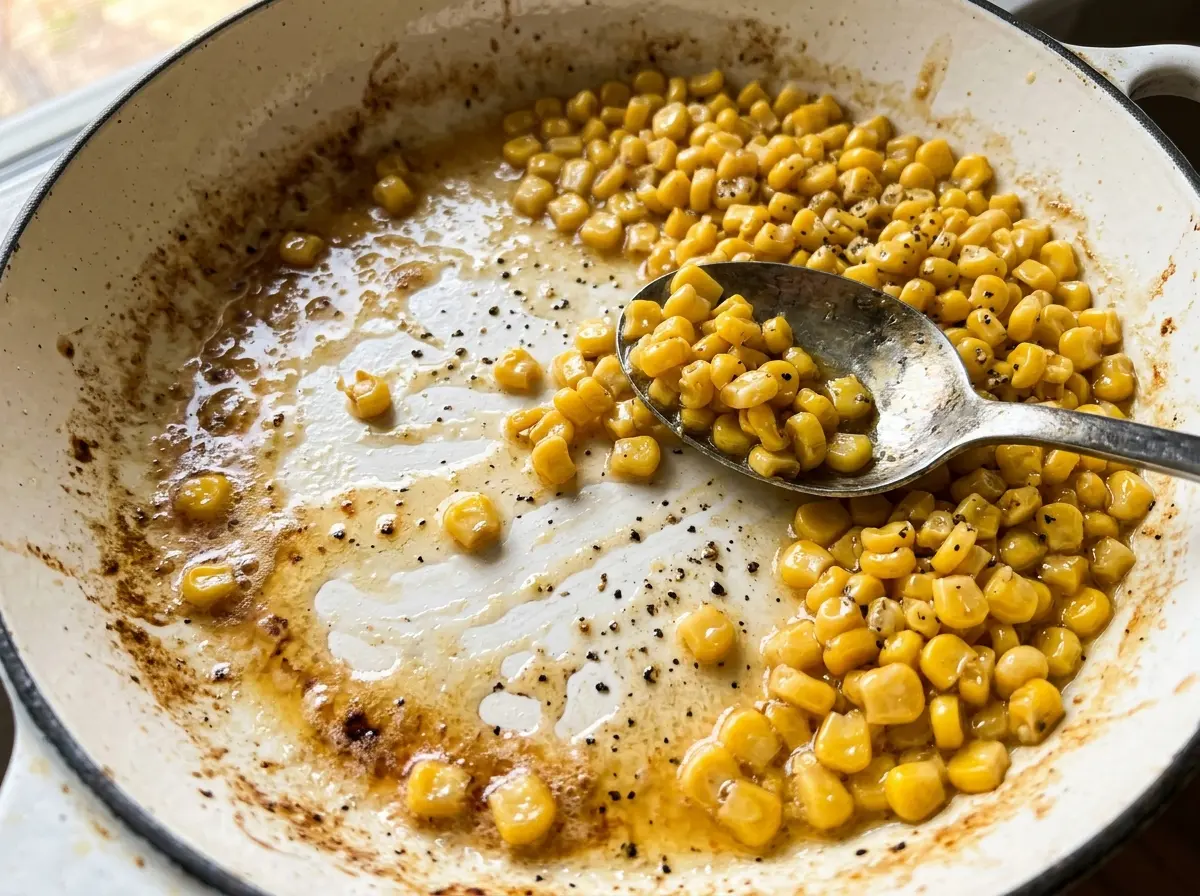
I like the order here because each ingredient gets its moment. The butter and honey melt together first, the corn heats through while the extra moisture evaporates, and the cream cheese finishes the dish in just a few minutes. Keep stirring as the corn cooks, then watch for the cream cheese to disappear into a smooth coating. The finished skillet should look glossy, not soupy, with the pepper giving the sweet corn a little edge.
Kitchen Note
Cut the cream cheese into small cubes before you start cooking. They melt through the corn more evenly during the short finish, so you don’t end up chasing cold, stubborn lumps around the skillet.
Save Honey Butter Skillet Corn for a quick side with sweet corn, a buttery honey glaze, and a creamy finish.
Why Frozen Corn Needs a Few Minutes Before the Cream Cheese Goes In
Frozen corn brings a little moisture with it as it heats. That’s useful at first: the kernels warm through without catching on the skillet, and frequent stirring distributes the butter and honey. But if the cream cheese goes in while that liquid is still pooling at the bottom, it has to compete with the water instead of forming a coating around the corn.
Give the corn its full cooking window and use the skillet as your visual guide. The kernels should be hot and tender, and most of the visible liquid should be gone before you add the cream cheese. A 12-inch skillet gives the corn room to spread out, which helps moisture evaporate rather than collect beneath the kernels. You’re not trying to brown or crisp the corn; you’re aiming for tender kernels with a lightly glazed surface. Once the cream cheese is stirred in, the dish changes quickly from buttery corn to a creamy skillet side.
What the Corn, Honey, and Cream Cheese Each Bring

- Frozen corn — A 16-ounce bag is convenient, consistent, and ready to go straight into the skillet. If you have fresh corn, use 16 ounces of kernels; it may release less liquid, so follow the texture cues rather than waiting for the same amount of liquid to disappear. Choose kernels that look bright and intact, since freezer-burned corn can taste dry.
- Unsalted butter and honey — The butter carries the honey across the kernels, while unsalted butter lets the kosher salt stay in control. Standard grocery-store butter and a mild honey work well; a strongly flavored honey will be more noticeable in the finished corn. There isn’t a like-for-like replacement for honey’s sweetness and aroma, but you can leave it out for a less-sweet, more buttery version.
- Cream cheese — This is what turns the skillet juices into a creamy coating instead of just a buttery glaze. A block-style cream cheese is easier to portion into cubes than whipped cream cheese and melts into a thicker finish. Use the dairy-free alternative described below if you need to avoid dairy.
- Kosher salt and ground black pepper — They keep the honeyed corn from tasting one-note. Ground black pepper is distributed evenly through the sauce; freshly opened pepper will have a more pronounced aroma than an older jar.
How to Build the Creamy Coating in Three Stages
Melt the Honey into the Butter
Set a 12-inch skillet over medium heat and add the butter and honey. Stir for about 1 minute, just until the butter has melted and the two are combined. Keep the pan at medium rather than turning it up to hurry the melting; honey can darken if it sits over excessive heat. The mixture should look glossy and unified before the corn goes in.
Cook the Corn Until Tender
Add the frozen corn and keep the skillet over medium heat for 6 to 8 minutes, stirring often. The corn will release liquid as it warms, so scrape across the bottom as you stir rather than letting kernels sit in one spot. Look for hot, tender kernels and only a small amount of liquid remaining in the pan. If the corn still looks surrounded by liquid, keep cooking within the stated window and stir often.
Stir in the Cream Cheese
Add the cream cheese, kosher salt, and ground black pepper. Cook for 2 to 3 minutes, stirring so the cheese melts through the kernels instead of gathering in one patch. The finish is ready when the cream cheese has melted and coats the corn; you shouldn’t see separate white chunks. Take the skillet off the heat once that coating is smooth.
Two Useful Ways to Adapt the Honey Butter Corn
Make It Dairy-Free
Replace the unsalted butter with an equal amount of plant-based butter and the cream cheese with the same amount of plain dairy-free cream cheese. The corn will still have a creamy finish, though the exact thickness and tang depend on the brands you use. Choose a dairy-free cream cheese intended for cooking rather than a sweetened spread.
Make a Less-Sweet Skillet
Leave out the honey and melt the butter on its own before adding the frozen corn. The result tastes more savory and lets the sweetness of the corn come through without the honeyed glaze. Keep the remaining ingredients and cooking sequence the same.
Storage and Reheating
- Refrigerator: Store leftovers in an airtight container for 3 to 4 days. The cream cheese will firm up as it chills, so the corn won’t look as glossy straight from the refrigerator.
- Freezer: It can be frozen in an airtight container for up to 2 months, but the cream cheese may turn grainy after thawing. Freeze only if you’re comfortable with a softer, less-smooth texture.
- Reheating: Warm leftovers gently in a skillet over low heat, stirring often, or microwave in short intervals and stir between them. Avoid high heat, which can make the creamy coating separate.
Questions That Come Up With Honey Butter Skillet Corn
Honey Butter Skillet Corn
Ingredients
Equipment
Method
- Melt the butter and honey in a 12-inch skillet over medium heat, stirring until combined, about 1 minute.
- Add the frozen corn and cook over medium heat for 6 to 8 minutes, stirring often, until the corn is hot and tender and most of the liquid has evaporated.
- Stir in the cream cheese, salt, and pepper, and cook for 2 to 3 minutes, stirring, until the cream cheese has melted and coats the corn.