
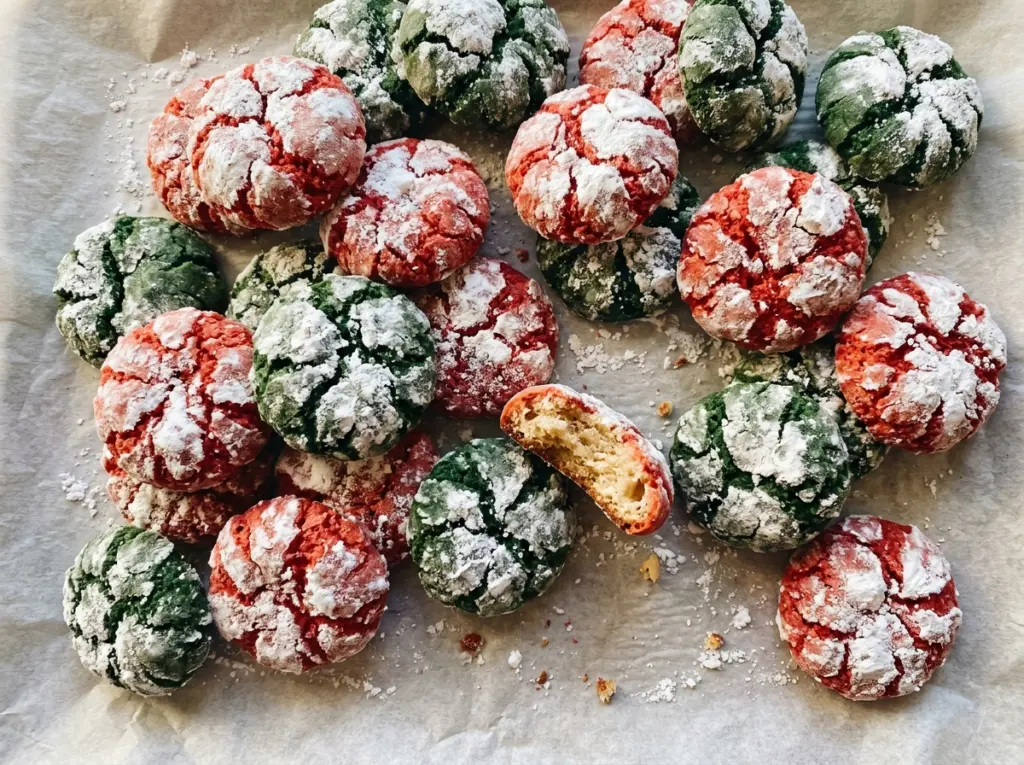
As the first tray bakes, the white coating breaks into dark chocolate seams, and little red and green jimmies show through the cracks. I like that these Christmas crinkle cookies look festive without needing icing or extra decorating, and the batch makes 36 cookies.
The dough starts glossy and soft, so it needs a proper rest before it’s ready to roll. Chilling it for at least 3 hours firms it up enough to portion and coat neatly; the wait also makes it easier to keep each cookie evenly sized. Inside, the cookies stay soft while the edges set, with a snowy powdered-sugar finish and a bit of color in every bite.
Kitchen Note
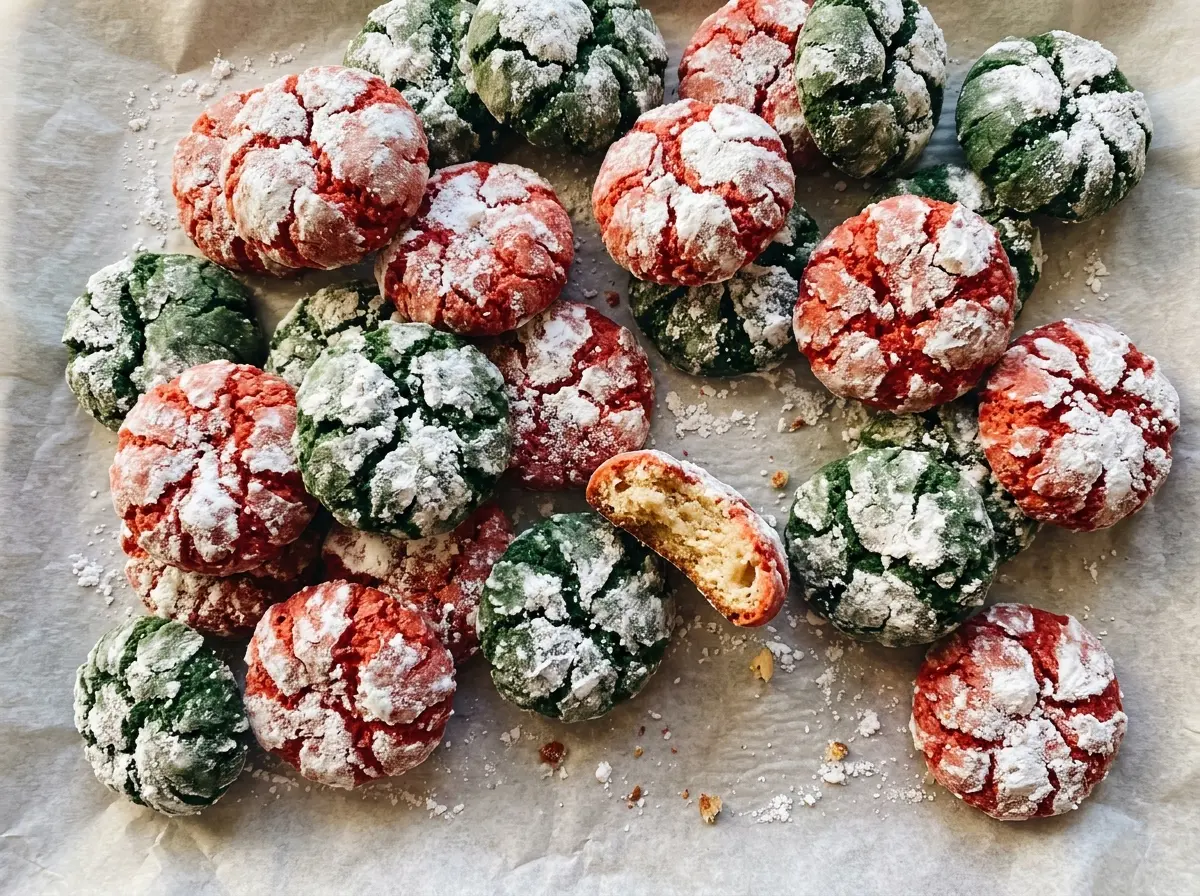
I fold the jimmies in gently at the end, using just enough strokes to scatter them through the dough. If you keep stirring, the colors can smear into the chocolate and the sprinkles lose their cheerful little flecks.
Save these Christmas crinkle cookies for a holiday bake day: chocolate centers, snowy cracks, and red-and-green sprinkles in every batch.
Why These Cookies Get Two Coats of Sugar
The cracked pattern comes from the dough puffing as it bakes and the surface stretching apart. Powdered sugar makes those fissures easy to see against the dark cocoa, but rolling sticky dough straight in powdered sugar can leave you with a patchy coating. Moisture from the dough pulls the fine sugar in, and the white finish can look less distinct after baking.
Rolling each portion in granulated sugar first gives the dough a drier outer layer to handle. Then the powdered sugar sits on top instead of clumping directly against the sticky surface. That contrast is what makes the finished cracks pop: pale, powdery ridges around dark chocolate lines. Keep the order intact, and coat the dough all the way around so the cookies have an even snowy look when they come out of the oven.
What Keeps the Cocoa Dough Soft and the Crinkles Defined

- Unsweetened cocoa powder — This gives the cookies their chocolate flavor and dark color. A fresh, fragrant cocoa is worth choosing, but an everyday grocery-store brand works well. Dutch-process cocoa can be used in place of natural cocoa; it tends to taste smoother and less sharp.
- Vegetable oil — Oil keeps the chocolate dough moist and gives it a soft bite after baking. Its neutral taste lets the cocoa come through, so there’s no need for a specialty oil. Melted butter isn’t a direct swap: it firms as the cookies cool and changes the dough’s texture.
- Large eggs — Eggs bind the dough and help the cookies puff in the oven. Use large eggs for the intended balance of moisture and structure; a smaller egg won’t provide the same support, and egg substitutes don’t reliably produce this crinkle texture.
- All-purpose flour and baking powder — Flour gives the cookies enough structure to hold their shape, while baking powder helps them rise and split across the top. A standard all-purpose flour is fine. For a gluten-free version, use a measure-for-measure baking blend with a binder, as described below.
- Red and green jimmies — Jimmies add color without changing the dough much, and their shape stays visible after baking. Basic supermarket sprinkles are fine; choose fresh ones with bright color for the clearest festive flecks.
- Granulated and powdered sugar — Granulated sugar sweetens the dough and forms the first coating. Powdered sugar creates the bright finish. Use powdered sugar for that final coat; granulated sugar alone won’t give the same snowy appearance.
- Vanilla extract — Vanilla rounds out the cocoa without taking over. Pure or imitation vanilla both work here, so use whichever you keep on hand.
From Glossy Dough to Crackled Cookies
Whisk the Cocoa Base Smooth
Set aside a quarter cup of the granulated sugar for coating, then whisk the remaining sugar with the vegetable oil and cocoa powder in a large bowl. Keep whisking until the mixture looks smooth and evenly dark, with no dry pockets of cocoa. The batter will be thick and glossy rather than fluffy. Starting with a smooth cocoa base helps the eggs blend in without leaving streaks.
Bring the Dough Together Without Overworking It
Beat in the eggs one at a time, then mix in the vanilla. In a separate bowl, whisk together the flour, baking powder, and salt before stirring that mixture into the chocolate base. Stop when no dry flour remains, then fold in the jimmies. The dough will be soft and sticky at this point; that’s expected, so don’t add extra flour to make it easier to handle.
Chill Until the Dough Is Firm
Cover the bowl and refrigerate the dough for at least 3 hours, or up to 24 hours. It should feel firm enough to scoop and roll rather than slump as soon as it leaves the spoon. If the dough is still very soft, give it more time in the refrigerator before shaping. A covered bowl keeps the surface from drying out during the rest.
Roll Each Portion in Both Sugars
Heat the oven to 350°F and line two rimmed baking sheets with parchment paper. Put the powdered sugar in a shallow bowl, then scoop rounded 1-tablespoon portions of dough. Roll each portion first in the reserved granulated sugar and then in powdered sugar, covering the whole surface. Arrange the cookies about 2 inches apart so they have room to puff and crack.
Bake for Set Edges and Soft Centers
Bake one sheet at a time for 10 to 12 minutes. Look for puffed cookies with visible cracks, edges that have set, and centers that still look soft; waiting for the centers to look firm can leave the cookies dry. Let them rest on the baking sheet for 5 minutes, when they’re still delicate, then move them to wire racks. They’ll finish cooling and setting on the racks.
Three Changes That Work Without Losing the Crinkle
Make Them Gluten-Free
Replace the all-purpose flour with the same volume of a 1:1 gluten-free baking blend that contains xanthan gum or another binder. The cookies may be a little more delicate, so let them cool completely before moving them off the rack.
Use Jimmies for Another Occasion
Swap the red and green jimmies for the same amount of jimmies in another color. The chocolate flavor and texture stay the same, but the sprinkle colors can match a birthday, school colors, or another celebration.
Skip the Sprinkles for Plain Chocolate Crinkles
Leave the jimmies out if you want a classic chocolate crinkle without the colored flecks. No other change is needed, and the cookies will still puff and crack under their powdered-sugar coating.
Storage and Reheating
- Refrigerator: There’s no need to refrigerate these cookies; cold storage can make them firm and dry. Keep them in an airtight container at room temperature for up to 4 days.
- Freezer: Freeze completely cooled cookies in an airtight container, with parchment between layers, for up to 2 months. Thaw them before serving.
- Reheating: They’re best at room temperature, but you can warm one cookie in the microwave for 5 to 8 seconds. Longer heating can make it tough as it cools.
Questions That Come Up With Christmas Crinkle Cookies
Christmas Crinkle Cookies
Ingredients
Equipment
Method
- Set aside 1/4 cup of the granulated sugar for coating.
- In a large bowl, whisk the remaining 1 1/2 cups sugar with the oil and cocoa powder until smooth.
- Beat in the eggs one at a time.
- Mix in the vanilla extract.
- In a separate bowl, whisk together the flour, baking powder, and salt.
- Stir the flour mixture into the chocolate mixture just until no dry flour remains.
- Fold in the jimmies.
- Cover the dough and refrigerate until firm, at least 3 hours and up to 24 hours.
- Preheat the oven to 350°F.
- Line two rimmed baking sheets with parchment paper.
- Put the powdered sugar in a shallow bowl.
- Scoop the dough into rounded 1-tablespoon portions.
- Roll each portion first in the reserved granulated sugar and then in powdered sugar.
- Arrange the portions about 2 inches apart on the baking sheets.
- Bake one sheet at a time for 10 to 12 minutes, until the cookies are puffed and cracked with set edges and soft centers.
- Let the cookies cool on the baking sheets for 5 minutes.
- Transfer them to wire racks to cool completely.