
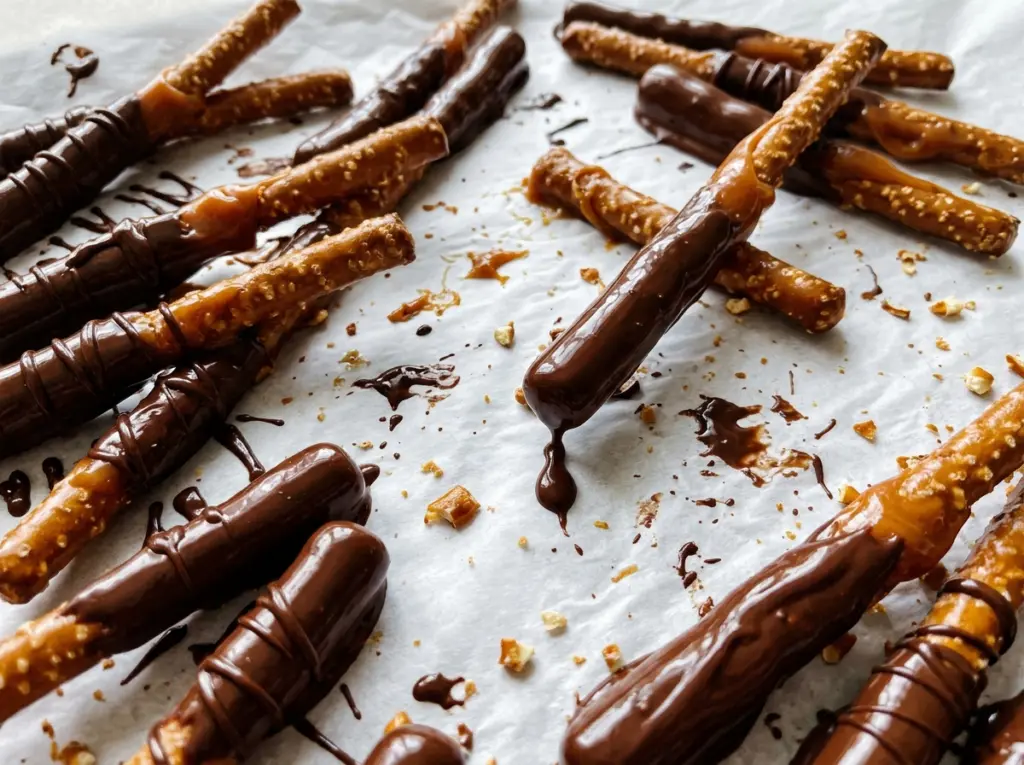
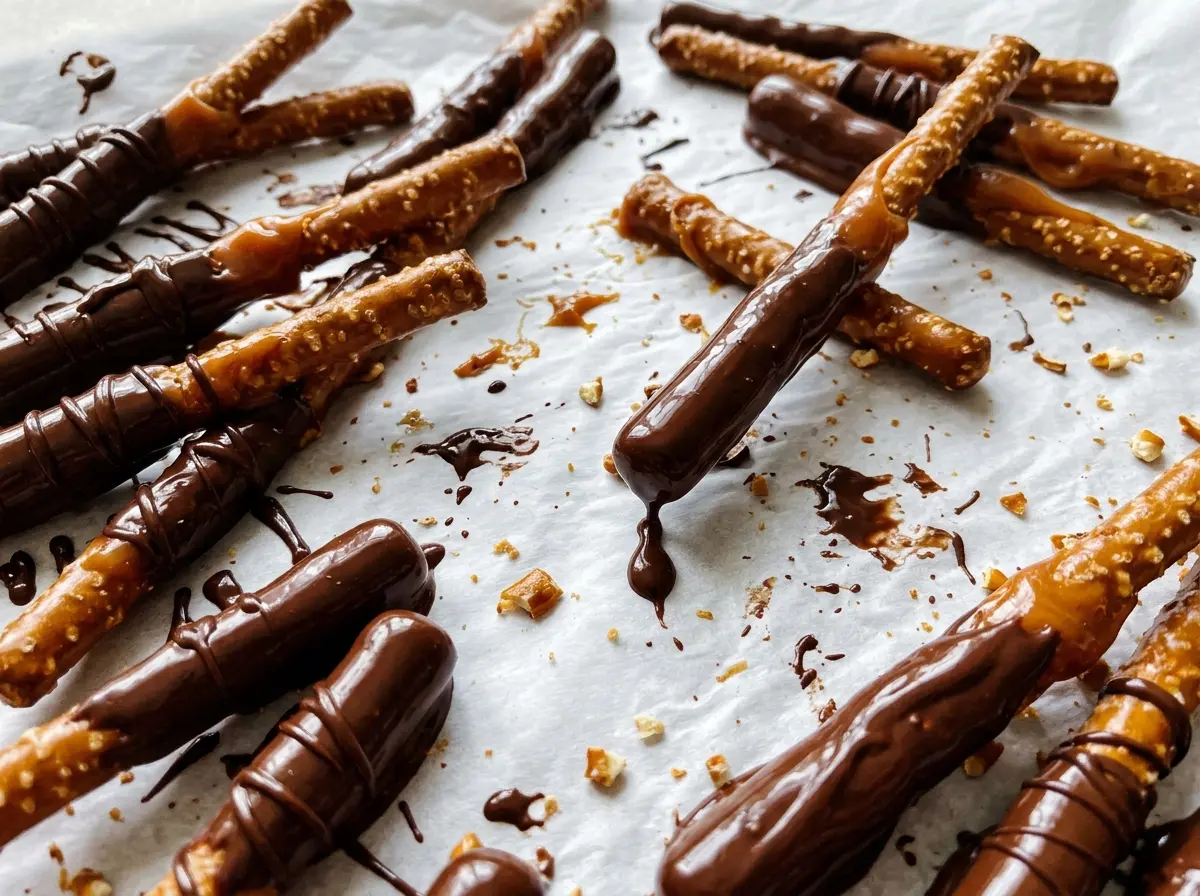
The caramel starts out loose and glossy, then thickens just enough to cling to a pretzel rod without racing down to the parchment. I learned to let it sit for a few minutes before dipping; rushing that pause leaves you with a thinner coating and a puddle beneath each rod. These chocolate dipped caramel pretzel rods are built in two layers, so each bite has a crisp, salty center, a chewy caramel wrap, and a smooth chocolate finish.
The order matters more than it might seem. The caramel needs time to firm up before the chocolate goes on, or the two coatings can slide into each other and lose their clean layers. I use a measuring cup for the caramel because its narrow shape makes dipping easier, then move to a bowl for the chocolate so there’s room to turn each rod. Once the coatings set, the rods are tidy enough to pick up and enjoy without a plate full of loose chocolate.
Kitchen Note
Microwave the caramels at 50% power and stir after every 30-second burst. The lower power gives you a little more control, and those regular stirs catch any stubborn pieces before they overheat.
Save these chocolate dipped caramel pretzel rods for a crisp, chewy, chocolate-coated treat you can make with three simple ingredients.
Why the Caramel Needs Its Own Setting Time
These rods get two coatings, but they don’t behave like one combined dip. Warm caramel is soft and tacky; melted chocolate is fluid and needs a firmer surface underneath to settle into a distinct shell. Letting the caramel set first gives it enough structure to stay on the pretzel when the chocolate is added.
That pause also makes the dipping less messy. If the caramel is still loose, the chocolate can drag it down the rod, leaving bare patches and thick spots at the bottom. Once the caramel feels firm enough to handle, the rod is much easier to turn through the chocolate without disturbing the layer underneath. The two room-temperature rests are doing different jobs: one stabilizes the chewy coating, and the other lets the chocolate finish setting.
Keep the rods separated on parchment while each layer firms. Crowding them makes it harder to lift one without bumping another, and the coated sides can stick together before the chocolate has set. The finished surface should look smooth and dry rather than glossy-wet when you’re ready to move them.
What Each Ingredient Brings to the Coating

- Pretzel rods — Their firm shape gives you a sturdy handle for both dips, while the salty crunch balances the sweet coatings. Fresh rods matter more than brand; stale ones lose that clean snap. For a gluten-free version, use gluten-free pretzel rods in the same way, knowing their texture may be a little more delicate. Check each rod for cracks before dipping, since a broken one is harder to coat evenly.
- Soft caramels — Wrapped soft caramels melt into a chewy coating without needing to make caramel from scratch. A different brand of soft caramels works as a direct substitute, but hard candies or caramel sauce won’t set into the same sturdy layer. Unwrap them before measuring or heating, and stir between bursts so the remaining pieces melt evenly.
- Heavy cream — A small amount loosens the melted caramels enough for dipping while keeping the coating thick. Heavy whipping cream is an equivalent swap; lower-fat milk can leave the caramel thinner and less likely to cling. Add the cream with the caramels before heating rather than stirring it in after the caramel has melted.
- Semisweet chocolate melting wafers — Wafers are made to melt smoothly into a dip-able coating, and semisweet chocolate keeps the finish from tasting as sweet as the caramel. Another brand of semisweet melting wafers is the easiest swap. Use fresh wafers and a completely dry bowl; even a little water can make melted chocolate seize and turn grainy.
How to Dip Both Layers Without Losing the Clean Finish
Set Up Two Parchment-Lined Trays
Line two rimmed baking sheets with parchment and place 12 pretzel rods on each one. Having the sheets ready before melting anything gives you a clear landing spot for every dipped rod. Leave enough room between the rods that they don’t touch while the coatings are wet. Keep the measuring cup and bowl within reach so you can return excess coating without carrying a dripping rod across the counter.
Melt the Caramels Until Smooth
Combine the unwrapped caramels and heavy cream in a 4-cup microwave-safe glass measuring cup. Microwave at 50% power in 30-second bursts, stirring each time, for 1 1/2 to 3 minutes, until the mixture is smooth. The caramel should pour from a spoon in a thick ribbon, not fall in firm chunks or run like a thin liquid. Let it stand for 3 minutes, stirring once; this short rest helps it cling instead of sliding straight off the rods.
Coat the Rods and Let the Caramel Firm
Dip each rod about halfway into the caramel and turn it so the coating reaches around the pretzel. Lift it over the measuring cup and let the excess drip back before laying it on the parchment. A thick band of caramel at the bottom usually means the rod needed a little more time over the cup. Leave the rods at room temperature for 20 to 30 minutes, until the caramel is firm enough to handle.
Finish with Chocolate and Let It Set
Melt the semisweet wafers in a medium microwave-safe bowl at 50% power in 30-second bursts, stirring after each one, for 1 1/2 to 2 1/2 minutes, until smooth. Dip the caramel-coated portion of each rod into the chocolate, then let the extra coating drip back into the bowl before returning the rod to its sheet. If you rush the drip, a thick pool can form where the rod meets the parchment. Let the rods stand at room temperature for 30 to 45 minutes, until the chocolate is set.
Two Simple Ways to Adjust the Coating
Make the rods more chocolate-forward
Dip a little farther into the chocolate-coated area, while keeping the caramel layer underneath. The extra chocolate gives each bite a firmer, less sweet finish; let the excess drip well so the added coating doesn’t collect in a heavy puddle at the base.
Use gluten-free pretzel rods
Swap in gluten-free rods and keep the caramel and chocolate coatings the same. The result still has the salty-sweet contrast, though some gluten-free rods are more fragile, so handle them gently as you turn them through each coating.
Storage and Reheating
- Refrigerator: Keep the set rods in an airtight container for up to one week, with parchment between layers. The caramel will feel firmer when cold.
- Freezer: They can be frozen in an airtight container for up to one month, with parchment between layers. Thaw them in the refrigerator while still covered to limit condensation on the chocolate.
- Reheating: These are best served without reheating. Let refrigerated rods sit out until the caramel is no longer hard from the cold; avoid warming them, which can soften the coatings and make them messy to handle.
Questions About Making Caramel Pretzel Rods
Chocolate Dipped Caramel Pretzel Rods
Ingredients
Equipment
Method
- Line two rimmed baking sheets with parchment paper.
- Arrange 12 pretzel rods on each sheet.
- Combine the caramels and heavy cream in a 4-cup microwave-safe glass measuring cup.
- Microwave at 50% power in 30-second bursts, stirring each time, for 1 1/2 to 3 minutes, until smooth.
- Let the caramel stand for 3 minutes, stirring once, until thick but still pourable.
- Dip each pretzel rod about halfway into the caramel, turning to coat, and let excess drip back into the cup.
- Lay the caramel-coated rods on the prepared sheets.
- Let the caramel set at room temperature for 20 to 30 minutes, until firm enough to handle.
- Melt the wafers in a medium microwave-safe bowl at 50% power in 30-second bursts, stirring each time, for 1 1/2 to 2 1/2 minutes, until smooth.
- Dip the caramel-coated portion of each rod into the chocolate, letting excess drip back into the bowl.
- Return the rods to the sheets.
- Let stand at room temperature for 30 to 45 minutes, until the chocolate is set.