
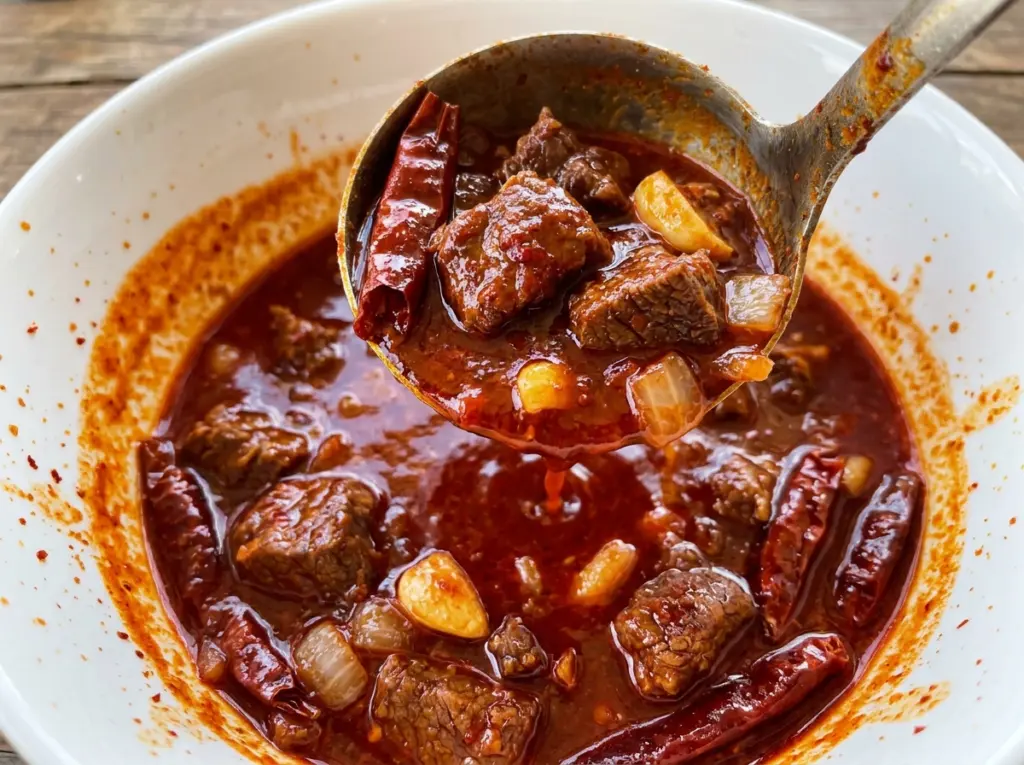
When the softened chiles come out of the blender, they’re thick, dark red, and fragrant in a way ground chili powder can’t quite match. That sauce is the heart of Chili Colorado with Tender Beef and Dried Red Chiles: guajillos bring a bright chile flavor, while anchos give it a deeper, rounder note.
I like this dish because the work is front-loaded. The chiles soften while the beef waits to be browned, and then the covered Dutch oven does the slow part. Chuck has time to turn tender while the sauce settles around it, picking up the browned bits from the pot along the way.
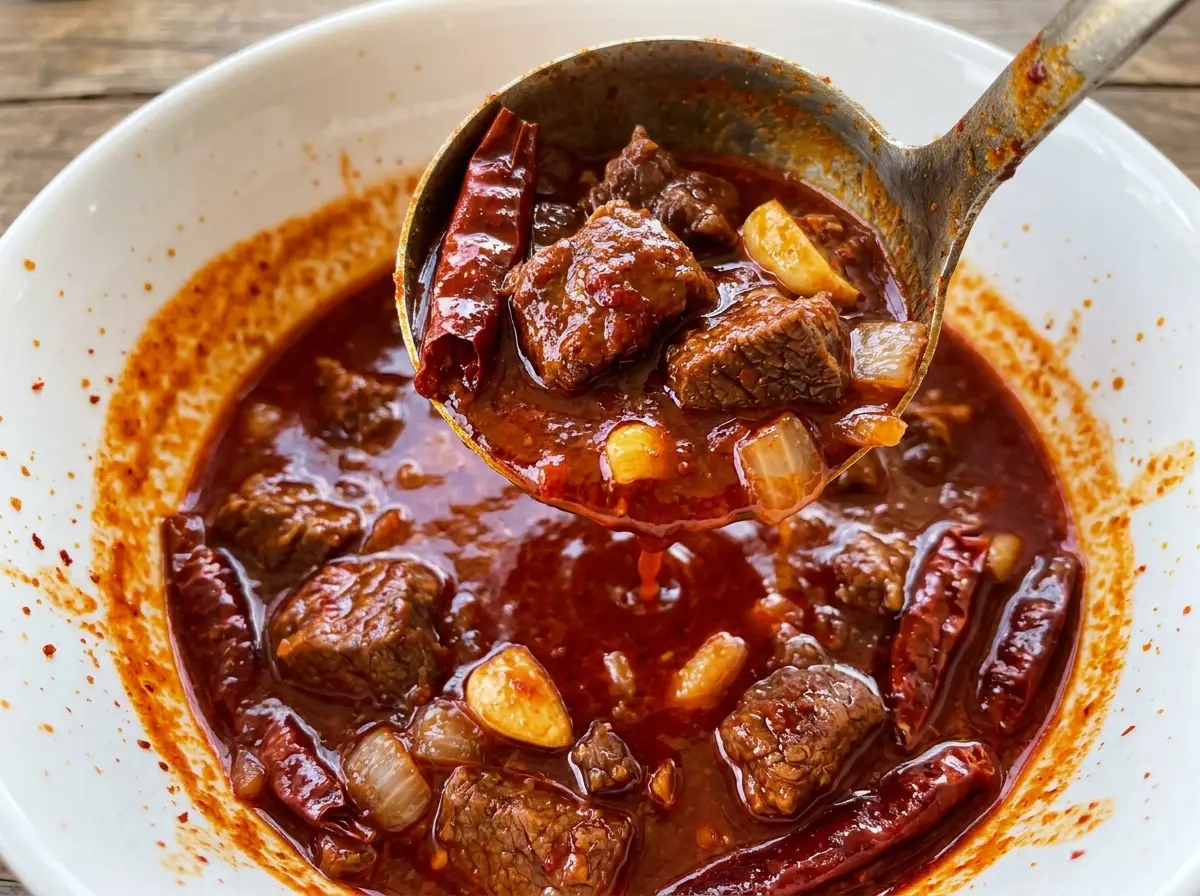
Give the beef a proper sear and let the braise stay at a gentle simmer. By the end, the cubes should yield easily to a fork, and the sauce should cling to each piece without feeling gritty. That’s the bowl I’m after: tender beef wrapped in a smooth, chile-rich sauce.
Kitchen Note
I brown the chuck in two batches, even when I’m eager to get to the sauce. That gives each piece room to develop a dark crust instead of steaming against its neighbors, and leaves the pot ready for the onion.
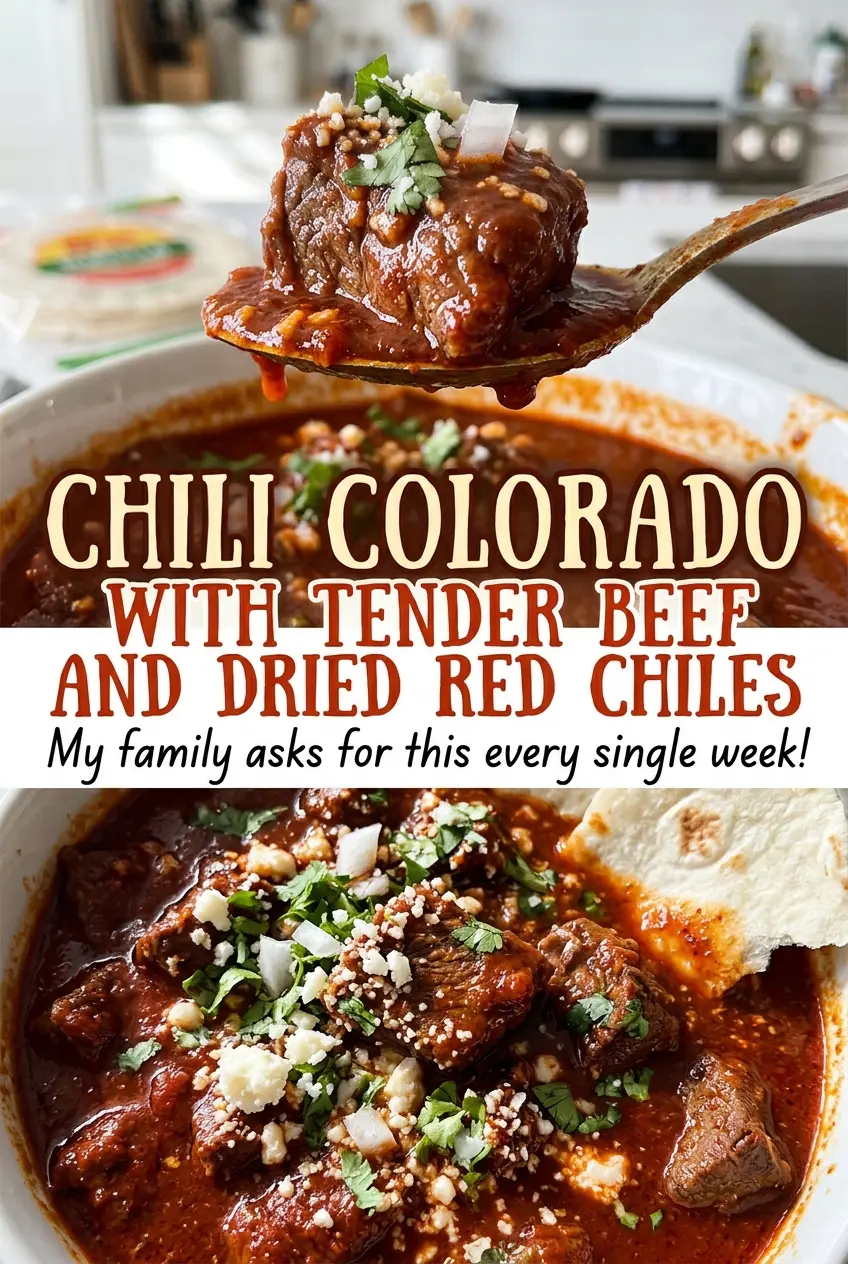
Save Chili Colorado with Tender Beef and Dried Red Chiles for a pot of fork-tender beef in a smooth, deeply colored chile sauce.
Why This Chile Sauce Gets Strained Before It Meets the Beef
A blender breaks softened chile skins into smaller pieces, but it doesn’t make those skins disappear. If you leave every bit in the sauce, the texture can feel slightly coarse against the tender beef. A pass through a fine-mesh sieve catches the stubborn bits and gives you a smoother sauce that coats the meat evenly.
That texture matters here because the sauce isn’t just a thin braising liquid. It becomes a substantial part of each bite, and the beef is meant to sit in it for hours. Straining after blending also gives you a chance to catch any remaining pieces of chile skin before they settle into the pot. Press the puree through with a spoon, working patiently rather than leaving a thick layer behind in the sieve. The sauce that makes it through should look cohesive and pourable, ready to combine with the beef broth.
How the Guajillo, Ancho, and Chuck Each Shape the Pot
- Guajillo chiles — These bring the sauce its clear red color and a bright, fruity chile character. Choose pods that are still pliable rather than brittle and dusty; the dried chiles carry most of the dish’s personality. Removing stems and seeds is part of getting them ready for the pot.
- Ancho chiles — Anchos balance the guajillos with a darker, fuller flavor. Their skins soften in the simmering water, then blend into the base. Keep both chile types in the mix; using only one changes the balance that gives this sauce its layered taste.
- Beef chuck — Chuck is well suited to a long, covered braise because it becomes tender with time. Cut the pieces evenly so they cook at a similar pace. A leaner cut won’t offer the same forgiving texture through a couple of hours of simmering.
- Low-sodium beef broth — Broth adds savory depth after the chile sauce is blended, while the lower sodium level leaves room for the seasoned beef to contribute. A standard store-brand broth works well here; there’s no need to seek out a specialty product.
- Mexican oregano — Crumbling it before it goes into the blender helps it disperse through the chile sauce. Mexican oregano has a different character from Mediterranean oregano, so I stick with the type named here rather than treating them as interchangeable.
From Toasted Pods to Fork-Tender Beef
Toast the Chiles Without Darkening Them
Remove the stems and seeds, then heat the 6-quart Dutch oven over medium heat. Toast the chiles in batches for 15 to 20 seconds per side, moving them to a bowl as soon as they smell fragrant. Keep an eye on their color: they should be aromatic, not darkened. If a pod blackens, it can bring a harsh, bitter note to the sauce.
Soften, Blend, and Strain the Sauce
Add 3 cups water to the Dutch oven and bring it to a simmer before adding the chiles. Simmer them for 10 to 15 minutes, until the skins feel soft and pliable, then drain and discard that water. Blend the chiles with the remaining 2 cups water, garlic, cumin, and crumbled oregano until smooth. Pour the puree through a fine-mesh sieve before setting it aside.
Brown the Beef and Soften the Onion
Season the beef all over with kosher salt and black pepper. Heat 1 tablespoon vegetable oil over medium-high heat and brown half the beef for 3 to 4 minutes per side; transfer it to a plate, then add the remaining oil and brown the rest. The pieces should have browned surfaces rather than pale, wet sides. Lower the heat to medium, add the finely chopped onion, and cook for 5 to 7 minutes, stirring occasionally, until softened.
Build the Braise and Let the Chuck Turn Tender
Stir the strained chile sauce and beef broth into the onion, scraping up the browned bits from the bottom of the pot. Bring the mixture to a simmer, then return the beef and any juices from the plate. Cover and simmer over low heat for 2 to 2 1/2 hours. The beef is ready when a fork slides in easily and the cubes yield without feeling rubbery.
Ways to Adapt This Pot Without Losing Its Chile-Forward Character
Use a Certified Gluten-Free Broth
For a gluten-free pot, choose certified gluten-free low-sodium beef broth in place of the usual low-sodium broth. The chile sauce and beef stay the same, so the result remains rich and savory without changing the method.
Blend the Chile Sauce Ahead
Toast, soften, blend, and strain the chiles ahead of time, then refrigerate the finished sauce in a covered container. When you’re ready to cook, brown the beef and onion, stir in the prepared sauce with the broth, and continue with the braise. This splits up the prep without changing the flavor balance.
Make a Half Batch
Halve each ingredient for a smaller pot. Keep the beef pieces the same size and use tenderness, not a shortened clock, to judge the braise; a smaller amount of beef still needs time to soften. This is a handy way to cook for fewer portions while keeping the same chile-to-beef balance.
Storage and Reheating
- Refrigerator: Store in a covered container for 3 to 4 days. The sauce thickens as it chills, then loosens again as it warms.
- Freezer: Freeze in an airtight container for up to 2 to 3 months. Thaw overnight in the refrigerator; the sauce may look a little less uniform until stirred.
- Reheating: Warm gently in a covered pot over low heat, stirring occasionally, until the leftovers reach 165°F. Avoid a hard boil, which can make the beef break apart before the sauce is evenly hot.
Questions That Come Up With Chili Colorado
Chili Colorado with Tender Beef and Dried Red Chiles
Ingredients
Equipment
Method
- Remove the stems and seeds from the dried chiles.
- Heat a 6-quart Dutch oven over medium heat.
- Toast the chiles in batches for 15 to 20 seconds per side, until fragrant but not darkened, then transfer them to a bowl.
- Add 3 cups water to the Dutch oven and bring it to a simmer.
- Add the chiles and simmer for 10 to 15 minutes, until soft.
- Drain the chiles and discard the water.
- Blend the softened chiles with the remaining 2 cups water, garlic, cumin, and oregano until smooth.
- Strain the chile sauce through a fine-mesh sieve.
- Season the beef all over with the salt and pepper.
- Heat 1 tablespoon oil in the Dutch oven over medium-high heat.
- Brown half the beef for 3 to 4 minutes per side, then transfer it to a plate.
- Add the remaining oil and brown the rest of the beef.
- Add the onion to the pot and cook over medium heat for 5 to 7 minutes, stirring occasionally, until softened.
- Stir in the chile sauce and beef broth, scraping up any browned bits, and bring the mixture to a simmer.
- Return the beef and any accumulated juices to the pot, cover, and simmer over low heat for 2 to 2 1/2 hours, until the beef is fork-tender.