
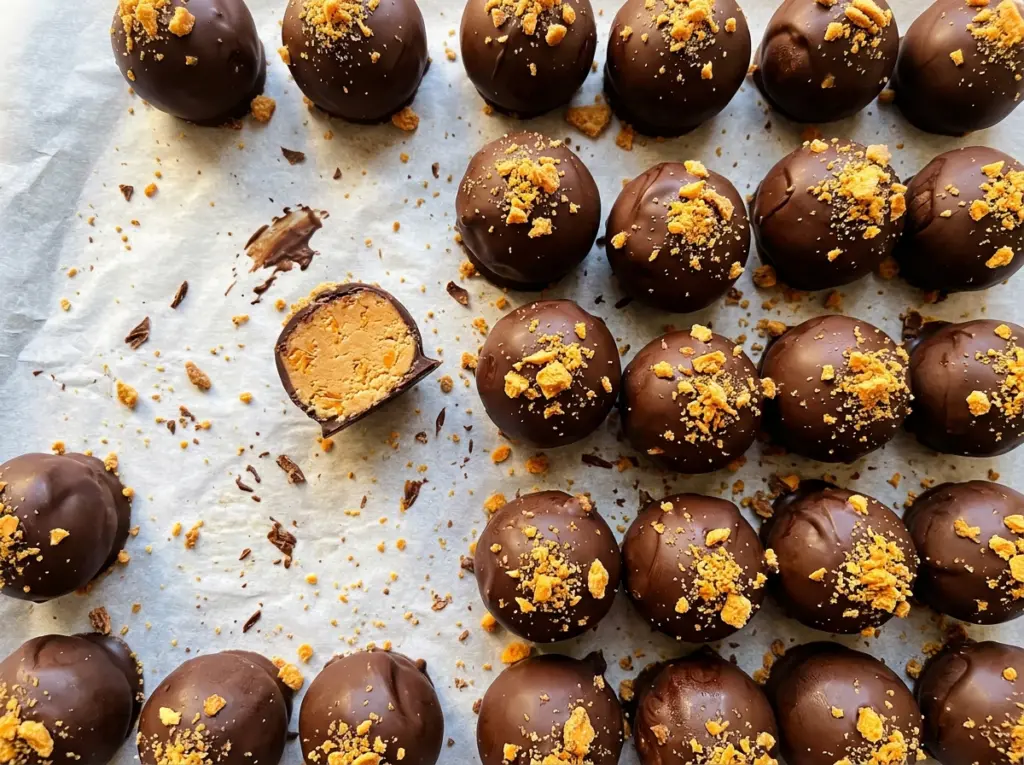
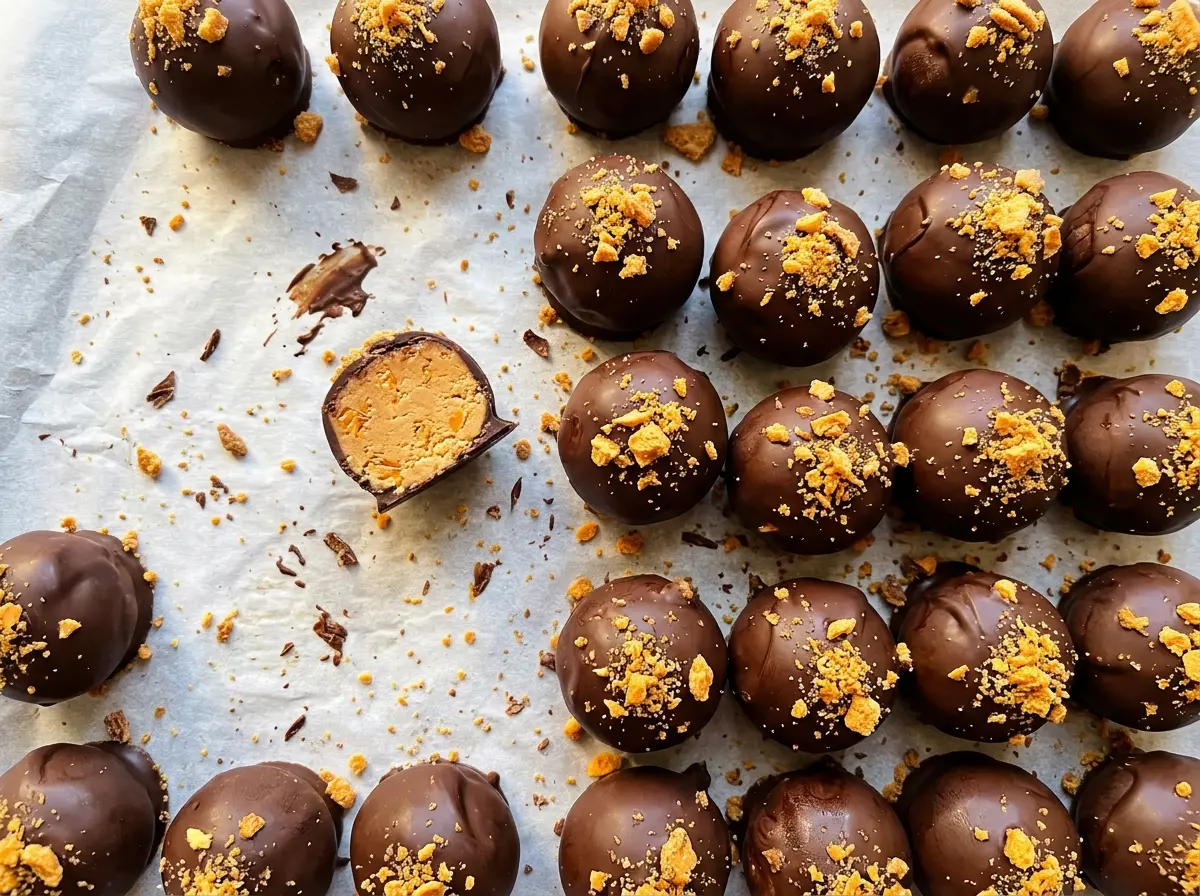
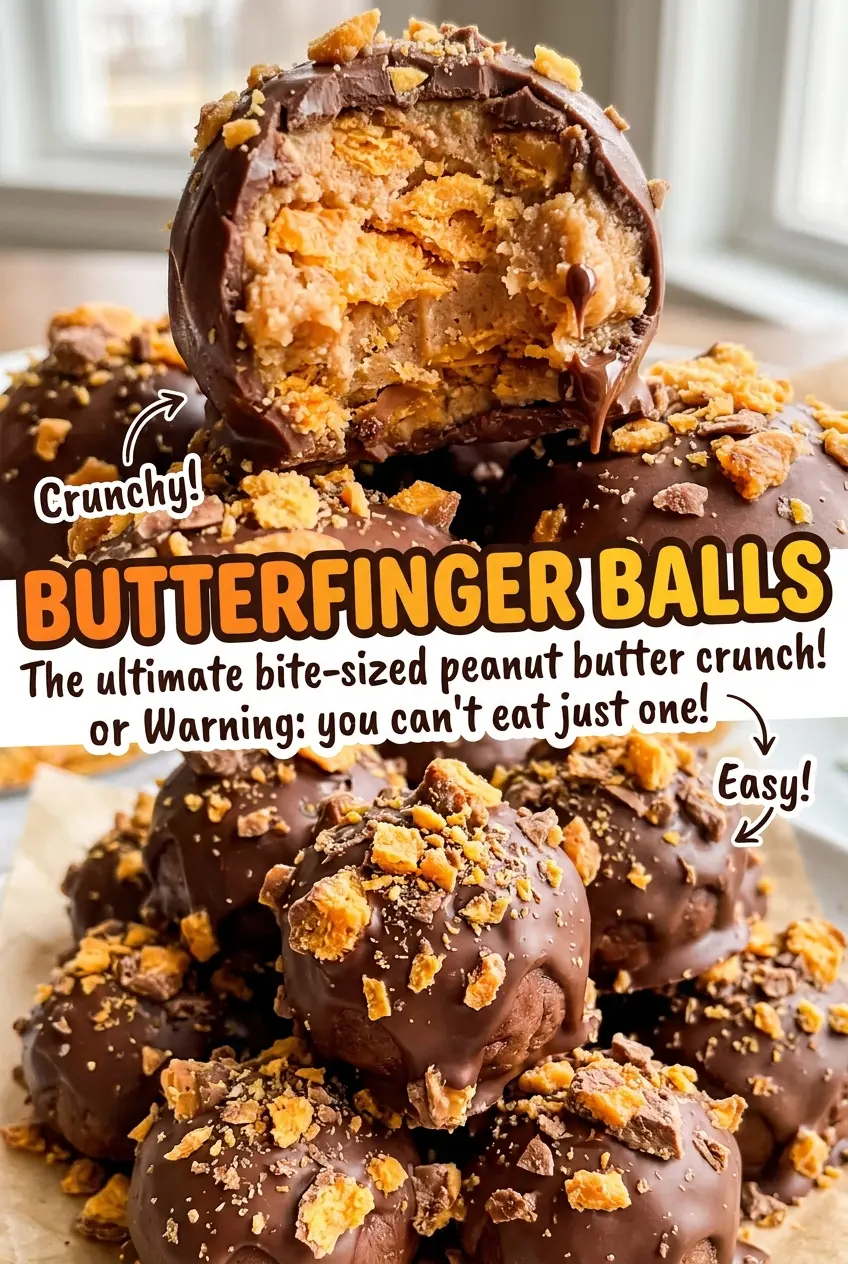
The filling gets thick and a little crunchy as soon as the crushed candy is stirred in, which is exactly what you want for Butterfinger Balls. Each bite has peanut butter underneath those crisp Butterfinger pieces, then a thin semisweet chocolate shell that snaps when you bite through it. The batch makes 36, so there’s plenty to share or tuck away for later.
I’ve found that keeping the filling simple lets the candy do its job. Butter and creamy peanut butter make a smooth base, while powdered sugar firms it up enough to roll without baking. The balls need a short rest in the refrigerator before they’re dipped; that pause makes the coating much less of a wrestling match.
The chocolate gets a little vegetable shortening to help it flow around each chilled ball. Work gently, let the extra coating drip back into the bowl, and you’ll get a tidy shell instead of a thick puddle at the bottom. The finished centers stay tender and peanut-buttery beneath the chocolate.
Kitchen Note
Use softened butter, not melted butter. It should blend smoothly with the peanut butter but still hold its shape, which keeps the filling easy to roll.
Save these Butterfinger Balls for a candy-filled treat with a creamy peanut butter center and a crisp chocolate shell.
Why Finely Crushed Butterfinger Belongs in Every Bite
Butterfinger pieces are doing more here than adding a candy-bar flavor. Finely crushed bits spread through the peanut butter mixture, so the filling has crunch from edge to edge instead of a few large pieces interrupting an otherwise smooth center. That even distribution also makes the balls easier to shape: you’re not trying to roll around a big, hard candy shard that sticks out or breaks away.
The filling has to hold together before the chocolate goes on. Butter and peanut butter give the mixture its soft, rich base, and powdered sugar helps it firm up. Once the crushed candy is mixed through, each portion has enough structure to roll into a compact ball without losing the crisp candy texture.
Keep the portions close to 1 inch so they’re manageable to dip and the coating doesn’t overwhelm the center. If the candy is crushed unevenly, the largest pieces can make the surface bumpy; take a moment to break up those big bits before stirring them in. The result is a bite that feels balanced, with a crisp candy crunch in the middle rather than a loose pile of crumbs.
What the Peanut Butter and Chocolate Each Bring to the Center and Shell
- Butter and creamy peanut butter — Softened butter blends into the peanut butter and gives the center a smooth, rich texture. Standard creamy peanut butter is the best fit; natural peanut butter can separate and leave the filling oily or too soft to roll. Crunchy peanut butter works as a swap in the same amount, though the centers will have extra nut pieces and a less uniform texture. Salted butter can replace unsalted butter, but the finished candy will taste saltier.
- Powdered sugar — Its fine texture firms the filling without the grit that granulated sugar would leave behind. There isn’t a reliable one-for-one swap with regular sugar, so keep powdered sugar for the smoothest mixture.
- Butterfinger candy bars — The crisp peanut-butter-and-toffee candy gives these their defining flavor and crunch. Use the full-size bars so you can measure the candy accurately; stale or softened bars won’t have the same crisp bite. Another crisp peanut-butter candy can work in the same amount, but the flavor and texture will change.
- Semisweet chocolate chips and vegetable shortening — Semisweet chocolate keeps the coating from becoming overly sweet, and shortening loosens the melted chips so they coat the balls more easily. Dark chocolate chips make a more bittersweet shell; milk chocolate chips make it sweeter. If you leave out the shortening, the chocolate will be thicker and harder to dip with, so expect a heavier coating.
Chilling, Melting, and Dipping Without a Messy Shell
Mix a smooth peanut butter base
Line a 13×9-inch baking sheet with parchment paper before you start mixing. Beat the softened butter and creamy peanut butter in a large bowl until smooth, then mix in the powdered sugar until it’s combined. Scrape the sides of the bowl as needed so there aren’t pockets of dry sugar left behind. The mixture should look cohesive before the candy goes in.
Fold in the candy and shape the centers
Stir in the finely crushed Butterfinger until the pieces are distributed throughout the filling. Scoop portions and roll them into 1-inch balls, then set them on the parchment-lined baking sheet. Press together any edges that crack as you roll; a compact ball is easier to coat than a loose one. Keep the portions similar in size so they chill and dip at about the same pace.
Chill until the balls hold their shape
Refrigerate the balls for 30 to 45 minutes, until they’re firm enough to dip. A chilled center is less likely to soften or slip around while you coat it. If a ball still feels delicate when you pick it up, give it the full chilling time rather than rushing straight to the chocolate. Keep the rest of the batch in the refrigerator while you work.
Melt the chocolate gently
Combine the semisweet chocolate chips and vegetable shortening in a microwave-safe bowl. Microwave at 50% power for 1 to 2 minutes, stirring every 30 seconds, until the mixture is smooth. The chips may keep their shape briefly even as they soften, so stir between intervals instead of waiting for them to look fully melted in the microwave. Stop once the chocolate is smooth; overheating can make it thick and difficult to dip.
Dip and let the coating set
Dip each chilled ball into the melted chocolate, then let the excess drip back into the bowl before returning it to the parchment-lined baking sheet. A fork or dipping tool helps lift each ball without leaving a heavy layer underneath. Refrigerate the coated balls for 20 to 30 minutes, until the chocolate is set. The shell should look firm rather than wet when you move them.
Easy Ways to Change the Size or Chocolate Shell
Make Smaller Candy Bites
Roll the filling into smaller portions instead of 1-inch balls for a more bite-size treat. You’ll get more pieces, and each one will have a higher proportion of chocolate shell to peanut butter center. Keep the smaller portions on the parchment and chill them until firm before dipping.
Choose a Sweeter Chocolate Coating
Swap the semisweet chocolate chips for milk chocolate chips if you prefer a sweeter shell. The peanut butter and Butterfinger center will taste a little less balanced against the coating, but the candy will still dip and set. Keep the vegetable shortening in the mixture to help the melted chocolate flow.
Storage and Reheating
- Refrigerator: Keep the balls in an airtight container for up to 1 week. The chocolate shell stays firm, and the centers remain easiest to handle when chilled.
- Freezer: Freeze in an airtight container for up to 2 months, separating layers with parchment so the shells don’t stick together. Thaw in the refrigerator before serving.
- Reheating: These are served cold or slightly cool, so don’t reheat them. Let a ball sit at room temperature briefly if you prefer a softer center; warming it too much can melt the chocolate shell.
Questions That Come Up While Making Butterfinger Balls
Butterfinger Balls
Ingredients
Equipment
Method
- Line a 13x9-inch baking sheet with parchment paper.
- Beat the butter and peanut butter in a large bowl until smooth.
- Mix in the powdered sugar until combined.
- Stir in the crushed Butterfinger until evenly distributed.
- Scoop and roll the mixture into 1-inch balls and place them on the prepared baking sheet.
- Refrigerate the balls for 30 to 45 minutes, until firm enough to dip.
- Combine the chocolate chips and shortening in a microwave-safe bowl.
- Microwave at 50% power for 1 to 2 minutes, stirring every 30 seconds, until smooth.
- Dip each chilled ball in the melted chocolate and let excess chocolate drip back into the bowl.
- Return each ball to the parchment-lined baking sheet.
- Refrigerate for 20 to 30 minutes, until the chocolate coating is set.