
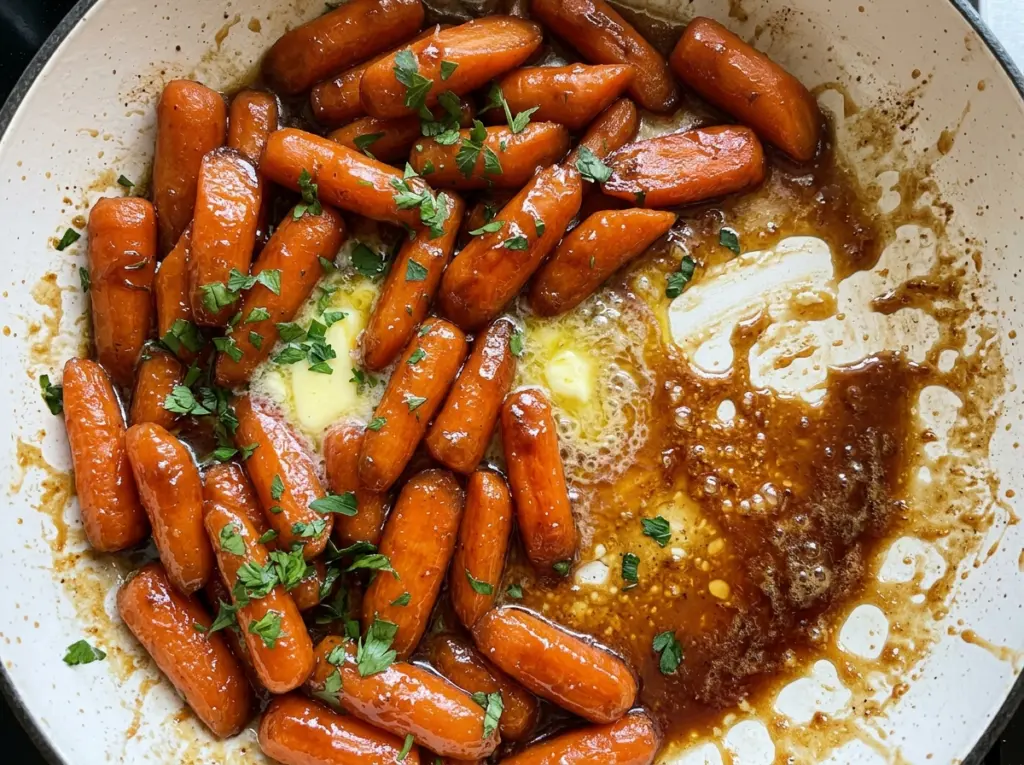
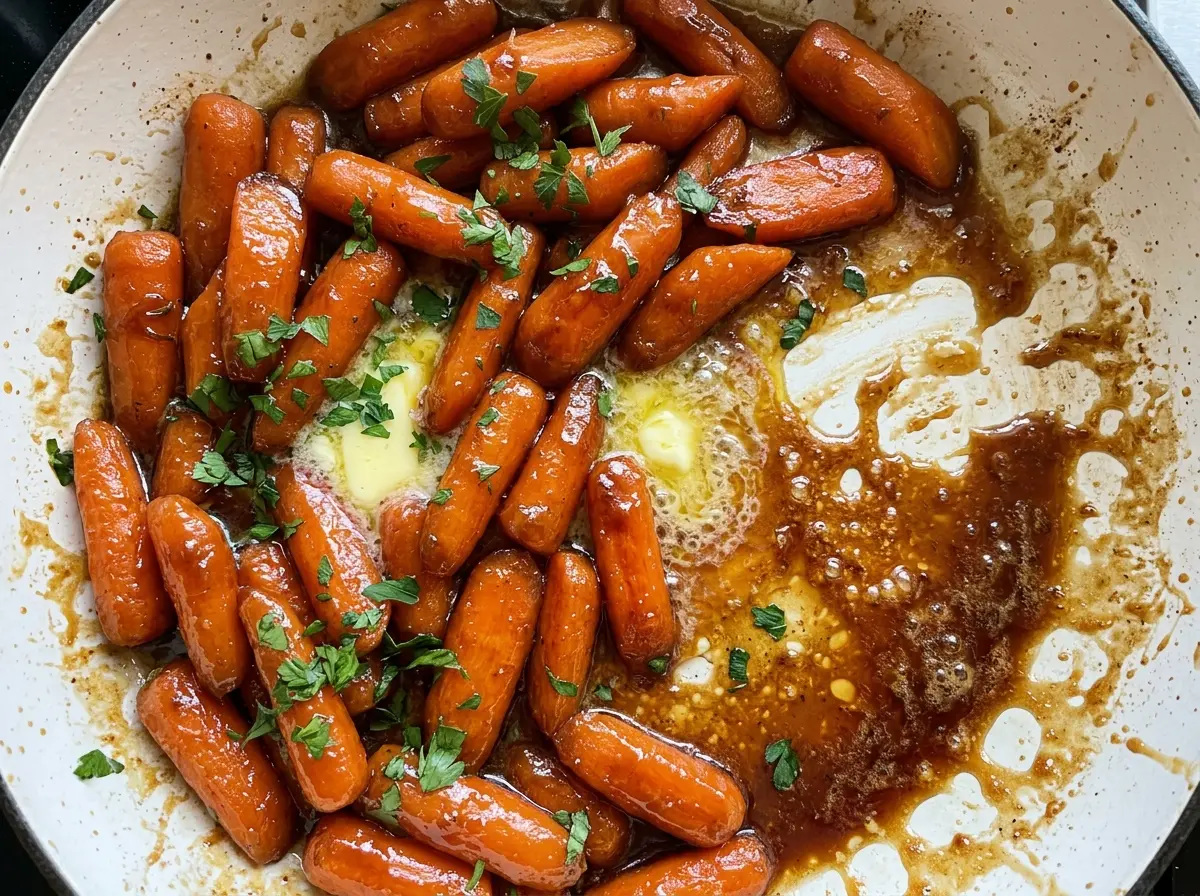
When the lid comes off the skillet, the carrots should be tender but the liquid will still look thin. A few minutes uncovered changes that: water evaporates, butter and brown sugar come together, and the carrots end up coated in a glossy glaze instead of sitting in syrup. That two-part finish is what makes these brown sugar glazed carrots work so well on the stovetop.
I like that everything starts in one skillet. The carrots soften in the covered pan, then finish in the same liquid as it reduces, so the glaze picks up their sweetness. There’s no separate sauce to make or pour over at the end.
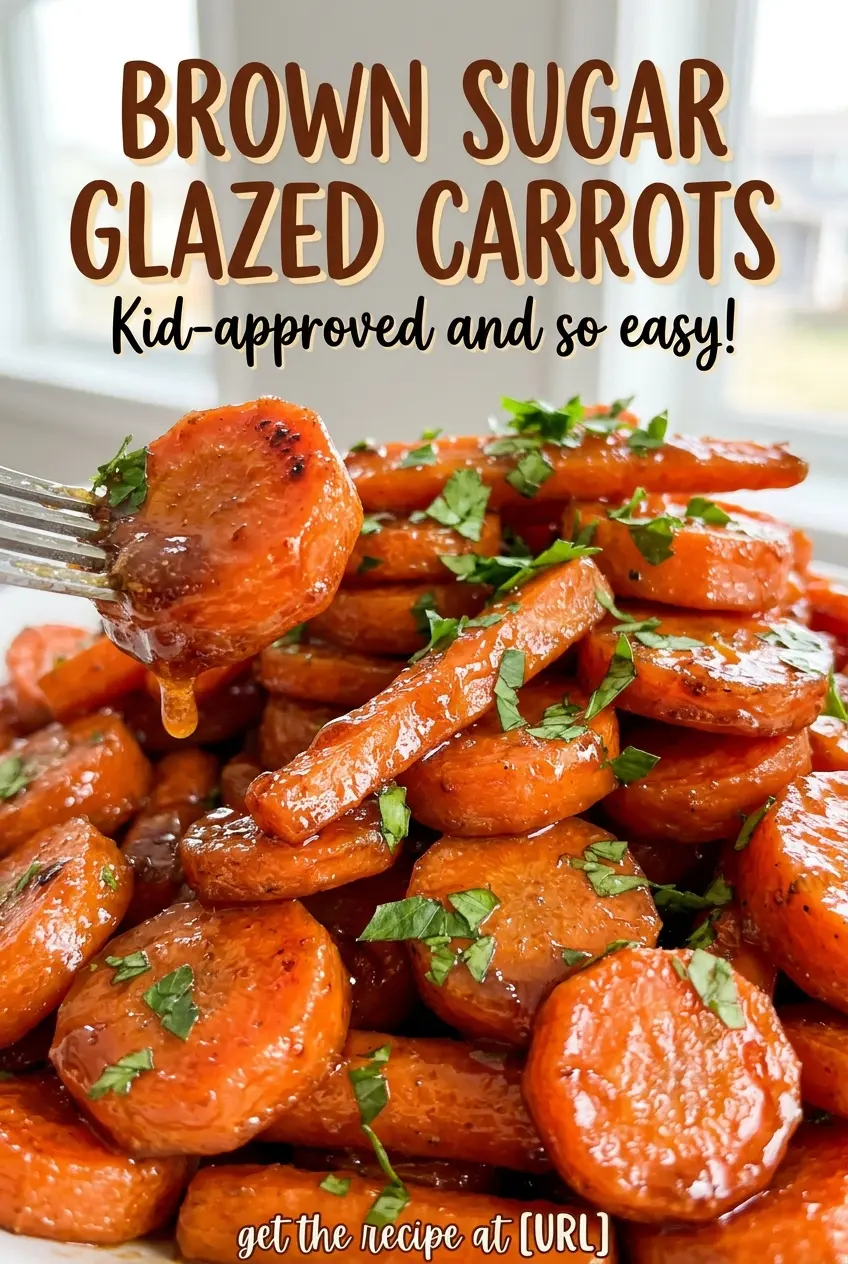
The finished carrots are soft enough to pierce with a fork, with a sweet, buttery coating that clings to each round. Keep the heat changes in mind, and you’ll get a side dish that tastes considered without asking much of you.
Kitchen Note
Cut the carrot rounds to the same thickness, about 1/2 inch, so they soften at the same pace. Uneven pieces leave you choosing between firm centers and overly soft edges.
Save these brown sugar glazed carrots for a weeknight side with a buttery, glossy finish that comes together in one skillet.
Why These Carrots Need a Covered Simmer Before the Glaze Can Shine
Carrots take longer to soften than it takes for butter and sugar to turn glossy in a skillet. If you cook everything uncovered from the start, the liquid can reduce before the centers are tender. The covered simmer gives the carrots time to cook gently while the water stays in the pan.
Once they’re nearly tender, uncovering the skillet changes the job. The extra moisture can escape, and the brown sugar and butter become a coating rather than a thin liquid. Keeping those stages separate is what gives you carrots that are cooked through without asking the glaze to do two things at once. Stir often during the uncovered finish so the carrots move through the syrupy liquid and the sugar doesn’t sit in one spot on the skillet.
This also explains why the glaze may look too loose when you first lift the lid. That’s expected; it hasn’t had its reduction stage yet. Watch the liquid, not just the clock, as it cooks uncovered: the goal is a glossy coating and tender carrots, not a puddle left in the pan.
Why Brown Sugar and Butter Make a Glaze, Not a Syrup
- Carrots — Fresh carrots give you firm rounds that hold their shape through both stages of cooking. Choose carrots that feel firm rather than limp; peeling them gives the finished side a clean, even bite. The carrot’s natural sweetness is part of the balance, so the glaze doesn’t have to carry all the flavor.
- Light brown sugar — Its moist texture dissolves into the cooking liquid and gives the glaze a mild molasses note. Packed brown sugar also measures consistently, which matters in a small skillet sauce. The light variety keeps the sweetness present without letting a stronger molasses flavor take over.
- Unsalted butter — Butter brings richness and helps the reduced liquid coat the carrots. Using unsalted butter lets the fine salt season the dish without the salt level depending on the butter brand. It’s worth using butter here; the glaze relies on its flavor, not just its fat.
- Water — The water creates the moist environment the carrots need while the skillet is covered, then cooks down in the uncovered stage. Leave it in the pan for the reduction; pouring it off would remove the liquid that becomes the glaze.
- Fine salt — Fine salt disperses readily through the liquid, so the carrots are seasoned evenly rather than getting salty bites in a few spots. It also keeps the brown sugar from tasting one-note sweet.
From Tender Carrots to a Glossy Skillet Glaze
Start Everything Together in the Skillet
Put the carrot rounds, water, butter, brown sugar, and fine salt in a 12-inch skillet. Starting them together gives the sugar time to dissolve as the water heats, rather than leaving a dry layer on the bottom. Set the skillet over high heat and bring the mixture to a boil. Keep an eye on it as it heats so you can move straight into the covered simmer.
Soften the Carrots Under the Lid
Once the mixture boils, cover the skillet and reduce the heat to medium-low. Simmer for 10 to 12 minutes, until the carrots are nearly tender when pierced with a fork. Check a thicker round: the fork should meet only a little resistance, since the carrots will continue cooking during the glaze finish. If a piece is still distinctly firm in the center, it needs more time in this covered stage before you reduce the liquid.
Reduce the Liquid into a Glossy Coating
Uncover the skillet and raise the heat to medium-high. Cook for 3 to 5 minutes, stirring often, as the liquid reduces around the carrots. At first it will look loose; keep stirring as it thickens and turns glossy. The carrots are ready when they’re tender and coated, with no thin pool of liquid left at the bottom.
Dietary Fits That Don’t Require Changing the Carrots
A naturally gluten-free side
The listed ingredients contain no flour or other gluten-containing thickener, and the glaze thickens by reducing in the skillet. You don’t need a separate starch mixture to make it cling to the carrots.
A vegetarian-friendly vegetable side
Carrots, brown sugar, butter, water, and salt make this a vegetarian side as written. The butter gives the glaze its characteristic richness, so I keep the ingredient list intact rather than changing the texture with an untested swap.
Storage and Reheating
- Refrigerator: Refrigerate leftovers within 2 hours and use them within 3 to 4 days. The glaze will firm up as it chills.
- Freezer: Freeze in an airtight container for up to 2 months for best quality. The carrots will be softer after thawing, and the glaze may lose some of its shine.
- Reheating: Warm gently in a skillet, stirring often until heated through. High heat can scorch the sugar before the carrots warm evenly.
Questions That Come Up With Brown Sugar Glazed Carrots
Brown Sugar Glazed Carrots
Ingredients
Equipment
Method
- Combine the carrots, water, butter, brown sugar, and salt in a 12-inch skillet.
- Bring to a boil over high heat.
- Cover and reduce the heat to medium-low; simmer for 10 to 12 minutes, until the carrots are nearly tender when pierced with a fork.
- Uncover and cook over medium-high heat for 3 to 5 minutes, stirring often, until the liquid reduces to a glossy glaze and the carrots are tender.