
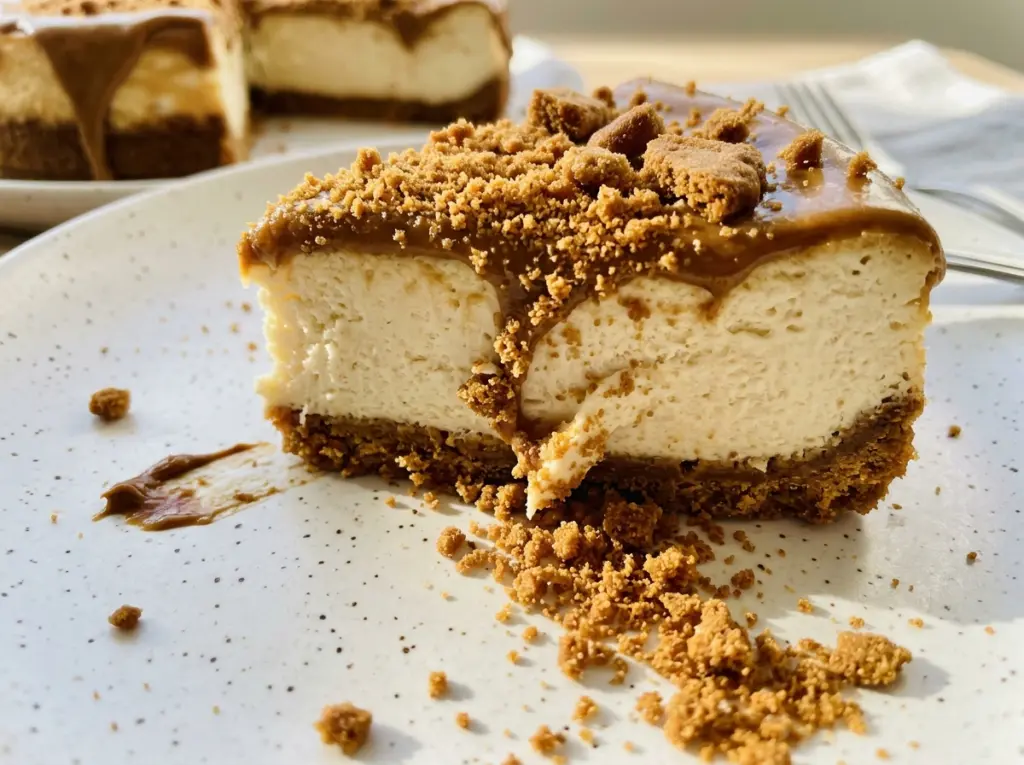
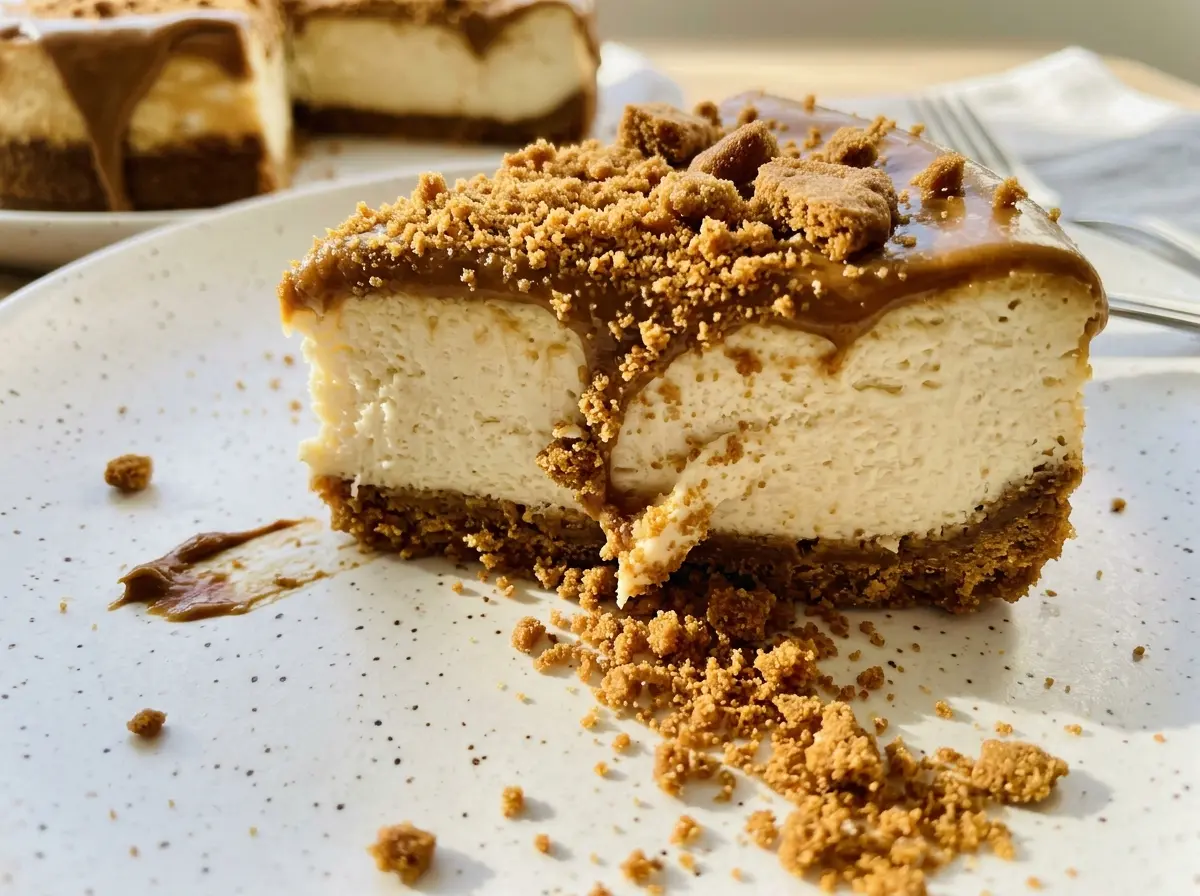
The Biscoff crust gives off a warm, spiced smell while it bakes, and it’s easy to think the filling will be the fussy part. This Biscoff Cookie Butter Cheesecake is more forgiving when the crust is pressed firmly into the pan and the filling is mixed until smooth, not beaten until fluffy. The result is a creamy center with a buttery cookie base that holds together when you slice it.
I bake the cheesecake in a water bath, then let it cool gradually before it goes into the refrigerator. That gives the rich filling time to settle without a sharp change in temperature. The cookie butter brings plenty of spice and caramel-like sweetness on its own, so the sour cream and a little salt keep each bite from tasting one-note. Let the finished cheesecake chill until firm, and the slices come away clean with a tender, dense middle.
Kitchen Note
Set the softened cream cheese, eggs, and sour cream out before you start mixing. When those ingredients aren’t cold, they blend into a smoother filling without stubborn little lumps.
Save this Biscoff Cookie Butter Cheesecake for its spiced cookie crust and smooth, creamy center.
Why the Water Bath Protects More Than the Cheesecake’s Edges
A cheesecake is thick enough that its outside and center don’t heat at the same pace. Without a water bath, the edges can set and dry out while the center is still catching up. The hot water buffers the heat around the springform pan, helping the filling bake more evenly instead of pushing the outer ring past its best texture.
The foil around the pan matters because the water bath sits right against it. Two layers of heavy-duty foil help keep water away from the crust, where even a small leak can leave the cookie base damp. The gentle cool-down after baking is part of the same plan: a sudden shift from hot oven to cool kitchen can make a cheesecake contract quickly and crack. This approach gives the center time to settle, and it’s worth the extra roasting pan.
What Biscoff Cookie Butter Adds That the Crust Can’t
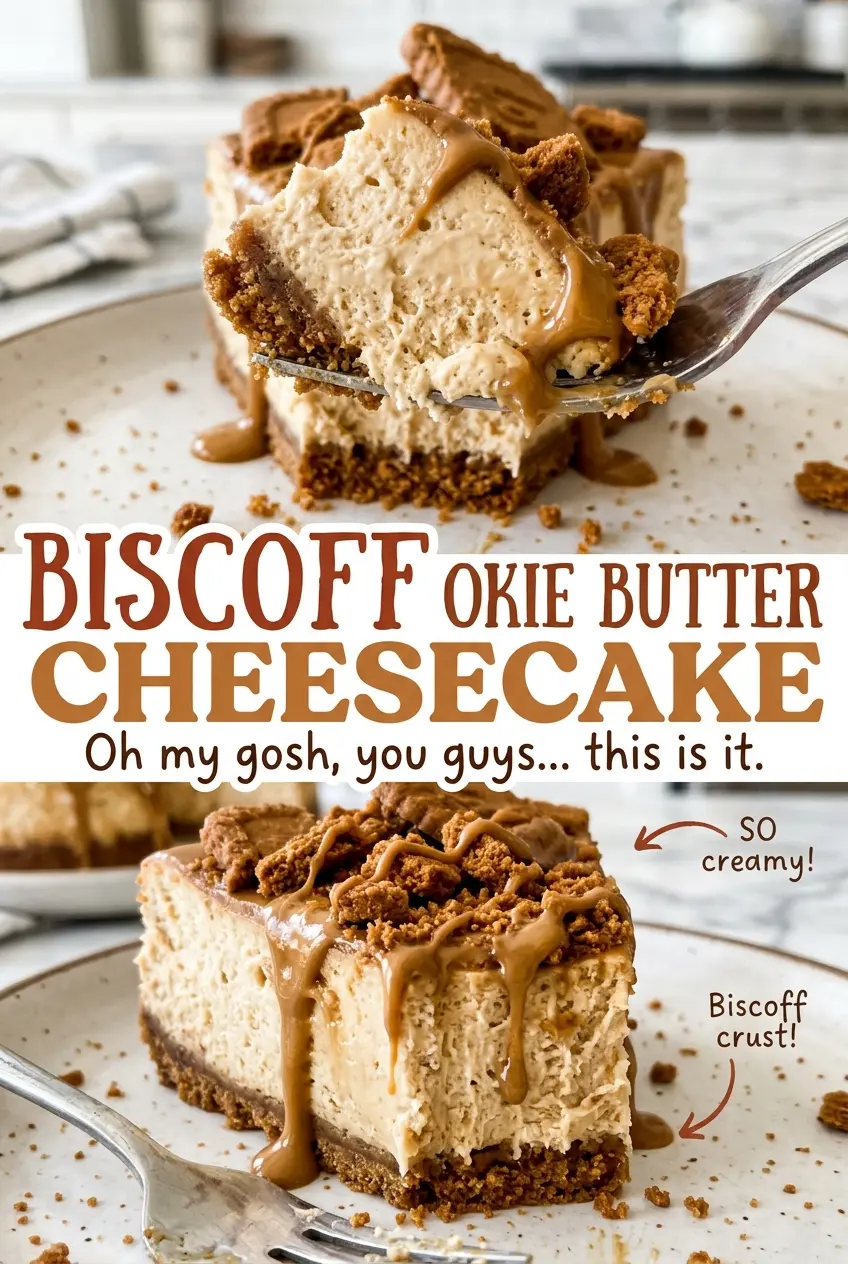
- Biscoff cookies give the crust its toasted, spiced flavor and a fine crumb that packs neatly. Fresh, crisp cookies crush more evenly than ones that have gone soft. Another crisp speculoos-style cookie is the closest flavor match if you can’t find Biscoff cookies.
- Unsalted butter binds the crumbs so the crust holds together after chilling. Unsalted butter keeps the salt level predictable; salted butter can work, but leave out the added kosher salt so the base doesn’t turn too salty.
- Cream cheese makes the filling dense and creamy. Regular brick-style cream cheese is the reliable choice here; whipped cream cheese has extra air and can leave the texture softer and less even.
- Cookie butter is the main flavor in the filling, not just a sweetener. A smooth speculoos spread can stand in for Biscoff cookie butter in equal volume, though the exact spice and sweetness will vary by brand.
- Sour cream adds a mild tang that balances the sweet cookie butter. Plain, full-fat Greek yogurt is the most useful swap in equal volume; it makes the filling a little tangier and thicker.
- Eggs, sugar, flour, and vanilla work together to set and round out the filling. The eggs provide structure, while the flour helps it hold; for a gluten-free version, the flour can be replaced with cornstarch. Vanilla softens the sharper spice notes, so keep it if you have it.
From Firm Cookie Base to a Silky, Set Center
Bake a crust that stays together
Heat the oven to 325°F and grease the inside of a 9-inch springform pan. Wrap the outside bottom and sides in two layers of heavy-duty foil before you add the crust. Stir the fine Biscoff crumbs with melted butter and kosher salt until they look evenly moistened, then press them firmly across the pan bottom. Bake the crust for 10 minutes and set it aside to cool while you make the filling.
Mix the filling without whipping it
Beat the softened cream cheese in a large bowl with an electric mixer on medium-low speed until smooth, scraping down the bowl as needed. Beat in the sugar and flour, then mix in the cookie butter, sour cream, and vanilla until the mixture looks even. Add the eggs one at a time on low speed, stopping as soon as each is incorporated. A few seconds too much mixing can add extra air, which makes the baked texture less uniform.
Set up the water bath and bake
Pour the filling over the cooled crust and smooth the top. Place the springform pan inside a large roasting pan, set the roasting pan on the oven rack, and carefully pour in hot water until it reaches about 1 inch up the sides of the springform pan. Bake for 75–90 minutes, until the edges are set, the center has a slight wobble, and an instant-read thermometer inserted in the center registers 160°F. Don’t wait for the center to look completely firm in the oven; it will continue to set as it cools.
Cool gradually, then chill until firm
Turn off the oven, prop the door open slightly, and leave the cheesecake in the water bath for 1 hour. Lift the springform pan out, remove the foil, and cool it on a rack until it reaches room temperature, about 1–2 hours. Refrigerate for at least 6 hours, until firm. Run a thin knife around the edge before releasing the pan sides.
Two Smart Ways to Change the Crust or Adapt the Ingredients
A sweeter, milder graham cracker crust
Replace the Biscoff crumbs with the same volume of finely crushed graham crackers, keeping the butter and salt unchanged. The crust will taste less warmly spiced and more like a classic cheesecake base, while still giving the filling a sturdy bottom.
A gluten-free speculoos-style version
Use gluten-free spiced-cookie crumbs for the base, a gluten-free cookie butter in the filling, and cornstarch instead of the all-purpose flour. The texture stays close, but the result won’t have the exact Biscoff flavor unless you find gluten-free products with a similar toasted spice. The crust still needs to be pressed firmly so it holds after chilling.
Storage and Reheating
- Refrigerator: Keep covered in the refrigerator for 3–4 days. The crust gradually softens as it sits.
- Freezer: Freeze fully chilled slices, wrapped individually in plastic wrap and then foil, for up to 2 months. Thaw in the refrigerator.
- Reheating: This cheesecake is best served cold, so skip the microwave; warming can soften the filling and make it slump.
Questions That Come Up With Biscoff Cheesecake
Biscoff Cookie Butter Cheesecake
Ingredients
Equipment
Method
- Preheat the oven to 325°F.
- Grease the inside of a 9-inch springform pan and wrap the outside bottom and sides in two layers of heavy-duty foil.
- Stir the cookie crumbs, melted butter, and salt until evenly moistened.
- Press the crumb mixture firmly into the bottom of the pan.
- Bake for 10 minutes.
- Set the pan aside to cool while you make the filling.
- Beat the cream cheese in a large bowl with an electric mixer on medium-low speed until smooth, scraping down the bowl as needed.
- Add the sugar and flour and beat until combined.
- Mix in the cookie butter, sour cream, and vanilla until smooth.
- Add the eggs one at a time, mixing on low speed just until each is incorporated.
- Pour the filling over the crust and smooth the top.
- Place the springform pan in a large roasting pan.
- Set the roasting pan on the oven rack.
- Carefully pour in hot water to reach about 1 inch up the sides of the springform pan.
- Bake for 75–90 minutes, until the edges are set, the center has a slight wobble, and an instant-read thermometer inserted in the center registers 160°F.
- Turn off the oven.
- Prop the oven door open slightly and leave the cheesecake in the water bath for 1 hour.
- Remove the springform pan from the water bath.
- Remove the foil.
- Cool the cheesecake on a rack until room temperature, about 1–2 hours.
- Refrigerate for at least 6 hours, until firm.
- Run a thin knife around the edge.
- Release the pan sides.