
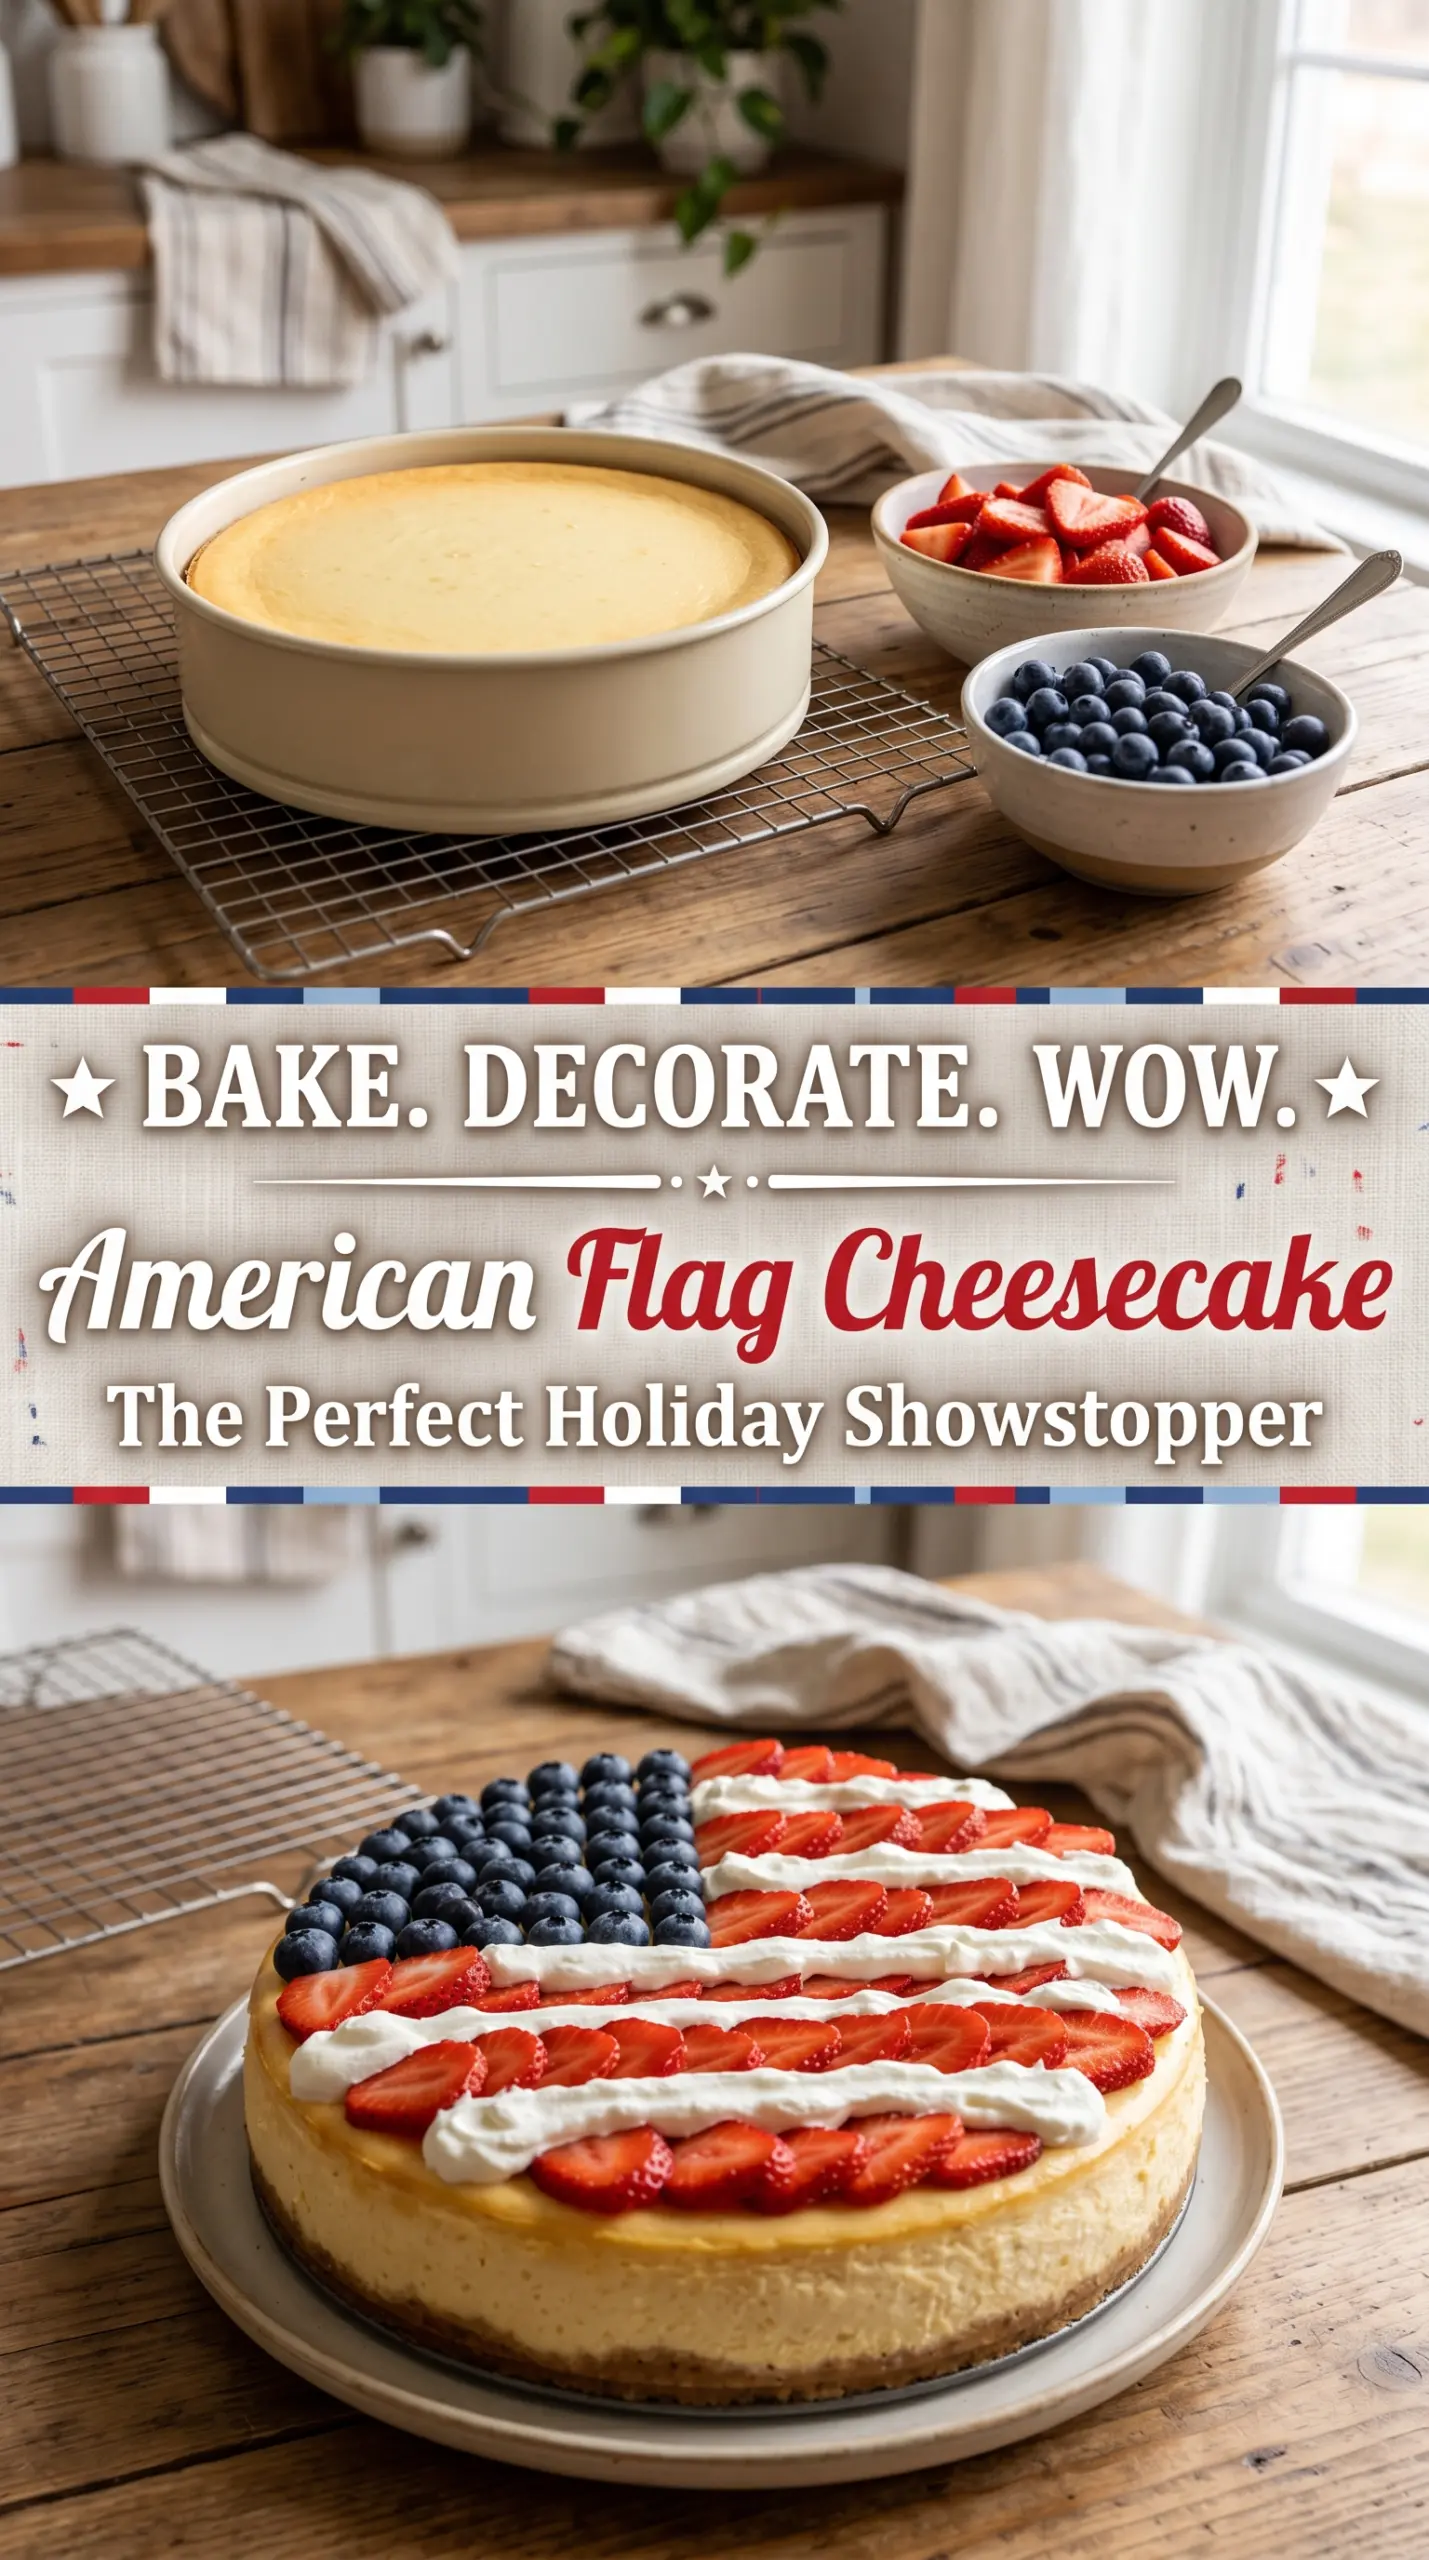
American Flag Cheesecake gets all the things right that a holiday dessert should: a thick, creamy center, a buttery graham crust that holds its shape, and a fruit topping that looks festive without turning the whole cake soggy. The strawberries and blueberries don’t just decorate the top — they keep each slice feeling fresh and balanced against the rich filling. When it’s chilled properly, the cheesecake cuts cleanly and the flag design stays sharp on the plate.
The part that makes this version work is the baking and cooling process. Cheesecake needs gentle heat, then patience. A hot oven or a fast cool-down can crack the surface, and a loose crust can leak butter into the pan. I bake the crust first so it sets, then I mix the filling just until smooth and bake until the edges are set with a slight wobble in the center. That slow oven-off rest matters more than it sounds.
Below, you’ll find the exact timing that keeps the filling creamy, the best way to arrange the berries so the flag pattern holds, and a few practical swaps if you need to make it ahead or adapt it for different guests.
The cheesecake came out smooth with no cracks, and the berry topping stayed neat even after slicing. I let it chill overnight like you suggested, and the crust held together perfectly.
Love the creamy filling and patriotic berry pattern? Save this American Flag Cheesecake for your next July 4th dessert table.
The Trick to a Smooth Cheesecake That Doesn’t Crack Under the Berries
Most cheesecake problems start before the pan even goes into the oven. If the cream cheese is still cold, the filling gets lumpy and you end up beating in extra air just to smooth it out. That air expands in the oven and can lead to cracks later. Start with softened cream cheese and beat it on its own until it looks glossy and completely smooth before anything else goes in.
The other issue is overbaking. Cheesecake should not look firm all the way across when it comes out. The edges should be set, but the center should still move a little when you tap the pan. That gentle wobble finishes setting as the cake cools, which is what keeps the texture creamy instead of dense and dry.
- Cream cheese — Full-fat block cream cheese gives the filling the structure and tang you want. Tub-style spreadable cheese won’t set the same way.
- Sour cream — This softens the richness and keeps the texture silky. Plain Greek yogurt can work in a pinch, but the filling will taste a little sharper.
- Graham cracker crumbs — Fine crumbs pack into a firm crust. If you crush them too coarsely, the crust crumbles when sliced.
- Fresh berries — Use firm strawberries and dry blueberries so the flag pattern stays neat. Wet berries can weep and streak the top.
- Butter — Melted butter binds the crust. If the mixture looks sandy, it needs a little more mixing before you press it into the pan.
Building the Crust and Filling Without Adding Air
Pressing the Crust
Mix the graham crumbs, melted butter, and sugar until every crumb looks evenly moistened. Then press the mixture firmly into the bottom of the springform pan and a little way up the sides. A flat-bottomed measuring cup helps pack it tightly so it doesn’t fall apart when you release the pan. Bake it until it smells toasty and looks set at the edges.
Mixing the Batter
Beat the cream cheese first until it’s completely smooth, then add the sugar and keep mixing only until it disappears. Add the eggs one at a time and stop as soon as each one disappears into the batter. Once the sour cream and vanilla go in, the mixture should look thick, glossy, and uniform. Too much mixing traps air, and air is what leads to cracks.
Baking and Cooling Slowly
Pour the filling over the crust and bake until the outer ring is set but the center still has a soft jiggle. Turn the oven off and crack the door open so the cheesecake cools gradually instead of shocking from hot to cold. That slow transition helps the center finish setting without sinking in the middle. Refrigerate it for at least 6 hours, and overnight is even better if you want the cleanest slices.
Three Ways to Adapt This Patriotic Cheesecake
Gluten-Free Crust
Swap the graham crackers for certified gluten-free graham-style crumbs or another gluten-free cookie crumb. The filling doesn’t change, but the crust may be a touch more delicate, so pack it firmly and chill the cheesecake well before slicing.
Lower-Sugar Berry Topping
If you want the fruit to carry more of the sweetness, reduce the sugar in the filling slightly and use the ripest berries you can find. The cheesecake will taste a little tangier and the fruit pattern will stand out more on the plate.
Make-Ahead Party Dessert
Bake the cheesecake a day in advance and add the berries just before serving if you want the cleanest flag design. That keeps the strawberries from softening the top and gives you sharper lines when it’s time to slice.
Storage and Reheating
- Refrigerator: Keep covered for up to 5 days. The crust softens a little over time, but the cheesecake stays creamy.
- Freezer: Freeze without the fresh berry topping for best results. Wrap tightly, then thaw overnight in the refrigerator before topping and serving.
- Reheating: Cheesecake is served cold, not reheated. Let slices sit at room temperature for 15 to 20 minutes if you want a softer texture.
Answers to the Questions Worth Asking

American Flag Cheesecake
Ingredients
Equipment
Method
- Preheat the oven to 325°F (163°C). Look for the oven to fully reach temperature before baking.
- Grease a 9-inch springform pan. Make sure the sides and bottom are evenly coated so the crust releases cleanly.
- Mix graham cracker crumbs, melted butter, and granulated sugar until the mixture looks like wet sand. Ensure all crumbs are evenly coated.
- Press the crust mixture firmly into the pan. Pack it tightly so it holds its shape after slicing.
- Bake the crust for 10 minutes. The crust should look set and lightly golden.
- Beat the cream cheese until smooth. Stop when there are no lumps and the texture looks creamy.
- Add granulated sugar and mix well. The batter should look glossy and fully combined.
- Beat in the eggs one at a time. Stop to scrape the bowl between additions so the batter stays smooth.
- Add sour cream and vanilla extract. Mix just until incorporated for a silky filling.
- Pour the filling over the baked crust. Tap the pan lightly to help the surface level out.
- Bake for 55–65 minutes. The center should look set but still slightly jiggly.
- Turn the oven off and crack the door open. Let the cheesecake rest briefly so it cools gradually rather than dropping temperature fast.
- Cool the cheesecake gradually for 1 hour. Keep it in the pan while it cools to room temperature.
- Refrigerate for at least 6 hours. Chill until firm enough to slice cleanly.
- Arrange blueberries in the upper corner to create the stars section. Place them evenly so the “star” area reads clearly.
- Arrange strawberry slices in rows to resemble flag stripes. Align the slices so the rows are straight and consistent.
- Slice and serve chilled. Use a clean cut and wipe the knife between slices for sharp edges.