
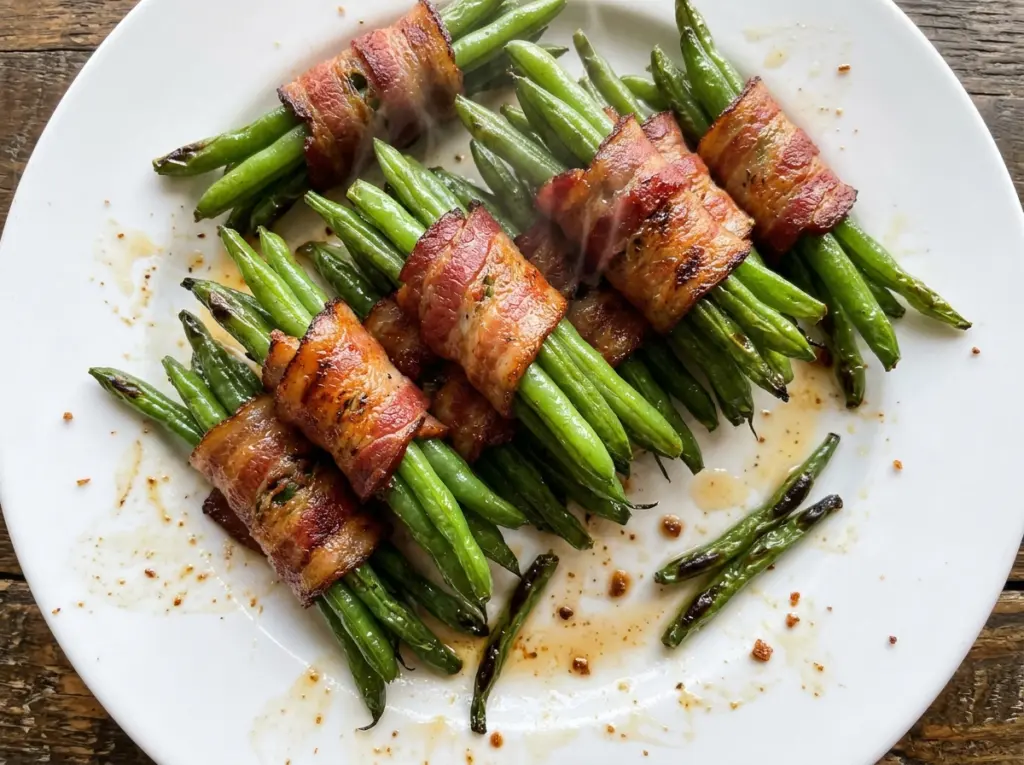
The bacon begins to sizzle around the green beans before the bundles have even had time to sit in the air fryer. That’s the part I like: each slice turns into a crisp, savory wrapper, while the beans inside stay tender instead of tasting like an afterthought. These air fryer bacon wrapped green bean bundles make a simple side feel a little more special without asking you to stand over a skillet.
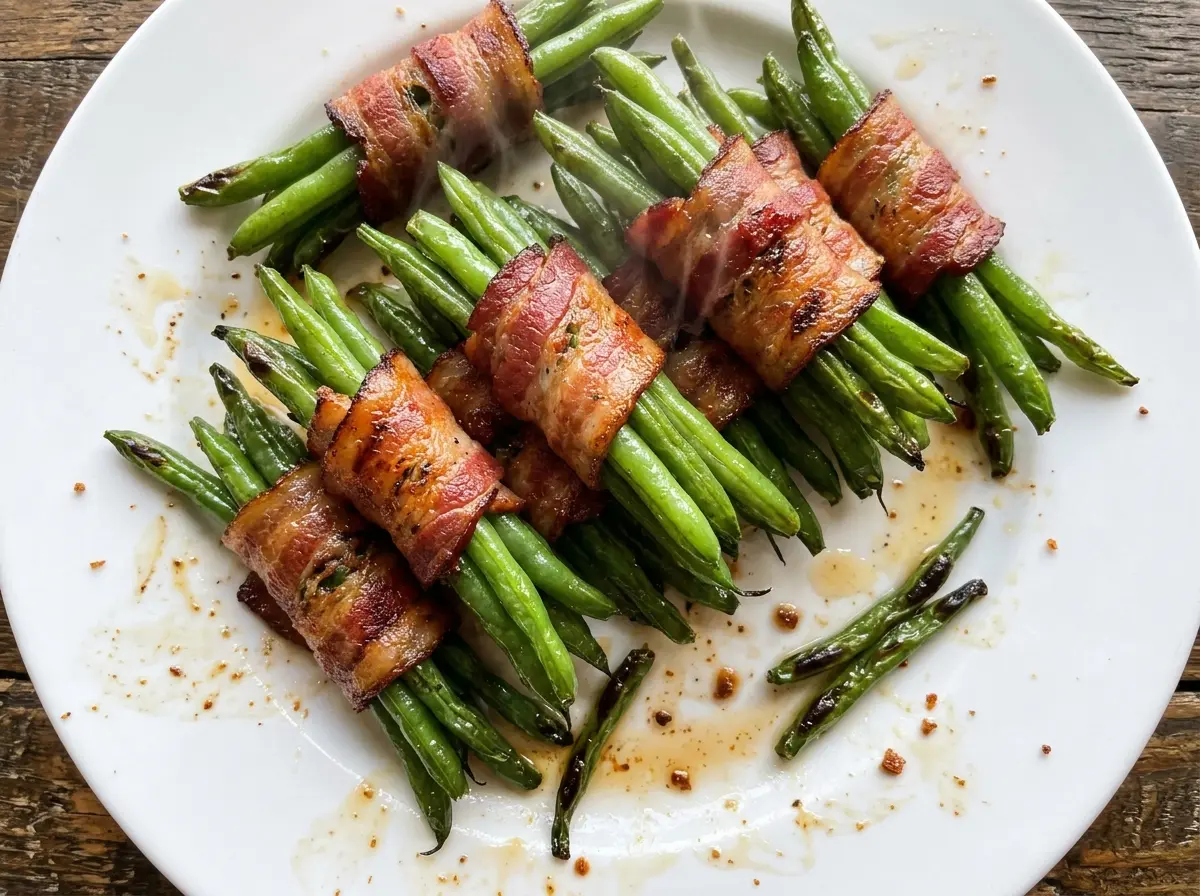
I divide the beans into four portions so each bundle gets its own full slice of bacon. A wooden toothpick keeps the wrap in place, and starting seam-side down helps the bacon stay put when the bundles go into the basket. The result is an easy-to-serve portion with browned edges and a little black pepper in every bite.
There’s a quick stovetop step before the air fryer, and it gives the beans a head start without taking away their bite. Once everything is wrapped, the air fryer handles the crisping, and the kitchen starts to smell like bacon and garlic. Serve the bundles while the bacon is crisp and the beans are still warm.
Kitchen Note
Pat the beans thoroughly dry before adding the oil and seasonings. If they’re still wet, the coating slides off instead of clinging to the beans, and the finished bundles won’t have the same crisp edges.
Save these air fryer bacon wrapped green bean bundles for a crisp, savory side that cooks in individual portions.
Why Even Bundles Matter More Than a Perfect Wrap
The goal isn’t to make every bundle look identical. It’s to keep them close in size so the bacon and beans finish together. With four slices of bacon divided across four portions of green beans, each bundle has a clear share of the ingredients. A very thick bundle takes longer for heat to reach its center, while a skimpy one may have more bacon than beans in each bite.
Think of the bundles as compact handfuls, not tightly squeezed packets. A loose, even shape gives the beans room to cook and makes it easier to turn each bundle halfway through. The toothpick does the job of holding the bacon in place; pressing the beans into a dense knot doesn’t make the wrap more secure. Keep the bundles in one layer in the basket, with a little space around them, so the hot air can reach the bacon instead of leaving covered patches soft.
Small differences in the beans are fine. What matters most is avoiding one bundle that’s twice as thick as the others. A consistent size gives you the best chance of getting tender beans and crisp bacon at the same time.
What the Beans, Bacon, and Seasoning Each Bring
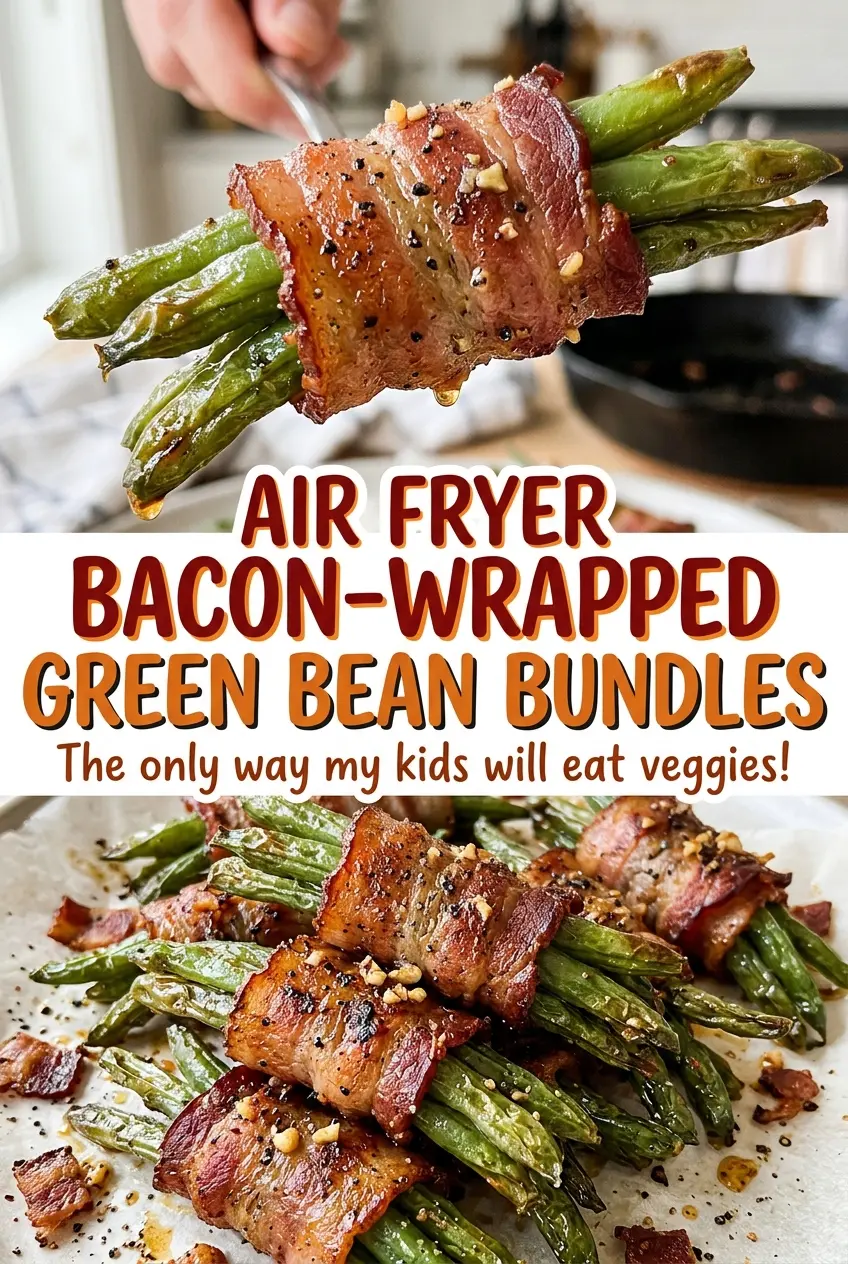
- Fresh green beans — Fresh beans hold their shape through the brief boil and air-frying, so the finished bundles have a tender bite instead of a soft, waterlogged center. Trim the ends before cooking; beans of roughly similar thickness are easiest to portion evenly.
- Bacon — Bacon wraps around the beans and provides the salty, savory outside. Choose slices pliable enough to wind around a bundle without tearing; slices that are too short can be harder to secure with a toothpick.
- Olive oil — The oil helps the garlic powder and pepper coat the beans rather than collecting at the bottom of the bowl. Its flavor is subtle here, so this is a place where a neutral cooking oil can stand in without changing the character of the dish much.
- Garlic powder and black pepper — Powdered garlic distributes evenly over the beans and doesn’t leave larger pieces that can burn on the outside. Black pepper adds a mild warmth; keep it freshly ground if you like a more pronounced peppery finish.
From Blanched Beans to Crisp Bacon Bundles
Preheat the Air Fryer
Set a 6-quart air fryer to 390°F and preheat it for 3 minutes. Having the basket hot when the bundles go in gets the cooking started promptly. Use that time to set out the saucepan, seasonings, bacon, and wooden toothpicks, so the beans can move through assembly without a long pause.
Boil the Beans Briefly
Bring the water to a boil in a large saucepan, then add the trimmed green beans and cook them for 3 minutes. They should be bright and beginning to soften, but not limp. Drain them well and let them cool until they’re easy to handle; warm beans are easier to wrap than beans that are still steaming hot.
Season and Wrap Each Portion
Once the beans are dry, toss them with the olive oil, garlic powder, and black pepper until the seasoning is spread across the beans. Divide them into four bundles, keeping the portions similar in thickness. Wrap one slice of bacon around each bundle and secure the bacon with a wooden toothpick. If a bundle starts to loosen as you lift it, reposition the toothpick through the overlapping bacon.
Air-Fry Until the Bacon Is Crisp
Arrange the bundles seam-side down in a single layer in the basket. Cook at 390°F for 14–18 minutes, turning them halfway through. Look for bacon that’s crisp and browned around the beans, and check that the beans are tender when pierced. If the bacon needs a little more time, use the upper end of the cooking range and judge by the bacon and bean texture rather than color alone.
Two Easy Ways to Adjust the Flavor
Use a neutral oil
Replace the olive oil with the same amount of avocado oil if you want the garlic and pepper to stand out without the mild olive flavor. It coats the beans in the same way, so you don’t need to change how you assemble the bundles.
Make a gentler, pepper-free batch
Leave out the black pepper and keep the garlic powder. The bacon still brings plenty of savory flavor, while the green beans taste milder. This small change works well when you want the garlic to come through without the pepper’s bite.
Storage and Reheating
- Refrigerator: Store cooked bundles in an airtight container for 3–4 days. The beans soften a little, and the bacon loses some of its crispness.
- Freezer: These aren’t a great freezer dish. The beans soften after thawing, and the bacon won’t keep its crisp texture, so refrigerating leftovers is the better choice.
- Reheating: Reheat in the air fryer in a single layer until hot and the bacon crisps again. The microwave warms them quickly but leaves the bacon soft.
Questions That Come Up While Making These Bundles
Air Fryer Bacon Wrapped Green Bean Bundles
Ingredients
Equipment
Method
- Preheat a 6-quart air fryer to 390°F for 3 minutes.
- Bring the water to a boil in a large saucepan.
- Add the green beans and cook for 3 minutes.
- Drain the beans and let cool until easy to handle.
- Pat the beans thoroughly dry.
- Toss the beans with the olive oil, garlic powder, and black pepper.
- Divide the beans into 4 bundles.
- Wrap each bundle with a slice of bacon, securing the bacon with a wooden toothpick.
- Arrange the bundles seam-side down in the air fryer basket in a single layer.
- Cook at 390°F for 14–18 minutes, turning halfway through, until the bacon is crisp and the beans are tender.