
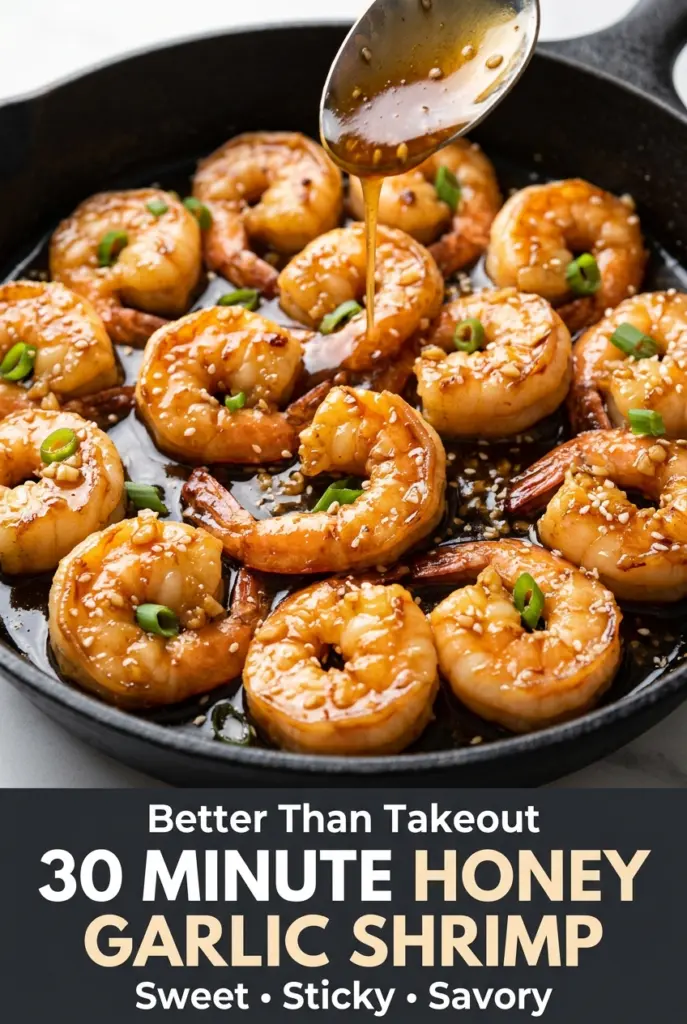
Sticky, glossy honey garlic shrimp hits the table with that sweet-salty punch and just enough heat to keep every bite interesting. The shrimp stay tender instead of rubbery, and the sauce clings to them in a way that makes plain rice or noodles disappear fast. It’s the kind of skillet dinner that looks like you spent a lot more effort than you did.
The trick is treating the shrimp gently and letting the sauce thicken only at the end. Shrimp overcook in a hurry, so they go into the pan just long enough to turn pink and nearly opaque before the glaze is added. The cornstarch slurry does the last bit of work, turning the thin honey-soy mixture into a shiny coating that sticks instead of pooling.
Below, I’ve included the timing cue that keeps the shrimp from going tough, plus a few smart swaps if you want to dial the spice up, keep it gluten-free, or stretch it into a bigger meal.
The sauce thickened up perfectly in just a couple minutes, and the shrimp stayed tender instead of getting chewy. My husband kept stealing bites straight from the skillet and asked if I could make it again next week.
Honey Garlic Shrimp with that shiny, clingy sauce is perfect for busy nights when you want takeout-style flavor from one skillet.
The Fastest Way to Ruin Honey Garlic Shrimp Is Leaving the Shrimp in Too Long
Shrimp don’t give you a lot of wiggle room. The difference between tender and rubbery can be less than a minute, especially once the sauce goes in and starts bubbling. That’s why the shrimp should only cook until they’re pink on the outside and just barely opaque in the center before the glaze hits the pan. They finish in the sauce, not before it.
The second trap is boiling the sauce down for too long before the cornstarch goes in. Honey reduces fast and can go from glossy to sticky-syrupy in a hurry. The slurry gives you control. It thickens the sauce without forcing you to cook off too much liquid, which keeps the garlic from turning harsh and the shrimp from tightening up.
What Each Ingredient Is Actually Doing in This Dish
- Honey — This is the body of the sauce and the reason it turns lacquered instead of thin. Use a mild honey so the garlic and soy still come through. If you swap in maple syrup, the sauce will still cling, but the flavor shifts darker and less floral.
- Low-sodium soy sauce — This brings salt and depth without pushing the dish into an overly salty place. Regular soy sauce works, but you’ll want to cut back a little because the honey concentrates as it cooks. For gluten-free shrimp, use tamari in the same amount.
- Garlic and ginger — Fresh is worth using here because the sauce cooks so quickly. Garlic powder won’t give you the same sharp, fragrant punch, and ground ginger tastes flatter than the fresh root. Mince the garlic fine so it melts into the glaze instead of sitting in harsh little bits.
- Rice vinegar — This is the piece that keeps the sauce from tasting like straight honey and soy. It adds lift and balance, especially once the glaze reduces. Lemon juice can work in a pinch, but it reads brighter and less rounded.
- Cornstarch slurry — This is what makes the sauce cling. Stir it smooth with water before it goes in, or you’ll get tiny gelled lumps in the pan. Arrowroot can replace it, but use a little less because it thickens faster.
- Shrimp — Large shrimp give you enough cooking time to get color without losing tenderness. Smaller shrimp cook even faster and are easier to overdo. Patting them dry before they hit the skillet matters more than people think; wet shrimp steam, and steamed shrimp won’t pick up the same light sear.
Building the Glaze Without Overcooking the Shrimp
Mix the Sauce Before the Pan Heats
Whisk the honey, soy sauce, garlic, ginger, rice vinegar, and red pepper flakes together in a small bowl before you turn to the skillet. That matters because the shrimp cook fast, and there’s no time to be measuring while they’re sitting in a hot pan. When the sauce is already mixed, you can move quickly and keep the shrimp from going past tender.
Give the Shrimp a Dry Surface and a Hot Pan
Pat the shrimp dry with paper towels, then add them to the hot olive oil in a single layer. You want a light sizzle as they hit the pan, not a puddle of moisture that cools everything down. If the pan is crowded, the shrimp steam and the edges stay pale instead of picking up that faintly seared flavor.
Finish with the Slurry and Watch for Shine
Once the shrimp are nearly opaque, pour in the sauce and toss to coat, then stir in the cornstarch mixture. Let it simmer just until the sauce turns glossy and thick enough to coat a spoon. The minute the shrimp are fully opaque, pull the skillet off the heat. Carryover cooking is enough to finish them, and that’s what keeps them juicy.
Three Ways to Make This Recipe Work for Your Table
Gluten-Free Version
Swap the soy sauce for tamari in the same amount. The sauce keeps the same sweet-salty balance, and you won’t lose any of the shine or thickness. Coconut aminos will work too, but the sauce will be a little softer and sweeter.
Make It Spicier
Double the red pepper flakes or add a little chili garlic sauce to the skillet with the glaze. That gives you a sharper heat that sits behind the honey instead of fighting it. If you go heavy on spice, keep the vinegar in place so the sauce doesn’t taste one-note.
Stretch It Into a Bigger Dinner
Toss in steamed broccoli, snap peas, or bell peppers after the sauce thickens, then serve everything over rice. That turns the shrimp into the protein for a full bowl instead of a stand-alone skillet dinner. The vegetables catch the sauce too, which means nothing tastes watered down.
Lower-Sugar Option
Use a bit less honey and add an extra teaspoon of rice vinegar to keep the sauce balanced. The glaze won’t be quite as sticky, but it will still coat the shrimp nicely. Don’t cut the honey too aggressively or the sauce starts tasting flat instead of glossy.
Storage and Reheating
- Refrigerator: Store leftovers in an airtight container for up to 2 days. The shrimp will stay safe longer than that, but the texture starts to tighten and the glaze loses some of its shine.
- Freezer: I don’t recommend freezing this one. Cooked shrimp turn mealy after thawing, and the sauce can separate once it’s reheated.
- Reheating: Warm it gently in a skillet over low heat with a splash of water, just until heated through. High heat makes the shrimp rubbery and can make the sauce seize up.
Answers to the Questions Worth Asking
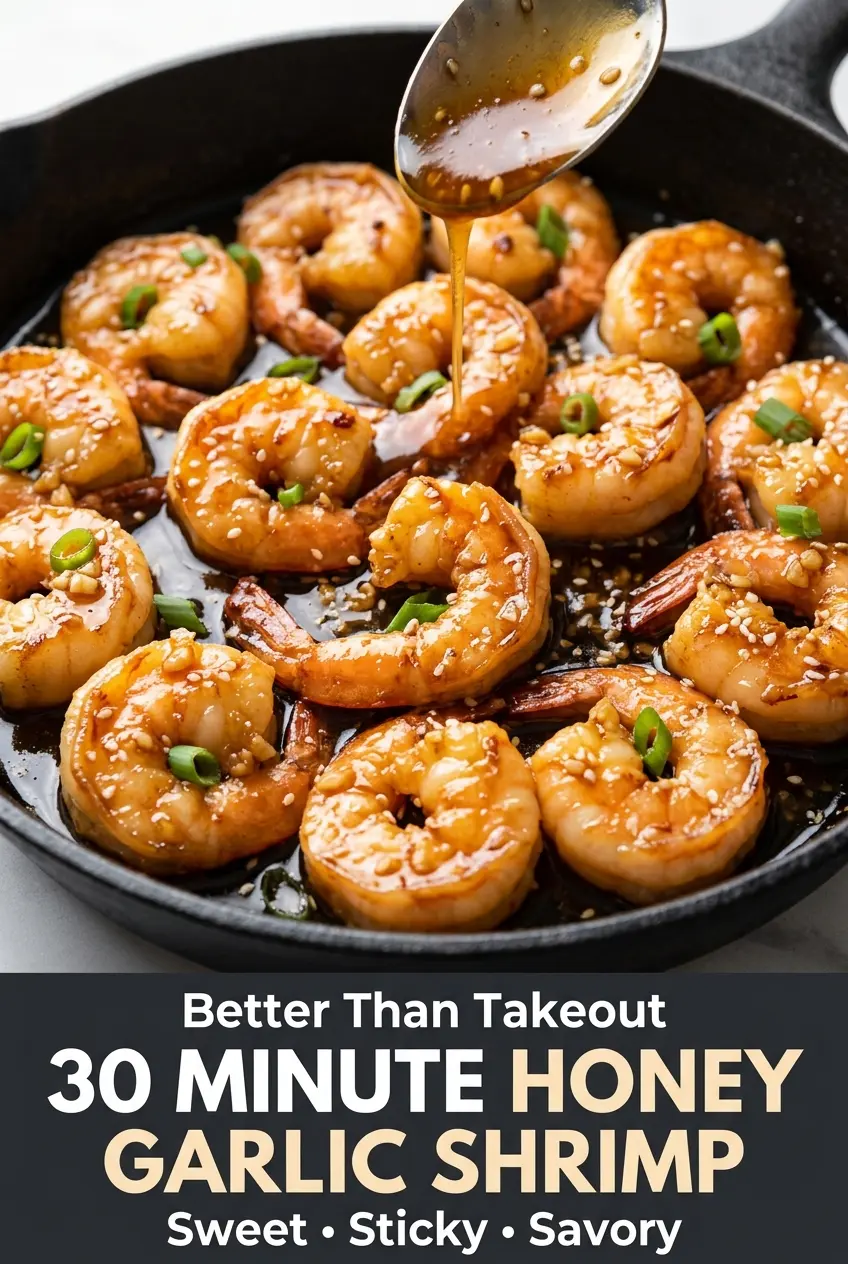
30 Minute Honey Garlic Shrimp
Ingredients
Equipment
Method
- Whisk the honey, low-sodium soy sauce, garlic, ginger, rice vinegar, and red pepper flakes in a small bowl until evenly combined.
- Pat the shrimp dry with paper towels to help them sear instead of steaming.
- Heat the olive oil in a large skillet over medium-high heat until shimmering.
- Add the shrimp in a single layer and cook for 1–2 minutes per side, until pink and nearly opaque; avoid overcooking.
- Pour the honey garlic mixture into the skillet and toss the shrimp until evenly coated.
- Whisk the cornstarch and water until smooth, then stir the mixture into the skillet.
- Simmer for 1–2 minutes until the honey garlic sauce becomes glossy and thick enough to cling to the shrimp.
- Remove the skillet from the heat once the shrimp are fully opaque.
- Sprinkle with green onions and sesame seeds, then serve immediately.