
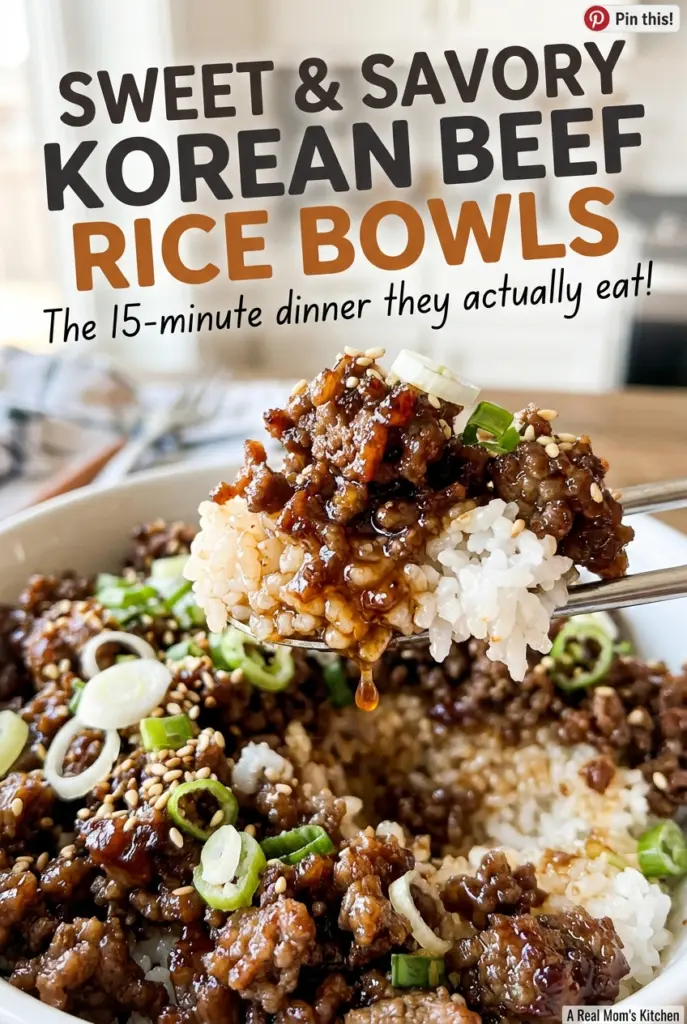
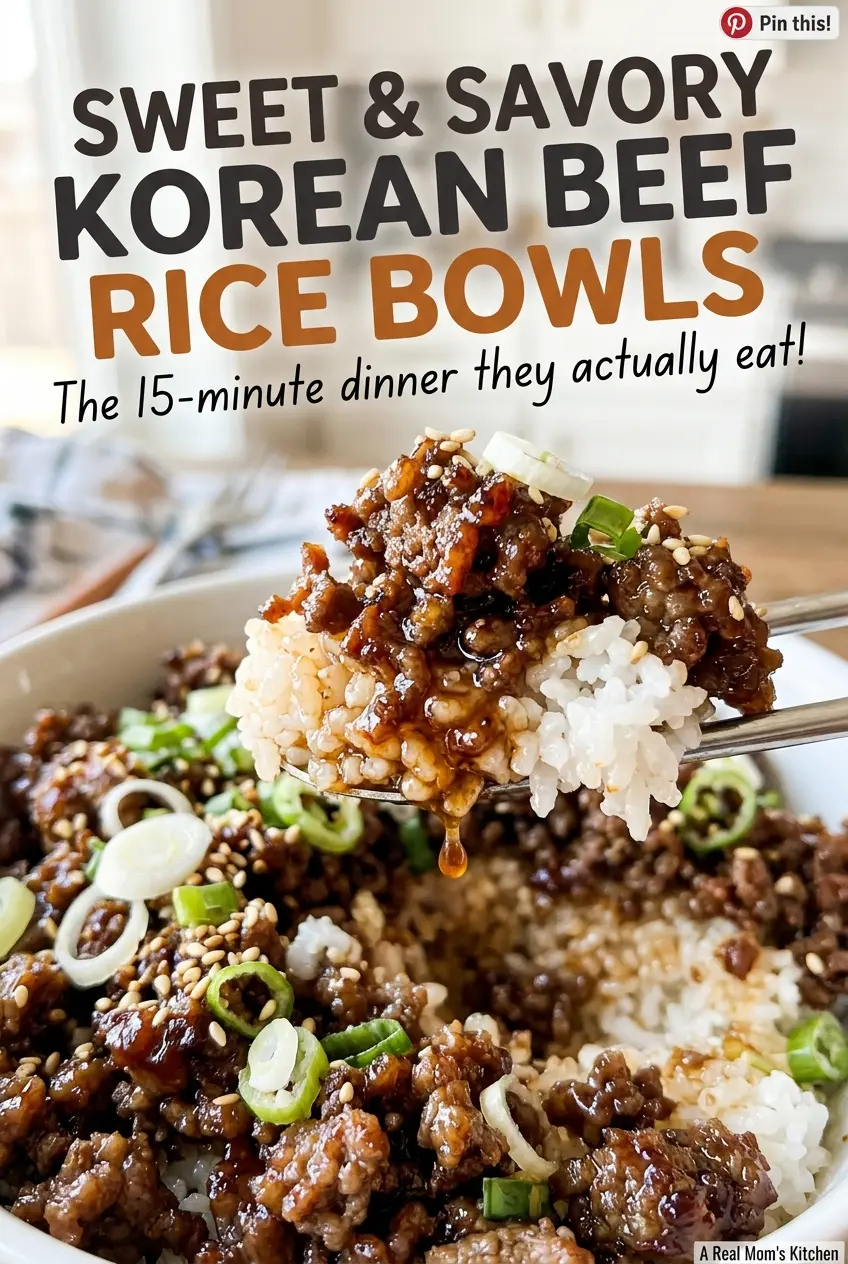
The sauce bubbles around the beef and turns glossy in about a minute; leave it much longer and it can go from coating the crumbles to getting sticky. That quick finish is what makes these sweet and savory Korean beef rice bowls feel full of flavor without a long list of steps. The rice cooks while you whisk together the sauce, so everything is ready to meet in the bowls.
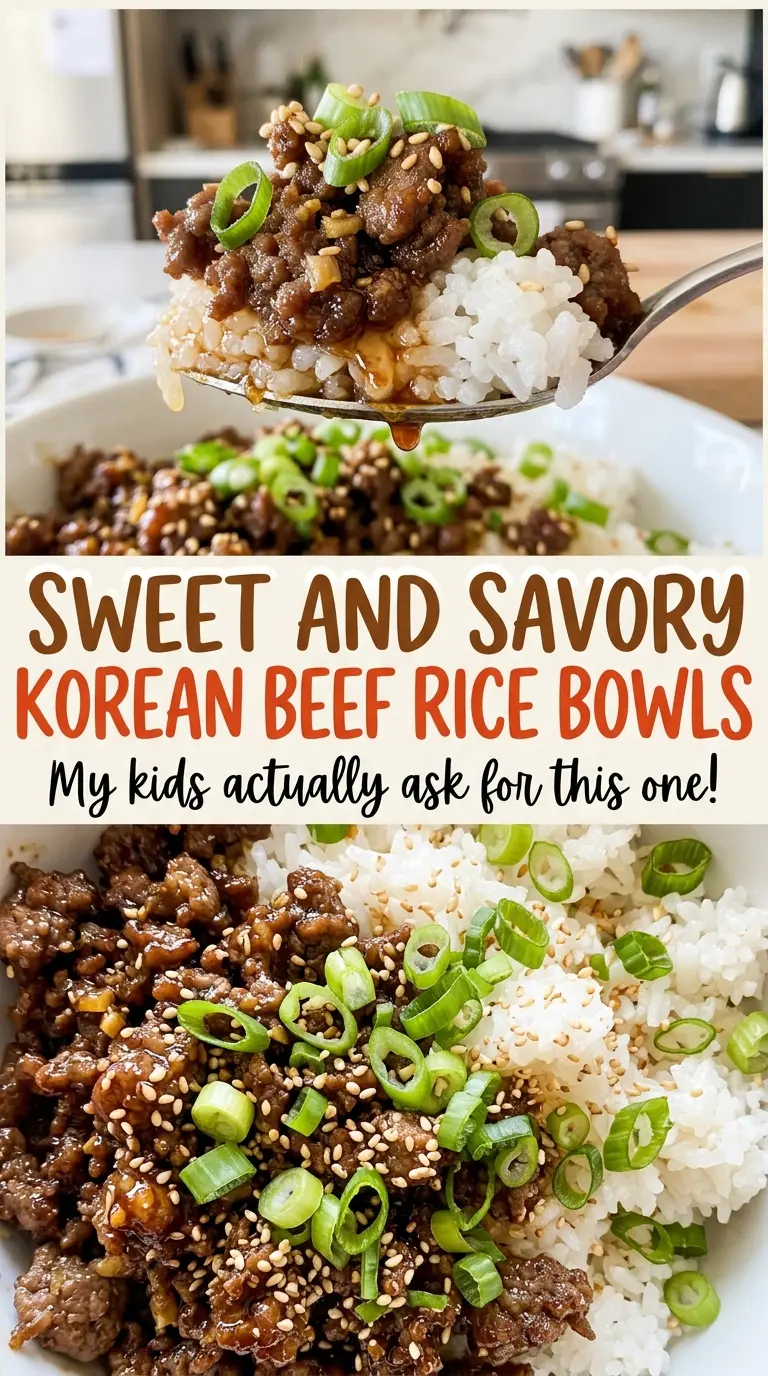
I use 90% lean ground beef so it browns without leaving a pool of grease behind, then add the garlic and ginger only after the beef is cooked. They need just 30 seconds in the hot skillet to smell fragrant; any longer and the garlic can scorch. A little gochujang brings chile heat, brown sugar rounds it out, and rice vinegar keeps the sauce from tasting flat. The finished beef is savory, gently sweet, and nestled over soft rice with scallions and sesame seeds.
Kitchen Note
Let the rice stand covered for the full 10 minutes after it comes off the heat. That pause gives the steam time to settle through the grains, so they fluff instead of turning gummy when you lift the lid.
Save these Korean beef rice bowls for a night when you want a quick, glossy beef topping with a gentle kick of gochujang.
Why This Beef Sauce Should Glaze, Not Reduce
The sauce has brown sugar in it, so it doesn’t need a long simmer to thicken. Once it hits the hot skillet, the sugar dissolves into the soy sauce and the liquid quickly clings to the beef. Keep it moving and give it just 1 to 2 minutes. You’re looking for a light, shiny coating on the crumbles, not a thick puddle at the bottom of the pan.
Gochujang brings more than heat: it has a savory depth that works with the beef, while rice vinegar cuts through the sweetness. The sesame oil adds a toasty note, but its aroma can fade if it cooks for too long. Whisking all five sauce ingredients together before the beef is ready makes the finish much easier; you can pour it in at once and stir until it coats.
If the beef seems dry after the sauce goes in, it may have simmered too long or the skillet may be hotter than expected. Pull it off the heat as soon as the sauce clings. A short glaze keeps the beef moist and lets each part of the sauce stay distinct.
What the Gochujang and Vinegar Bring to the Beef
- Gochujang — This fermented chile paste gives the sauce its warm heat and savory character. Its heat and saltiness vary by brand, so taste a dab before cooking if you’re unfamiliar with the one you bought. There isn’t a like-for-like replacement among the other ingredients here; reducing it makes the bowl milder but also softens that signature chile depth.
- Low-sodium soy sauce and brown sugar — The soy sauce supplies the salty, savory base, and packed brown sugar balances it while helping the sauce cling to the beef. Stick with low-sodium soy sauce; regular soy sauce can push the finished sauce too salty. Brown sugar is important for the sauce’s rounded sweetness, so reducing it will make the beef less sweet and slightly less glossy.
- Rice vinegar and toasted sesame oil — Rice vinegar gives the sweet, savory sauce a bright edge. Toasted sesame oil is potent and nutty, so use the toasted kind rather than plain sesame oil if you want that aroma. Neither has a clean substitute elsewhere in this ingredient list; leaving one out changes the balance rather than simply replacing its function.
- Fresh garlic and ginger — Minced garlic and grated fresh ginger release their aroma quickly in the skillet. Grate the ginger finely so it blends into the small beef crumbles instead of leaving fibrous bites. Fresh versions give the cleanest, brightest taste here; dried forms won’t behave the same way during the brief 30-second cook.
- Long-grain white rice — Rinsing removes loose surface starch, which helps the cooked grains stay separate beneath the saucy beef. A long-grain white rice is a dependable match for this method. Other rice varieties absorb water differently, so they aren’t a direct swap with the same cooking time.
Cook the Rice and Beef on Their Own Clocks
Simmer the Rice, Then Let It Settle
Combine the rinsed rice, water, and kosher salt in a 3-quart saucepan and bring it to a boil over medium-high heat. Cover the pan, turn the heat to low, and simmer for 15 minutes. Take the pan off the heat and leave it covered for 10 minutes before fluffing with a fork. The grains should be tender and separate, not wet or pasty.
Whisk the Sauce Before the Skillet Is Busy
Stir the low-sodium soy sauce, packed brown sugar, gochujang, rice vinegar, and toasted sesame oil together in a small bowl. Whisk until the sugar is distributed and the sauce looks uniform, with no thick streaks of gochujang. This takes only a moment, but having the sauce ready prevents the garlic and ginger from sitting in the hot skillet while you measure. Set it within reach of the stove.
Brown the Beef Before Adding the Aromatics
Heat the 12-inch skillet over medium-high heat and cook the ground beef for 6 to 8 minutes, breaking it into small crumbles as it browns. Check a few of the thicker clumps with an instant-read thermometer; they should reach 160°F. If you see pink in the larger pieces, keep cooking and check again. Stir in the minced garlic and grated ginger, then cook for 30 seconds while stirring constantly.
Glaze the Crumbles and Build the Bowls
Pour the whisked sauce over the beef and simmer for 1 to 2 minutes, stirring so the sauce reaches the crumbles evenly. Take the skillet off the heat when the beef looks glossy and coated; the sauce shouldn’t be pooling heavily. Divide the rice among four bowls, then top each with beef, thinly sliced scallions, and toasted sesame seeds. The scallions and seeds bring a fresh, nutty finish without covering up the sauce.
Easy Ways to Adjust the Heat, Sweetness, and Serving Style
A Milder Gochujang Bowl
Use less gochujang in the sauce, or leave it out if you want to avoid chile heat. The beef will still have the soy, brown sugar, vinegar, and sesame flavors, though it won’t have the same fermented chile depth.
A Less-Sweet, Lower-Sodium Bowl
For a less-sweet result, use less brown sugar; the sauce will taste sharper and won’t glaze quite as thickly. To reduce sodium, use less of the low-sodium soy sauce. The beef will be less salty and the sauce a little lighter, so adjust one ingredient at a time to keep the balance where you like it.
Serve the Bowls Deconstructed
Set the rice, beef, scallions, and sesame seeds out separately instead of assembling the bowls in the kitchen. Each person can choose how much beef and topping to add, and the rice stays easy to portion without changing the flavors or ingredients.
Storage and Reheating
- Refrigerator: Store the rice and beef in airtight containers for 3 to 4 days. The rice may firm up as it chills, and the beef sauce will thicken.
- Freezer: Freeze the rice and beef separately in airtight freezer-safe containers for up to 3 months. Thaw overnight in the refrigerator for more even reheating; the rice may be a little softer after freezing.
- Reheating: Reheat rice and beef covered in the microwave, stirring the beef partway through, until steaming hot throughout and at least 165°F. Don’t reheat the whole batch repeatedly; warm only what you plan to eat.
Questions I Get Asked About These Korean Beef Bowls
Sweet and Savory Korean Beef Rice Bowls
Ingredients
Equipment
Method
- Combine the rice, water, and salt in a 3-quart saucepan and bring to a boil over medium-high heat.
- Cover, reduce the heat to low, and simmer for 15 minutes.
- Remove from the heat and let stand, covered, for 10 minutes.
- Fluff the rice with a fork.
- Whisk the soy sauce, brown sugar, gochujang, rice vinegar, and sesame oil in a small bowl until combined.
- Cook the ground beef in a 12-inch skillet over medium-high heat, breaking it into small crumbles, for 6–8 minutes, until browned and it reaches 160°F; check the temperature in a few thicker clumps with an instant-read thermometer.
- Add the garlic and ginger and cook for 30 seconds, stirring constantly.
- Pour in the sauce and simmer for 1–2 minutes, stirring, until it coats the beef.
- Divide the rice among four bowls and top with the beef, scallions, and sesame seeds.