

The edges are the first clue that butternut squash is roasting well: they turn golden while the centers stay soft enough to pierce with a fork. Cut the squash into even cubes and you’ll get that contrast across the pan, not a mix of browned pieces and firm ones. This roasted butternut squash keeps the seasoning simple, so the sweet, earthy squash stays front and center.
I use a hot oven and a large rimmed baking sheet, with the cubes spread out in one layer. That gives the squash room to roast instead of sitting crowded together. Olive oil coats the surfaces, while salt and black pepper bring out the squash’s natural flavor without burying it.
The timing has a little range because squash pieces and ovens aren’t perfectly identical. Start checking at the early end, then give the cubes more time if they’re still firm or pale. When the centers are tender and the edges have picked up color, they’re ready to come to the table.

Kitchen Note
When you toss the squash halfway through roasting, turn the pieces rather than just shaking the pan. That gives more of the cut surfaces a chance to meet the hot sheet and brown.
Save this roasted butternut squash for a simple side with tender centers, browned edges, and just enough olive oil, salt, and pepper.
Why crowded squash browns unevenly instead of roasting
Butternut squash contains plenty of moisture. In a crowded layer, the cubes sit close together and the moisture has less room to escape. The pieces can soften, but you’re less likely to get those browned edges that make the texture interesting. A large rimmed baking sheet and a single layer solve the practical problem: the pieces have space around them, and the hot surface stays accessible.
Think of the empty spaces between cubes as part of the setup, not wasted pan space. If the squash looks packed in, use a larger sheet rather than piling the pieces on top of one another. Keep the cubes close in size, too. Even pieces are more likely to become tender around the same time, so you won’t have to choose between pulling out firm chunks and leaving smaller ones to overcook. The goal is a roomy layer that still fits on one large rimmed baking sheet.
What each simple ingredient brings to roasted squash
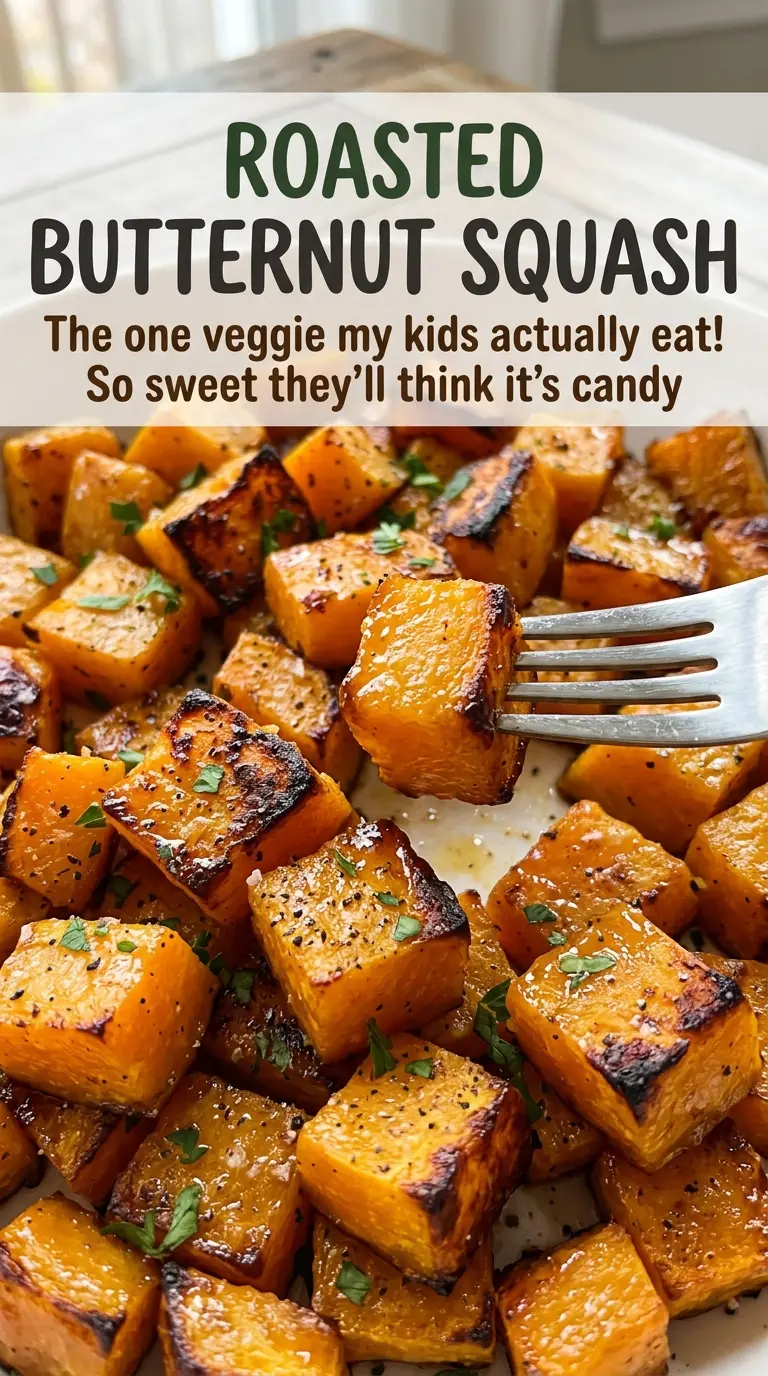
- Butternut squash — Choose a squash that feels firm and solid, without soft spots. Peeling, seeding, and cutting it into 1-inch cubes gives the pieces a useful balance: enough surface area to brown, with a center that stays tender. The recipe uses a 2-pound squash, so weigh or choose accordingly if the squash you have is a different size.
- Olive oil — The oil helps coat the squash so the seasoning clings and the surfaces roast rather than drying out. A standard olive oil works well here; there’s no need to use a special finishing oil because the squash roasts at high heat.
- Kosher salt — Salt sharpens the squash’s naturally mellow sweetness. Kosher salt is the measure used for this version; different kinds of salt have different grain sizes, so swapping types without adjusting the amount can change how salty the finished dish tastes.
- Black pepper — A small amount gives the sweet squash a gentle savory edge. Freshly ground pepper has a more pronounced aroma, but ordinary ground black pepper works too.
Roast the cubes until tender centers meet browned edges
Get the oven and squash ready
Heat the oven to 425°F before the squash goes in. Peel and seed the squash, then cut it into 1-inch cubes; keeping the pieces similar in size helps them roast evenly. Set out a large rimmed baking sheet so the seasoned squash can fit in a single layer. If the pieces vary widely, the smallest ones may brown before the larger cubes become tender.
Coat and spread in one layer
Toss the cubes with the olive oil, kosher salt, and black pepper until the surfaces are lightly coated. Spread them across the baking sheet with space between pieces instead of letting them pile up. The rim keeps the cubes contained as you turn them, while the broad surface gives them room to roast. Before the pan goes in, look across it and move any pieces that are sitting on top of others.
Turn once, then check for tenderness
Roast for 25 to 35 minutes, tossing the squash once halfway through. Turn the pieces so the side that was against the pan changes position, then spread them back out. As the roast continues, look for browned edges and test a cube for tenderness; it should no longer feel firm in the center. If the cubes need more time, keep roasting until tender and browned at the edges.
Simple ways to adapt the batch without changing its character
Scale the batch while keeping the balance
For a smaller or larger amount, adjust the squash, olive oil, salt, and pepper together in the same proportions. Keep the cubes about 1 inch so their roasting time stays close to the stated range. The sheet still needs to hold the pieces in one layer; if a larger batch crowds the pan, roast it in separate batches rather than stacking the cubes.
Keep it vegan and gluten-free
The squash, olive oil, salt, and pepper already make this a vegan and gluten-free side, so there’s no replacement ingredient to track down. The simplest adaptation is to serve it as prepared and keep the seasoning list unchanged. That preserves the straightforward roasted squash flavor and avoids adding ingredients that would take the dish in a different direction.
Storage and Reheating
- Refrigerator: Store cooled leftovers in a covered container for 3 to 4 days. The squash softens as it sits, but keeps its savory seasoning.
- Freezer: Roasted squash can be frozen in a sealed container for up to 3 months. Thawed cubes will be softer than freshly roasted ones.
- Reheating: Warm leftovers in the microwave or spread them on a baking sheet and heat in the oven until hot. Avoid reheating longer than needed; the squash is already tender and can turn mushy if overcooked.
Questions that come up while roasting butternut squash
Roasted Butternut Squash
Ingredients
Equipment
Method
- Heat the oven to 425°F.
- Toss the squash with the olive oil, kosher salt, and black pepper, then spread it in a single layer on a large rimmed baking sheet.
- Roast for 25 to 35 minutes, tossing once halfway through, until the squash is tender and browned at the edges.