Red, white, and blue deviled eggs get a lot of attention for the look, but the reason they disappear first is the filling. It stays silky, tangy, and well-seasoned, with enough structure to pipe into a neat swirl that holds its shape on the platter. The toppings do the decorating, but the egg filling has to taste like something people would go back for on its own.
The trick is in the yolks. They need to be mashed until completely smooth before the mayonnaise and mustard go in, and the vinegar gives the filling that clean bite that keeps it from tasting flat. A short rest in ice water also matters more than people think; it stops the yolks from overcooking and gives you whites that peel cleanly instead of tearing.
Below, I’ve included the timing that keeps the eggs tender, plus the easiest way to get the red-white-and-blue finish without making the whole platter messy. The filling can be spooned in if you don’t have a piping tip, but a swirl makes these look party-ready in minutes.
The filling was smooth and held its shape perfectly, and the blueberries made these such a fun centerpiece. I worried the paprika would taste bitter, but with the chives and flaky salt it all balanced out.
Save these Red White and Blue Deviled Eggs for the platter when you want a creamy filling, clean piping, and a patriotic finish that stands out fast.

The Secret to Deviled Eggs That Hold Their Shape and Stay Creamy
The best deviled eggs start with yolks that are cooked through but not chalky. Twelve minutes off the heat after a full boil lands the yolks in that narrow middle ground: set, bright yellow, and easy to mash into a smooth filling. Go much longer and the yolks turn dry and gray at the edges, which gives you a grainy filling no amount of mayonnaise can fully fix.
The other thing that matters here is temperature control after cooking. The ice bath stops the eggs from carrying over and makes peeling easier because the whites tighten up as they cool. If your eggs usually tear when you peel them, that’s often the problem — warm eggs cling to the membrane and the surface gets ragged before you even get to the filling.
- Ice water — This isn’t just to cool the eggs down faster. It helps the whites release cleanly from the shell and keeps the yolks from overcooking while they sit.
- Dijon mustard — Dijon gives the filling sharpness and depth. Yellow mustard works in a pinch, but it tastes flatter and a little sweeter.
- White wine vinegar — This brightens the filling and keeps the yolk mixture from tasting heavy. Lemon juice can stand in, but it reads a little more noticeable.
- Mayonnaise — Use a mayonnaise you already like on a sandwich, since it’s the main source of richness. The amount here keeps the filling pipeable instead of loose.
- Paprika and blueberries — These are the visual finish, but they still need balance. The paprika should be a light dusting, not a heavy layer, so it doesn’t turn bitter; the blueberries should be fresh and firm so they sit neatly on top.
How to Build the Filling So It Pipes Cleanly
Boiling and Steeping the Eggs
Set the eggs in a single layer and cover them with cold water by at least an inch. Bring the pot to a full boil over medium-high heat, then pull it off the burner, cover it, and let the eggs sit for exactly 12 minutes. That off-heat rest cooks the eggs gently, which is what keeps the yolks tender instead of dry and crumbly. If your burner runs hot, start checking your timing the moment the water hits a rolling boil, not after the lid goes on.
Cooling and Peeling
Move the eggs straight into ice water and leave them there until they’re fully cool, about 10 minutes. Crack the shells all over, then peel under a little running water if needed. If the shells cling in patches, the eggs were probably too fresh or didn’t chill long enough; those are the two things that make peeling frustrating. Pat the peeled eggs dry before slicing so the filling doesn’t slip around later.
Mashing the Yolks Smooth
Cut the eggs in half lengthwise and pop the yolks into a bowl. Mash them with a fork until there aren’t any large bits left, then add the mayonnaise, Dijon, vinegar, salt, and pepper. Keep working the mixture until it looks creamy and uniform, because lumps at this stage turn into a gritty filling once it sits on the plate. Taste it before you pipe it; deviled eggs need enough salt to taste finished cold, not just seasoned warm.
Piping and Topping
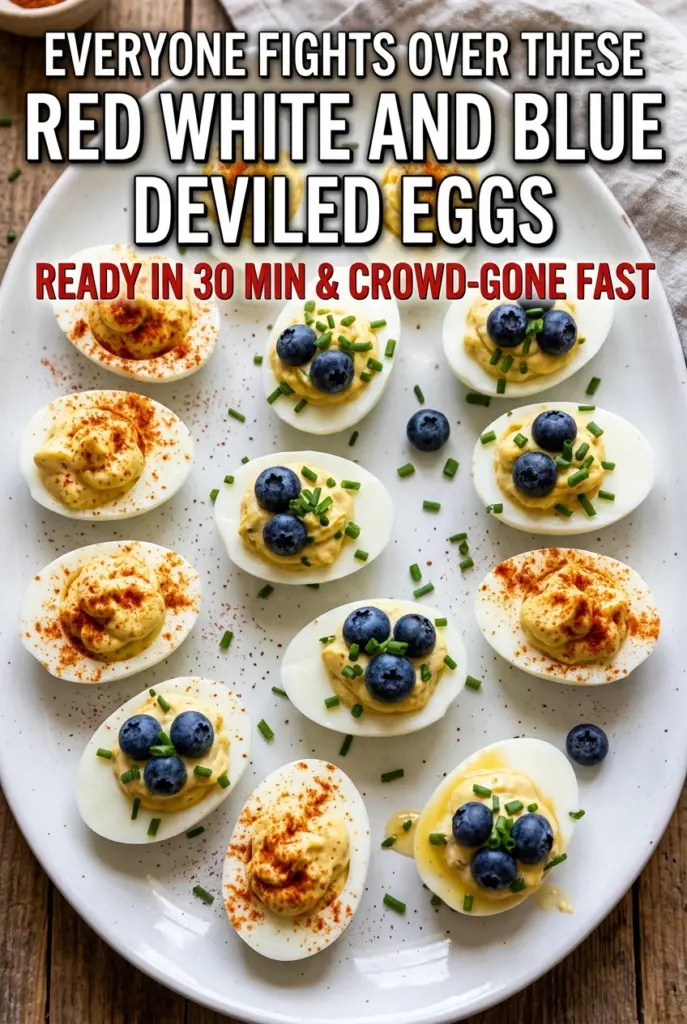
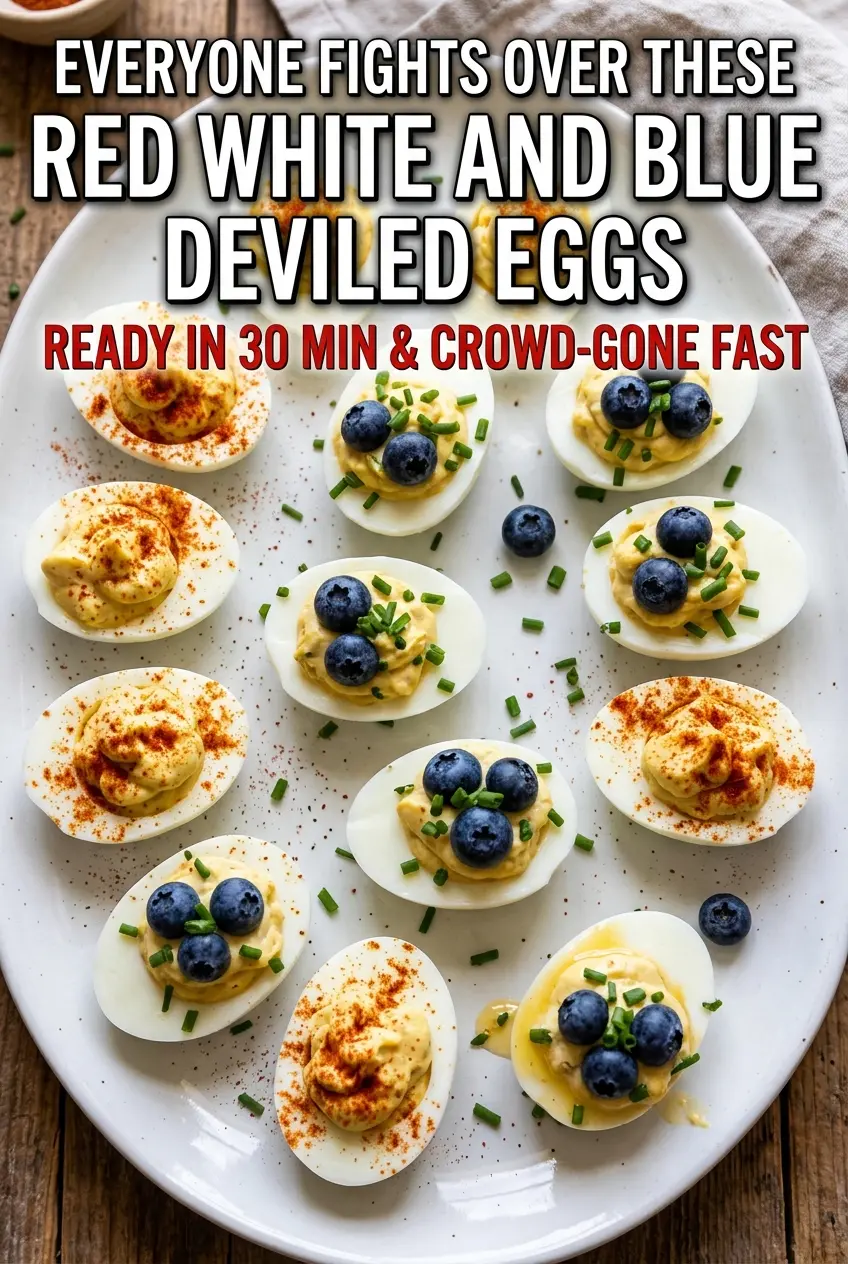
Spoon the filling into a piping bag fitted with a star tip, or use a zip-top bag with the corner snipped off. Pipe a generous swirl into each egg white half, then dust half with smoked paprika and the other half with sweet paprika before pressing on the blueberries. Finish with chives and a tiny pinch of flaky salt. If the platter starts to look crowded, alternate the red and blue eggs instead of grouping them, which makes the whole tray read more festive from a distance.
Three Ways to Work This Party Tray Into Your Menu
Dairy-Free as Written
These deviled eggs already skip dairy, so there’s nothing to work around. The texture comes from the yolks, mayonnaise, and mustard, which gives you a creamy filling without needing cream cheese or sour cream.
For a Tangier Filling
Add another half teaspoon of white wine vinegar if you like a sharper bite. That extra acid makes the filling taste lighter, which helps if you’re serving these alongside richer party food.
If You Want a More Traditional Finish
Skip the blueberries and use only paprika and chives for a classic deviled egg look. You’ll lose the red-and-blue contrast, but the eggs will still have a clean, polished presentation and the same smooth filling.
Storage and Reheating
- Refrigerator: Store covered for up to 2 days. The whites stay fine, though the garnish looks best the day they’re made.
- Freezer: Don’t freeze deviled eggs. The whites turn rubbery and the filling separates after thawing.
- Reheating: These are meant to be served cold. If they’ve been chilled, let them sit out for 10 to 15 minutes before serving so the filling tastes softer and the seasoning comes through.
Questions I Get Asked About This Recipe
Red White and Blue Deviled Eggs
Ingredients
Equipment
Method
- Place 12 large eggs in a single layer in a large saucepan and cover with cold water by at least 1 inch. Bring to a full boil over medium-high heat (about 212°F/100°C), watching for vigorous bubbling.
- Once boiling, remove from heat, cover the pot, and let the eggs sit for exactly 12 minutes. Keep the lid on so the eggs cook evenly.
- Transfer the eggs immediately to a bowl of ice water and let cool completely, about 10 minutes. The shells should feel cold to the touch before peeling.
- Peel the eggs carefully and pat dry. Slice each egg in half lengthwise with the cut side facing up on a serving platter.
- Pop the yolks into a medium mixing bowl and set the white halves on a serving platter. Keep the yolk mound intact so it mashes easily.
- Mash the yolks with a fork until no large lumps remain, then add mayonnaise, Dijon mustard, and white wine vinegar. Mix until smooth and creamy, scraping the sides as needed.
- Add salt and black pepper, then taste and adjust seasoning. Stop mixing once the filling is uniform with no gritty bits.
- Transfer the filling to a piping bag fitted with a star tip (or use a zip-lock bag with a corner snipped off). Pipe a generous swirl into each egg white half.
- For the red eggs, dust half of the filled eggs with smoked paprika in a light, even layer using a fine mesh sieve or your fingers. Keep the dusting thin so the filling color still shows.
- For the blue eggs, press 2–3 fresh blueberries onto the top of the remaining filled eggs. Apply gently so the filling stays swirled.
- On both sets, scatter finely chopped chives over the tops and add a tiny pinch of flaky sea salt per egg. Finish with a light, even distribution of chives and salt.
- Arrange the deviled eggs on a white serving platter, alternating red paprika eggs and blueberry eggs for the full red-white-and-blue effect. Serve immediately or refrigerate uncovered for up to 2 hours before serving.