
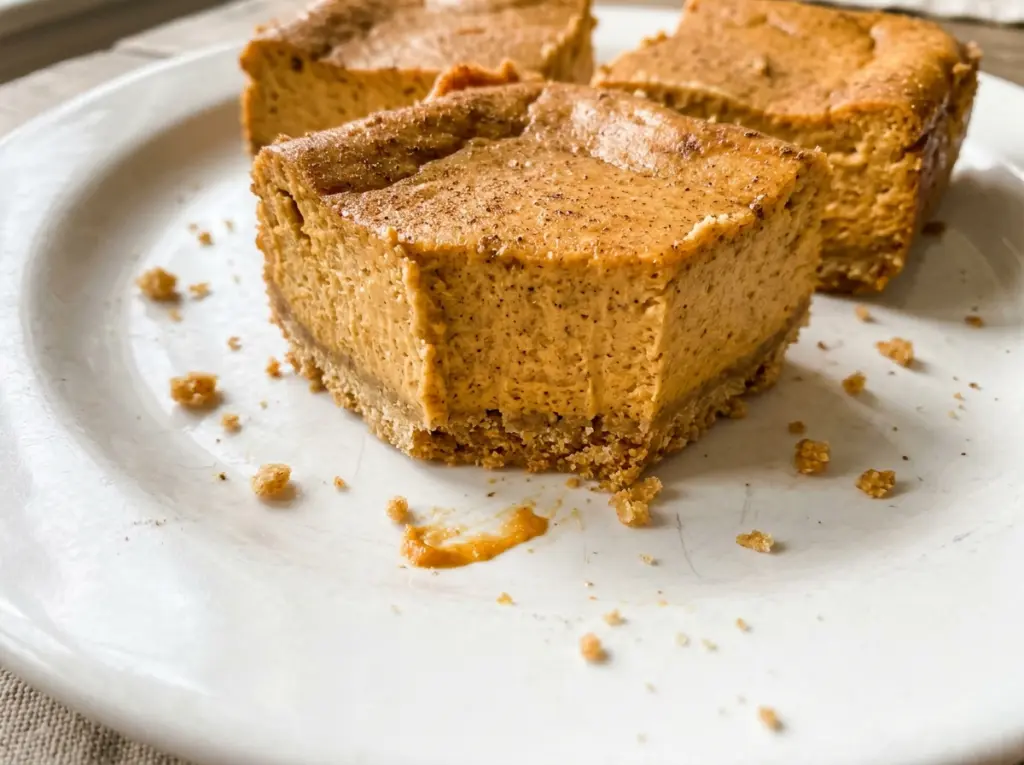
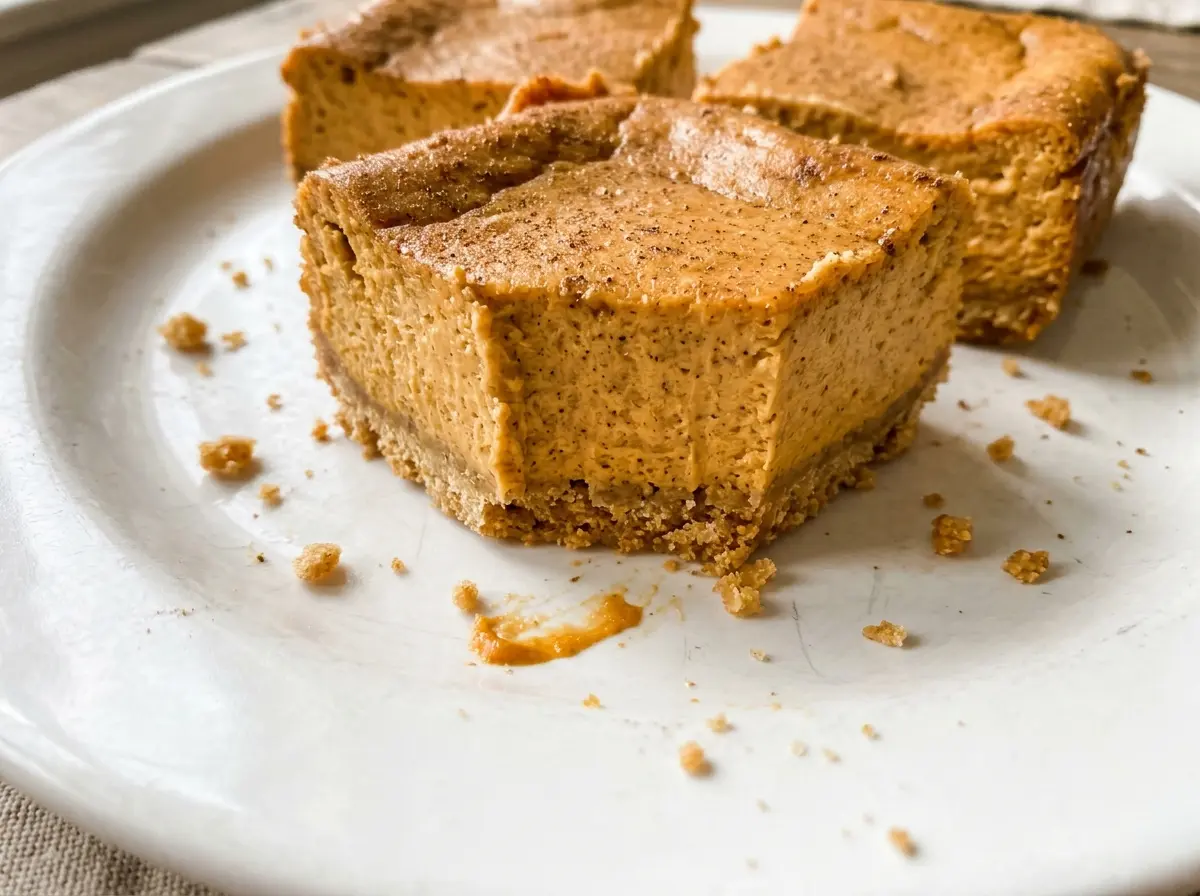
The crust tells you when it’s ready: the graham crackers smell toasted, and the butter has pulled the crumbs into a firm, even layer. I used to rush past that cue and pour the filling on too soon; giving the crust a short cool-down keeps the layers distinct. These Pumpkin Spice Cheesecake Bars bake in a 9×13-inch pan, so one batch makes 24 neat squares.
The filling gets its pumpkin flavor from canned pumpkin puree whisked with flour and pumpkin pie spice before it meets the cream cheese mixture. That little bit of flour helps the pumpkin layer set without asking the oven to bake the cheesecake until it’s dry. Once chilled, the bars are creamy, gently spiced, and easy to slice.
They’re a good make-ahead dessert because the long chill does the final setting. I wait until the center has only a slight wobble before taking the pan out of the oven; it firms up as it cools, then slices cleanly after a few hours in the refrigerator.
Kitchen Note
Leave parchment overhang on two sides of the pan. Once the bars are fully chilled, you can lift the whole slab out without digging a spatula into the crust.
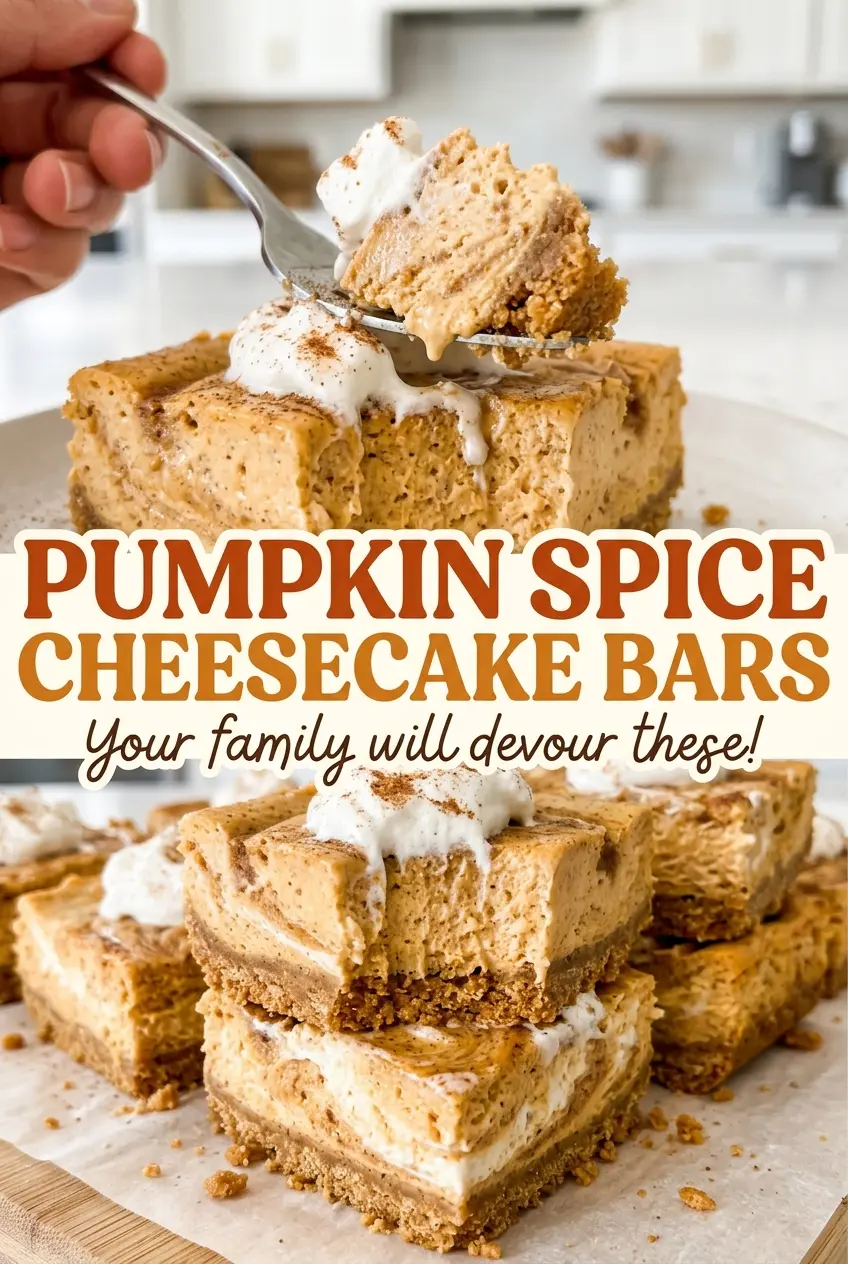
Save these Pumpkin Spice Cheesecake Bars for a make-ahead dessert with a creamy pumpkin center and a buttery graham cracker crust.
Why These Pumpkin Bars Need a Little Flour, Not a Longer Bake
Pumpkin puree brings moisture to cheesecake filling. If you try to drive that moisture off by baking until the center is completely firm, the edges can turn dry before the middle has a chance to set gently. The tablespoon of flour in this filling gives it a bit of structure, helping the pumpkin mixture hold together as the bars cool.
That’s a small amount, but it’s doing a different job from the cream cheese. The cream cheese brings richness and that familiar tang; the flour helps the pumpkin portion settle into a sliceable texture. Keep the flour in the pumpkin mixture rather than sprinkling it straight into the cream cheese bowl, where it’s more likely to clump. Whisking it with the puree and spices first distributes it evenly, so the baked filling stays smooth instead of developing little pockets of flour.
This is also why I don’t treat a soft center as a sign that the bars need more oven time. A slight wobble is the cue to stop baking. Cooling and chilling finish the setting without pushing the edges too far.
The Ingredients That Give Each Layer Its Cheesecake Texture
- Graham cracker crumbs and butter — Fine, even crumbs make a base that presses together instead of breaking into loose chunks. You can crush graham crackers yourself; stop when the crumbs look consistent, since large pieces leave weak spots. The melted butter binds the crumbs, while the small amount of sugar rounds out the toasted graham flavor.
- Cream cheese — This is the body of the filling, so use cream cheese softened enough to beat smooth. Cold cream cheese tends to leave lumps that are hard to work out once the eggs are mixed in. Block-style cream cheese gives a more dependable cheesecake texture than a soft, spreadable tub product.
- Eggs — Room-temperature eggs blend into the cream cheese more evenly than cold ones. Add them one at a time so each is incorporated before the next goes in; the filling stays cohesive without needing a long, vigorous beating.
- Canned pumpkin puree — Use plain pumpkin puree, not pumpkin pie filling, which is already sweetened and spiced. The puree brings the pumpkin flavor and moisture, so there’s no need to add extra liquid.
- Pumpkin pie spice and vanilla — Pumpkin pie spice keeps the seasoning balanced in one blend, and vanilla rounds out the tang of the cream cheese. A standard grocery-store spice blend works well here; use a fresh jar if yours has been sitting open long enough to lose its aroma.
Building the Crust and Filling So They Bake Evenly
Press and briefly bake the graham base
Heat the oven to 325°F and grease a 9×13-inch metal baking pan, then line it with parchment, leaving overhang on two sides. Stir the crumbs, sugar, and melted butter together until there are no dry patches, then press the mixture into an even layer. Bake for 10–12 minutes, until fragrant and set; if the edges look dark, take the pan out rather than waiting for a deeper color. Let the crust cool for 10 minutes before adding filling.
Beat the cream cheese without whipping in excess air
Beat the softened cream cheese and sugar in a large bowl on medium-low speed until smooth. Scrape the bowl if you see cream cheese clinging to the sides, since those unmixed streaks can become lumps later. Add the room-temperature eggs one at a time on low speed, mixing just until each disappears into the batter, then mix in the vanilla. Long beating after the eggs go in can add extra air, which may leave the finished top more prone to cracking.
Whisk the pumpkin mixture before combining
In a separate medium bowl, whisk the pumpkin puree, flour, pumpkin pie spice, and salt until the flour is evenly dispersed. Add that mixture to the cream cheese bowl and mix on low speed just until smooth. Stop as soon as the color looks uniform; continuing to beat isn’t needed and can make the filling airy. Pour it over the cooled crust and smooth the top.
Pull the pan when the center still moves slightly
Bake for 40–50 minutes, until the edges are set and the center has a slight wobble. The outer ring should look steady when you gently nudge the pan, while the middle moves softly rather than sloshing. Cool the pan completely on a rack, about 1 hour, then cover and refrigerate for at least 4 hours before cutting. Slicing before that chill is complete leaves the center soft and the edges less tidy.
Two Ways to Adapt These Pumpkin Cheesecake Bars
Make the crust gluten-free
Replace the graham cracker crumbs with the same volume of gluten-free graham cracker crumbs, and use a gluten-free all-purpose flour blend in place of the flour. The filling and bake stay the same; the crust may be a little more delicate, so press it into an even layer before baking.
Swirl the pumpkin through the filling
For a marbled top, reserve a few spoonfuls of the cream cheese mixture before adding the pumpkin mixture. Spread the pumpkin filling over the crust, dot the reserved filling across the surface, then drag a knife through the dots in loose curves. The bars keep the same flavors, with a more visible cream cheese pattern through the pumpkin.
Storage and Reheating
- Refrigerator: Keep the bars covered and refrigerated for up to 4 days. The crust gradually softens as it sits under the creamy filling.
- Freezer: Freeze cut bars in a single layer until firm, then wrap them airtight and store for up to 2 months for best texture. Thaw in the refrigerator before serving.
- Reheating: These bars are meant to be served chilled, so don’t microwave them; heat softens the filling and makes the crust greasy.
Questions That Come Up When Pumpkin Cheesecake Bars Set
Pumpkin Spice Cheesecake Bars
Ingredients
Equipment
Method
- Heat the oven to 325°F.
- Grease a 9x13-inch metal baking pan, then line it with parchment paper, leaving overhang on two sides.
- Stir the graham cracker crumbs, sugar, and melted butter together in a medium bowl.
- Press the mixture evenly into the pan.
- Bake the crust for 10–12 minutes, until fragrant and set.
- Let the crust cool for 10 minutes.
- Beat the cream cheese and sugar in a large bowl with an electric mixer on medium-low speed until smooth.
- Beat in the eggs one at a time on low speed, mixing just until each is incorporated.
- Mix in the vanilla.
- Whisk the pumpkin puree, flour, pumpkin pie spice, and salt in a medium bowl.
- Mix the pumpkin mixture into the cream cheese mixture on low speed just until smooth.
- Pour the filling over the crust.
- Smooth the top.
- Bake for 40–50 minutes, until the edges are set and the center still has a slight wobble.
- Cool completely in the pan on a rack, about 1 hour.
- Cover the pan and refrigerate for at least 4 hours before cutting into bars.