
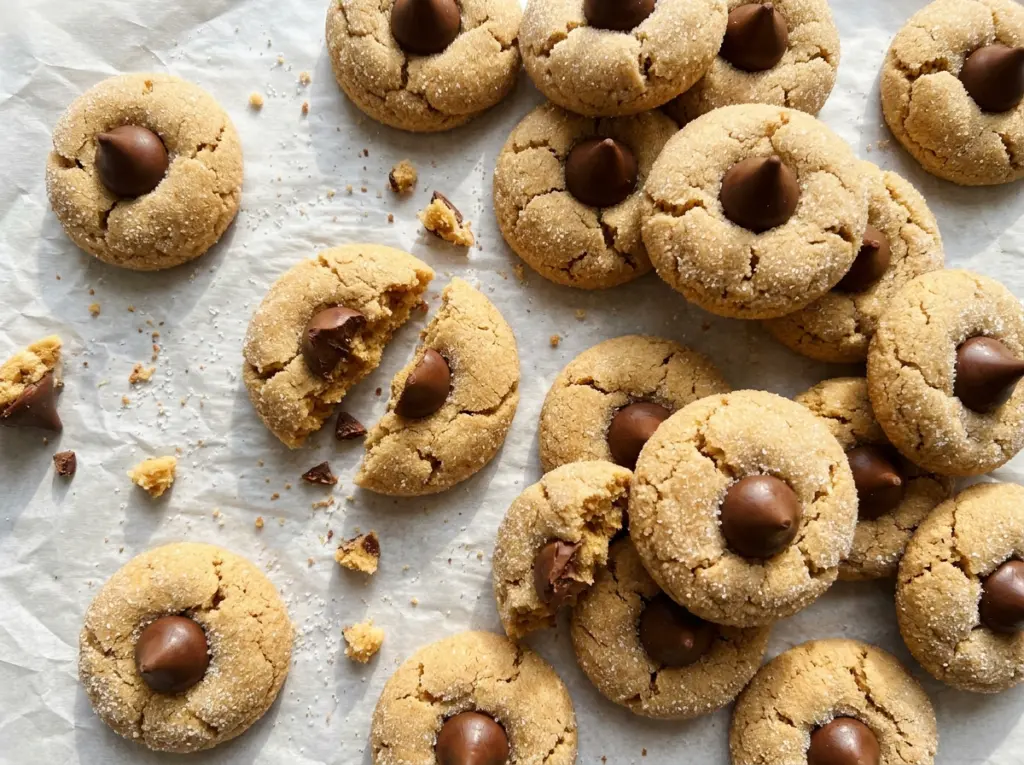
The sugar-coated dough balls look almost plain going into the oven; a few minutes later, the edges are set and the tops have started to crack. That little change is what I watch for with peanut butter blossom cookies, because they bake quickly and can turn dry if they stay in too long. The chocolate kiss pressed into each warm cookie gives the soft, peanut-buttery center a neat finish without adding another step to the dough.
I use both granulated and light brown sugar in the dough. The granulated sugar keeps the sweetness clean, while the brown sugar brings a softer, chewier bite. Rolling each ball in more granulated sugar gives the outside a delicate crunch that plays well against the milk chocolate. Once cooled, each cookie has that familiar contrast: a lightly crisp edge, a tender middle, and a chocolate center.
Kitchen Note
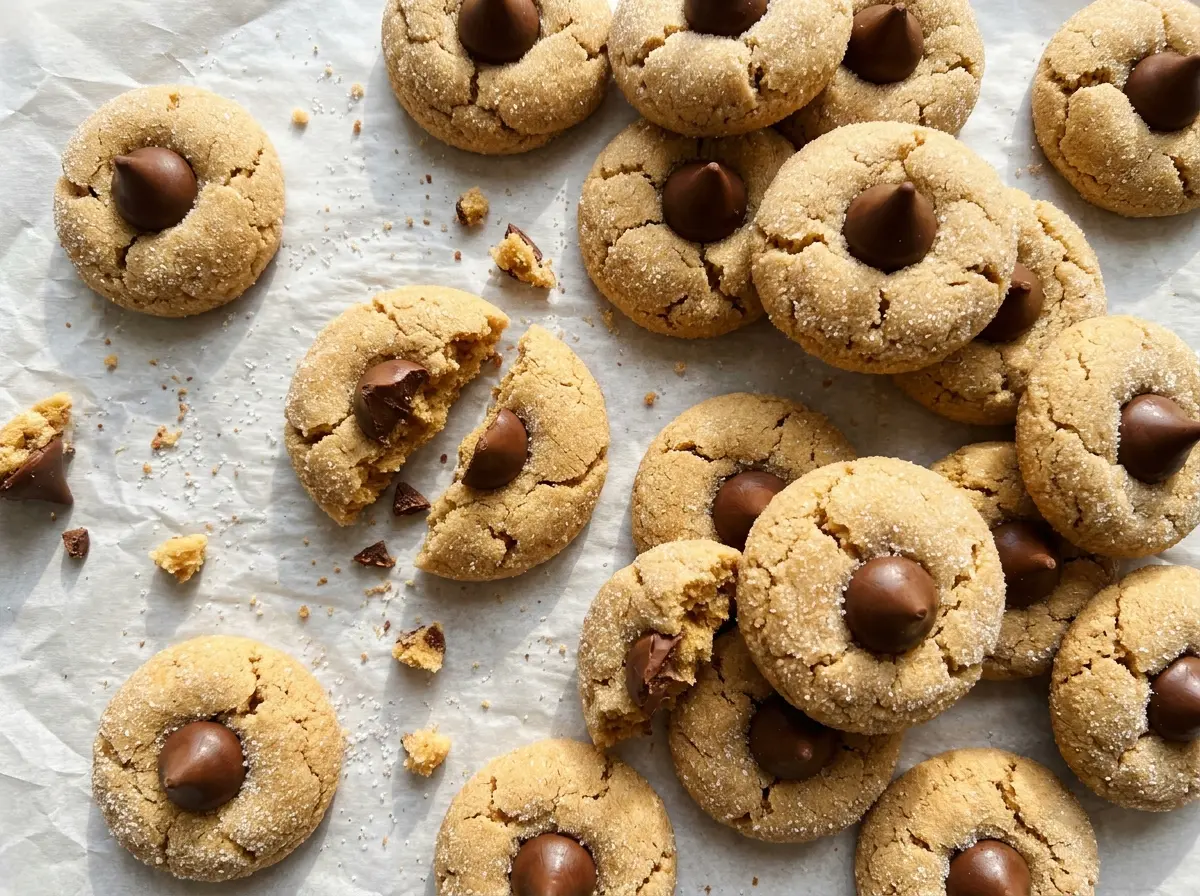
Unwrap all the chocolate kisses before the cookies go into the oven. They need to be ready to press in as soon as the pan comes out, while the cookies are still warm and soft.
Save these peanut butter blossom cookies for a bake day when you want a soft peanut butter cookie with a sugar-crackled outside and a milk chocolate center.
Why the Sugar-Coated Outside Is More Than a Pretty Finish
The extra granulated sugar on the outside gives these cookies a little crunch before you reach the softer peanut butter center. It also creates a lovely contrast with the chocolate kiss, which stays smooth against the cookie. That coating is thin, so it doesn’t turn the outside into a hard shell or make the cookie overly sweet.
For an even coat, roll each dough ball through the sugar until the surface looks lightly covered all the way around. A sparse patch won’t ruin a cookie, but an even layer makes the baked tops look more consistent. The dough should still show through; you’re coating the outside, not packing on a thick crust.
The cookies are small, and their tops crack as they bake. Don’t wait for deep browning to appear before you take them out. The edges should look set and the tops lightly cracked; that cue gives you a tender cookie rather than a dry one.
What Each Ingredient Brings to These Peanut Butter Blossoms

- All-purpose flour — Gives the dough its structure. A standard all-purpose flour works well here; there’s no need for specialty flour.
- Creamy peanut butter — Brings the main nutty flavor and a smooth, even texture to the dough. Choose a creamy peanut butter with a consistency you like straight from the jar; a thick or separated one can be harder to mix evenly.
- Unsalted butter — Adds richness and helps the sugars cream into a smooth base. Let it soften before mixing, but don’t melt it; melted butter changes the dough’s texture.
- Granulated and light brown sugars — The dough uses both for a balanced sweetness and a tender bite, while more granulated sugar coats the outside. Pack the brown sugar into the measuring cup so you get the intended amount.
- Egg and milk — The egg binds the dough, and the milk helps bring it together after the dry ingredients go in. Use a large egg, as specified, so the dough has the right balance of moisture and structure.
- Baking soda, kosher salt, and vanilla — Baking soda helps the cookies rise and crack; salt rounds out the sweetness, and vanilla supports the peanut butter and chocolate. Whisk the dry ingredients together so the baking soda and salt don’t land in isolated spots.
- Milk chocolate kisses — Their familiar shape makes the blossom topping. Unwrap them before baking so they’re ready when the cookies come out of the oven.
From Creamy Dough to Crackled Cookies
Whisk the Dry Ingredients Evenly
Heat the oven to 375°F and line two 18×13-inch baking sheets with parchment paper. Whisk the flour, baking soda, and kosher salt together in a medium bowl, breaking up any small lumps as you go. An even mix helps each cookie rise consistently. Set the bowl aside while you make the dough.
Cream the Peanut Butter Base
Beat the softened butter, peanut butter, the portion of granulated sugar meant for the dough, and the brown sugar with an electric mixer until creamy, about 2 minutes. Add the egg, milk, and vanilla, then beat until combined. Gradually mix in the flour mixture and stop as soon as no dry streaks remain. Overworking the dough after the flour goes in can make the cookies less tender.
Shape and Coat Each Ball
Put the remaining granulated sugar in a small bowl. Shape the dough into 1-inch balls and roll each one in the sugar, turning it to cover the surface. Arrange 18 balls on each prepared baking sheet, with about 2 inches between them so they have room to bake. Keeping the balls close in size helps the batch finish at the same time.
Bake, Top, and Cool
Bake one sheet at a time for 8 to 10 minutes. Look for set edges and lightly cracked tops; take the cookies out when they reach those cues rather than waiting for a dark brown color. Press one chocolate kiss into the center of each cookie while the cookies are warm. Let them cool on the baking sheet for 5 minutes, then move them to a wire rack to cool completely.
Three Easy Ways to Change Up the Blossoms
Swap in Dark Chocolate Kisses
Use dark chocolate kisses in place of the milk chocolate ones, keeping the same count. The sharper chocolate flavor cuts through the sweet peanut butter cookie, while the blossom shape stays the same.
Use Crunchy Peanut Butter
Replace the creamy peanut butter with the same amount of crunchy peanut butter. The cookies will have little peanut pieces through the dough and a less uniform texture, but the chocolate center still fits right in.
Make a Dairy-Free Batch
Use a dairy-free baking stick in the same amount as the butter, unsweetened oat milk in place of the milk, and dairy-free chocolate pieces for the centers. Choose a baking stick rather than spread from a tub, which can contain more water and make the dough softer. The result keeps the peanut butter-cookie idea but won’t have the exact same buttery taste.
Storage and Reheating
- Refrigerator: These cookies don’t need refrigeration. Keep them in an airtight container at room temperature for up to 5 days; chilling can firm the cookie texture.
- Freezer: Freeze completely cooled cookies in an airtight container, with parchment between layers, for up to 2 months. Thaw at room temperature while still covered so condensation doesn’t settle on the chocolate.
- Reheating: Serve at room temperature rather than warming them. Microwaving can soften the chocolate center before the cookie itself is warm.
Questions That Come Up While Baking Peanut Butter Blossoms
Peanut Butter Blossom Cookies
Ingredients
Equipment
Method
- Preheat the oven to 375°F and line two 18x13-inch baking sheets with parchment paper.
- Whisk the flour, baking soda, and salt together in a medium bowl.
- Beat the butter, peanut butter, 1/2 cup granulated sugar, and brown sugar with an electric mixer until creamy, about 2 minutes.
- Beat in the egg, milk, and vanilla until combined.
- Gradually mix in the flour mixture just until no dry streaks remain.
- Put the remaining 1/4 cup granulated sugar in a small bowl.
- Shape the dough into 1-inch balls.
- Roll each ball in the sugar.
- Arrange 18 balls on each baking sheet, spacing them about 2 inches apart.
- Bake one sheet at a time for 8 to 10 minutes, until the edges are set and the tops are lightly cracked.
- Immediately press one chocolate kiss into the center of each cookie.
- Let the cookies cool on the baking sheet for 5 minutes.
- Transfer the cookies to a wire rack to cool completely.