
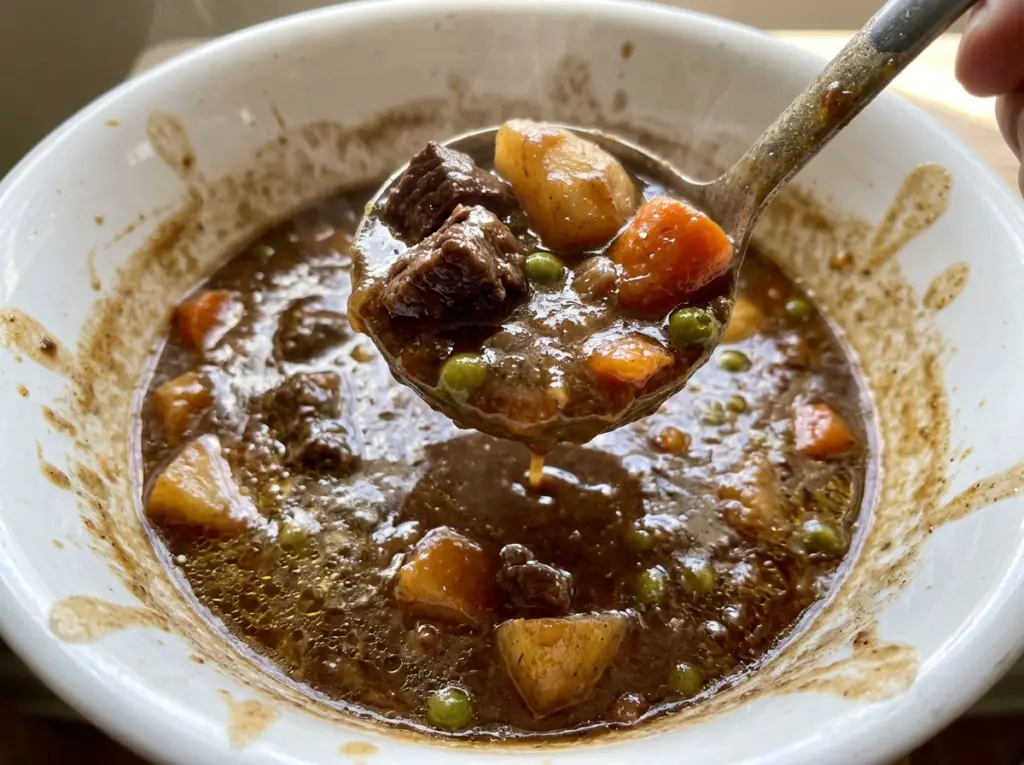
When the lid comes off a pot of beef stew, the best sign is a gravy that clings to the spoon instead of pooling like broth. This one gets that deep brown color from the beef itself: the cubes are floured, browned in batches, then returned to the same pot with the onion, garlic, and broth. Those browned bits on the bottom become part of the gravy, not something to wash away.
I make this old fashioned beef stew with rich brown gravy when I want a proper, slow-simmered dinner without a complicated set of steps. Chuck roast turns tender while it cooks gently, and the carrots, celery, and Yukon Gold potatoes go in later so they don’t spend the entire simmer in the pot.
The gravy builds in layers, but each one is simple: brown the beef, cook the tomato paste with the aromatics, then add the broth gradually. By the time the vegetables are tender, the stew is hearty and full-bodied, with beef that gives easily to a fork.
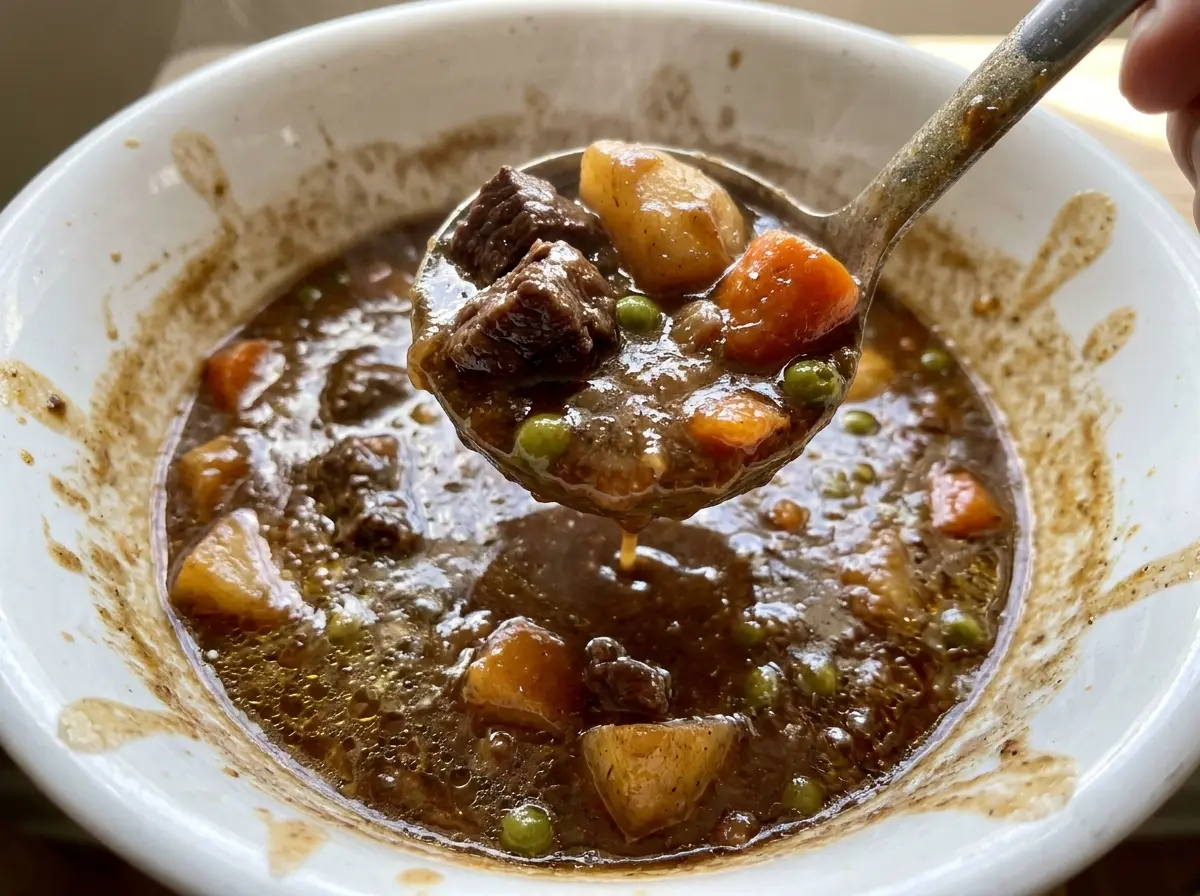
Kitchen Note
Give the stew its full 10-minute rest uncovered before serving. The pause lets the gravy settle, and the uncovered pot keeps steam from condensing back into it.
Save this old fashioned beef stew with rich brown gravy for a slow-simmered dinner with fork-tender beef and vegetables that hold their shape.
Why the Gravy Starts Before the Broth Goes In
A brown gravy can taste thin even when it has been simmering for a long time. The fix starts before the liquid goes into the pot: the flour-coated beef needs a proper sear, and the onion, garlic, and tomato paste need time against the hot pot to develop their flavor. If the beef is crowded, it releases moisture and steams instead of browning, so work in batches and turn the cubes to color several sides.
After the beef comes out, the browned layer on the pot bottom is part of the recipe. Cooking the onion while scraping those bits up loosens their savory flavor into the base. Tomato paste cooks briefly with the garlic, then the remaining flour gets stirred in before the broth. This gives the liquid a chance to blend smoothly instead of leaving floury pockets in the finished stew.
Pouring the broth in gradually makes it easier to work the flour and browned bits into a smooth base. Once the beef is back in, keep the pot at a gentle simmer rather than letting it boil hard. A rolling boil can make the meat tighten up, while a quiet simmer gives the chuck time to become tender and lets the gravy deepen steadily.
What Chuck, Yukon Golds, and Low-Sodium Broth Bring to the Pot
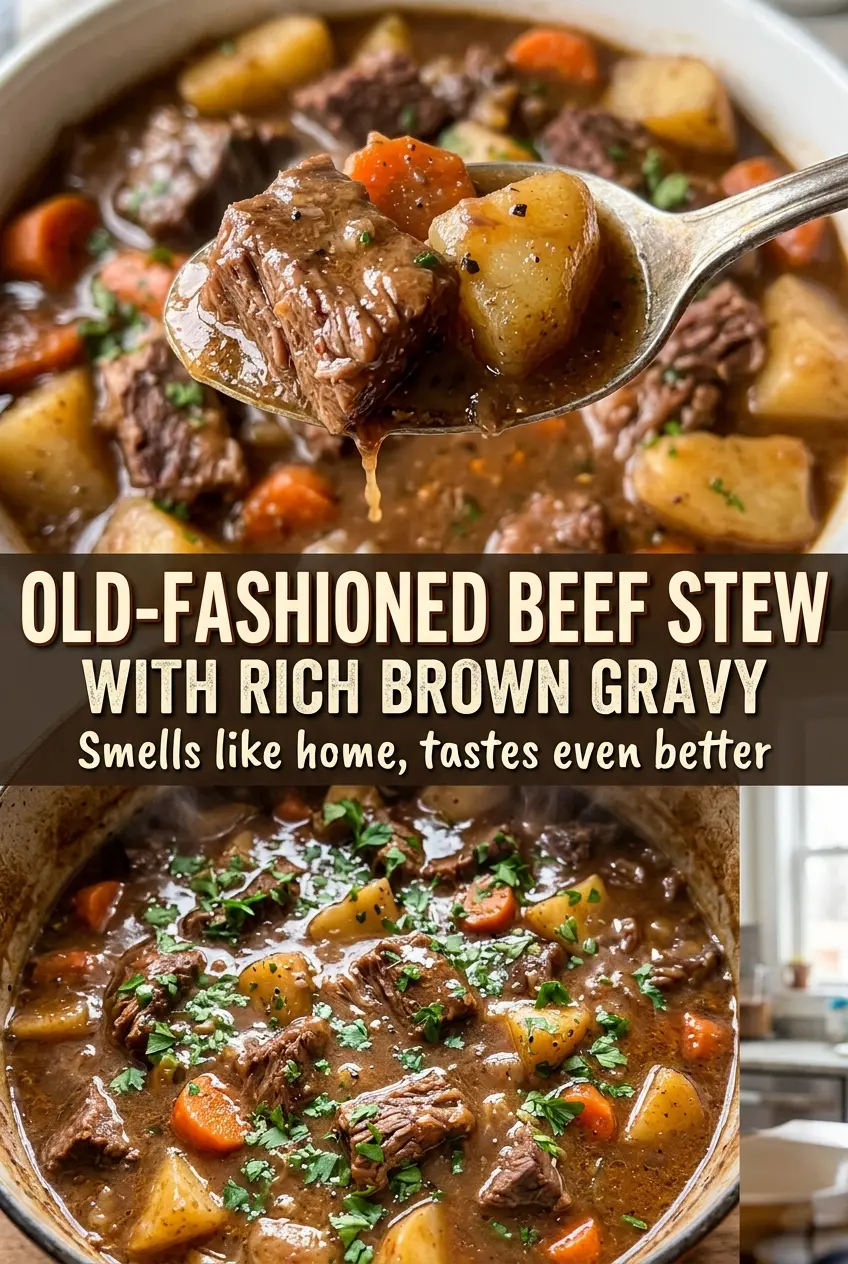
- Beef chuck roast — Chuck has the connective tissue and marbling that make a long, gentle braise worthwhile; leaner cuts can turn dry before they develop the same tenderness. Choose pieces with some visible marbling and cut them to a consistent size so they cook at a similar pace. There isn’t a direct lean-cut swap that gives the same result.
- All-purpose flour — It coats the beef and helps give the broth body. For a gluten-free version, use a cup-for-cup gluten-free flour blend in its place; the gravy may have a slightly different texture depending on the blend.
- Beef broth — Low-sodium broth gives you better control over the finished stew’s saltiness, especially alongside the seasoned beef and Worcestershire sauce. A less expensive broth works well here; the long simmer and browned beef bring plenty of depth.
- Tomato paste and Worcestershire sauce — Tomato paste adds concentrated savoriness, while Worcestershire brings a tangy, savory edge that keeps the gravy from tasting flat. Tomato paste should cook briefly with the onion and garlic rather than going straight into the broth.
- Yukon Gold potatoes — They become tender and creamy without losing all their shape during the later simmer. Red potatoes are a useful substitute when you want pieces that hold a firmer shape; cut them to the same size and cook until tender.
- Carrots, celery, thyme, and bay leaves — The carrots and celery give the stew its familiar vegetable base, while thyme and bay leaves add a gentle herbal note. Keep the vegetable pieces close to the specified sizes for even cooking, and remember to remove the bay leaves before serving.
Building the Brown Gravy Before the Long Simmer
Dry the Beef and Brown It in Batches
Pat the chuck cubes dry before seasoning them with salt and pepper, then toss them with flour until coated. Heat the oil in a 6-quart Dutch oven over medium-high heat and brown the beef in batches, turning the pieces so several sides get color. Each batch takes about 8 minutes; if the pot is crowded, the beef will steam instead of sear. Transfer the browned cubes to a plate and add the remaining oil between batches as needed.
Cook the Onion, Garlic, and Tomato Paste
Lower the heat to medium and add the onion, stirring and scraping the bottom of the pot as it cooks for 5 minutes. The onion should soften and help loosen the browned bits. Stir in the garlic and tomato paste and cook for 1 minute, then sprinkle in any flour left in the bowl and stir for another minute. Keep stirring so the garlic doesn’t catch on the hot pot.
Make a Smooth Base and Return the Beef
Add the beef broth gradually, stirring as you pour and scraping across the bottom until the browned bits lift into the liquid. Stir in the Worcestershire sauce, dried thyme, and bay leaves, then return the beef and any juices from the plate to the pot. Bring the liquid to a simmer before covering it. A gradual pour and steady stirring help keep the flour from forming lumps.
Simmer Gently Until the Chuck Starts to Tenderize
Reduce the heat to low, cover the Dutch oven, and simmer gently for 1 hour, stirring occasionally. Look for small, steady bubbles rather than a hard boil. If the liquid is bubbling vigorously, lower the heat; a strong boil can make the beef tougher. Keeping the lid on helps the beef braise evenly.
Add the Vegetables and Finish the Stew
Stir in the carrots, celery, and potatoes, then cover and simmer for 45 to 60 minutes. The stew is ready when the vegetables are tender and the beef yields easily to a fork. If the beef still feels chewy, keep the pot at a gentle simmer until it softens rather than turning up the heat. Remove and discard the bay leaves, then rest the stew uncovered for 10 minutes before serving.
Swaps That Still Give You a Sturdy, Old-Fashioned Stew
Make the stew gluten-free
Replace the all-purpose flour with the same amount of a cup-for-cup gluten-free flour blend for coating the beef and adding to the pot. The stew keeps its familiar flavor, though the gravy’s thickness can vary a little from blend to blend.
Use red potatoes for a firmer bite
Swap the Yukon Golds for red potatoes cut into the same 1 1/2-inch pieces. They tend to hold their shape more firmly through the simmer, so cook them until tender rather than judging them by color alone.
Storage and Reheating
- Refrigerator: Refrigerate leftovers within 2 hours and store them in a covered container for 3 to 4 days. The gravy thickens as it chills, and the potatoes soften a little.
- Freezer: Freeze in airtight containers for up to 2 to 3 months. The beef freezes well, though thawed potatoes may have a softer, grainier texture.
- Reheating: Warm gently on the stovetop over medium-low heat, stirring occasionally, until the stew reaches 165°F. Add a small splash of beef broth if the chilled gravy is too thick; avoid a hard boil, which can break down the vegetables and toughen the beef.
Questions That Come Up While the Stew Simmer
Old Fashioned Beef Stew with Rich Brown Gravy
Ingredients
Equipment
Method
- Pat the beef dry.
- Season the beef with the salt and pepper, then toss it with the flour in a large bowl until coated.
- Heat 2 tablespoons of the oil in a 6-quart Dutch oven over medium-high heat.
- Brown the beef in batches, turning to brown several sides, about 8 minutes per batch.
- Transfer the browned beef to a plate and add the remaining 1 tablespoon oil as needed between batches.
- Reduce the heat to medium, add the onion, and cook for 5 minutes, stirring and scraping up browned bits.
- Add the garlic and tomato paste and cook for 1 minute.
- Sprinkle in any flour remaining in the bowl and stir for 1 minute.
- Gradually stir in the beef broth, scraping the bottom of the pot.
- Stir in the Worcestershire sauce, thyme, and bay leaves.
- Return the beef and its juices to the pot and bring the liquid to a simmer.
- Cover, reduce the heat to low, and simmer gently for 1 hour, stirring occasionally; keep the liquid at a gentle simmer rather than a boil.
- Stir in the carrots, celery, and potatoes.
- Cover and simmer for 45 to 60 minutes, until the beef is fork-tender and the vegetables are tender.
- Remove and discard the bay leaves.
- Let the stew rest uncovered for 10 minutes before serving.