
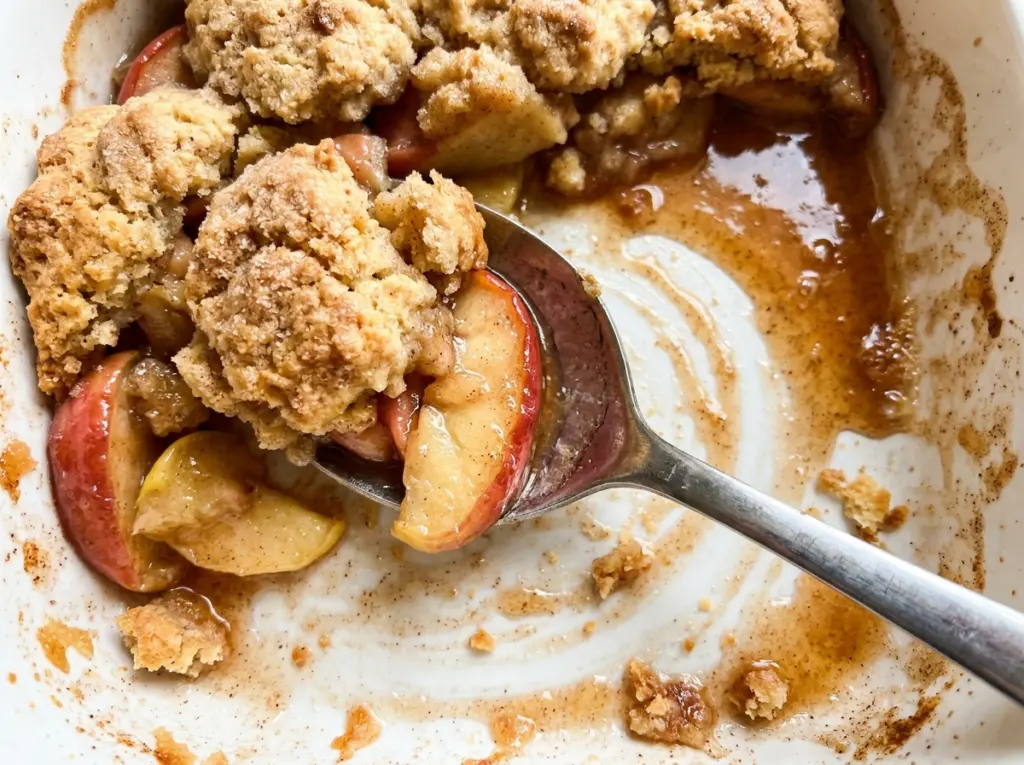
The first thing you notice when this cobbler is nearly ready is the smell of cinnamon from the biscuits, followed by the sharp, sweet scent of apples bubbling around the edges. I like that the topping bakes right over the fruit: you get tender apples underneath and golden, soft-centered biscuits on top, without having to roll or shape a crust. This old fashioned apple cobbler with cinnamon biscuit topping is the kind of dessert that feels familiar from the first spoonful.
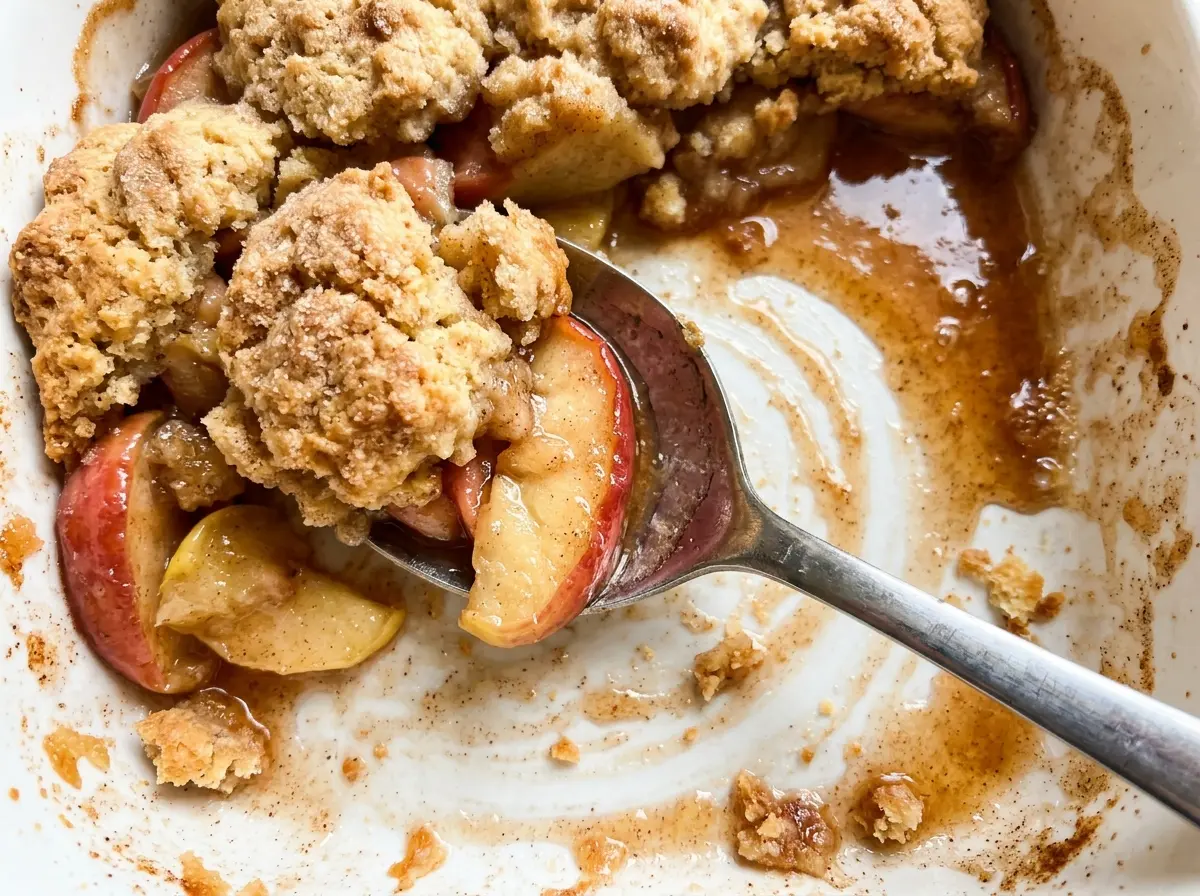
The apples need to be sliced evenly so they soften at the same pace, and the biscuit dough should stay shaggy rather than turning smooth. I toss the fruit with cornstarch before it goes into the dish, which gives the juices body as they bubble. Small gaps between the biscuit portions let that filling show through and cook along with the topping. After a short rest, the fruit settles into a glossy layer beneath those cinnamon-scented biscuits.
Kitchen Note
Keep the butter cold while you work it into the flour, and stop when you still see pea-size pieces. If those bits disappear into the dough, the biscuits lose some of their tender, flaky texture.
Save this old fashioned apple cobbler for its bubbling cinnamon apples and tender biscuit topping, baked together in one dish.
Why the Biscuit Top Needs Gaps, Not a Solid Blanket
A cobbler topping can look neater when it covers every inch of fruit, but a continuous layer changes how the dish bakes. The biscuit dough is thicker in the center of a solid blanket, where steam from the apples has a harder time escaping. Leaving small gaps gives that steam a route out and lets the fruit juices bubble up between the biscuits.
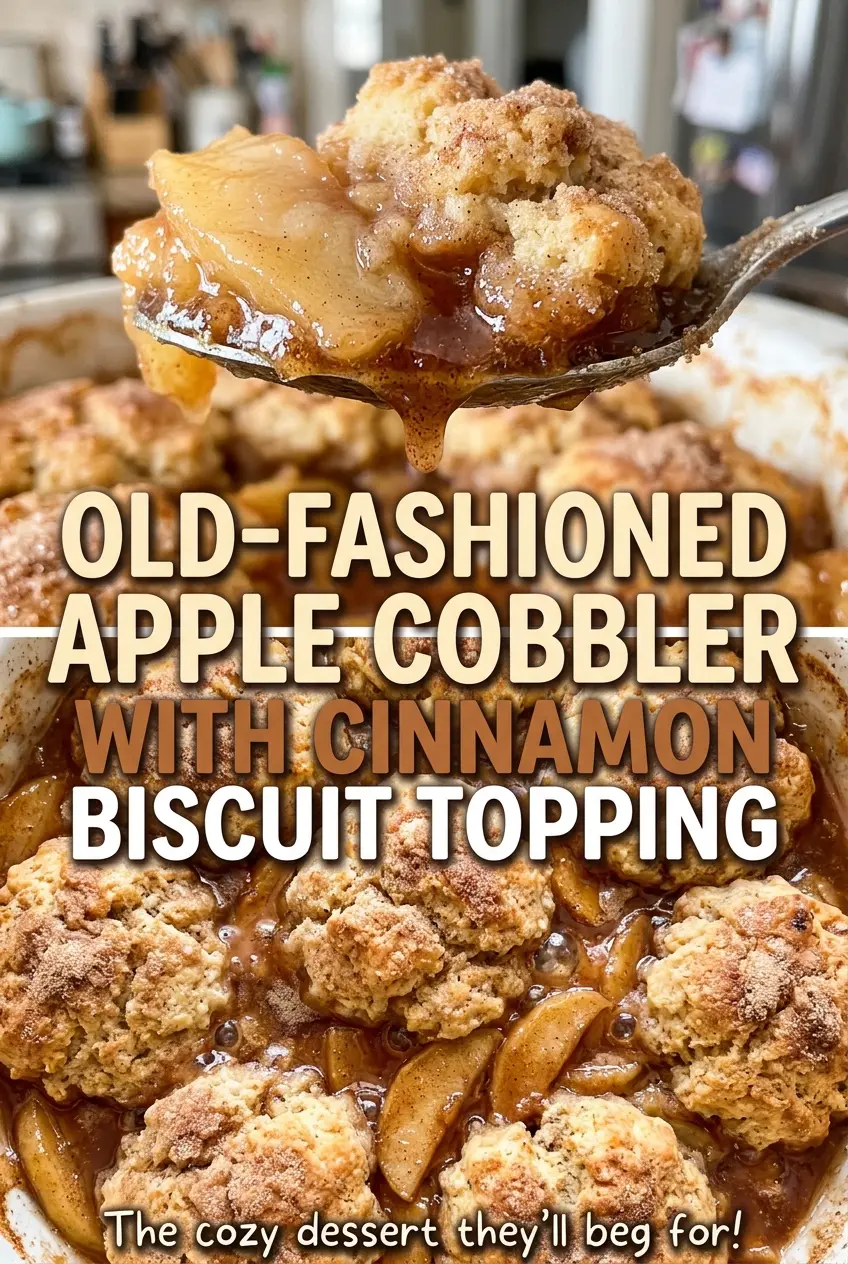
Those exposed pockets also give you a useful doneness cue: the filling should be visibly bubbling, not just hot around the edges. If the biscuits are already golden but the apples haven’t softened, the fruit needs more time; use the knife test rather than judging by color alone. Keep the biscuit portions fairly similar in size so one doesn’t brown well before another has cooked through. The finished top should have distinct golden biscuits with a little glossy apple filling visible between them.
Why the Apples and Cold Butter Matter More Than Fancy Extras
- Apples — Firm apples hold their shape as they bake, so choose fruit that feels solid rather than mealy. Granny Smith gives a sharper, tart filling; a mix with a sweeter firm apple makes the fruit taste rounder without changing the method. Peeling and slicing to an even thickness helps the pieces soften together.
- Cornstarch and lemon juice — Cornstarch thickens the apple juices as they bubble, while lemon juice brightens the fruit and helps keep the filling from tasting flat. Fresh or bottled lemon juice works here. Don’t leave out the cornstarch if you want the filling to cling to the apples instead of pooling thinly in the dish.
- Cinnamon and nutmeg — Ground spices are mixed into the apples and the biscuit dough, so freshness matters more than buying a premium brand. If your cinnamon has been open for years and smells faint, it won’t give the topping much warmth; replace it rather than adding more and changing the balance.
- Cold unsalted butter — Butter brings richness to both the filling and biscuits, and unsalted butter lets the measured salt stay in control. A fresh block from the grocery store is fine; there’s no need for a specialty butter. For a dairy-free version, use a firm plant-based baking butter in the topping and filling, knowing the biscuits may be a little less rich.
- Flour, baking powder, and milk — All-purpose flour gives the biscuits enough structure to sit over the fruit, and baking powder lifts the dough as it bakes. Regular milk makes a soft, shaggy dough; a cup-for-cup gluten-free baking blend can replace the flour for a gluten-free adaptation, though the biscuits will be more delicate. Choose an unsweetened plant milk if replacing the dairy milk, since a sweetened version can make the topping taste too sugary.
Building the Filling and Tender Biscuit Top
Coat the Apples Before They Go in the Dish
Heat the oven to 375°F and grease a 9×13-inch baking dish. Toss the peeled, cored, quarter-inch apple slices with the sugar, cornstarch, cinnamon, nutmeg, lemon juice, and salt in a large bowl. Turn the slices until the dry ingredients are distributed rather than sitting in a patch at the bottom. Spread the fruit in the dish, then dot it with the small pieces of butter.
Mix the Cinnamon Biscuit Base
Whisk the flour, sugar, baking powder, salt, and cinnamon together in a medium bowl so the leavener and spice are spread through the flour. Add the cold butter, then use a pastry cutter or your fingertips to work it in. Stop when you see pea-size pieces throughout; a few uneven bits are fine. If the mixture starts feeling greasy or soft, pause and let it cool before continuing.
Bring the Dough Together Gently
Stir in the milk only until a soft, shaggy dough forms. It won’t look smooth, and it shouldn’t be kneaded into a ball. If you keep stirring to chase every dry crumb, the biscuits can turn heavy instead of tender. Drop spoonfuls of dough over the apples, leaving small gaps between portions for the fruit to bubble through.
Bake Until the Fruit and Biscuits Agree
Bake for 45 to 55 minutes, until the biscuits are golden brown, the filling is bubbling, and a knife slides easily into the apples. The top can brown before the fruit is tender, so check the apples as well as the biscuits. Let the cobbler rest for 15 minutes before serving; the filling will settle a little as it cools.
Two Useful Ways to Adapt This Apple Cobbler
Use a Cup-for-Cup Gluten-Free Flour Blend
Replace the all-purpose flour with the same amount of a cup-for-cup gluten-free baking blend made for biscuits or baking. Keep the rest of the topping ingredients unchanged. The biscuits may be more fragile and less lofty, so lift them gently when serving.
Choose Apples for a Tart or Sweeter Filling
Use all tart baking apples for a brighter, sharper filling, or combine tart and sweeter firm apples for a softer balance. Keep the same slicing thickness so the pieces cook evenly. Very soft apples tend to collapse into the juices instead of holding their shape.
Storage and Reheating
- Refrigerator: Cover leftovers and refrigerate for up to 4 days. The biscuit topping softens as it sits against the fruit.
- Freezer: Freeze cooled portions in an airtight, freezer-safe container for up to 3 months. Thaw in the refrigerator; the topping may be softer than when freshly baked.
- Reheating: Warm portions in the oven until heated through. The microwave is quick, but it softens the biscuit topping further, especially if you reheat a large portion.
Questions That Come Up While Making Apple Cobbler
Old Fashioned Apple Cobbler with Cinnamon Biscuit Topping
Ingredients
Equipment
Method
- Heat the oven to 375°F and grease a 9x13-inch baking dish.
- In a large bowl, toss the apples with the sugar, cornstarch, cinnamon, nutmeg, lemon juice, and salt. Spread them in the prepared dish and dot with the butter.
- In a medium bowl, whisk together the flour, sugar, baking powder, salt, and cinnamon.
- Cut in the cold butter with a pastry cutter or your fingertips until the mixture has pea-size pieces.
- Stir in the milk just until a soft, shaggy dough forms.
- Drop the dough in spoonfuls over the apples, leaving small gaps between portions.
- Bake for 45 to 55 minutes, until the biscuits are golden brown, the filling is bubbling, and a knife slides easily into the apples.
- Rest for 15 minutes before serving.