
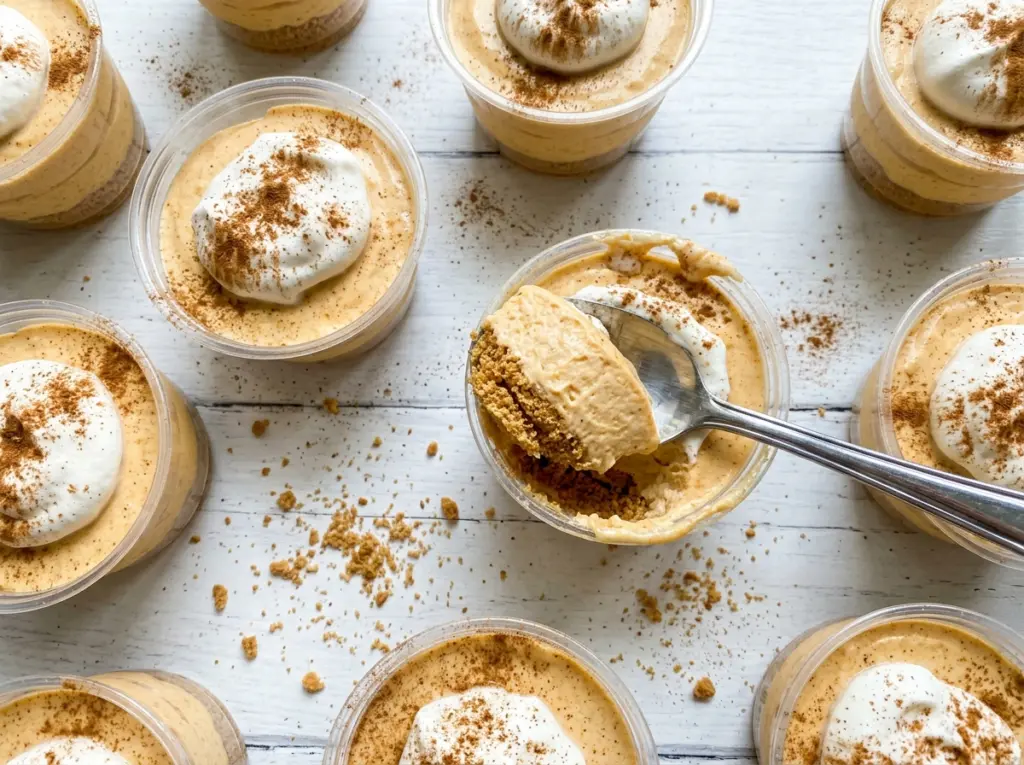
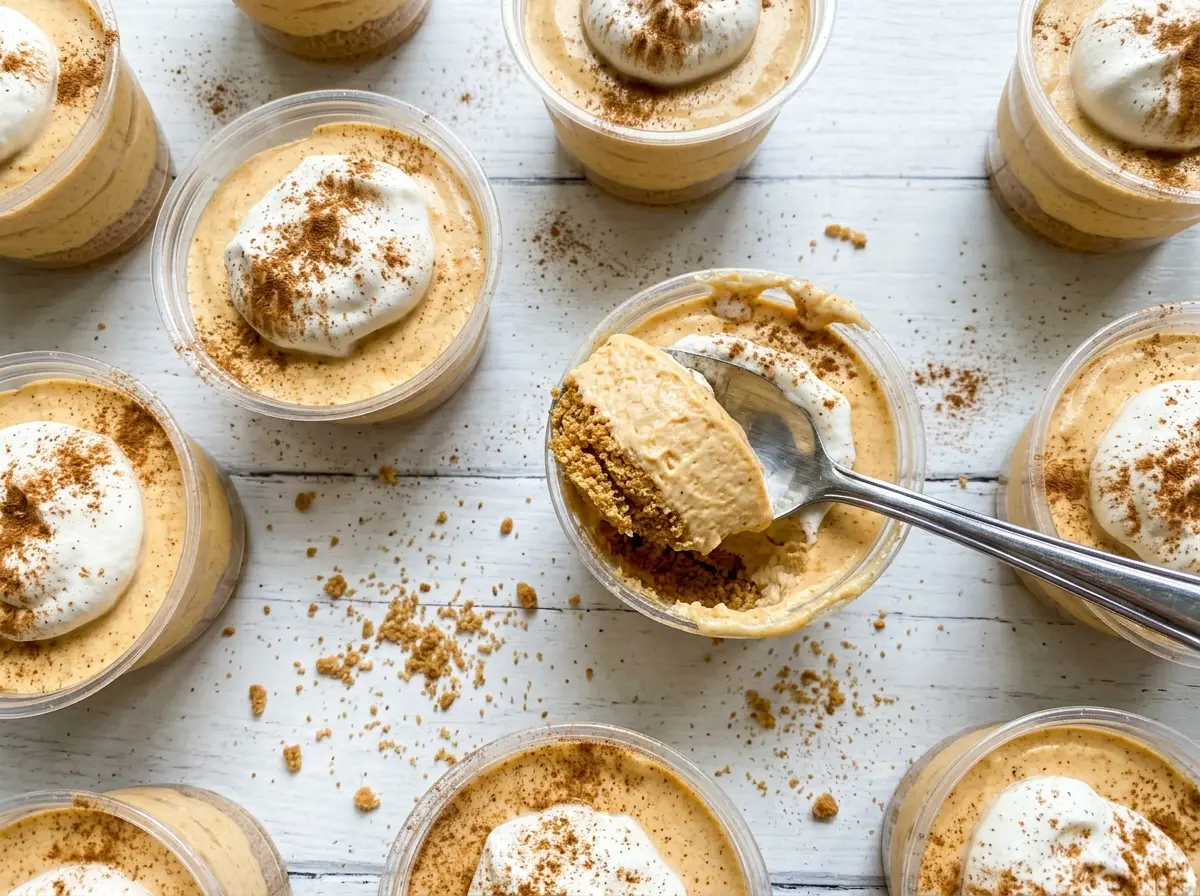
The crumb layer is the first thing I notice in these cups: it should hold together when you press it, not scatter like dry sand. A little melted butter and brown sugar help the graham crumbs pack into a firm base, so every spoonful gets some crunch beneath the pumpkin filling. These no bake pumpkin cheesecake dessert cups are portioned individually, which also means they chill neatly without needing to slice a larger cheesecake.
I beat the softened cream cheese with the pumpkin and seasonings before adding the whipped cream. That gives the pumpkin mixture a smooth, even texture before the lighter cream goes in. Then I fold gently, divide the filling among the cups, and let the refrigerator do the setting. A cloud of freshly whipped cream on top finishes each chilled cup with a soft, creamy bite.
Kitchen Note
For the filling, stop whipping when the cream reaches medium-stiff peaks: the ridges should hold, with just a slight curl at the tip. Cream whipped too soft can leave the filling slack, while cream beaten past that point is harder to fold in smoothly.
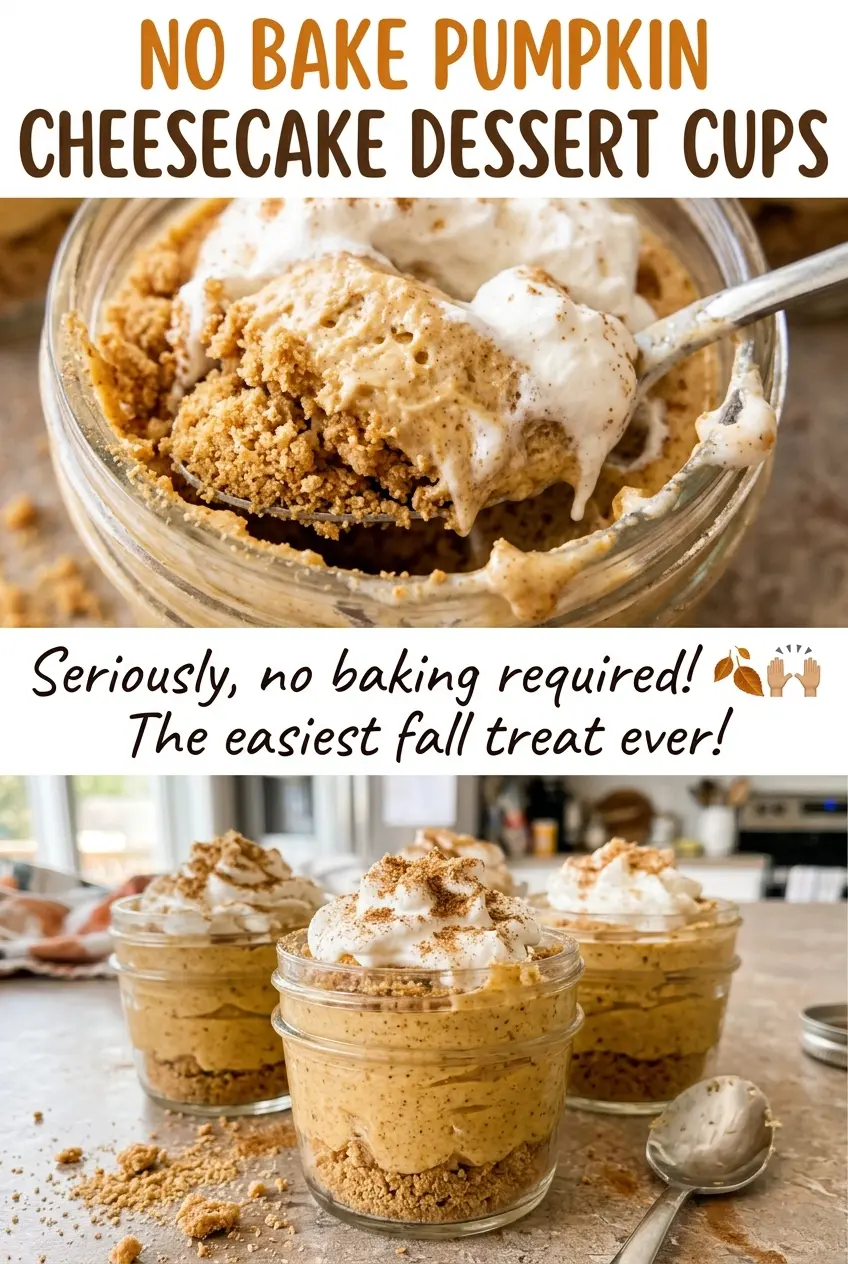
Save these no bake pumpkin cheesecake dessert cups for a make-ahead treat with a buttery crumb base and a light pumpkin filling.
Why Pumpkin Pie Filling Throws Off These Cheesecake Cups
Canned pumpkin puree and pumpkin pie filling may sit beside each other on the shelf, but they don’t behave the same way here. Pie filling is already sweetened and seasoned, so using it changes the balance of the cream cheese, powdered sugar, and pumpkin pie spice. The result can taste overly sweet or more heavily spiced than intended, and you lose control over the flavor in the filling.
Plain pumpkin puree keeps the mixture predictable. It brings pumpkin flavor without adding another layer of sugar or spice, so the cream cheese stays present instead of disappearing behind a pre-seasoned filling. The pumpkin mixture should taste gently spiced before the whipped cream is folded in; once that cream is added, the flavor becomes softer and less concentrated.
This distinction matters more in a no-bake dessert than it might in a baked pie. There’s no oven time to deepen or balance the mixture. Choosing plain puree gives you the clean pumpkin-and-cream-cheese flavor these cups are built around.
The Ingredients That Give These Cups Their Creamy Center and Crisp Base
- Block cream cheese — A softened block blends into a smooth, sturdy base for the filling. Let it soften before mixing; cold cream cheese is more likely to leave small lumps. The familiar grocery-store block works well here, so there’s no need to seek out a specialty brand.
- Canned pumpkin puree — Plain canned puree brings consistent pumpkin flavor and texture. Check the can carefully so you don’t pick up pumpkin pie filling by mistake. The puree needs no extra preparation before it goes into the cream cheese mixture.
- Cold heavy cream — Heavy cream supplies the air that makes the filling feel light and gives the topping enough body to hold its shape. Keep it cold until whipping. Half-and-half doesn’t have enough fat to whip into the peaks this dessert needs.
- Graham cracker crumbs — Fine crumbs make a compact base that’s easy to scoop through with the filling. Packaged crumbs are convenient; if crushing crackers yourself, aim for an even, fine texture so the butter coats the crumbs consistently.
- Brown sugar and powdered sugar — Brown sugar helps sweeten the crust, while powdered sugar blends smoothly into both the filling and topping. The powdered sugar is divided between those two parts, so keep the amounts separate as you prep.
Building the Cups in the Right Order
Press an Even Graham Cracker Base
Stir the graham cracker crumbs with the melted butter and packed light brown sugar until the crumbs look evenly moistened. Divide the mixture among eight 6-ounce dessert cups, using about 2 tablespoons per cup. Press it firmly into each bottom so the crust holds together under the filling; loose crumbs are harder to scoop neatly.
Blend the Pumpkin and Cream Cheese Until Smooth
Beat the softened cream cheese until smooth before adding the pumpkin puree, powdered sugar, pumpkin pie spice, and vanilla extract. Beat again until everything is fully combined and the color looks uniform. If cream cheese lumps remain at this stage, they won’t disappear when the whipped cream is folded in.
Fold in the Whipped Cream Without Deflating It
In a separate bowl, beat 1 cup of cold heavy cream to medium-stiff peaks. Add it to the pumpkin mixture and fold gently until no white streaks remain. The filling should look airy and evenly colored rather than dense or marbled. Divide it among the cups, about 1/2 cup in each.
Give the Filling Time to Chill and Set
Refrigerate the filled cups for at least 2 hours, until the centers are chilled and set. They should feel cool throughout, and the filling should hold its shape when you draw a spoon across the surface. Cutting the chill short leaves the center softer and makes the cups less tidy to serve.
Finish Each Cup Just Before Serving
Beat the remaining 1/2 cup cold heavy cream with 1 tablespoon powdered sugar to medium peaks. Spoon or pipe about 2 tablespoons onto each cup just before serving. The topping should sit lightly on the filling, not be mixed into it.
Three Small Changes for a Different Take on Pumpkin Cheesecake Cups
Trade the graham crumbs for gingersnaps
Use the same volume of finely crushed gingersnap cookies in place of the graham cracker crumbs, keeping the butter and brown sugar. The base will have a more pronounced ginger flavor and a sweeter, spicier edge. Crush the cookies finely so the crust still presses into an even layer.
Skip the crust for a softer, simpler cup
Leave out the graham crumbs, butter, and brown sugar, then divide the pumpkin filling among the cups. The result is all creamy filling without the crisp contrast of the crust, which makes this a useful option when you want fewer components to prepare.
Put a little pumpkin spice in the topping
For a more pronounced spice aroma, reserve a small pinch from the measured pumpkin pie spice and beat it into the cream topping with the powdered sugar. The topping will carry the same warm spice notes as the filling, with a light dusting of color through the whipped cream.
Make-Ahead and Serving
- Refrigerator: Keep the cups covered and refrigerated for up to 3 days. The crumb layer softens gradually as it sits beneath the filling.
- Freezer: Freezing isn’t recommended for the finished cups; the whipped cream and creamy filling can lose their smooth texture as they thaw.
- Serving: Prepare the crust and filling ahead, then add the whipped cream topping just before serving for the best definition and texture.
Questions That Come Up While Making These Pumpkin Cups
No Bake Pumpkin Cheesecake Dessert Cups
Ingredients
Equipment
Method
- Stir the graham cracker crumbs, melted unsalted butter, and packed light brown sugar together until evenly moistened.
- Divide the mixture among eight 6-ounce dessert cups, about 2 tablespoons per cup.
- Press the crust firmly into the bottoms of the cups.
- Beat the softened cream cheese until smooth.
- Beat in the pumpkin puree, 1/2 cup powdered sugar, pumpkin pie spice, and vanilla extract until fully combined.
- In a separate bowl, beat 1 cup cold heavy cream to medium-stiff peaks.
- Gently fold the whipped cream into the pumpkin mixture.
- Divide the filling among the cups, about 1/2 cup per cup.
- Refrigerate for at least 2 hours, until chilled and set.
- Beat the remaining 1/2 cup cold heavy cream with 1 tablespoon powdered sugar to medium peaks.
- Spoon or pipe about 2 tablespoons of whipped cream onto each cup just before serving.