
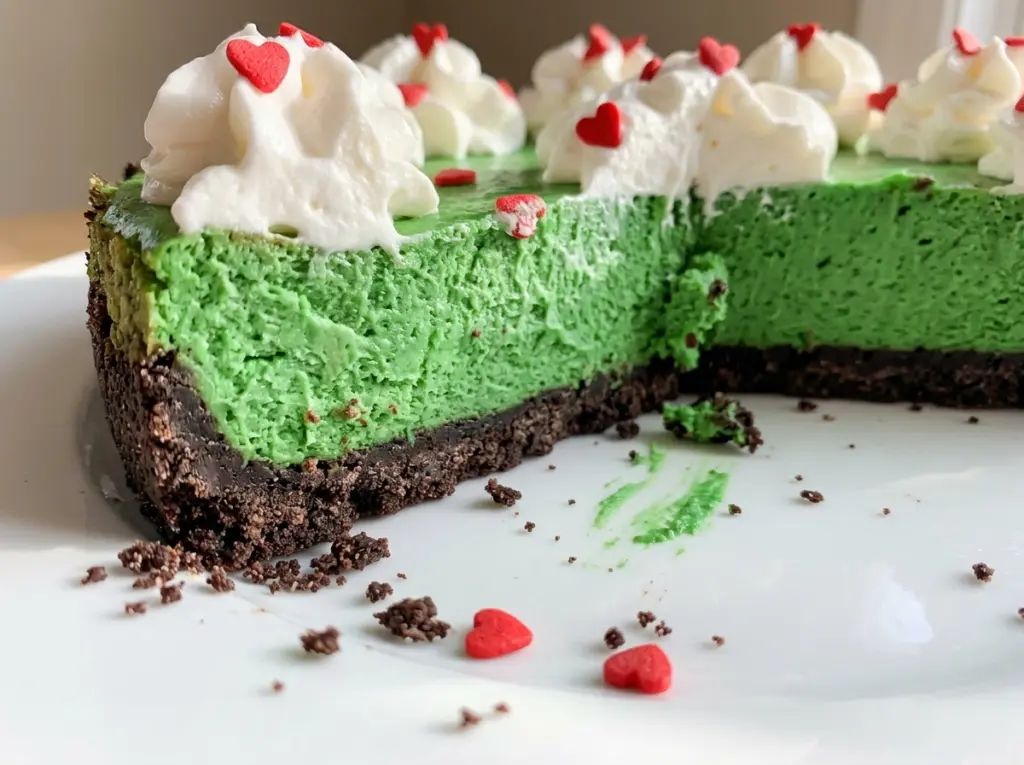
The springform ring lifts away to reveal a bright green filling against a dark Oreo crust, and the red hearts are the last little detail that makes this cheesecake look like it belongs on a Grinch-themed table. I like that the decoration stays simple. The crust is buttery and chocolatey, while the cream cheese filling is cool, smooth, and lightly sweetened with powdered sugar and vanilla. Since there’s no oven time to help it set, the refrigerator does the patient work of turning the filling into a sliceable cheesecake.
I keep the finish uncluttered and let the three colors do their thing: green filling, dark cookie crust, and red hearts. The texture depends on giving the filled pan enough time to firm up before cutting into it; rushing that rest leaves the center too soft to hold a neat slice. Once chilled, it’s a creamy, festive cheesecake with a crisp-looking cookie base and a little red heart on top.
Kitchen Note
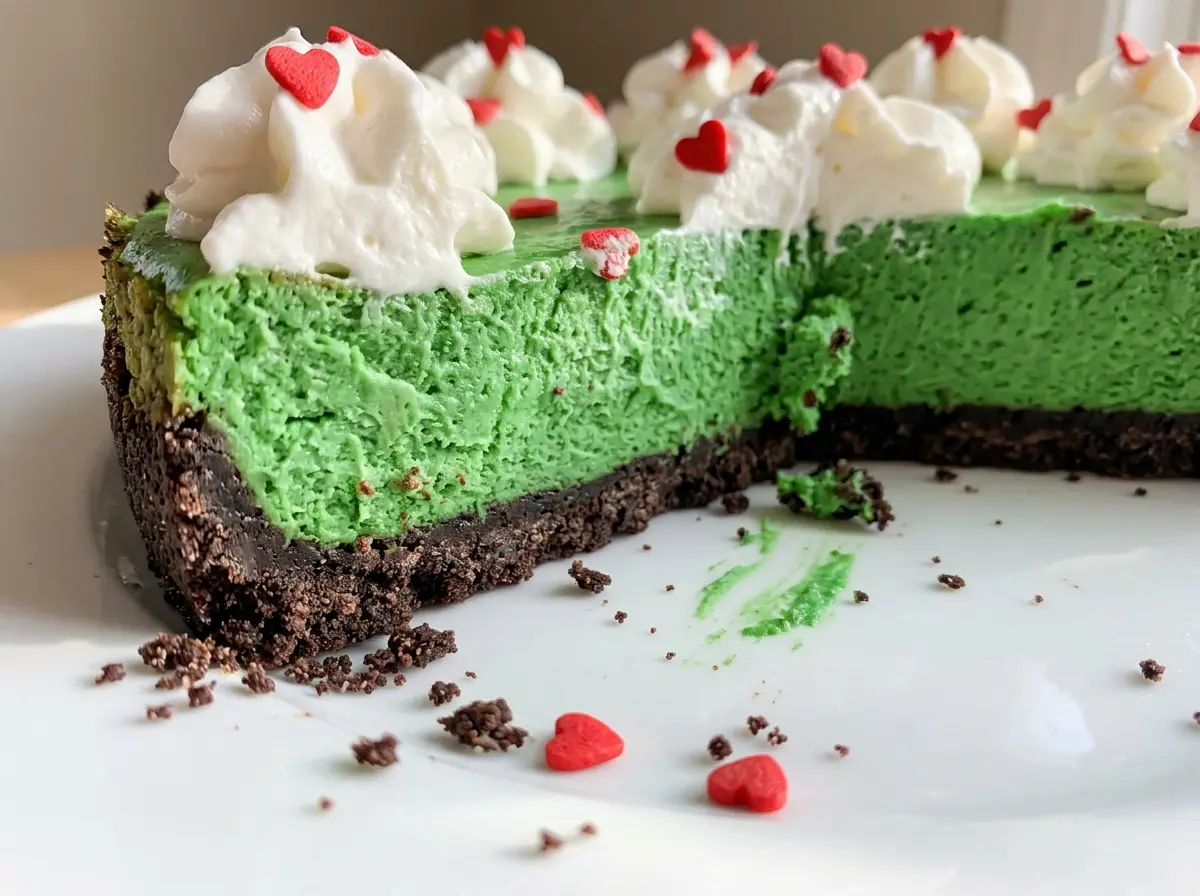
Press the crumb mixture all the way to the edge of the pan bottom, especially where the parchment meets the springform ring. An even base gives every slice a solid cookie layer instead of a thin, crumbly edge.
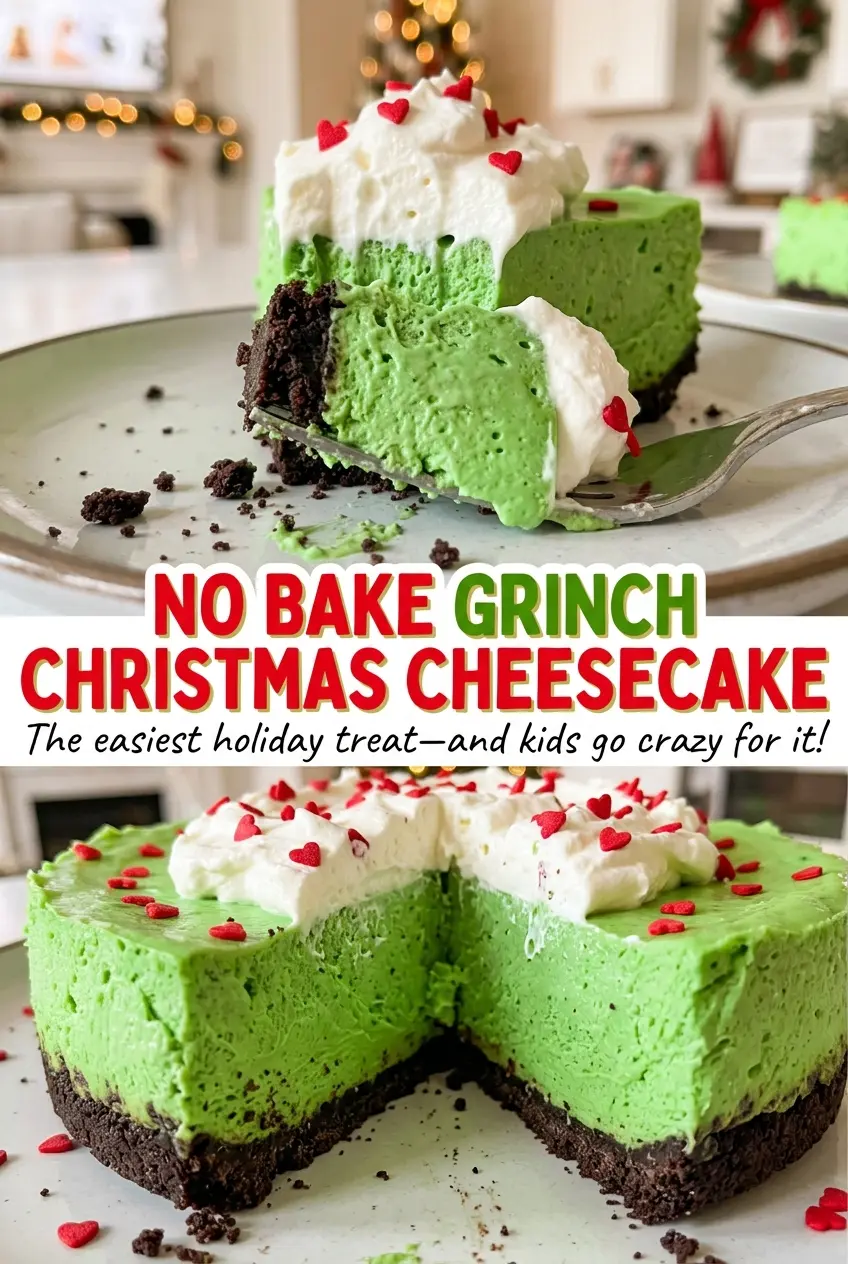
Save this No Bake Grinch Christmas Cheesecake for a festive dessert with a dark Oreo crust, smooth green filling, and red heart sprinkles.
Why the Whipped Cream Makes This No-Bake Filling Sliceable
A no-bake cheesecake needs a way to hold its shape without eggs or oven heat. Here, the whipped cream supplies air and structure, while the cream cheese gives the filling its familiar tang and body. Beat those components together too roughly and the airy texture disappears; fold them together gently and the finished filling stays lighter.
The order matters. The cream cheese mixture is beaten smooth first, and the cold heavy cream is whipped separately until it reaches stiff peaks. Folding the cream in three additions makes it easier to combine the two textures without leaving white streaks or knocking out all the air at once. Then the filled pan needs a long, uninterrupted chill. Six hours is the minimum I plan for, because the filling needs time to firm all the way through rather than just around the edges.
That rest is what separates a cheesecake you can lift cleanly from the pan from one that slumps when the ring comes off. Keep the pan covered while it chills, and wait until the center feels firm before you finish and serve it.
What the Oreo Crust and Cream Cheese Bring to This Cheesecake
- Oreo cookies — Finely crushed cookies make a chocolatey base that firms when combined with butter. Crush them evenly so large pieces don’t leave weak spots. The listed cookies are used whole; removing the filling changes the crumb mixture.
- Unsalted butter — Melted butter coats the crumbs and helps them hold together once chilled. Unsalted keeps the crust’s salt level predictable, and there’s no need for a specialty brand. I wouldn’t replace it with a liquid fat, which won’t set the crumbs the same way.
- Cream cheese — This is the body of the filling, so use cream cheese that has softened enough to beat smooth. Cold, firm pieces can stay lumpy even after mixing. A lighter or whipped substitute won’t give this filling the same dependable texture.
- Powdered sugar — Its fine texture blends into cream cheese without the gritty feel granulated sugar can leave in a chilled dessert. Keep the powdered sugar for this version rather than swapping in a coarser sweetener.
- Vanilla extract and kosher salt — Vanilla rounds out the cream cheese, and a small amount of salt keeps the sweetness from tasting flat. Use the extract you already enjoy; this isn’t a recipe where a costly bottle is essential.
- Green gel food coloring — Gel gives the filling its signature color without adding much liquid. Mix it thoroughly into the cream cheese base before folding in the whipped cream, so you don’t have to stir the airy filling repeatedly to chase green streaks.
- Cold heavy cream — Heavy cream whips into the peaks that lighten and support the filling. Keep it cold until you’re ready to beat it; a non-dairy topping or thinner cream won’t behave the same way here.
- Red heart sprinkles — These make the Grinch-inspired finish instantly recognizable. Save them for just before serving so their color stays crisp against the green top.
Build the Oreo Base and Fold the Filling Without Flattening It
Pack the Cookie Crumbs Into the Pan
Line the bottom of a 9-inch springform pan with parchment paper. Stir the finely crushed Oreos with the melted butter until the crumbs look evenly moistened, with no dry pockets left in the bowl. Press the mixture firmly over the bottom of the pan, then chill it for 20 minutes. If the crust still feels loose when you press it, compact it before chilling rather than trying to repair it after the filling is on.
Beat the Cream Cheese Mixture Until Smooth
Beat the softened cream cheese with the powdered sugar, vanilla, and kosher salt using an electric mixer on medium speed. Scrape down the bowl as needed, especially along the sides and bottom where cream cheese can hide. Stop when the mixture looks smooth, with no visible lumps. Beat in the green gel coloring until the color looks even throughout.
Whip and Fold for an Airy Filling
In a separate bowl, beat the cold heavy cream until stiff peaks form; this usually takes about 2 to 4 minutes. Stiff peaks should stand up when you lift the beaters, rather than drooping back into the bowl. Fold the whipped cream into the cream cheese mixture in three additions. Use a broad, gentle motion and stop when no white streaks remain, because extra mixing can make the filling less airy.
Chill Until Firm, Then Finish the Top
Spread the filling evenly over the chilled crust, cover the pan, and refrigerate it for at least 6 hours, or until firm. Don’t judge the center only by how the edges look; the middle needs time to set too. When it’s ready, run a thin knife around the inside edge of the pan before releasing the springform ring. Decorate with the red heart sprinkles just before serving.
Two Ways to Change the Green Filling Without Changing Its Character
Make a green-and-ivory swirl
Before tinting the cream cheese mixture, set aside a small portion. Color the rest, then fold whipped cream into both portions in separate additions. Alternate spoonfuls of the green and uncolored filling over the crust and gently swirl once or twice with a knife. The finish will be softly marbled; too much swirling blends the colors together.
Leave the filling white
Skip the green gel coloring for a white cream cheese filling with the same Oreo crust and red heart topping. The cheesecake will lose its Grinch-green look, but the flavor and the no-bake method stay the same. This is the simplest option if you don’t have gel coloring on hand.
Storage and Reheating
- Refrigerator: Keep the cheesecake covered and refrigerated for up to 4 days. The cookie crust softens gradually as it sits.
- Freezer: Freeze it without the sprinkles, wrapped tightly once firm. It keeps best for about 1 month; thaw it overnight in the refrigerator and add the hearts just before serving.
- Reheating: This cheesecake is served cold, so don’t microwave it. Warming it softens the filling unevenly and can make the crust greasy.
Questions That Come Up When This Cheesecake Won’t Set or Color Right
No Bake Grinch Christmas Cheesecake
Ingredients
Equipment
Method
- Line the bottom of a 9-inch springform pan with parchment paper.
- Stir the cookie crumbs and melted butter together until evenly moistened.
- Press the mixture firmly over the pan bottom.
- Chill for 20 minutes.
- Beat the cream cheese, powdered sugar, vanilla, and salt in a large bowl with an electric mixer on medium speed until smooth, scraping the bowl as needed.
- Beat in the green gel food coloring until evenly colored.
- In a separate bowl, beat the cold heavy cream to stiff peaks, about 2 to 4 minutes.
- Fold the whipped cream into the cream cheese mixture in 3 additions until no white streaks remain.
- Spread the filling evenly over the chilled crust.
- Cover the pan.
- Refrigerate for at least 6 hours, or until firm.
- Run a thin knife around the inside edge of the pan.
- Release the springform ring.
- Decorate the cheesecake with the red heart sprinkles just before serving.