
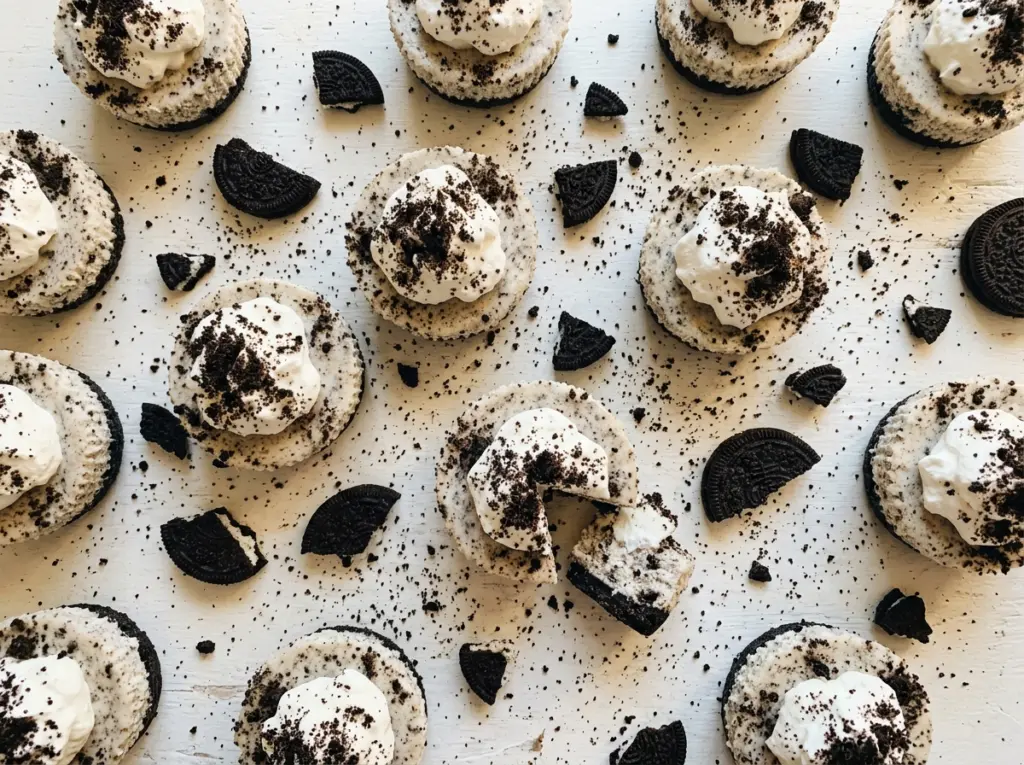
The moment I peel back a paper liner, I want the Oreo crust to stay tucked neatly under the filling instead of scattering across the plate. Pressing the crumbs firmly into each cup gives these mini no bake Oreo cheesecakes a base that holds together, while the chilled center stays creamy rather than dense.
The filling gets its lift from cold heavy cream whipped to stiff peaks, then gently folded into softened cream cheese. That keeps the texture light without baking, and the chopped Oreos add little cookie bites throughout. I like how the finely crushed cookies on top make each one look finished without adding another layer of filling.
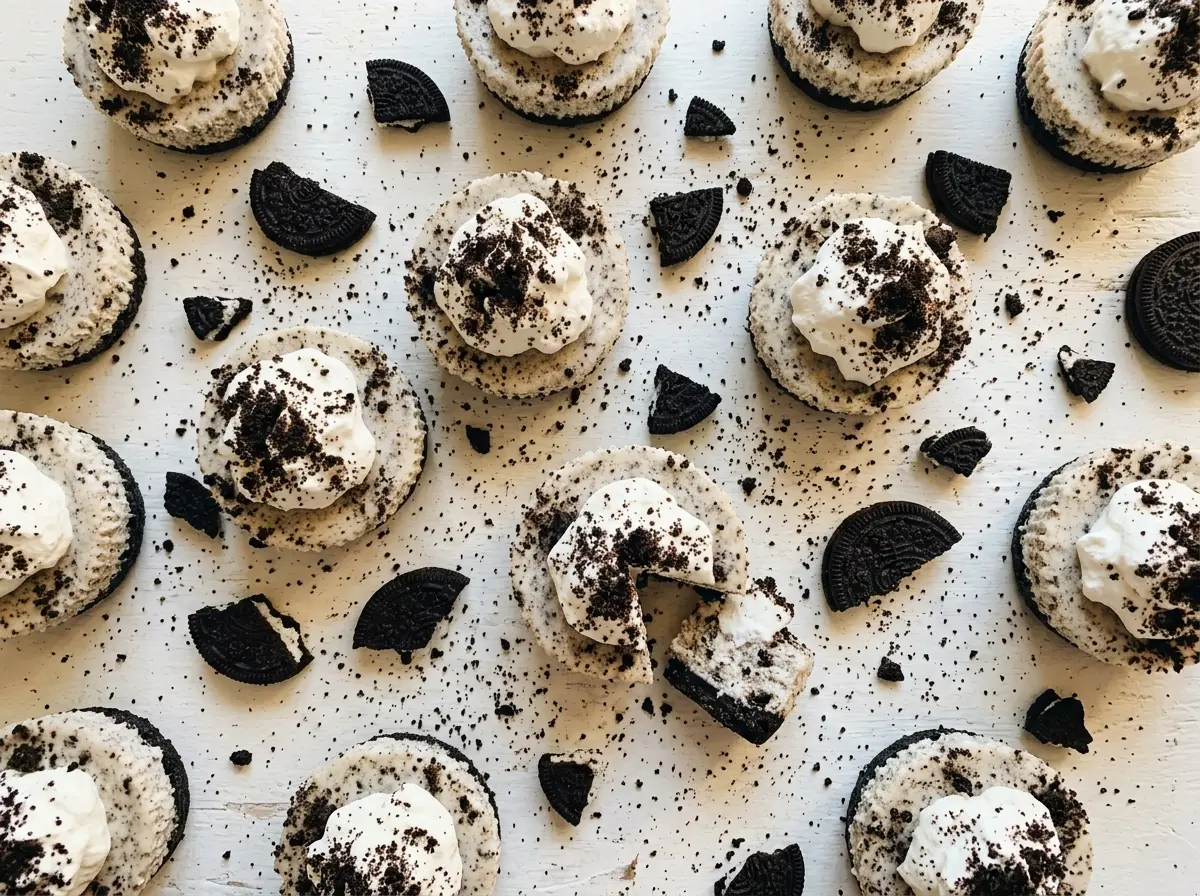
Plan ahead for the refrigerator time: the crust chills while you make the filling, and the assembled cheesecakes need at least 6 hours to firm up. Once chilled, they’re easy to peel from their liners and serve with a cool, creamy center, a crisp chocolate-cookie base, and Oreo crumbs on top.
Kitchen Note
For the filling, chop the Oreos into small, distinct pieces instead of crushing them to crumbs. Those cookie bites stay visible in the creamy center and give each cheesecake a little crunch.
Save these mini no bake Oreo cheesecakes for a make-ahead dessert with a creamy center and a crisp cookie crust.
Why These Oreo Cheesecakes Need the Full Chill to Set
Without an oven, the filling has to become firm in the refrigerator. Its structure comes from the cream cheese and the heavy cream, which is whipped to stiff peaks before it’s folded in. The whipped cream gives the mixture body, but the filling still needs time in the cold to hold its shape when you lift it from the paper liner. Cutting the chill short can leave the center soft, even if the outside feels cool.
Give the crust its own short rest before adding the filling, too. Those 15 minutes in the refrigerator let the melted butter-coated crumbs firm up, so they’re less likely to shift when you spoon filling over them. Then let the assembled cheesecakes chill for at least 6 hours, until the filling is firm. If you’re planning to serve them at a certain time, work backward from that longer chill rather than trying to rush the set at the end.
What the Oreos, Butter, and Whipped Cream Each Bring

- Oreo cookies — The finely crushed cookies make a compact, chocolatey base, while chopped pieces add contrast in the filling. Crush the crust cookies finely so they mix evenly with the butter; keep the filling cookies in pieces rather than turning them into crumbs. For a gluten-free version, gluten-free Oreo cookies work in the same amounts and roles.
- Unsalted butter — Melted butter coats the crust crumbs and helps them hold together after chilling. Since it’s mixed with sweet sandwich cookies, there’s no need for a specialty butter; use unsalted so the base doesn’t get saltier than intended.
- Cream cheese — Softened cream cheese beats smoothly with the powdered sugar and vanilla. If it’s still cold and firm, small lumps are harder to work out before the whipped cream goes in, so let it soften first.
- Heavy cream — Cold cream is what whips to stiff peaks and gives the filling its airy texture. It needs to be heavy cream rather than a thinner pourable dairy product; a substitute that won’t whip won’t give the filling the same structure.
- Powdered sugar and vanilla — Powdered sugar blends into the cream cheese without the gritty feel granulated sugar can leave, and vanilla rounds out the cookie-and-cream flavor. Beat them with the softened cream cheese before folding in the whipped cream.
From Pressed Oreo Crumbs to a Firm, Creamy Center
Pack the Crusts Into the Liners
Line a standard 12-cup muffin pan with paper liners. Stir the finely crushed Oreos with the melted butter until the crumbs look evenly moistened, then divide them among the cups, using about 2 tablespoons in each. Press the mixture firmly into the bottoms so you have an even base rather than loose crumbs. Refrigerate the crusts for 15 minutes while you prepare the filling.
Whip and Fold the Filling
Beat the softened cream cheese with the powdered sugar and vanilla until the mixture looks smooth. In a separate bowl, beat the cold heavy cream until it reaches stiff peaks; the peaks should hold their shape when the beaters are lifted. Fold the whipped cream into the cream cheese mixture gently, then fold in the chopped Oreos. A light hand keeps the filling fluffy and distributes the cookie pieces without crushing them.
Fill, Chill, and Add the Crumb Topping
Divide the filling among the chilled crusts and smooth the tops. Refrigerate the pan for at least 6 hours, giving the centers time to become firm enough to lift from the liners. Sprinkle the finely crushed Oreos over the tops just before serving. Peel away the paper liners after the cheesecakes have chilled, and serve them cold.
Three Ways to Adjust the Cookie Balance
Make Them Gluten-Free
Use gluten-free Oreo cookies in place of the regular Oreos, keeping the same quantities for the crust, filling, and topping. The cream cheese and whipped cream filling stays the same, while the cookie swap makes the dessert suitable for a gluten-free table.
Put the Topping Crumbs Into the Filling
For a more cookie-forward center, fold the finely crushed topping Oreos into the filling along with the chopped cookies and leave the tops plain. The filling will have a stronger Oreo taste throughout, but you’ll lose the separate layer of crumbs on top.
Use Salted Butter for a Savory Edge
Swap salted butter for the unsalted butter in the crust using the same amount. The cookie base will have a slightly saltier finish, which gives the sweet filling a little more contrast without changing how the crumbs come together.
Make-Ahead and Storage
- Refrigerator: Keep the cheesecakes covered and refrigerated for up to 3 days. The crust softens a little as it sits, but the filling stays creamy.
- Freezer: Freeze the cheesecakes without the crumb topping. Set them on a tray until firm, then wrap individually and freeze for up to 1 month; thaw overnight in the refrigerator.
- Serving: Keep them cold and add the finely crushed Oreo topping just before serving. Don’t try to reheat them; warmth softens the filling and crust.
Questions That Come Up Before Serving These Mini Cheesecakes
Mini No Bake Oreo Cheesecakes
Ingredients
Equipment
Method
- Line a standard 12-cup muffin pan with paper liners.
- Stir the crushed Oreo cookies and melted butter together until evenly moistened.
- Divide the mixture among the liners, using about 2 tablespoons per cup.
- Press the mixture firmly into the bottoms.
- Refrigerate the crusts for 15 minutes while you make the filling.
- Beat the cream cheese, powdered sugar, and vanilla extract in a large bowl until smooth.
- In a separate bowl, beat the cold heavy cream to stiff peaks.
- Gently fold the whipped cream into the cream cheese mixture along with the chopped Oreo cookies.
- Divide the filling among the chilled crusts.
- Smooth the tops.
- Refrigerate for at least 6 hours, until the filling is firm.
- Sprinkle with the finely crushed Oreo cookies just before serving.
- Peel away the liners.