
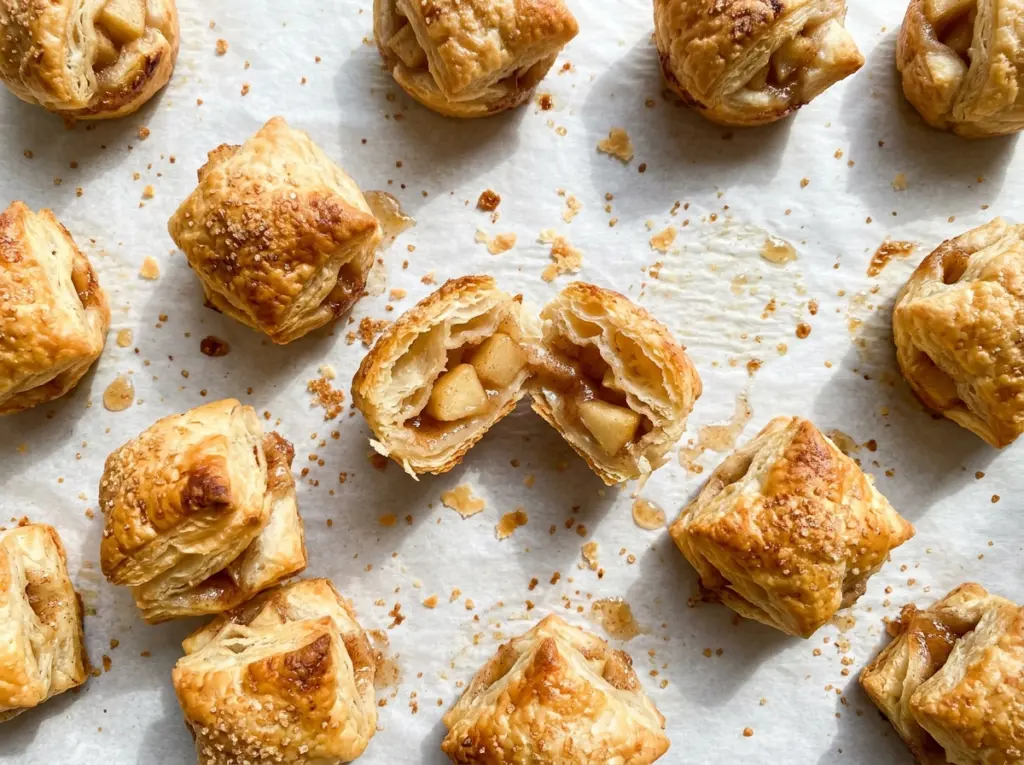
Butter melts around the diced apple, and within a few minutes the kitchen smells like cinnamon toast. The first thing I watch is the apple: it should start to soften, but the pieces still need enough shape to sit neatly in each little pastry cup. That balance makes these mini apple pie bites with puff pastry feel like tiny pies, not spoonfuls of applesauce wrapped in pastry.
I cook the filling on the stovetop before it goes anywhere near the pastry. A quick cornstarch slurry thickens the juices, and cooling the filling completely keeps the thawed pastry easier to handle. Each rectangle gets pressed into a mini muffin well with its corners standing above the rim, ready to turn flaky and deeply golden in the oven.
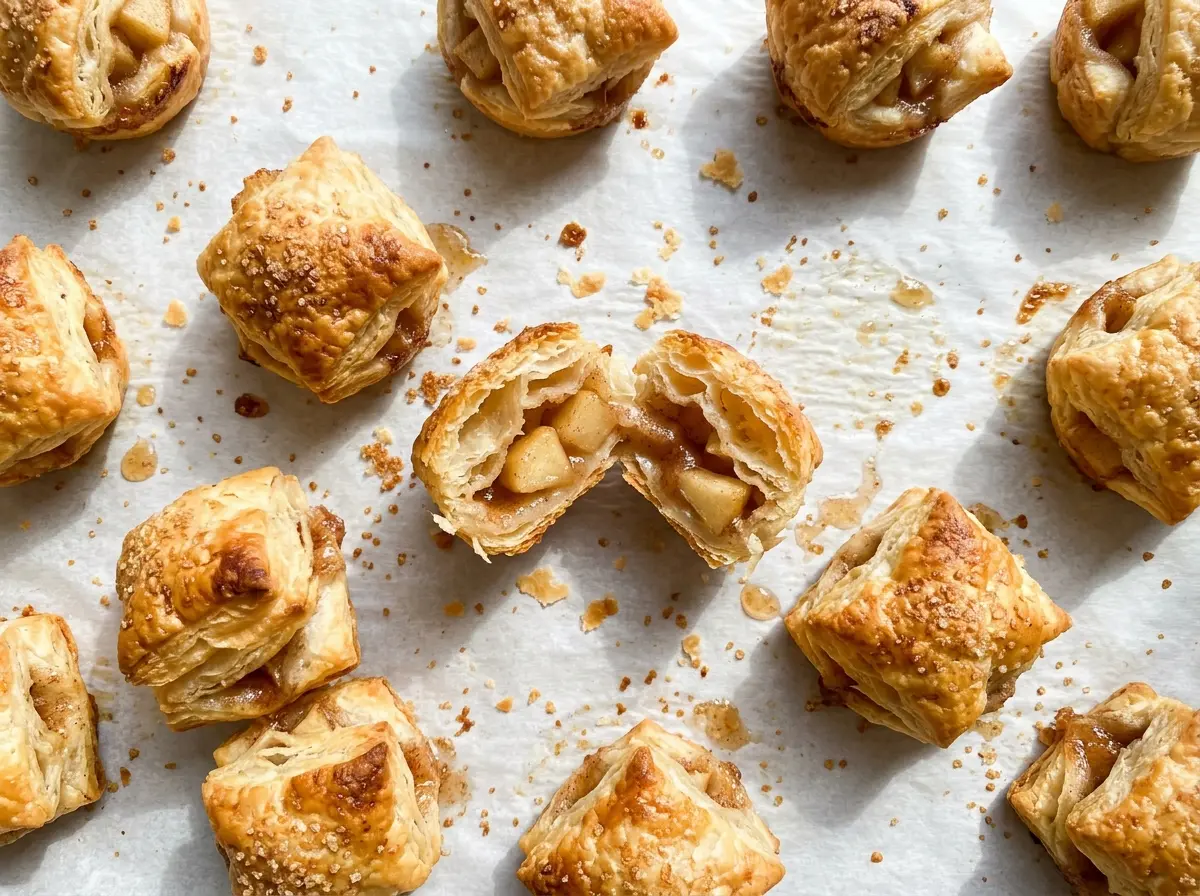
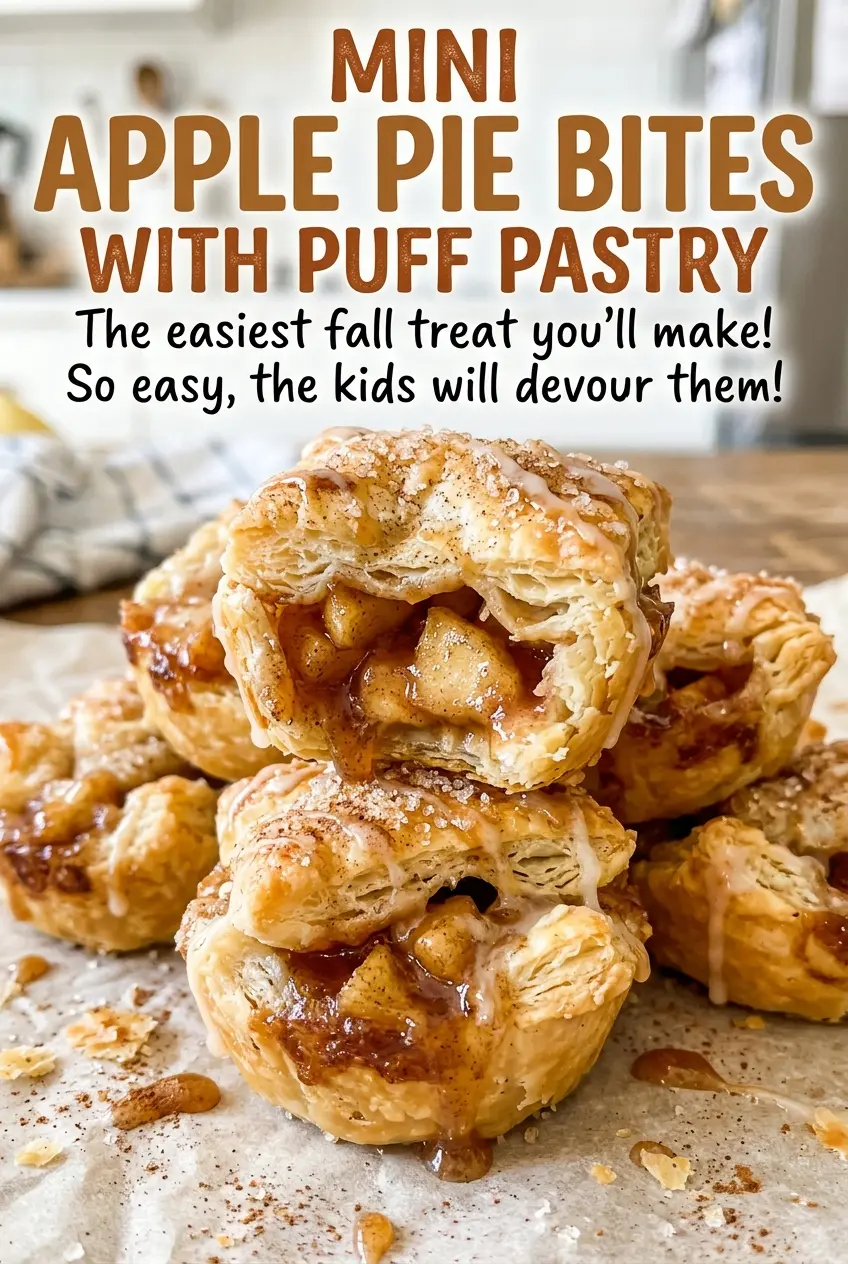
The finished bites have crisp, puffed edges around a glossy cinnamon-apple center. A little sugar on top gives the exposed pastry a delicate crunch, while the small size makes each one easy to lift from the pan and serve.
Kitchen Note
Brush the egg over the pastry you can see, not across the apple filling. The exposed edges take on a deeper golden color, and the sugar sticks where it belongs instead of melting into the fruit.
Save these mini apple pie bites for a bake when you want flaky pastry, a cinnamon-apple center, and twelve easy-to-share portions.
Why the Apple Filling Needs to Thicken Before It Meets the Pastry
Apple pieces release juice as they cook, and puff pastry needs a filling that stays put rather than running into the bottom of the pan. Cooking the apple first softens it and lets some of that moisture evaporate. The cornstarch slurry then thickens the remaining juices into a glossy coating that clings to the diced fruit.
That change matters because the pastry cups bake quickly. If the filling is loose, it can seep into the pastry before the edges have time to puff and brown. Stir the cornstarch into the water separately before adding it to the saucepan; that small step disperses it smoothly instead of leaving dry lumps in the apples. Once the filling has thickened, take it off the heat and let it cool completely. The goal is a spoonable mixture with visible apple pieces, not a runny sauce.
Keep the dice fine and fairly even, too. Small pieces distribute across the twelve cups without forcing the pastry sides out of shape, and each bite gets fruit rather than one oversized chunk.
What Makes the Apples and Pastry Work Together in These Little Pies
- Apple — The fruit provides the tender, fresh bite beneath the brown sugar and cinnamon. Finely dice it so the pieces soften evenly; a firmer, tarter apple gives a brighter contrast, while a sweeter apple makes the filling taste rounder.
- Unsalted butter — Butter coats the apple as it cooks and gives the filling a gentle richness. Standard unsalted butter is all you need; a specialty butter won’t change the result enough to be worth seeking out.
- Light brown sugar — Its molasses notes suit the cinnamon and apple better than a purely sweet taste would. Pack it when measuring so the filling has the intended sweetness and texture.
- Ground cinnamon and lemon juice — Cinnamon brings the familiar pie warmth, while lemon juice keeps the cooked apple from tasting flat. Fresh lemon juice is useful if you have it, but the small amount here doesn’t call for a special variety.
- Cornstarch and water — Together they make the thickening slurry. Stir them smooth in a separate bowl before they go into the hot apples; adding dry cornstarch directly can leave little white pockets.
- Frozen puff pastry — The pastry creates the flaky shell and the standing corners that puff above each well. Thaw it according to the package directions so it can be cut and pressed without cracking. There isn’t a like-for-like substitute among the ingredients in this recipe.
- Egg and granulated sugar — Beaten egg helps the exposed pastry brown, and the sugar adds a light crisp finish. A regular large egg works well here, and ordinary granulated sugar is the right texture for sprinkling over the tops.
How to Fill the Cups Without Losing Their Flaky Shape
Soften the Apple Without Cooking It to Mush
Melt the butter in a small saucepan over medium heat, then add the diced apple, brown sugar, cinnamon, and lemon juice. Cook for 4–6 minutes, stirring often, until the apple begins to soften. You want the pieces tender at the edges but still distinct, since they’ll sit in the oven again. If the mixture starts catching on the bottom, keep it moving with the spoon rather than raising the heat.
Thicken the Juices and Cool the Filling
Stir the cornstarch and water together in a small bowl until smooth, then stir that mixture into the saucepan. Cook for 1 minute, stirring, until the filling looks glossy and thickened. Transfer it to a bowl and cool it completely before it goes into the pastry. Warm filling can soften the pastry before baking, making the cups harder to handle.
Shape the Pastry in the Mini Muffin Pan
Heat the oven to 400°F and grease 12 wells of a 24-cup mini muffin pan. Cut the thawed puff pastry into 12 equal rectangles, then gently press one rectangle into each greased well. Leave the corners standing above the rim; pressing them down flat takes away the little edges that puff around the filling. Divide the cooled apples evenly among the cups.
Bake Until the Edges Turn Deep Golden
Brush the exposed pastry with the beaten egg and sprinkle it with granulated sugar. Bake for 18–22 minutes, until the pastry is puffed and deep golden brown; pale pastry needs more time in the oven. Let the bites cool in the pan for 5 minutes, then loosen each one with a small knife and move it to a wire rack. The brief rest helps the pastry hold its shape while you release it.
Small Changes for a Different Apple Pie Bite
Choose a tarter apple
Use a firm, tart apple in place of a sweeter one, keeping the same amount of finely diced fruit. The sharper apple balances the brown sugar and cinnamon, though the filling will taste less candy-sweet.
Make the tops less sweet
Leave off the granulated sugar if you want to reduce the added sugar. The pastry will still brown from the egg wash, but you won’t get the fine sugary crunch on top.
Let the apple lead without cinnamon
Omit the cinnamon for a simpler apple-and-brown-sugar filling. The bites lose the classic warm-spice note, but the lemon and fruit come through more clearly.
Storage and Reheating
- Refrigerator: Store cooled bites in an airtight container for up to 3 days. The pastry softens as it sits.
- Freezer: Freeze the cooled bites in a single layer until firm, then transfer them to an airtight container for up to 1 month. Thaw overnight in the refrigerator; the pastry won’t be quite as flaky as when freshly baked.
- Reheating: Warm them in the oven until heated through to bring back some crispness. Avoid the microwave, which makes puff pastry soft.
Questions About These Mini Apple Pie Bites
Mini Apple Pie Bites with Puff Pastry
Ingredients
Equipment
Method
- Melt the butter in a small saucepan over medium heat.
- Add the apple, brown sugar, cinnamon, and lemon juice; cook, stirring often, for 4–6 minutes, until the apple begins to soften.
- Stir the cornstarch and water together in a small bowl.
- Stir the cornstarch mixture into the saucepan and cook for 1 minute, stirring, until the filling is glossy and thickened.
- Transfer the filling to a bowl and cool completely.
- Heat the oven to 400°F.
- Grease 12 wells of a 24-cup mini muffin pan.
- Cut the puff pastry into 12 equal rectangles.
- Gently press one rectangle into each greased well, leaving the corners standing above the rim.
- Divide the cooled apple filling evenly among the pastry cups.
- Brush the exposed pastry with the beaten egg.
- Sprinkle the pastry cups with the granulated sugar.
- Bake for 18–22 minutes, until the pastry is puffed and deep golden brown.
- Cool in the pan for 5 minutes.
- Loosen the bites with a small knife and transfer them to a wire rack.