
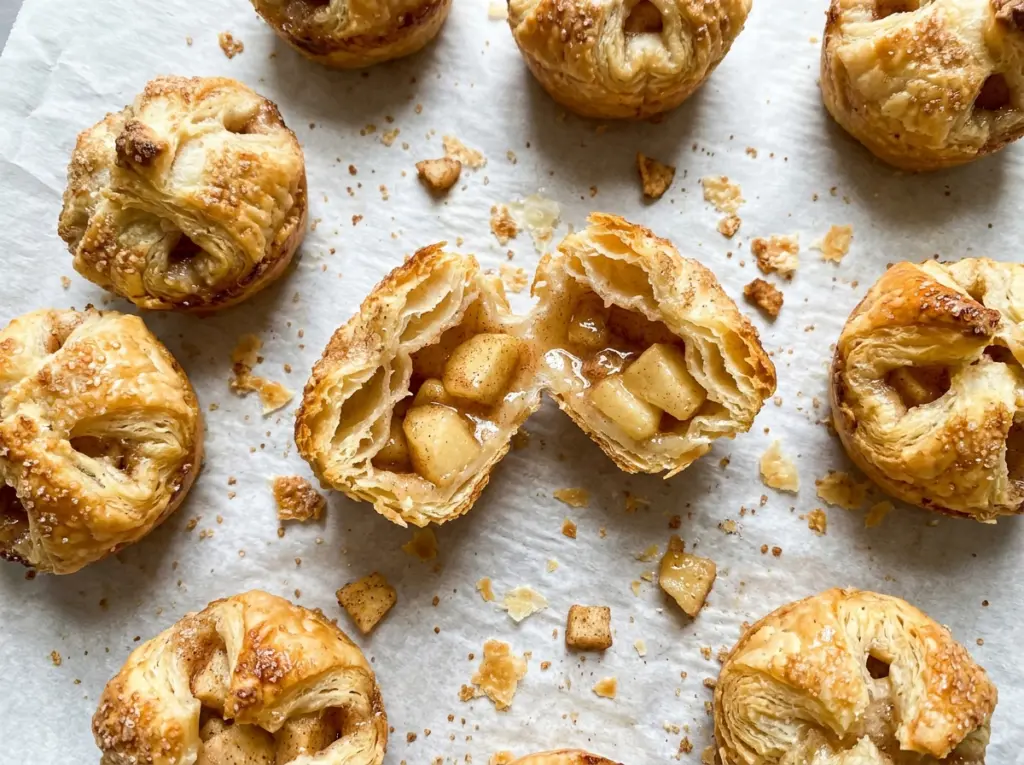
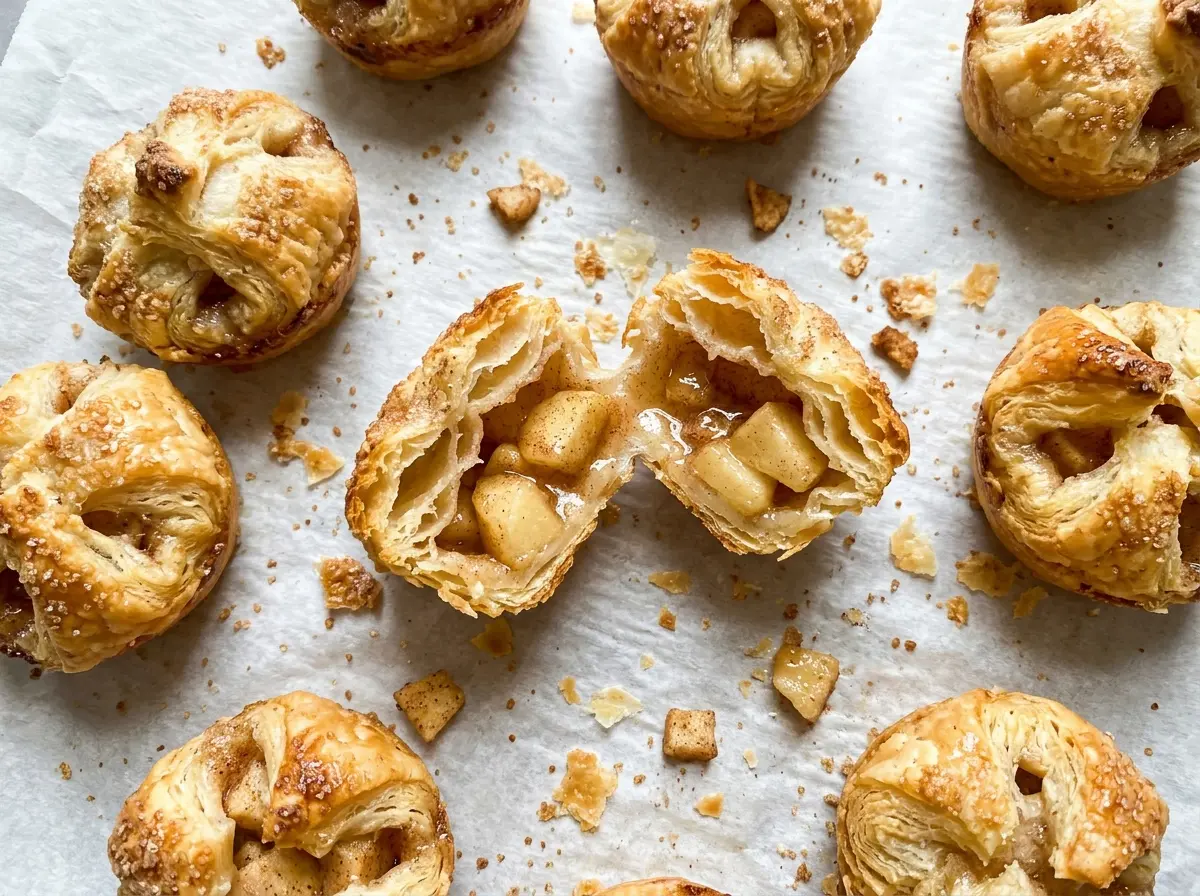
As the apples soften in the skillet, they should still look like little pieces of fruit, not applesauce. That small difference matters in these mini apple pie bites: the filling needs enough body to sit neatly inside the pastry instead of running into the muffin cups.
I make the apple mixture first, then give it time to cool before it goes anywhere near the puff pastry. That pause keeps the pastry easy to handle and gives the cinnamon and brown sugar time to settle into the apples. The filling is tart and gently sweet, with just enough lemon to keep it from tasting heavy.
Each bite gets its own pocket of flaky pastry, and the corners fold loosely over the top rather than sealing the filling away. They bake up puffed and deep golden in a mini muffin pan, ready to serve warm or at room temperature. The finished bites taste like little apple pies with buttery, crisp edges.
Kitchen Note
Let the apple filling cool all the way to room temperature before you spoon it into the pastry. Warm filling softens the pastry while you work, and the little corners become harder to fold neatly.
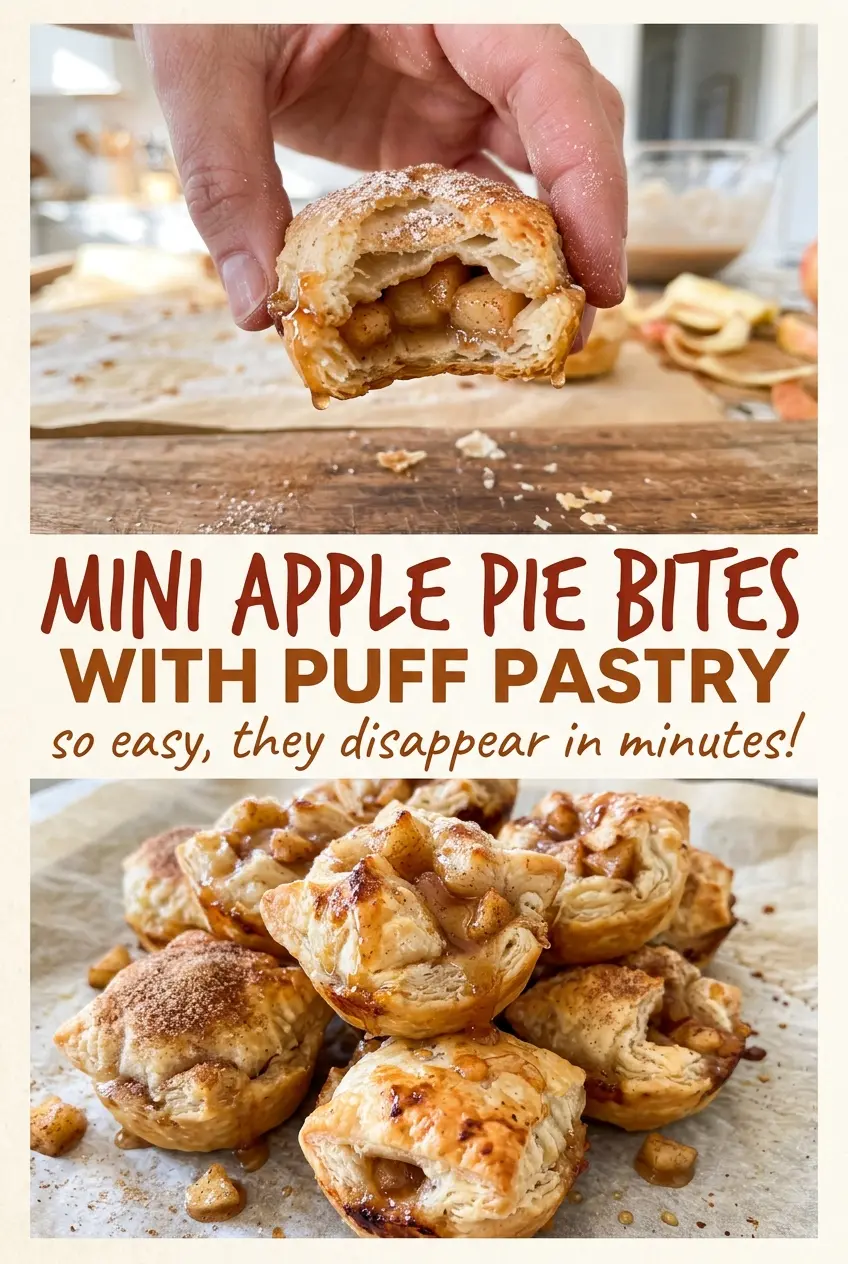
Save these mini apple pie bites with puff pastry for your next party — flaky tops, cinnamon apples, and 24 easy-to-serve portions.
The Filling Has to Thicken Before It Goes Near the Puff Pastry
Puff pastry bakes quickly. The apples don’t have enough time to soften from raw and release their juices during the pastry’s short turn in the oven, so the filling needs to be cooked first. That skillet stage also gives you a chance to stop the apples while they still hold their shape, instead of ending up with a soft, mashed filling.
The cornstarch mixture does a different job from the brown sugar: it turns the apple juices glossy and thick so they cling to the diced fruit. Stir the cornstarch and water together before adding them to the skillet. If you sprinkle cornstarch straight over the apples, it can clump instead of blending evenly into the liquid.
Look for a filling that coats the apples and doesn’t leave a watery puddle when you drag a spoon through the pan. It thickens fast once the slurry goes in, so keep stirring and take it off the heat when it’s glossy. That concentrated filling stays where you spoon it, leaving the pastry free to puff instead of soaking through.
Why Granny Smith Apples and Puff Pastry Matter Here
- Granny Smith apples — Their tartness balances the brown sugar, and their firm flesh stays distinct after cooking. Choose apples that feel firm with unbruised skin. If you can’t find Granny Smith, another firm, tart baking apple can work, though the filling may turn out sweeter or softer.
- Puff pastry — The separate layers are what make these bites light and flaky around the apple filling. Thaw the frozen pastry according to the package directions so it unfolds without cracking. Pie crust won’t give you the same lift or crisp layers.
- Brown sugar and cinnamon — Packed light brown sugar brings a mellow sweetness, while ground cinnamon gives the filling its familiar apple-pie warmth. The brown sugar also melts into the apple juices as they cook, so there’s no need to dissolve it separately.
- Cornstarch — This is what thickens the juices without turning the filling cloudy or pasty. Mix it with the water first, then stir that smooth mixture into the apples; it works more reliably than adding the starch dry.
- Lemon juice — A little acidity brightens the cooked apples and balances their sweetness. Fresh lemon juice is a good choice, but bottled lemon juice works fine here because it is used in a small amount.
- Unsalted butter — Butter gives the apples a rich base as they cook. Unsalted butter lets the measured kosher salt season the filling without guessing how salty the butter is; there’s no need to seek out a specialty brand.
Cook the Apples First, Then Let the Pastry Do Its Job
Soften the Diced Apples Without Mashing Them
Melt the butter in a 10-inch skillet over medium heat, then add the diced Granny Smith apples, brown sugar, cinnamon, and kosher salt. Stir often for 6 to 8 minutes, watching for the pieces to turn tender while still holding their shape. If the apples start breaking down, stop cooking rather than trying to make them completely soft. You want recognizable pieces in every bite.
Thicken the Juices Into a Glossy Filling
Stir the lemon juice, cornstarch, and water together in a small bowl until smooth, then mix it into the apples. Cook for about 1 minute, stirring, until the filling looks glossy and thickened. It should cling to the fruit rather than run freely across the skillet. Transfer it to a bowl and let it cool to room temperature before assembling.
Cut and Nestle the Pastry Into the Pan
Heat the oven to 400°F and grease a 24-cup mini muffin pan. Unfold the thawed puff pastry sheets on a clean work surface and cut each sheet into 12 pieces, for 24 pieces total. Press one piece into each muffin cup without stretching it thin. If a corner tears as you press, ease the pastry into place rather than pulling it across the cup.
Fill, Fold, and Bake Until Deep Golden
Spoon about 1 tablespoon of cooled apple filling into each pastry cup, then fold the corners loosely over the filling. Keep the folds relaxed; the pastry should have room to puff as it bakes. Bake for 18 to 22 minutes, until the pastry is puffed and deep golden brown. Pale pastry won’t have the same crisp finish, so use the color as your cue.
Give the Bites a Short Rest Before Releasing
Let the bites cool in the pan for 5 minutes after they come out of the oven. This brief rest helps the pastry hold together when you lift it. Loosen each one with a small spatula, working around any edge that sticks rather than tugging at the top. Serve them warm or at room temperature.
Two Ways to Adapt These Apple Pie Bites
Use a Sweeter, Firm Baking Apple
Swap the Granny Smith apples for another firm baking apple if you’d rather have a less tart center. The filling will taste sweeter and may soften more quickly, so keep an eye on the skillet and stop cooking as soon as the pieces are tender but still intact.
Make a Dairy-Free Version
Use plant-based butter in place of the unsalted butter and choose dairy-free puff pastry for the shells. The apple filling will still cook the same way, though the pastry’s browning and texture can vary by brand. Follow that pastry package’s thawing directions, then bake until the bites are puffed and deep golden.
Storage and Reheating
- Refrigerator: Store leftover bites in an airtight container for up to 3 days. The pastry softens as it sits.
- Freezer: I don’t recommend freezing the baked bites; thawing tends to soften the pastry and change the texture of the filling.
- Reheating: Warm them in the oven until heated through and the pastry crisps again. Skip the microwave if you want to keep the flaky layers from turning soft.
Questions That Come Up While Making Mini Apple Pie Bites
Mini Apple Pie Bites With Puff Pastry – Party Appetizer Recipe
Ingredients
Equipment
Method
- Melt the butter in a 10-inch skillet over medium heat.
- Add the apples, brown sugar, cinnamon, and salt, and cook, stirring often, until the apples are tender but still hold their shape, 6 to 8 minutes.
- Stir the lemon juice, cornstarch, and water together in a small bowl.
- Stir the mixture into the apples and cook until the filling is glossy and thickened, about 1 minute.
- Transfer the filling to a bowl and cool to room temperature.
- Heat the oven to 400°F.
- Grease a 24-cup mini muffin pan.
- Unfold the puff pastry sheets on a clean work surface.
- Cut each sheet into 12 pieces, making 24 pieces total.
- Press one piece of pastry into each muffin cup.
- Spoon about 1 tablespoon of cooled apple filling into each cup.
- Fold the pastry corners loosely over the filling.
- Bake until the pastry is puffed and deep golden brown, 18 to 22 minutes.
- Cool the bites in the pan for 5 minutes.
- Loosen the bites with a small spatula and serve warm or at room temperature.